By: Edwin Sarmiento | Comments (6) | Related: > Reporting Services Installation
Problem
In a previous tip on Configure Reporting Services to Run in SharePoint Integrated Mode, we've seen how we can integrate Reporting Services with SharePoint. However, a lot has changed between SQL Server 2008 and SQL Server 2012 with SP1 and even SQL Server 2014 as far as SharePoint integration is concerned. How can we install and configure Reporting Services 2012 SP1/2014 in SharePoint-Integrated Mode?
Solution
Starting with SQL Server 2012, Reporting Services in SharePoint-integrated mode has been changed from a Windows Service (like what we have in native mode) to a SharePoint service application. A more detailed explanation of the changes in the architecture is available from Jaime Tarquino's MSDN blog post. This also means that the way we install and configure Reporting Services in SharePoint-integrated mode is totally different than the way we did it in the past.
This tip is the first of a series of tips that walks you through installing and configuring Reporting Services in SharePoint-integrated mode. While the RTM version of SQL Server 2012 works just fine, I recommend using the one with Service Pack 1 or higher when you're doing the installation as it also includes support for running Excel workbooks containing Power View reports. I am using SQL Server 2014 for the demonstration, but the steps are the same for SQL Server 2012. I am also using SharePoint Server 2013, but it also works well for SharePoint Server 2010. My recommendation is to keep everything current - both SQL Server and SharePoint - to take full advantage of the different business intelligence (BI) features introduced in the latest versions.
The installation and configuration is subdivided into multiple sections – installation of Reporting Services in SharePoint-integration mode, installation of the Reporting Services Add-In, installing and starting the Reporting Services SharePoint Service (optional, depending on the installation process) and creation of a Reporting Services service application. Prior to installation, make sure that you have a domain account available for the Reporting Services service application pool account that has the appropriate permissions to the SQL Server instance where the Reporting Services databases will be created - db_creator and securityadmin server roles are the minimum permissions required.
Installing the Reporting Services in SharePoint-integration mode
Installation of Reporting Services in SharePoint-integration mode should be done on the SharePoint servers that will run the Reporting Services service application. For a multi-tiered farm, this should be done on all of the application servers for both scalability and availability. It is assumed at this point that the application servers have been joined to the SharePoint farm.
To install Reporting Services in SharePoint-integrated mode
- Run setup.exe from the installation media to launch SQL Server Installation Center. Click on the Installation link on the left-hand side
- Click on the New SQL Server stand-alone installation or add features to an existing installation link. This will run the SQL Server Setup wizard
- In the Product Key dialog box, enter the product key that came with your installation media and click Next.
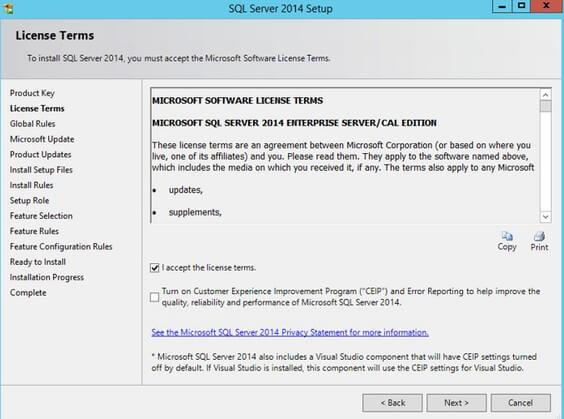
- In the License Terms dialog box, click the I accept the license terms check box and click Next.
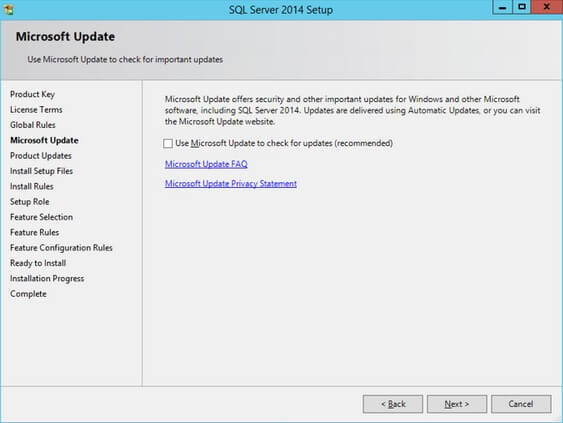
- In the Microsoft Updates dialog box, you have the option to Use Microsoft Updates to check for updates (recommended) in the installation process. If your servers are connected to the Internet, the installation media will connect to Microsoft Update and check for available SQL Server updates. You can opt to install the detected updates as part of the installation process. Click Next.
- In the Install Rules dialog box, validate that the checks return successful results. If the checks returned a few warnings, make sure you fix them before proceeding with the installation. Click Next.
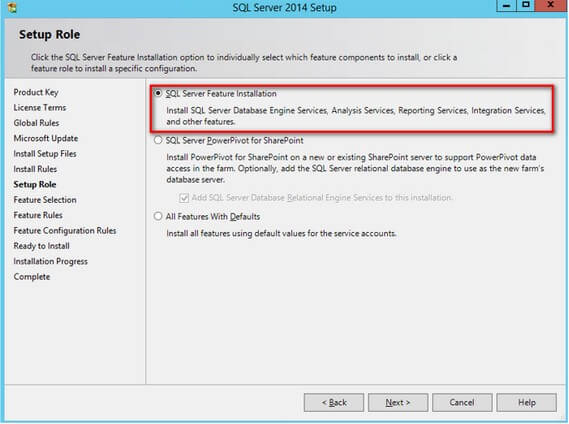
- In the Setup Role dialog box, select the SQL Server Feature Installation option and click Next.
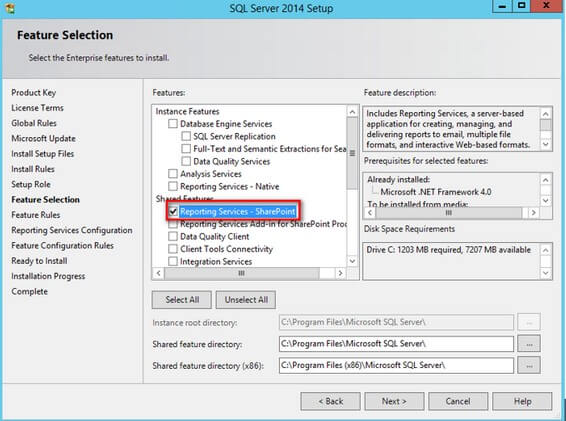
- In the Feature Selection dialog box, select Reporting Services - SharePoint. Click Next.
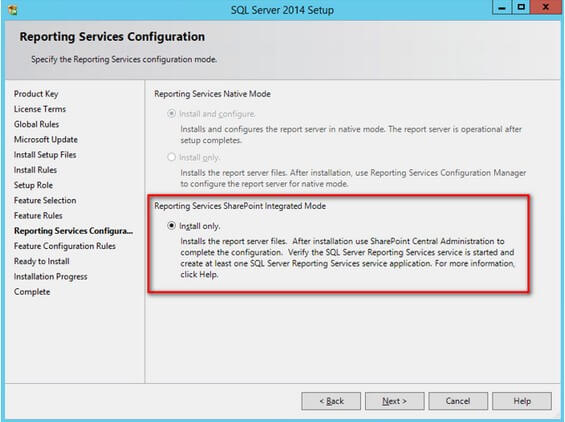
- In the Reporting Services Configuration dialog box, validate that the option Install only under Reporting Services SharePoint Integrated Mode section is selected. Click Next.
The beauty of this option is that you don't have any other options to choose from because you've chosen the Reporting Services - SharePoint feature in the previous dialog box.
- In the Feature Configuration dialog box, verify that all the rules have passed. Click Next.
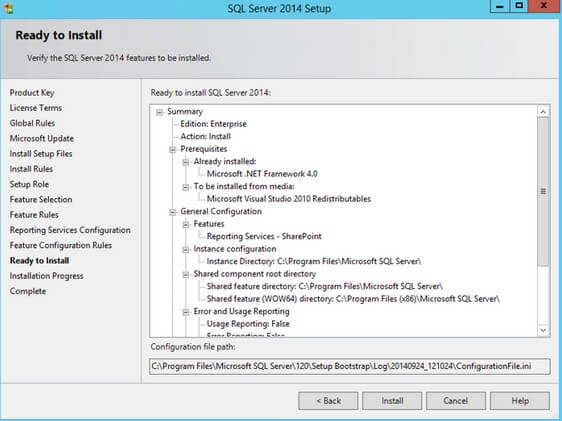
- In the Ready to Install dialog box, verify that all configurations are correct. Click Install.
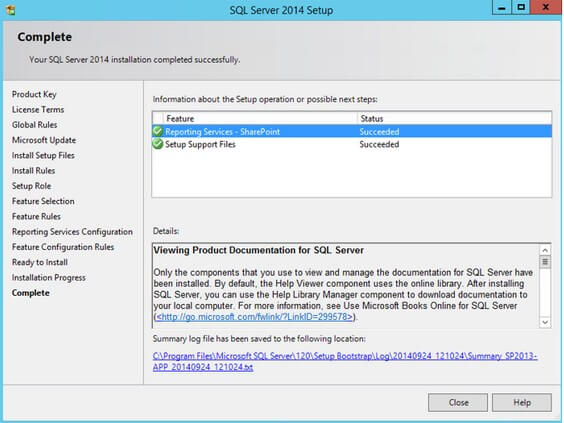
- In the Complete dialog box, click Close. This concludes the installation of Reporting Services in SharePoint-integrated mode.


NOTE: Unless the application server also functions as a web front end, the Reporting Services Add-In for SharePoint Products need not be installed, as is the case here.
NOTE: A server reboot might be required after the installation.
Installing the Reporting Services Add-In for SharePoint Products
Installation of Reporting Services Add-In for SharePoint Products should be done on the SharePoint web front end servers and is a required component for a Reporting Services instance running in SharePoint-integrated mode. The add-in provides a way to manage Reporting Services and view related files within a SharePoint site. It is also responsible for features such as Power View, the Report Viewer web part and the URL proxy endpoint that are specific to the SharePoint site collection using it. The Reporting Services Add-In for SharePoint Products (rsSharePoint.msi) can be installed using the SQL Server installation media. Alternatively, it can be downloaded from the Microsoft Download Center.
TIP: Installing the Reporting Services Add-In for SharePoint Products on multiple web front end servers will be much faster when the rsSharePoint.msi file is copied on all of the servers and installed manually as compared to using the SQL Server installation media directly.
To install the Reporting Services Add-In for SharePoint Products:
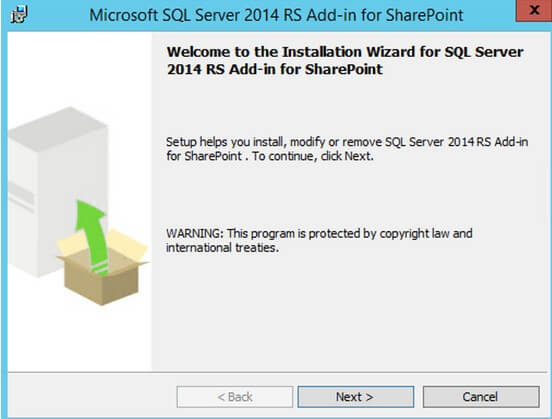
- Run the rsSharePoint.msi file.
- In the Welcome to the Installation Wizard for SQL Server RS Add-in for SharePoint dialog box, click Next.
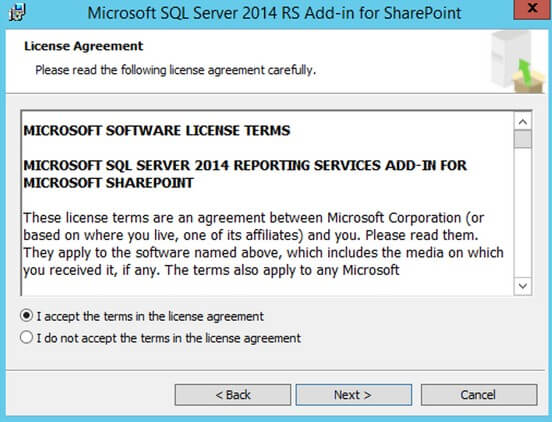
- In the License Agreement dialog box, select the I accept the terms in the license agreement option, click Next.
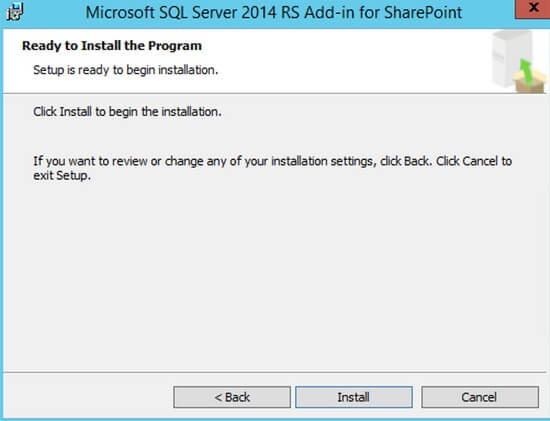
- In the Ready to Install the Program dialog box, click Install.
- In the Completing the SQL Server RS Add-in for SharePoint installation dialog box dialog box, click Finish. This concludes the installation of the SQL Server RS Add-in for SharePoint on the web front end servers.
In the next tip in this series, we will register and start the Reporting Services SharePoint service on the appropriate servers in our SharePoint farm. We will also look at creating a Reporting Services service application, both using SharePoint Central Administration and the Windows PowerShell cmdlets for the Reporting Services SharePoint-integrated mode.
Next Steps
Check out the following items- Reporting Services Report Server (SharePoint Mode)
- Install SQL Server BI Features with SharePoint 2013 (SQL Server 2012 SP1) to explore all the other BI features available for SharePoint.
- Jaime Tarquino's MSDN blog post on SQL Server 2012 Reporting Services SharePoint integrated mode


About the author
 Edwin M Sarmiento is a Microsoft SQL Server MVP and Microsoft Certified Master from Ottawa, Canada specializing in high availability, disaster recovery and system infrastructures.
This author pledges the content of this article is based on professional experience and not AI generated.
View all my tips
