By: Edwin Sarmiento | Comments | Related: 1 | 2 | 3 | 4 | > Clustering
Problem
In a previous tip on Validating a Windows Cluster Prior to Installing SQL Server 2014, I have seen how to install SQL Server 2014 on a Windows Server 2012 R2 failover cluster (WSFC). With Windows Server 2016 already publicly available, I would like to upgrade and migrate my SQL Server 2008 failover clusters to SQL Server 2016 running on Windows Server 2016. How do I go about building a Windows Server 2016 failover cluster for SQL Server 2016 and eventually upgrade and migrate my databases?
Solution
To continue this series on Step-by-step Installation of SQL Server 2016 on a Windows Server 2016 Failover Cluster, we will look at building our Windows Server 2016 failover cluster in preparation for installing SQL Server 2016. In Part 1, you have learned of the new Windows Server 2016 failover clustering features that apply to SQL Server 2016. You've also installed the Failover Clustering feature on all of the servers that you want to include in the WSFC and ran the Failover Cluster Validation Wizard. This tip will walk you through the creation of the WSFC.
Creating the Windows Server 2016 Failover Cluster (WSFC)
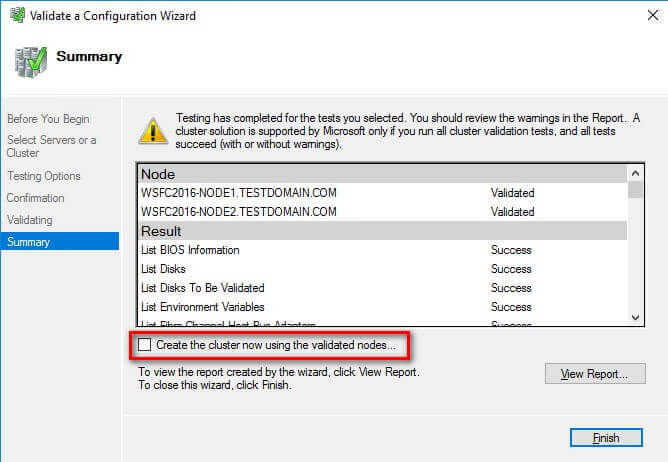
You will create the WSFC using the Failover Cluster Manager console. You can launch the tool from the Server Manager dashboard, under Tools and select Failover Cluster Manager. Alternatively, you can run the Create Cluster Wizard after running the Failover Cluster Validation Wizard. Be sure to check the Create the cluster now using the validated nodes... checkbox.
NOTE: These steps can be performed on any of the servers that will act as nodes in your WSFC.
To create the WSFC:
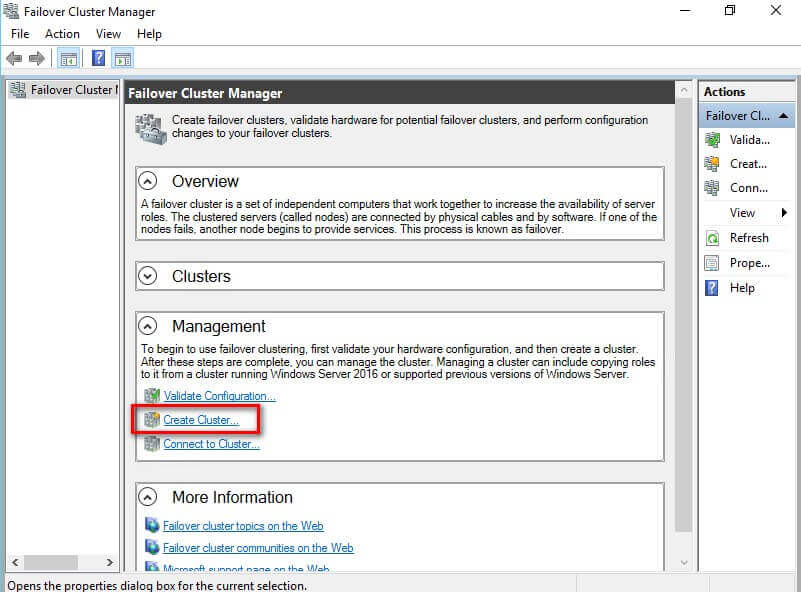
- Within the Failover Cluster Manager console, under the
Management section, click the Create Cluster...
link. This will run the Create Cluster Wizard.
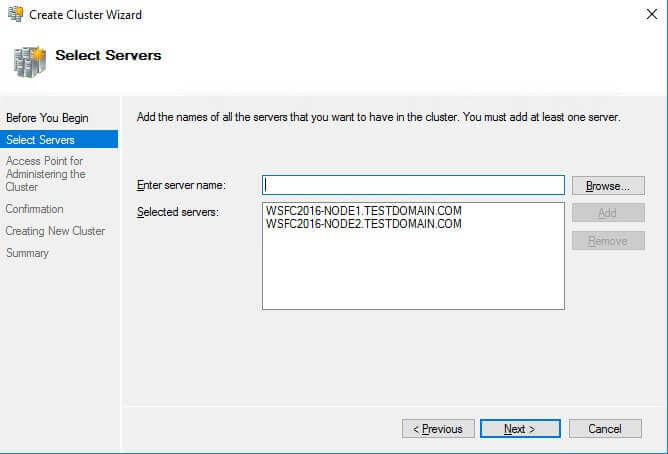
- In the Select Servers dialog box, enter the hostnames of
the servers that you want to add as member nodes of your WSFC. Click
Next.
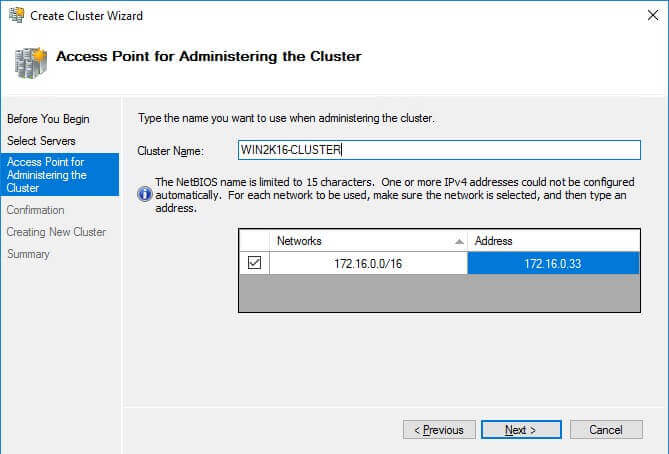
- In the Access Point for Administering the Cluster dialog
box, enter the virtual hostname and IP address that you will use to administer
the WSFC. Click Next. Note that because the servers are within
the same network subnet, only one virtual IP address is needed. This is a typical
configuration for local high availability.
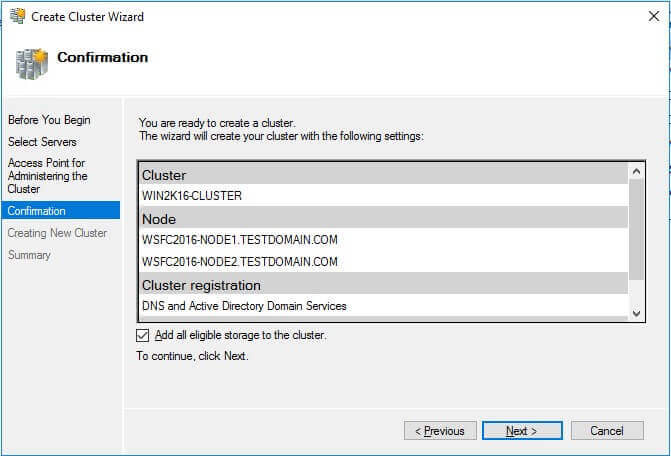
- In the Confirmation dialog box, click Next.
This will configure Failover Clustering on both of the servers that will act
as nodes in your WSFC, add the configured shared storage, add Active Directory
and DNS entries for the WSFC virtual server name.
- Create Computer objects
- Read All Properties
- In the Confirmation dialog box, click Next.
This will configure Failover Clustering on both of the servers that will act
as nodes in your WSFC, add the configured shared storage, add Active Directory
and DNS entries for the WSFC virtual server name.
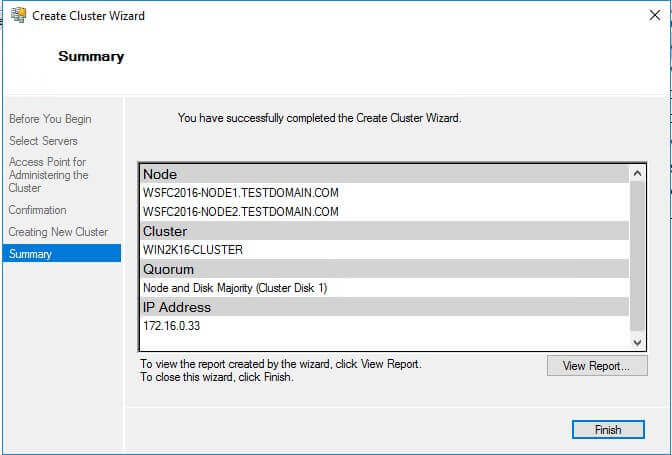
- In the Summary dialog box, verify that the report returns
successful results. Click Finish.
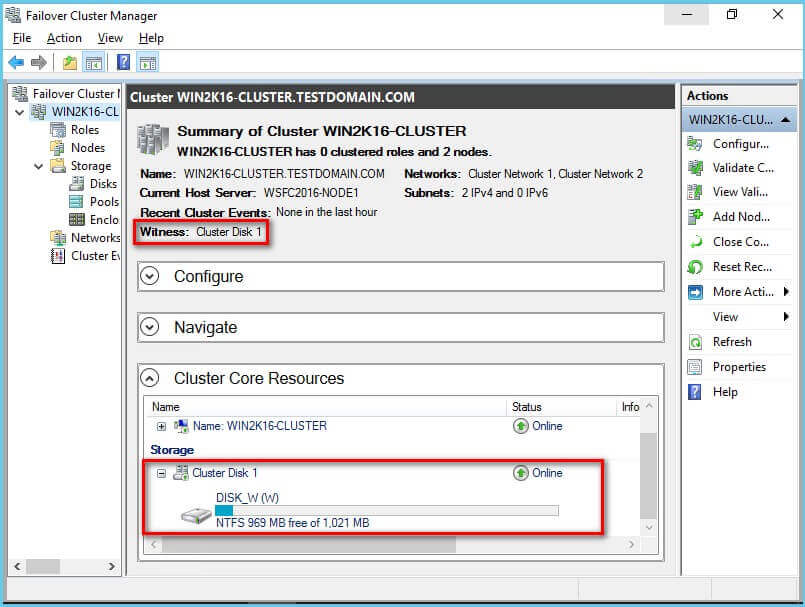
- Verify that the quorum configuration is using Node and Disk Majority -
Witness: Cluster Disk n - using the appropriate drive that
you configured as the witness disk.
A word of caution before proceeding: Before clicking Next, be sure to coordinate with your Active Directory domain administrators on the appropriate permissions that you need to create the computer name object in Active Directory. It will save you a lot of time and headache troubleshooting why you cannot create a WSFC. Local Administrator permission on the servers that you will use as nodes in your WSFC is not enough. Your Active Directory domain account needs the following permissions in the Computers Organizational Unit. By default, this is where the computer name object that represents the virtual hostname for your WSFC will be created.
For additional information, refer to the Failover Cluster Step-by-Step Guide: Configuring Accounts in Active Directory documentation.
In a more restrictive environment where your Active Directory domain administrators are not allowed to grant you those permissions, you can request them to pre-stage the computer name object in Active Directory. Provide the Prestage Cluster Computer Objects in Active Directory Domain Services documentation to your Active Directory domain administrators.
This also applies to WSFC running Windows Server 2008 and higher.
Another way of creating the WSFC is by using the New-Cluster PowerShell cmdlet as described in this previous tip.
New-Cluster -Name WIN2K16-CLUSTER -Node WSFC2016-NODE1, WSFC2016-NODE2 -StaticAddress 172.16.0.33
Congratulations! You now have a working Windows Server 2016 failover cluster. You can now validate whether your WSFC is working or not. A simple test would be to do a continuous PING test on the virtual hostname or IP address that you have assigned to your WSFC. Reboot one of the nodes and see how your PING test responds. At this point, you are now ready to install SQL Server 2016.
Renaming Shared Storage Resources
As a best practice, you should rename your shared storage resources prior to installing SQL Server 2016. This makes it easy to identify what the disks are used for - data, log, backups, etc. - during the installation and later on when troubleshooting availability issues. And while you may have renamed the disks using the Disk Management console, you still have to rename them from the point-of-view of the WSFC. The default names of the shared storage will be Cluster Disk n where n is the number assigned to the disks.
To rename the shared storage resources:
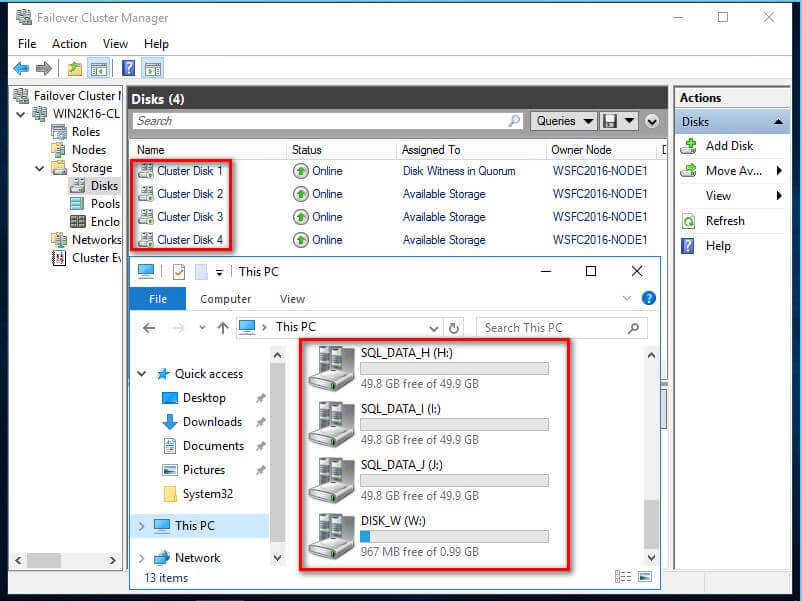
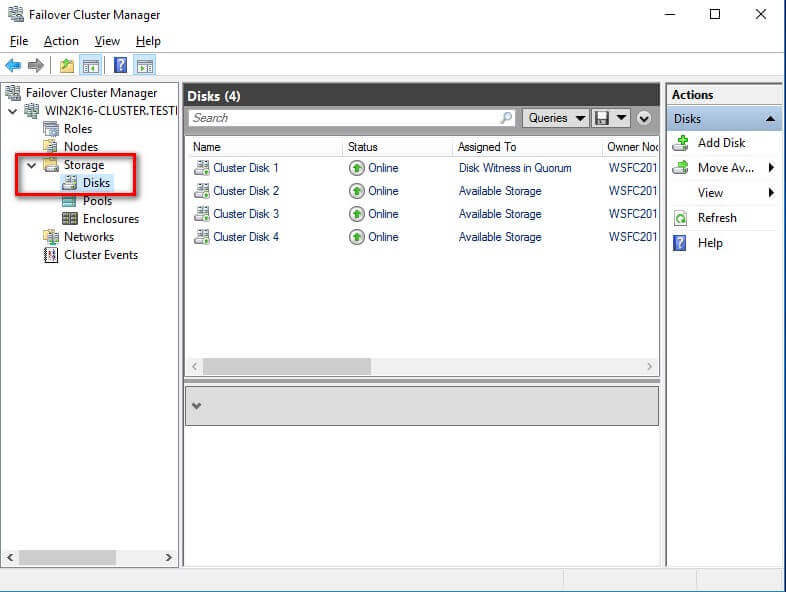
- Within the Failover Cluster Manager console, under the
Storage navigation option, select Disks. This
will display all of the shared storage resources added to the WSFC.
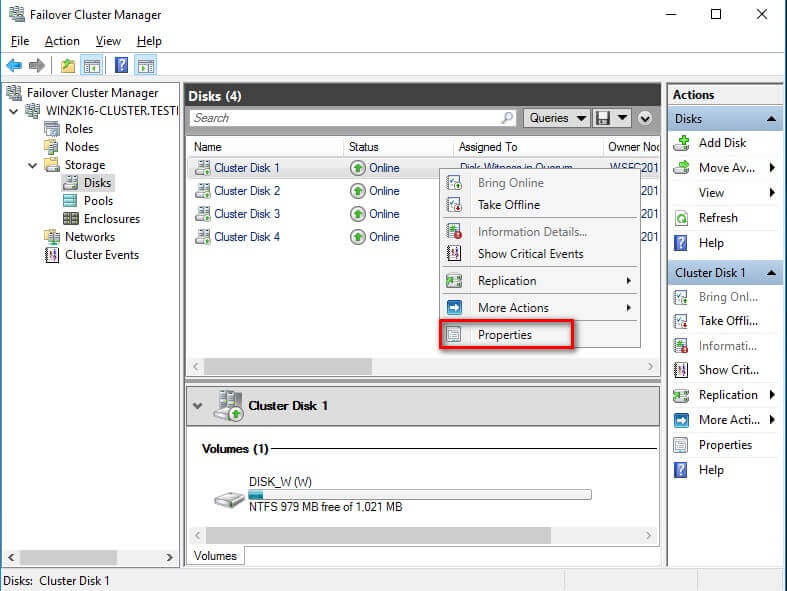
- Right-click one of the shared disks and select Properties.
This will open up the Properties page for that specific disk.
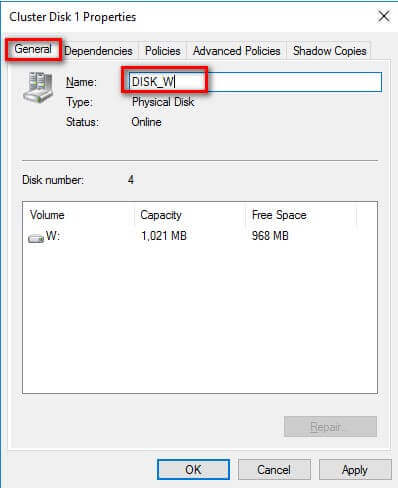
- In the Properties page, on the General
tab, type the appropriate name for the shared disk in the Name
textbox. Click OK.
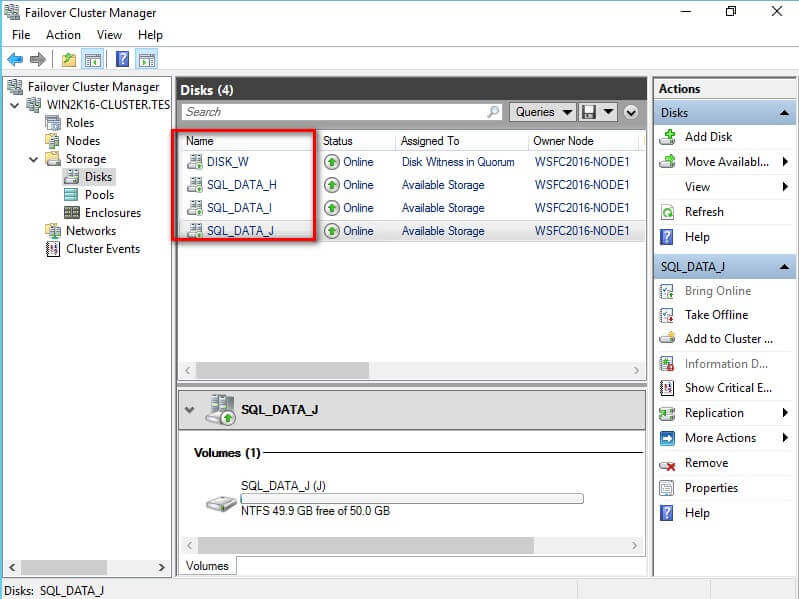
Do this on all of the shared storage resources available on your WSFC.
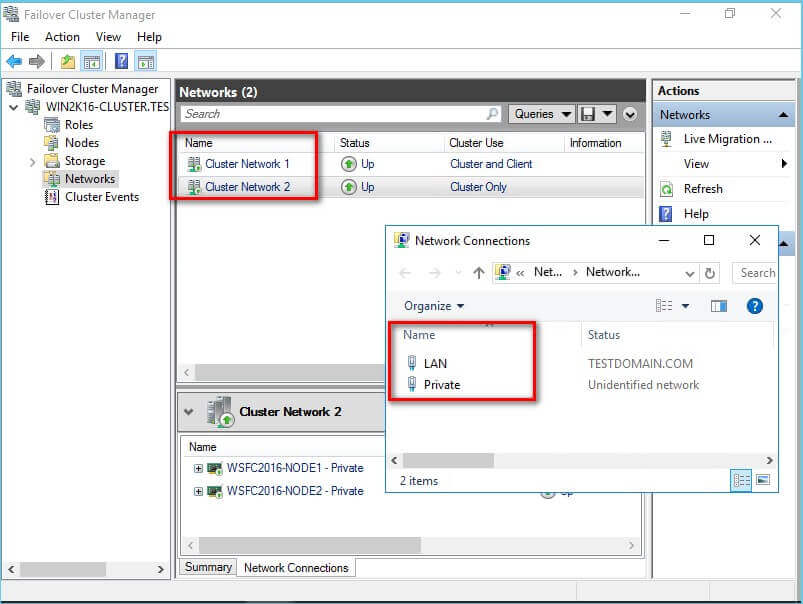
Renaming Cluster Network Resources
Similarly, you should rename your cluster network resources prior to installing SQL Server 2016. And while you may have renamed the network adapters using the Network Connections management console, you still have to rename them from the point-of-view of the WSFC. The default names of the cluster network resources will be Cluster Network n where n is the number assigned to the cluster network adapter.
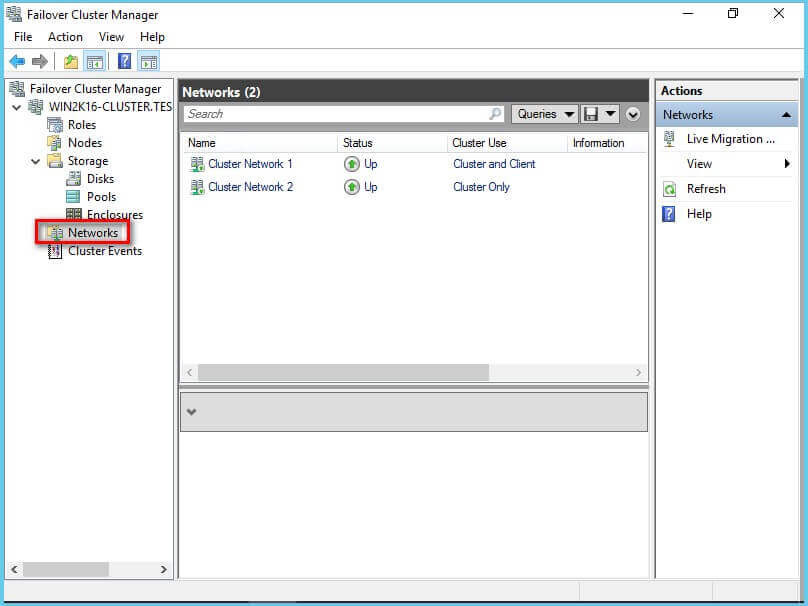
To rename the cluster network resources:
- Within the Failover Cluster Manager console, select the
Networks navigation option. This will display all of the cluster
network resources added to the WSFC.
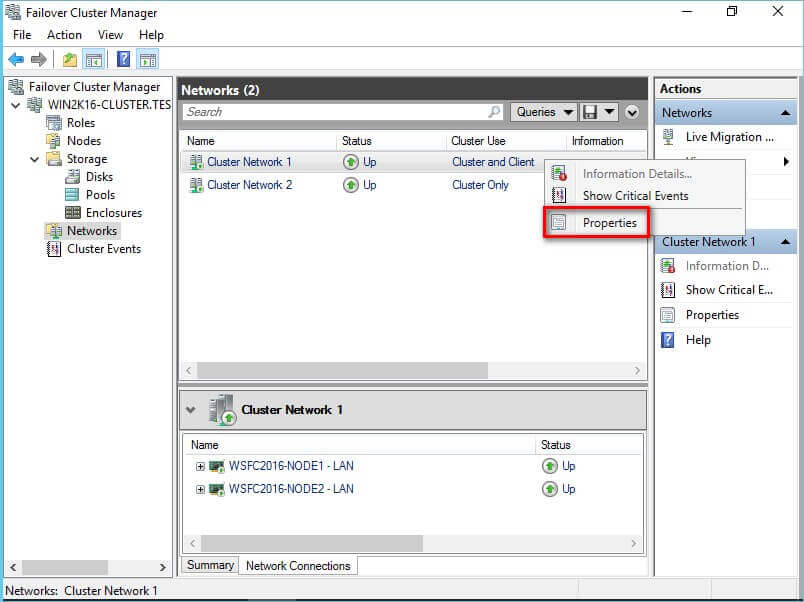
- Right-click one of the cluster network adapters and select Properties.
This will open up the Properties page for that specific cluster
network resource.
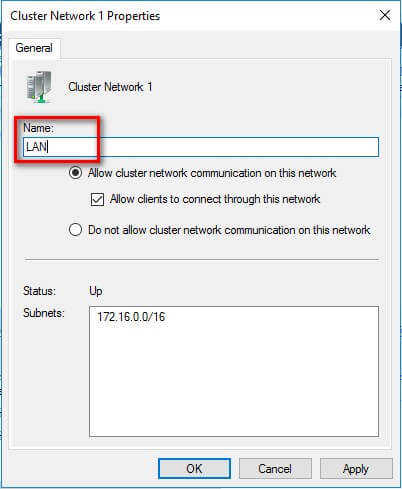
- In the Properties page, type the appropriate name for the
cluster network resource in the Name textbox. Click
OK.
Do this on all of the cluster network resources available on your WSFC.
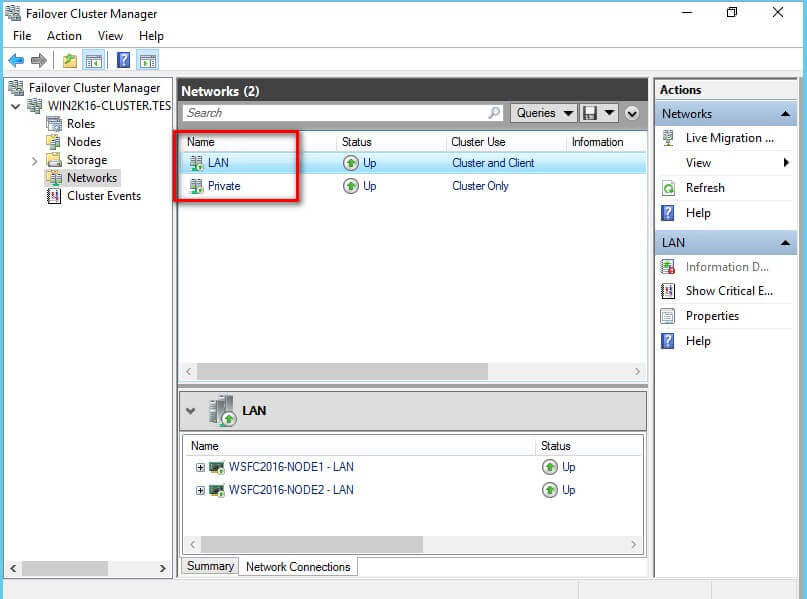
NOTE: The WSFC will detect whether or not client applications can connect thru the specific cluster network resource. This is determined based on whether or not a network adapter has a default gateway and can be identified via network discovery. This is why it is important to get your network administrators involved in properly assigning the IP address, the subnet mask and the default gateway values of all the network adapters used on the WSFC nodes prior to creating the WSFC.
Also, by default, all available network adapters will be used for inter-node communication, or what is commonly known as private communication/heartbeat.
In this tip, you've:
- Created the WSFC
- Renamed the shared storage resources
- Renamed the cluster network resources
In the next tip in this series, you will go thru the process of installing SQL Server 2016 on top of the WSFC.
Next Steps
- Review the previous tips on Install SQL Server 2008 on a Windows Server 2008 Cluster Part 1, Part 2, Part 3 and Part 4 to see the difference in the setup experience between Windows Server 2008 and Windows Server 2016.
- Read more on the following topics:


About the author
 Edwin M Sarmiento is a Microsoft SQL Server MVP and Microsoft Certified Master from Ottawa, Canada specializing in high availability, disaster recovery and system infrastructures.
This author pledges the content of this article is based on professional experience and not AI generated.
View all my tips
