By: Vitor Montalvao | Comments | Related: 1 | 2 | 3 | 4 | > Azure SQL Database
Problem
This is my third tip that is part of a tutorial to help community members that are moving to SQL Azure for the first time. If you did not read my first tip and want to learn how to create a database in SQL Azure you can read it now and then return to this tip to continue your learning.
You should use this article as a tutorial and follow it step-by-step. I will also try to share my experience on the differences that I have found when I was moving from SQL Server on premises to SQL Azure for the first time.
Solution
In this tip I will explain how to work with the basic configuration settings for a SQL Azure database from the Microsoft Azure portal itself.
Microsoft Azure Dashboard
If you are not signed into Microsoft Azure, go to http://portal.azure.com and provide your login credentials (in my previous tip) I have explained how to create an Azure login. After signing in you should immediately see the Dashboard.
If you are signed in Microsoft Azure then go to the Dashboard. In any case you will get the following screen:
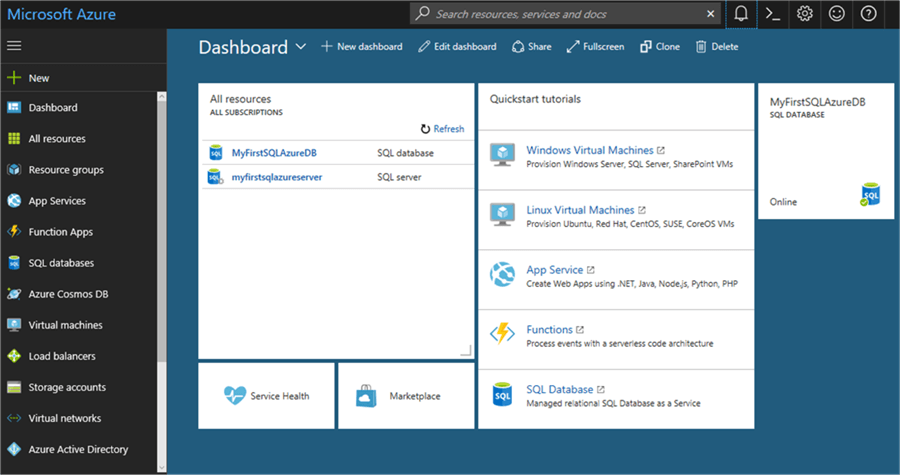
On the right side you can verify the status of the SQL Azure databases. In this case I only have one database and it is online.
In the All resources section it will list all of the SQL Azure servers and databases and you can access them directly by clicking on their name.
In this tip we will focus only on the SQL Azure database so let’s starts by clicking on the SQL Azure database name to learn more about it.
The SQL Azure database
When clicking on a SQL Azure database name a similar screen will appear as the one below:
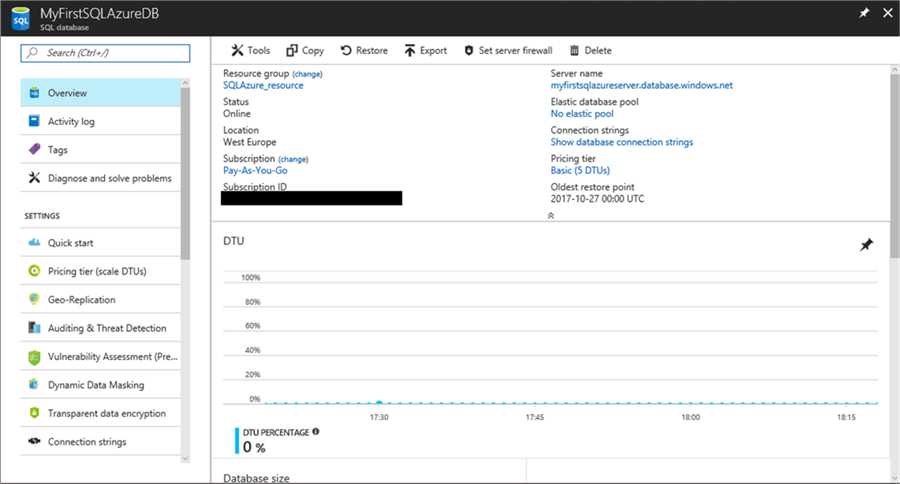
From this screen you can configure and monitor your SQL Azure database.
At the top of the screen, the respective SQL Azure database name will be listed so you will know which database you are working on. On the left side is the menu and we will review each of the menu options next. In the right pane will be information relatively to the menu option that has been chosen.
In this tip I will explain the first four options in the left menu:
- Overview
- Activity log
- Tags
- and Diagnose and solve problems
These will let you configure access to the SQL Azure database and include a minimal number of monitoring tasks.
Overview
The first and also the default option is Overview. As the name states, there it will be an overview of the SQL Azure database. On the top of the right pane there is a context menu with 6 options (Tools, Copy, Restore, Export, Set server firewall, Delete) as shown below.
Below this menu is the Essentials pane that has the information about the current SQL Azure database.
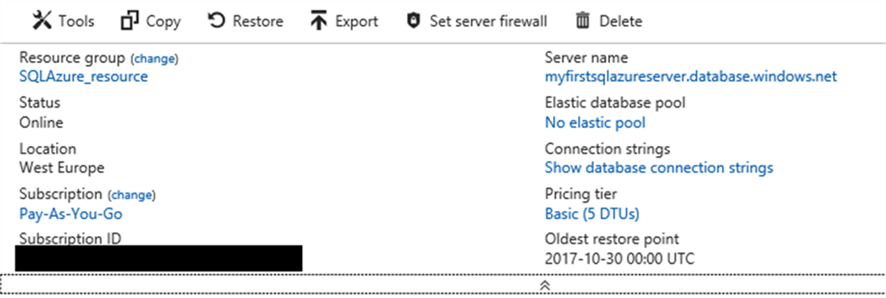
In the screenshot above you can see the Resource group, Subscription, SQL Azure server and Elastic pool where the current SQL Azure database resides. If you click on the resource group and subscription names you will get detailed information about each of the items respectively. There is also a change option for the Resource group and subscription that allows you to move the current database to another resource group or subscription.
As informational only, you can check the SQL Azure Server Status, data center Location and the Oldest restore point in case you want to know how long you can go back to a restore operation from the SQL Azure automated backup system.
The rest of information that appears in the Overview pane is informational only as the DTU quota utilization, the database size and used quota.
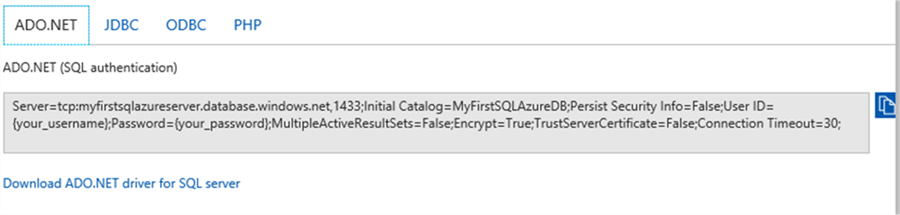
A very important piece of information is the Connection strings. You can click the link to show the necessary connection string to be used to connect to the current database. It has the connection strings for ADO.NET, JDBC, ODBC and PHP. Just copy the one that you need. Below is a screenshot after clicking on the Show database connections strings.
Now let's cover each of the menu items.
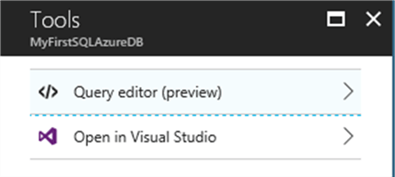
Tools
This option will let you access the available tools to work with the SQL Azure database. At the time of writing, there are only two tools available and one of them (Query Editor) is still a Preview feature:
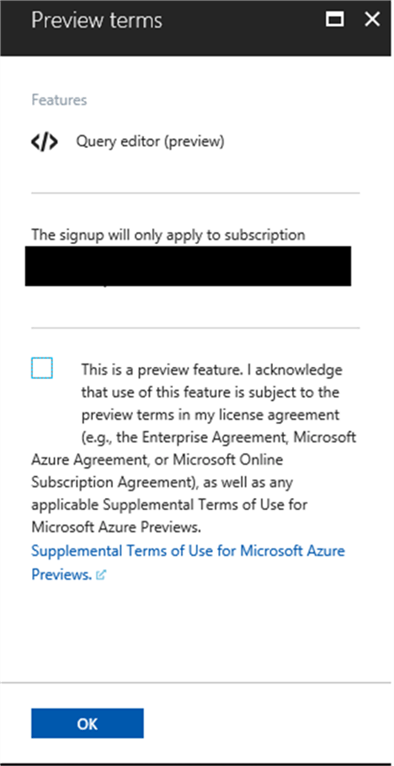
Being a preview feature, before using the Query editor it will ask you to acknowledge the terms of use of this feature. Just check the check-box and click on the OK button to proceed:
Then you will be able to access the Query editor tool, where you will first need to login and then you can type and run queries as well as save the query and run previously saved queries. Community members who are familiar with SQL Server Management Studio (SSMS) can identify similarities with this tool, where you have the edition pane and on the top menu the Run, Cancel, Open and Save query buttons and at the bottom the Results and Messages panes:
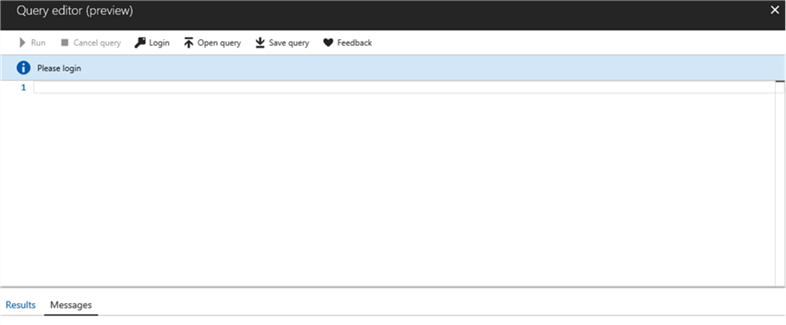
NOTE: Whenever you close the query editor it will close the current connection to the database, so you will need to login to the database again the next time you call the query editor, even if you did not logout from the Microsoft Azure portal.
The other tool is the SQL Server Data Tools (SSDT) and you need to have Visual Studio installed. If you are a .NET developer you might already have the tool installed, but if you do not then you can download them from the provided links after clicking on the Open in Visual Studio option:
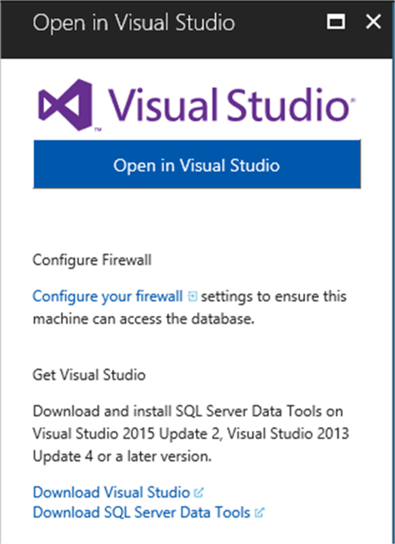
You will also need to have the firewall configured (read below in the Set server firewall section to learn how to configure it). Clicking on the Open in Visual Studio button, Visual Studio will open and the following login screen will pop up, so you can provide the necessary information to login in your SQL Azure database:

Copy
This option will let you copy the current database to another SQL Azure server or to the same SQL Azure server by providing a new name for the copied database. This option can be used for database migration.
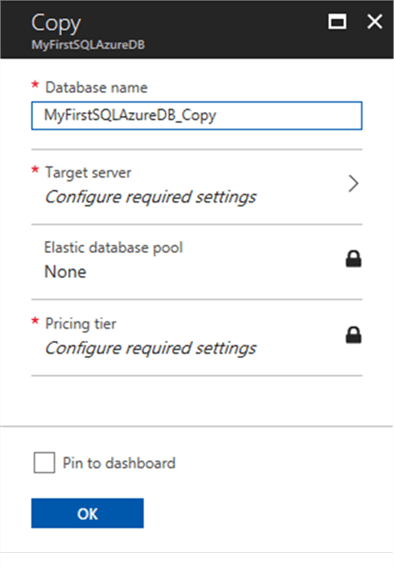
By default, the copied database will have the “_copy&” prefix but you can change the name as you want. You will need to provide the target SQL Azure server name. If you check the “Pin to dashboard” option, the copied database will appear in your Azure dashboard. Depending on the size of the database, this option can take some time to be completed.
Restore
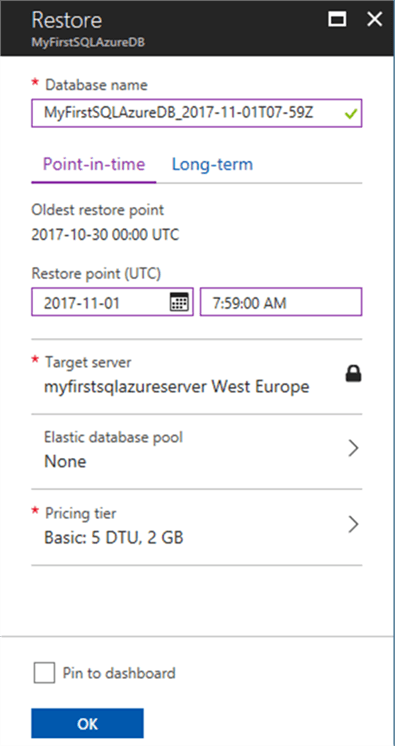
This option allows you to restore a backup of the current database. You have two restore options, the Point-in-time and the Long-term.
- Point-in-time - Point-in-time restore always creates a new database from the SQL Azure automated backup system. You must use the calendar and time fields to provide the desired restore point in time to be applied. By default, the new database name will have the current date and time prefixed in the database name, but you are allowed to change it. Note that you cannot overwrite an existing database or restore it to another SQL Azure server. If you check the “Pin to dashboard” option, the copied database will appear in your Azure dashboard. Depending on the size of the database, this option can take some time to be completed.
- Long-term – The Long-term restore option is needed if you are not using the SQL Azure automated backup system. For that you will need to have a backup plan implemented with the Azure vault backups solution. This will be explained in a future tip about advanced SQL Azure Backup and Restore options.
Export
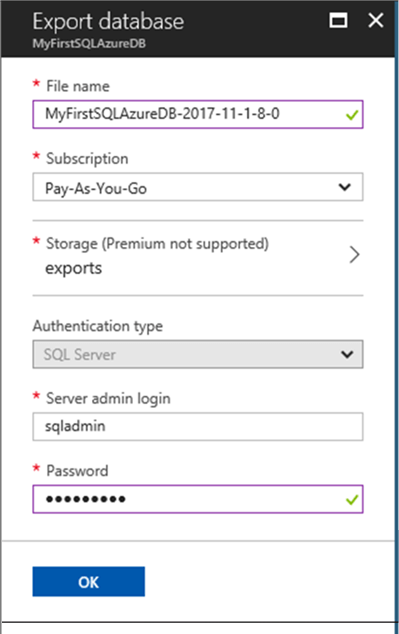
This option will export the current database to an existing Azure storage. Note that if you do not have an Azure storage you will not be able to use this option. It will create a BACPAC file that can be used to import the database to another SQL Azure server.
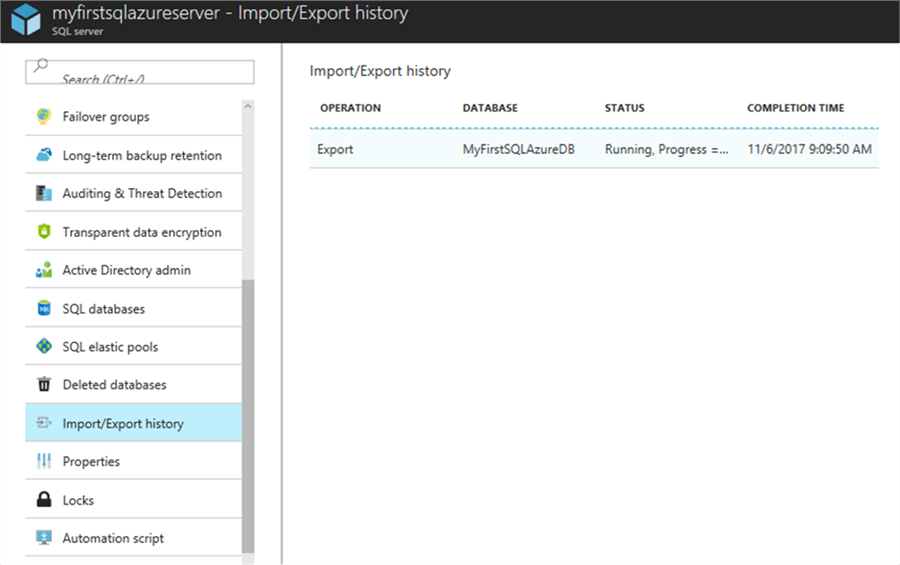
The export is an asynchronous operation and after you start the export a message will popup stating that:
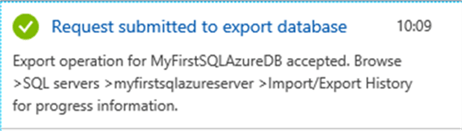
As stated in the above message you can follow the exporting progress by checking the Import/Export History available in the related SQL Azure server.
Set server firewall
You can set the firewall rules from this option. This will show the following screen where it will show all the allowed IPs that can access the actual SQL Azure server:
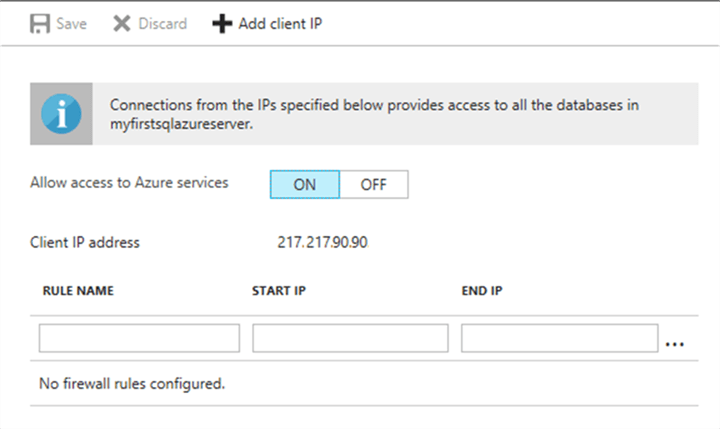
By default, it will show the IP that you are using so you can add it immediately to the firewall settings. Provide a name and a range of IPs. If StartIP and EndIP are the same then it means only a single IP is allowed for that rule name.
You can allow more IPs to connect to this SQL Azure server by clicking on the Add client IP option on the top menu. When finished, click on the Save button also on the top menu. It might take some time for the changes to take effect.
You might have realized that there is no field for the TCP port and that is because the Azure SQL Database service is only available through TCP port 1433.
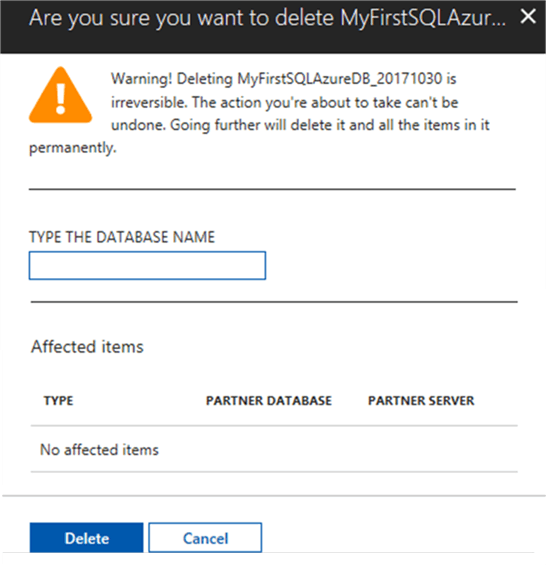
Delete
This option deletes the current SQL Azure database. You will be asked to provide the SQL Azure database name for confirmation.
Activity log
The second option in the left menu is the Activity log. The activity log allows you to see all operations that happened in your Azure subscription in the last 90 days.
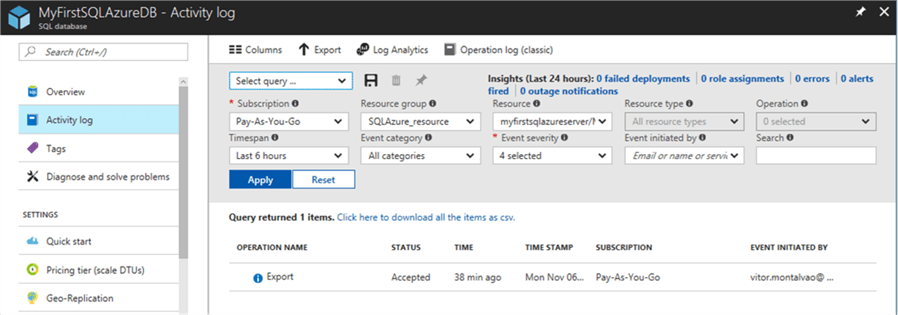
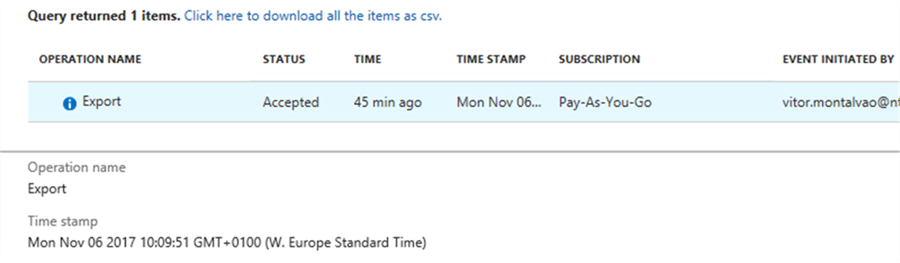
Following the Azure pattern, it will have a title so the user will always know where he or she is. In this case I am checking the Activity log for my SQL Azure database for the last 6 hours and the only entry found was the Export I have performed a minute ago.
On the top of the right pane is the context menu. In this case we have the following 4 options:
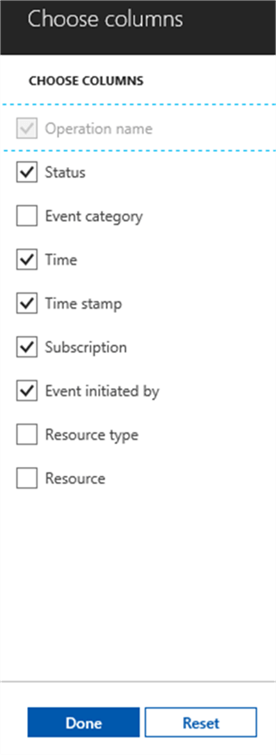
- Columns – This option allows you to define which columns from the Activity Log that you want to see. Just check the column names that you want displayed and click on Done for the changes to take effect.
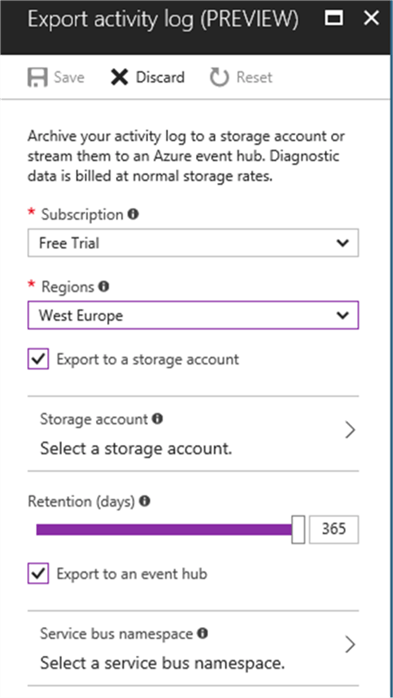
- Export – This option allows you to archive the Activity Log to an Azure storage. This option is still in Preview at the time of writing, but I do not think it will suffer many changes in the near future. A Subscription is required and at least one Region and one destination (Azure storage or event hub or both). The maximum of retention days is 365 days (1 year).
- Log analytics – The log analytics is a powerful feature offered by Microsoft Azure and I intend to write about it in future SQL Azure monitoring tip.
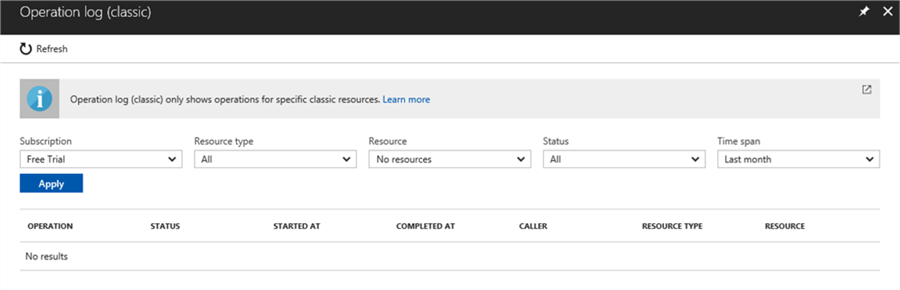
- Operation log – This Operation Log is an option that allows you to see the information using a classic view. Unfortunately, SQL Azure resources are not available in the classic view, so in my case I do not have any information to show:
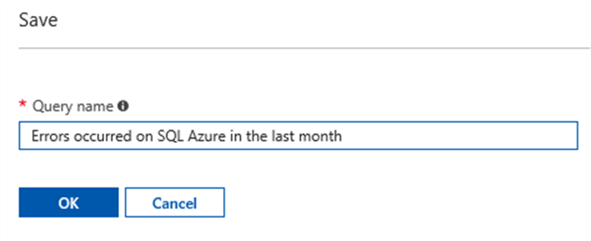
Back to the main Activity log pane, there are many fields that can be used to filter the Activity log result. You can play with those fields as you need them. I want to call your attention to the first field. It is the select query field and has a save button next to it. This means after you set a filter you can save it as a query for later use. You can save as many queries as you want and provide a meaningful name you can reference in the future. For example:
Clicking on any of the result rows it will show more detailed information about the respective row. The result can be exported to a csv file by clicking on the link “Click here to download all the items as csv”:
There is an option in the very bottom of the Activity log pane that you might not have noticed:

The Add activity log alert allows you to create alerts that will be triggered when some defined event occurs. This feature will be explained in a future SQL Azure monitoring tip.
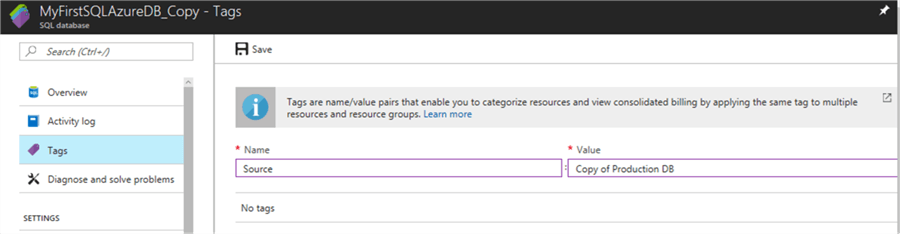
Tags
The next option in the left menu is Tags. Tags allows us to organize resources by categorizing them. For example, I can create a Tag with the Environment and set the value to Testing, so I can easily know the environment of the resource I am working with. Provide a Name and a Value and click on the Save button to create the new Tag.
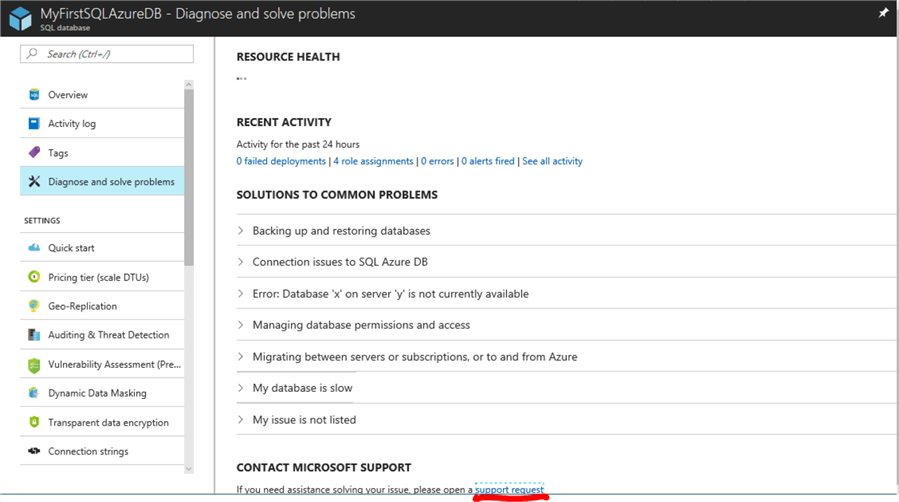
Diagnose and solve problems
This option will report issues that happened in the last 24 hours and provide a knowledge base with solutions for common problems. I recommend checking these solutions when troubleshooting. If you cannot solve a specific issue, there is a link at the very bottom of the page to open a support ticket with the Microsoft Azure support team.
The rest of the options are advanced settings and I will try to explain them in future SQL Azure tips.
Next Steps
- Follow my next articles on this series and review my current tips in the series:
- About Azure storage accounts
- Export an Azure SQL database to a BACPAC file


About the author
 Vitor Montalvão is a SQL Server engineer with 20 years of experience in SQL Server, specializing in performance & tuning, data modelling, migration and security.
This author pledges the content of this article is based on professional experience and not AI generated.
View all my tips
