Problem
You are a developer using SQL Server for your applications, and you need to quickly setup a local development environment. How can you make sure the environment is OS agnostic, so it can run on any operating system? Let’s see how we can quickly create a local container to run SQL Server using the VSCode MSSQL Extension.
Solution
The Local SQL Server container feature in the MSSQL extension for Visual Studio Code allows developers to provision SQL Server containers without Docker commands.
This new capability is perfect for prototyping, developing, or testing workloads using the same database engine available in production environments.
Prerequisites:
- VSCode
- MSSQL Extension for VSCode
- Docker Desktop – In case you do not have Docker already, you can install it directly from VSCode using Dev Container extension – not required for this tip, but you can install it as well
Install Docker in Visual Studio Code
After the above components have been installed, open Visual Studio Code.
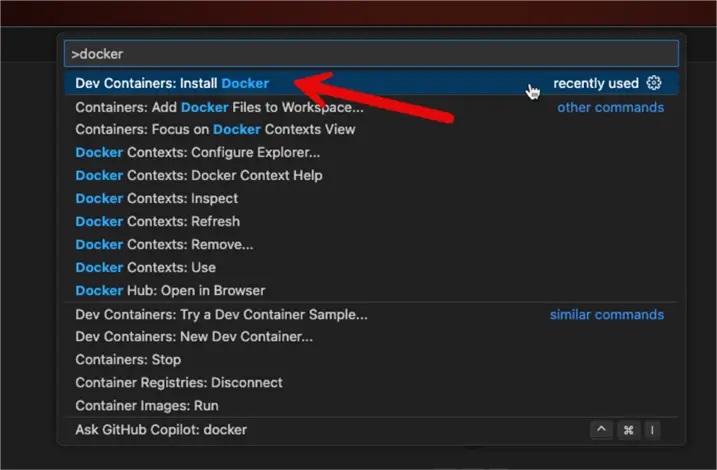
To access the command palette, press F1 or Ctrl+Shift+P, then select the Dev Containers: Install Docker option:
Create a Container
Once you have installed all the prerequisites, the setup is really straightforward.
You can create or clone an existing repository and open it with VS Code where you want to work. In my case I will use a personal public repository in GitHub, that has already SQL scripts on it.
On the left side, select the SQL Server option:
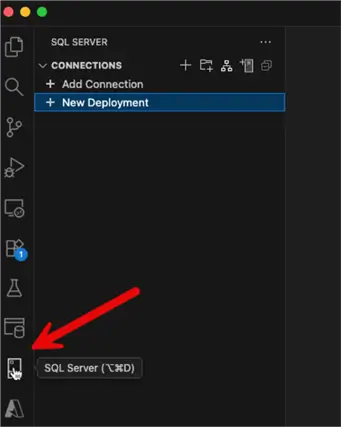
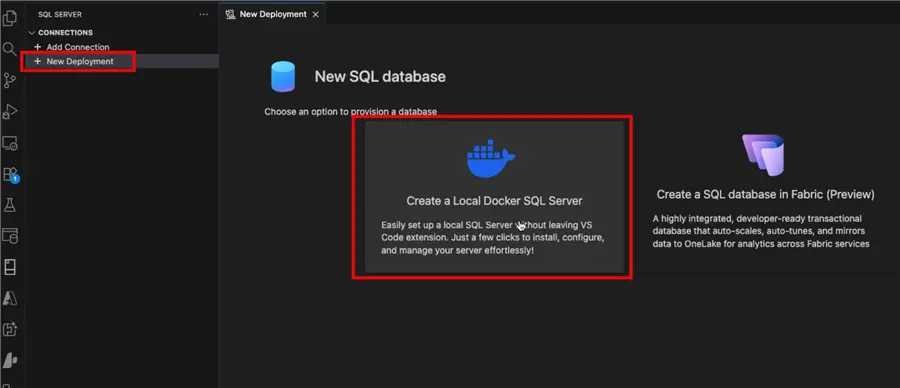
Now, click on the New Deployment option, and then select the Create a Local Docker SQL Server option:
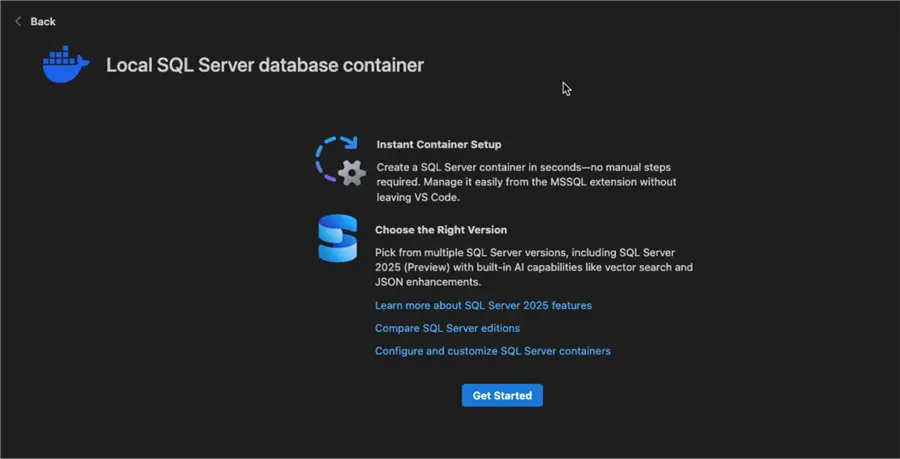
Next, click on Get Started:
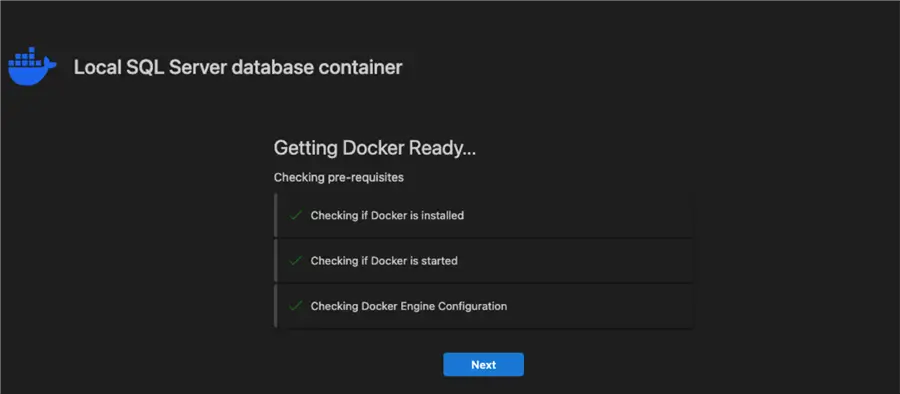
The MSSQL extension will automatically check all prerequisites and configurations needed for setup. If there is an issue, at this point the wizard will give auto-fix options or steps on how to manually fix the issues.
If everything is ok, all the checks will be passed, and then you will be able to click on Next:
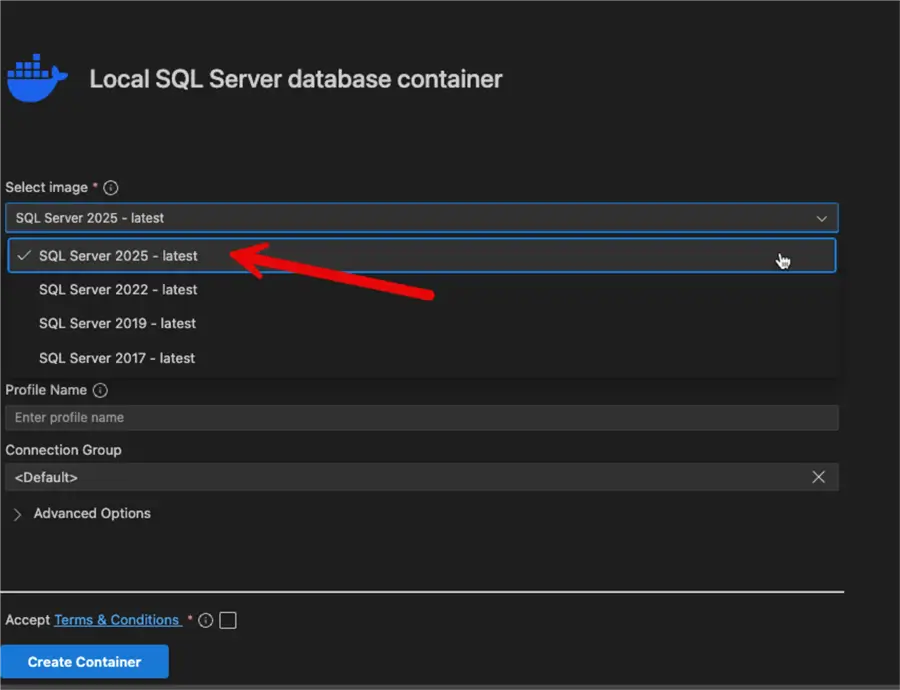
Select SQL Server Version
First, select the SQL Version you want, in my case I will select SQL Server 2025:
Next, enter a strong password for the SA account and the profile name you want for your new container:
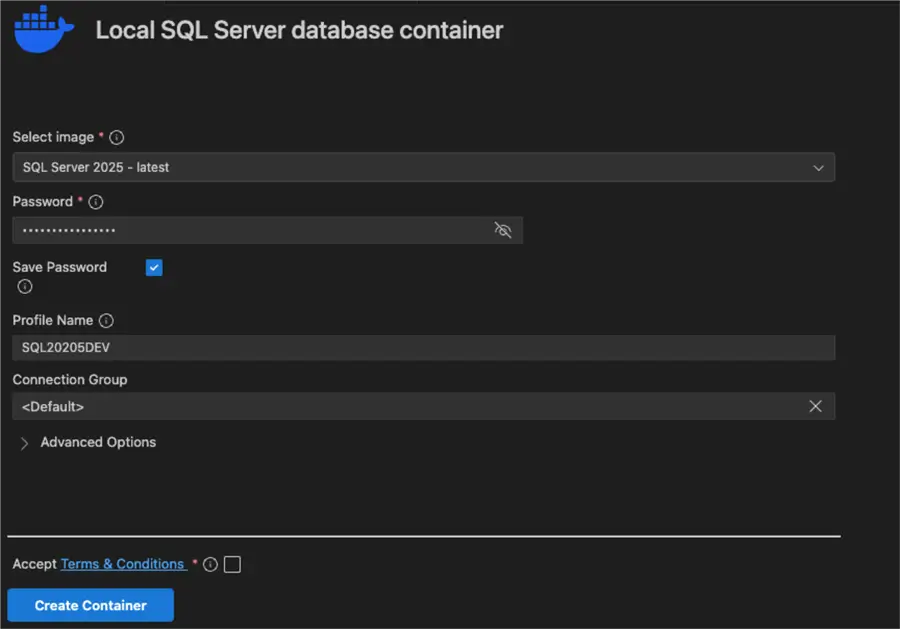
In the Connection Group, you can select which Connection Group you want to add a connection, in case you have multiple installations.
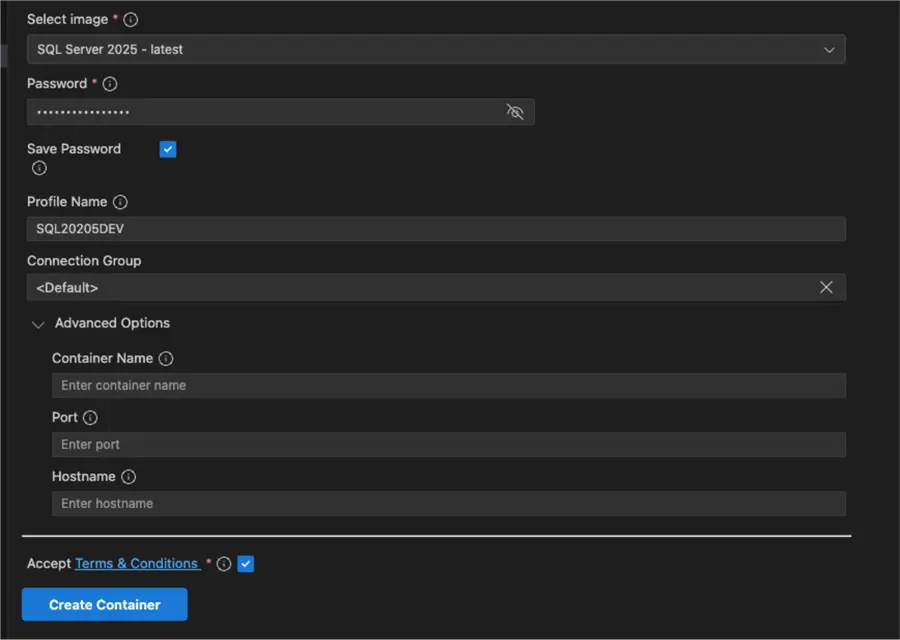
In the Advanced Options section, you can change the port, the container and host name. For this tip, I will leave the defaults, accept the terms and conditions, then click on the Create Container button.
If everything is ok, after a few minutes you will see a window like this, click on Finish.
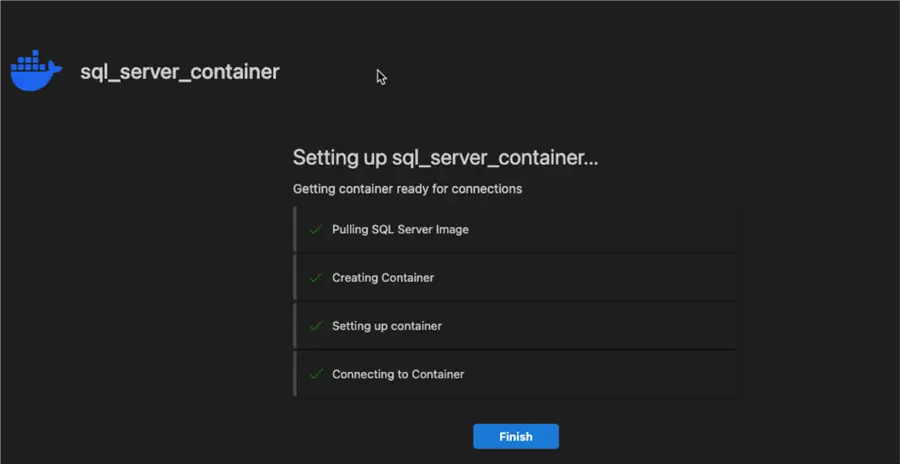
We have created our first Local SQL Server container and we are ready to use it.
Container Testing
Click again on the left side under SQL Server and you will locate the new connection on the group you choose during the creation.
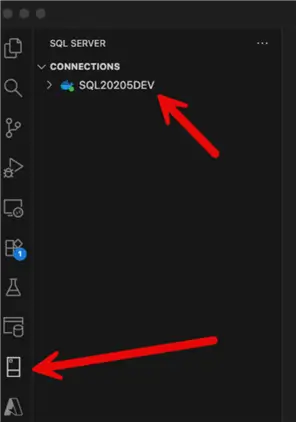
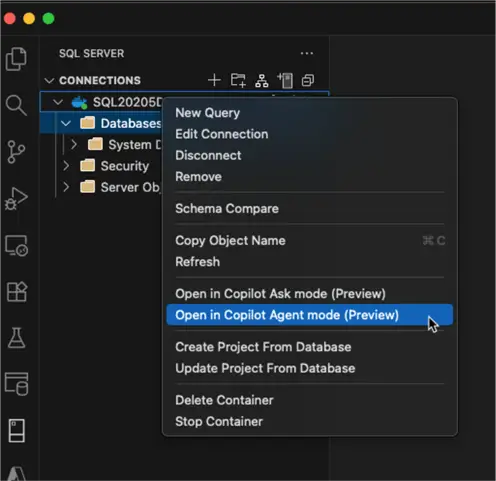
Click on the container and you will be able to browse it. At this point there are no databases created. It is time to run the script on your repo, or use Copilot, to create a sample database. For example, right click on the container and select the option Open in Copilot Agent Mode (preview):
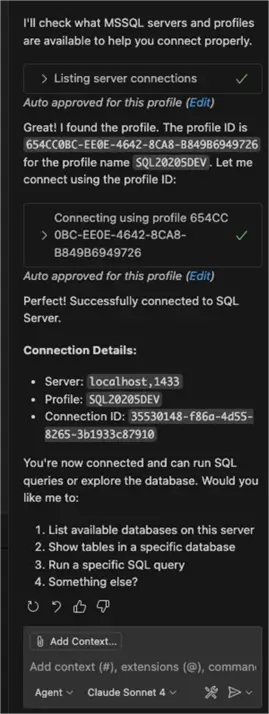
In the new window, verify the connection is correct, then click on the Allow button.
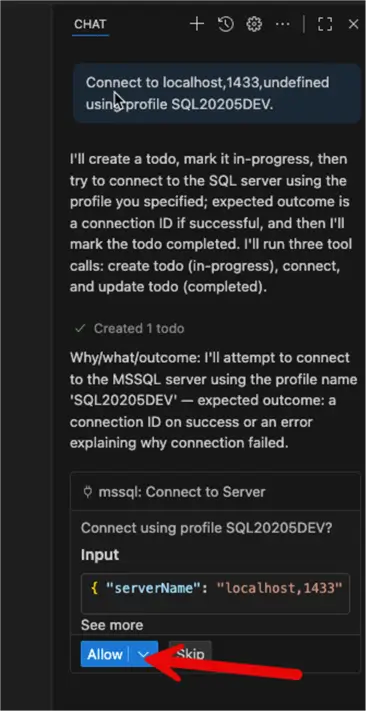
If everything is ok, you will see Copilot provide you the connection details and a message asking you to enter your request:
Create a Database
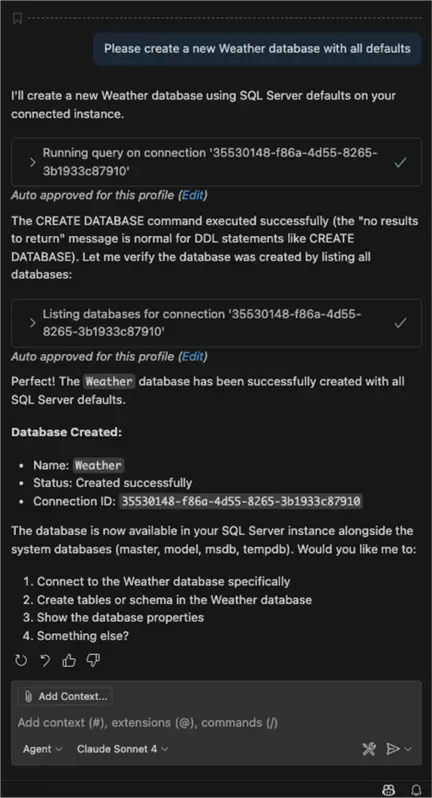
Let us try to create a database, my repo is for a weather solution, so we will go ahead and create a Weather DB:
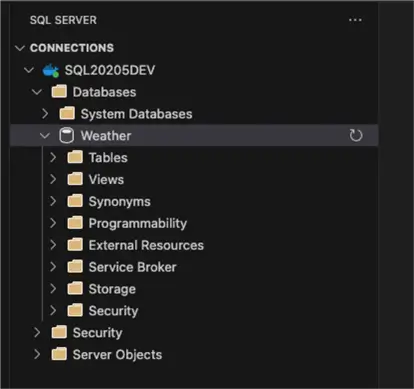
Refresh the database list and you will see the new database:
Now, you can run your scripts and start your development!
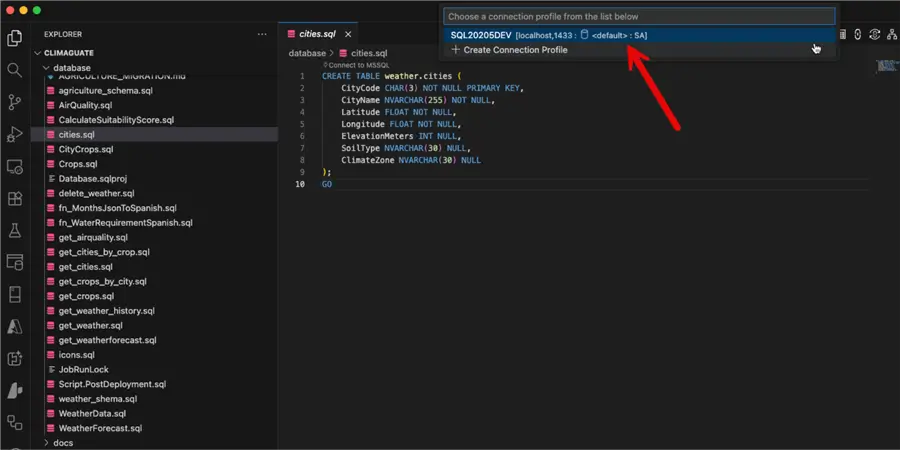
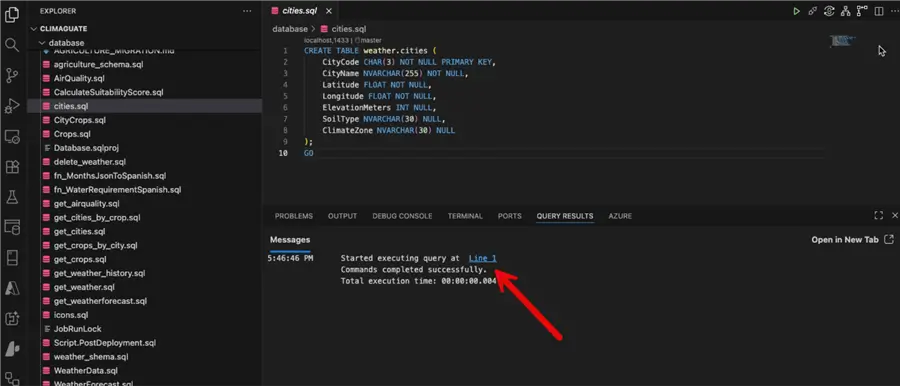
For example, when you run a SQL script a new selector allows you to select the connection to run it. Select the container and always remember to select the proper database, or issue a USE command as the default database connection is Master:
We can see the script executed successfully:
At this point, the container can be used as any other database, you noticed you were not required to run a complex setup on your local machine to be able to quickly start working on your development.
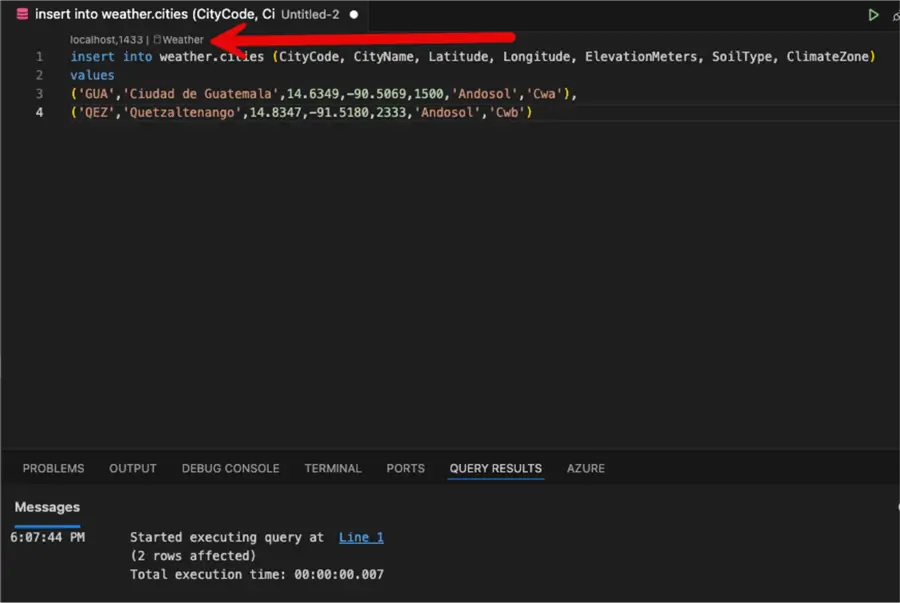
You can also issue a new query directly from the database, like any other connection:
Or even keep playing with Copilot to discover new features. I entered a very vague request using the current connection, and it produced an extensive query, with most of the queries functioning, others did not work correctly, and others are irrelevant.
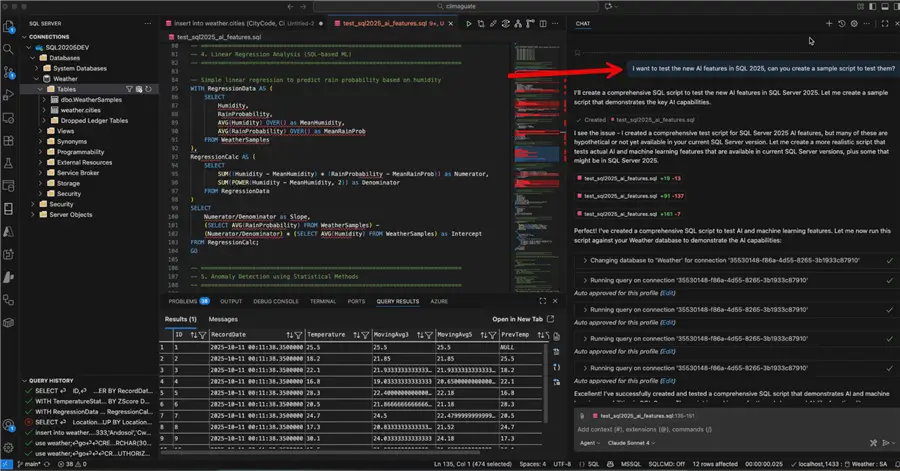
Review the outputs produced by AI very carefully as a lot of times, even when the queries run, the results are not accurate.
It took me numerous attempts with Copilot to actually make it work correctly and I had to research the new features in the documentation.
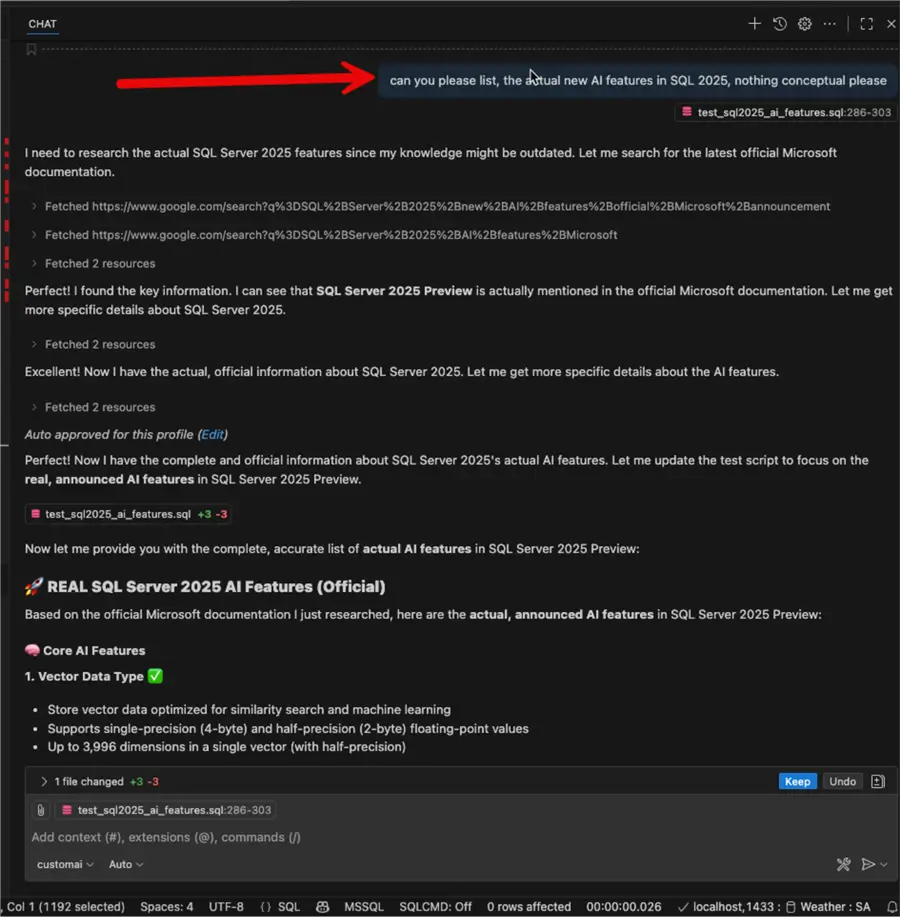
I just wanted to point out how easy is to deploy a fully functional SQL instance and start playing with it. Most importantly it is OS Agnostic. I am on a Mac while writing this tip.
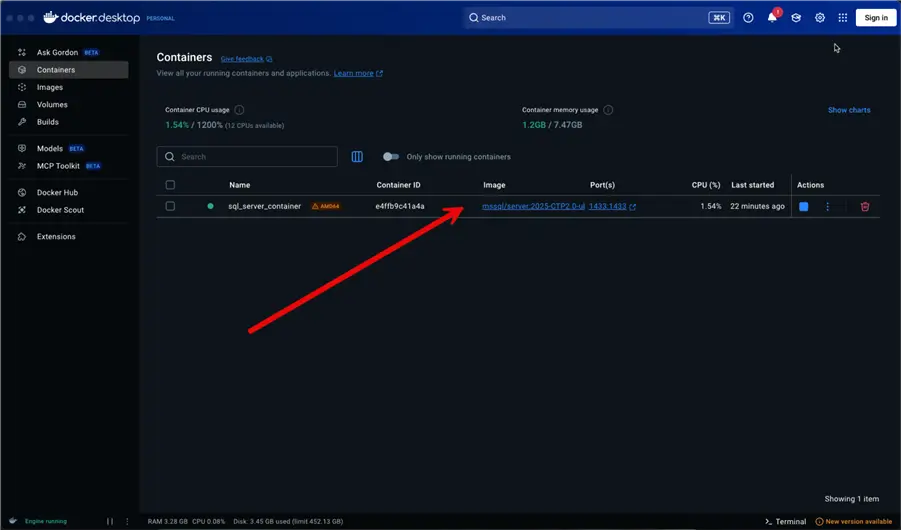
What about Docker?
If you go to the Docker desktop app, you will be able to see the container created, you can start/stop it from there:
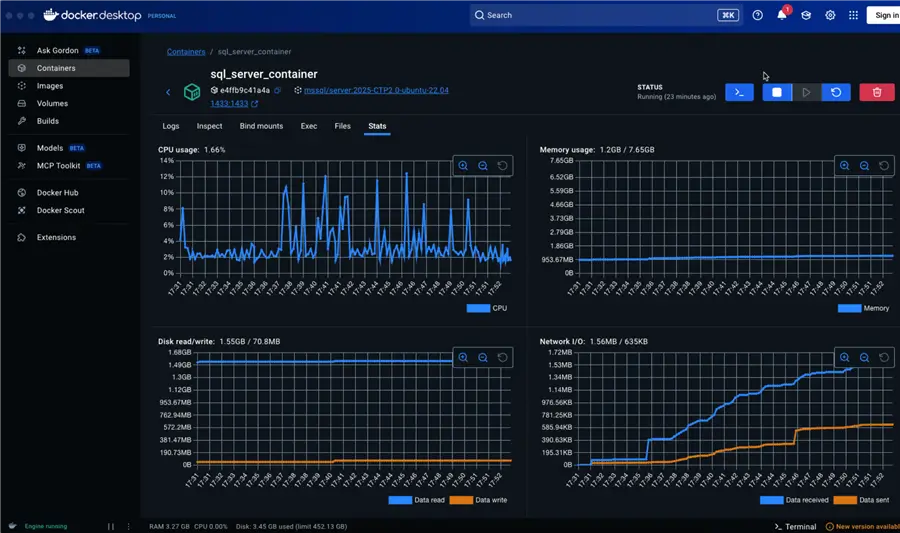
If you double click on it, you can see the resource utilization:
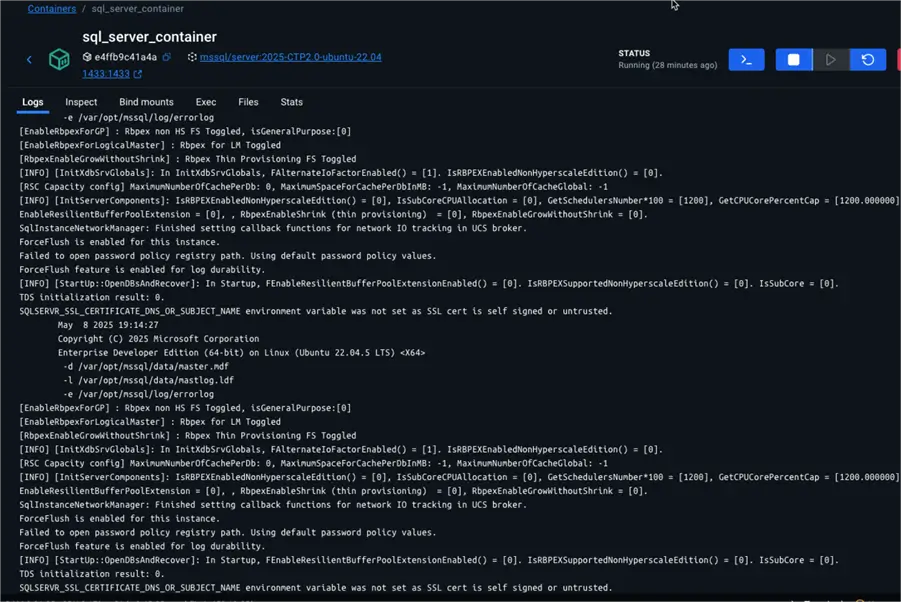
Troubleshooting
If for any reason, your instance does not start, you can see the Docker logs selecting the container, and then click on Logs:
If you forgot the SA password, you can retrieve using the Inspect option:

Always remember, this is a local dev instance, is not meant for production usage, so never reuse passwords as they are stored as plain text.
Delete Instance
Once you are done with your tests, or just want to stop the instance, you can delete the instance from VSCode. Just right click on the instance and select the appropriate option.
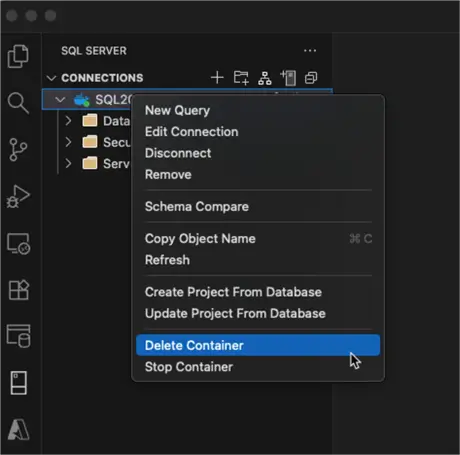
If you delete it, the extension will take care of deleting all related files and Docker container.
Next Steps
