By: Edwin Sarmiento | Comments (4) | Related: 1 | 2 | 3 | 4 | 5 | > Reporting Services Network Load Balancing
Problem
Delivering reports is becoming more critical due to the increasing demand for business intelligence solutions. And while there are a lot of guides that walk us through building a highly available database engine, you'll rarely see one for SQL Server Reporting Services. How do I go about building a scale-out SQL Server 2008 R2 Reporting Services running on Windows Server 2008 R2?
Solution
To continue this series on Building a Scale-Out SQL Server 2008 R2 Reporting Services Farm using Windows Network Load Balancing, we will look at installing SQL Server 2008 R2 Reporting Services on an existing NLB cluster. In Part 1, we have completed adding the Network Load Balancing feature on both of the servers that we will be using as part of the NLB cluster. In Part 2, we built the 2-node NLB cluster. This tip will walk you through installing SQL Server 2008 R2 Reporting Services on the existing NLB cluster.
Installing SQL Server 2008 R2 Reporting Services on the NLB Cluster
One thing to note when implementing a scale-out deployment is that you would need the Enterprise Edition (or Developer Edition as in my test environment) to do so. Bear this in mind in the planning phase as this will definitely affect your licensing. Since we are installing SQL Server 2008 R2 Reporting Services R2 on the NLB cluster, we will have to do these steps on both of the nodes. As the .NET Framework 3.5.1 is already installed as part of the steps outlined in Part 1, we can immediately proceed with running the setup.exe file
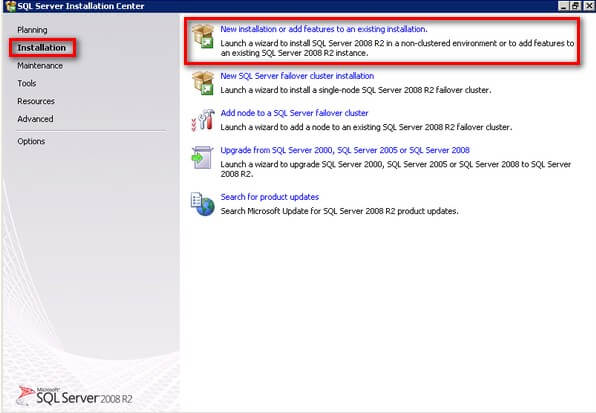
- On the SQL Server Installation Center. Click on the Installation link on the left-hand side and click the New installation or add features to an existing installation link. This will run the SQL Server 2008 Setup wizard
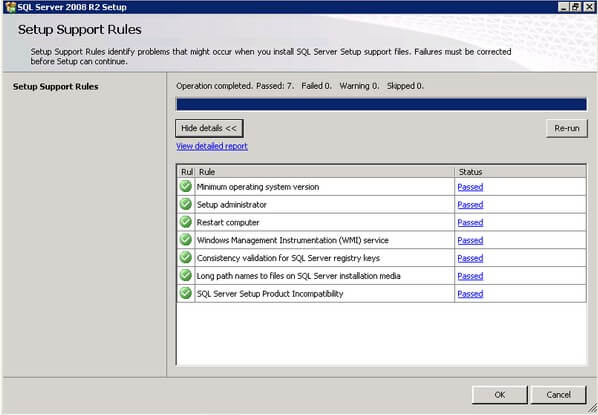
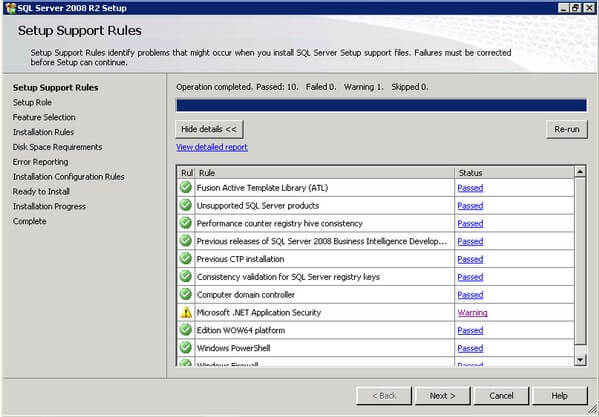
- In the Setup Support Rules dialog box, validate that the checks return successful results and click OK.
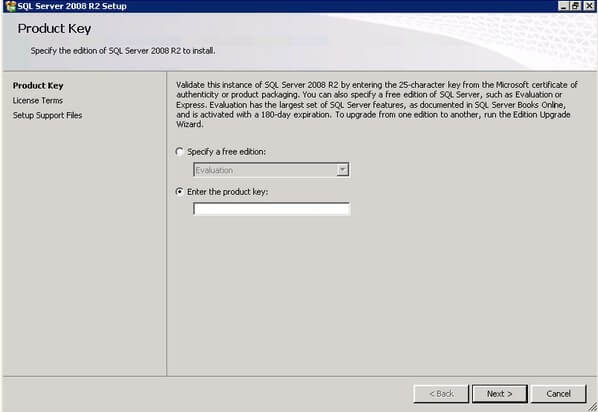
- In the Product Key dialog box, enter the product key that came with your installation media and click Next.
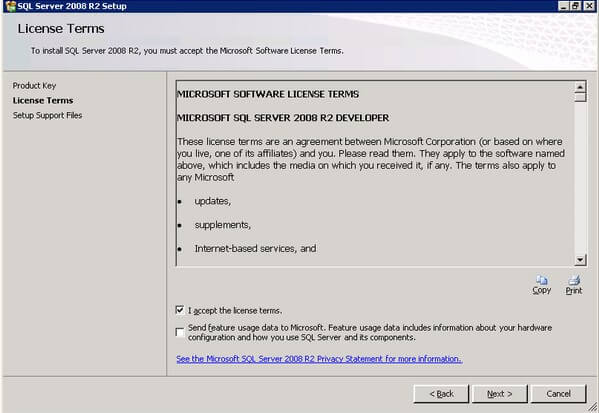
- In the License Terms dialog box, click the I accept the license terms check box and click Next.
- In the second Setup Support Rules dialog box, click Install. Validate that the checks return successful results. If the checks returned a few warnings, make sure you fix them before proceeding with the installation. Click Next.
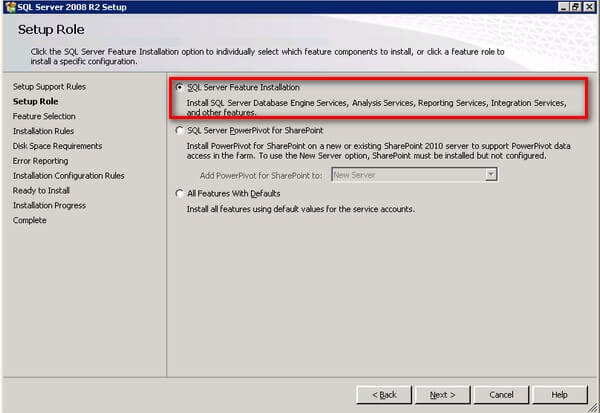
- In the Setup Role dialog box, select the SQL Server Feature Installation to install SQL Server 2008 R2 Reporting Services and click Next.
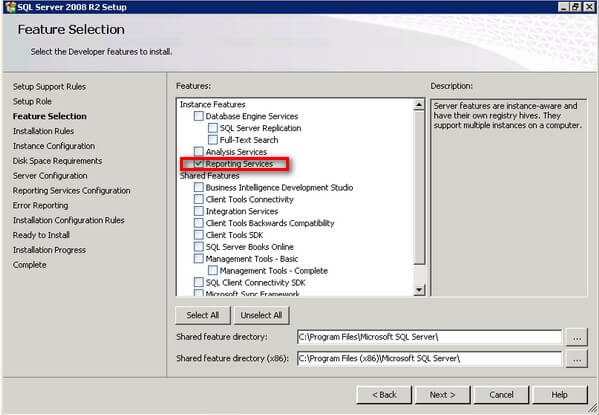
- In the Feature Selection dialog box, select the Reporting Services checkbox to install SQL Server 2008 R2 Reporting Services and click Next. You can install the client tools and other components as well but, as a best practice, I only install those that I need to minimize surface area as well as the components that I need to patch later on.
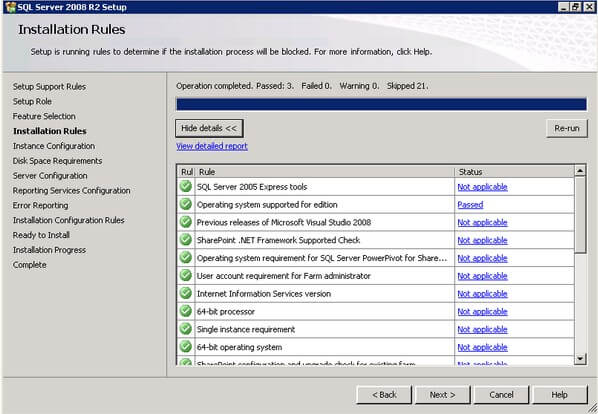
- In the Installation Rules dialog box, validate that the next round of checks return successful results and click Next.
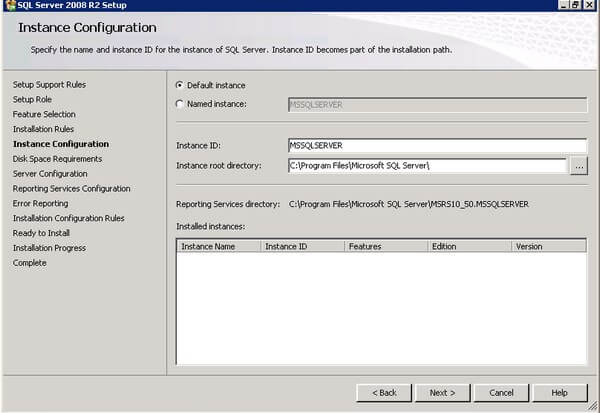
- In the Instance Configuration dialog box, select either the Default instance or Named instance, depending on your custom configuration and click Next. For this example, I will be using the default instance
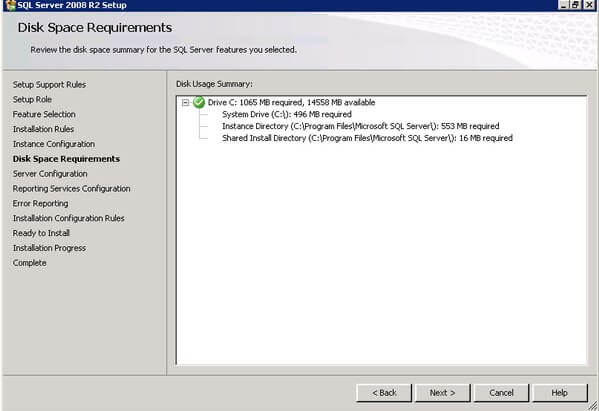
- In the Disk Requirements dialog box, click Next.
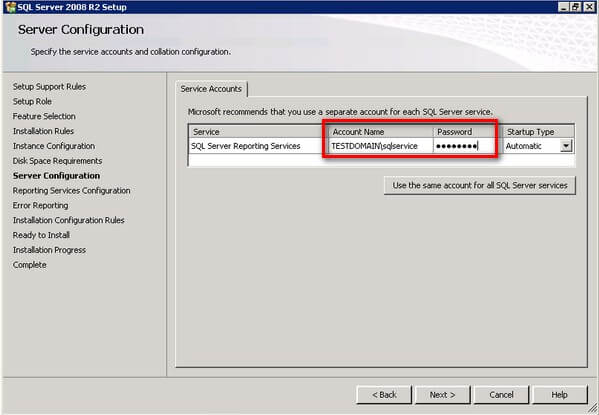
- In the Server Configuration dialog box, enter the service account that you will use for the Reporting Services instance. Click Next.
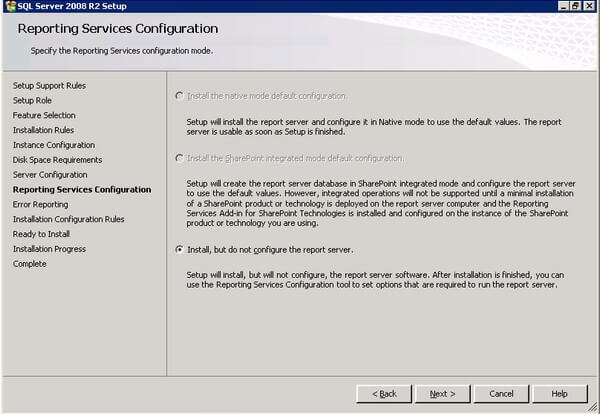
- In the Reporting Services Configuration dialog box, select the Install, but do not configure the report server option. This is what Microsoft calls the "files-only" mode installation for SQL Server 2008 R2 Reporting Services. We will configure the report server after installation using the Reporting Services Configuration Manager. Click Next.
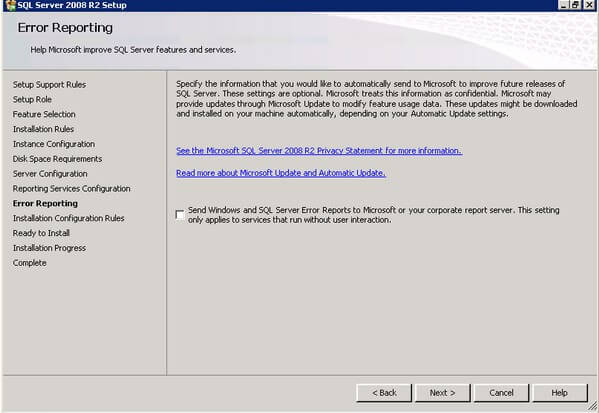
- In the Error Reporting dialog box, click Next.
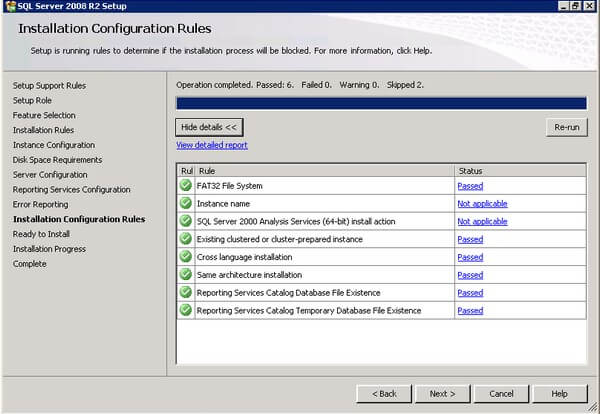
- In the Installation Configuration Rules dialog box, review all the validation checks, making sure that they all return successful results. Click Next.
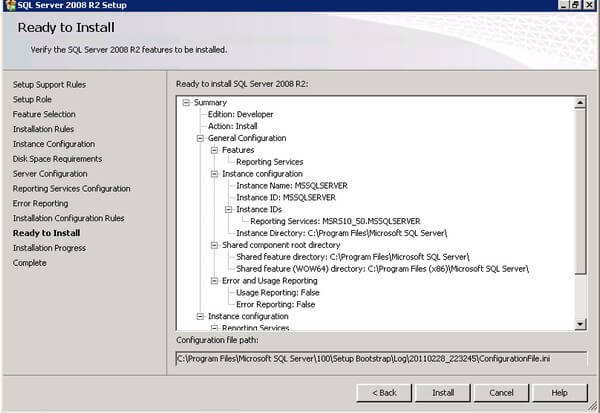
- In the Ready to Install dialog box, review all the configuration settings and click Install to proceed with the installation.
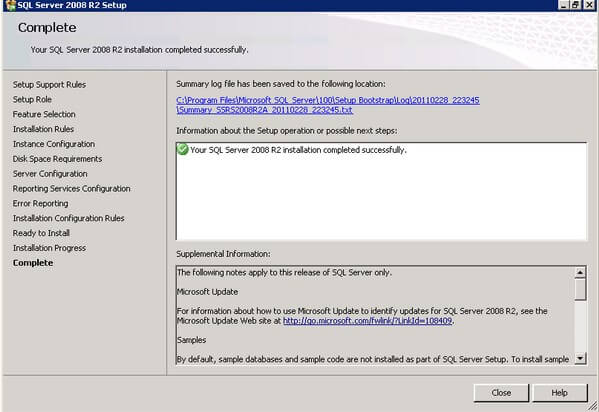
- In the Complete dialog box, click Close to complete the installation.
Configuring the first SQL Server 2008 R2 Reporting Services instance
We will use the Reporting Services Configuration tool to connect the first report server to the shared database. We will have to do this for all of the reporting services instances that we have installed as part of the NLB cluster. In this example, I will start with the first SQL Server 2008 R2 Reporting Services instance running on the server SSRS2008R2A
- In the Reporting Services Configuration Connection dialog box, enter the Server Name and Report Server Instance name and click Connect.

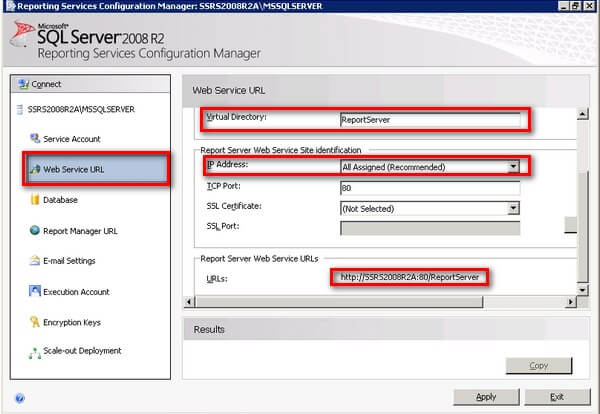
- Click the Web Service URL link. Verify the following values and click Apply.
- Virtual Directory: ReportServer - The virtual directory name identifies which web application receives the request. Because an IP address and port can be shared by multiple applications, the virtual directory name specifies which application receives the request. This is the default value
- IP Address: All Assigned (Recommended) - This option specifies that any of the IP addresses that are assigned to the computer can be used in a URL that points to a report server application. This value also considers friendly host names (such as computer names) that can be resolved by a DNS server to an IP address that is assigned to the server. Since this reporting services instance will be a part of the NLB cluster, we will use this value and allow the NLB cluster to manage the URL-to-IP address resolution for the incoming traffic
- URLs: http://SSRS2008R2A:80/ReportServer - This will be the URL to access the reporting services instance on this server. As this server is a part of the NLB cluster, the NLB will be responsible to map the URL http://SSRS2008R2NLB:80/ReportServer to this URL
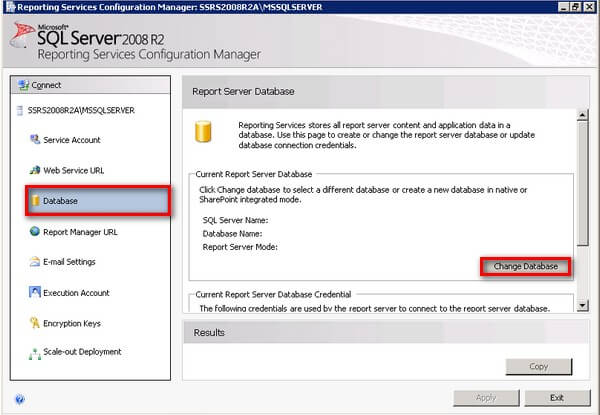
- Click the Database link and click the Change Database button. This will open the Report Server Database Configuration Wizard
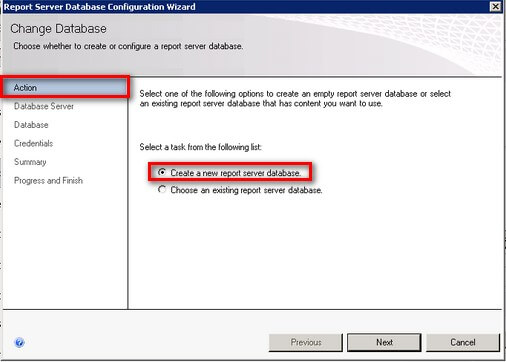
In the Actions page, select the Create a new report server database option and click Next
In the Database Server page, enter the SQL Server database server instance name in the Server Name field. In this example, my SQL Server database instance name is SQL2008R2DB. Click Next,

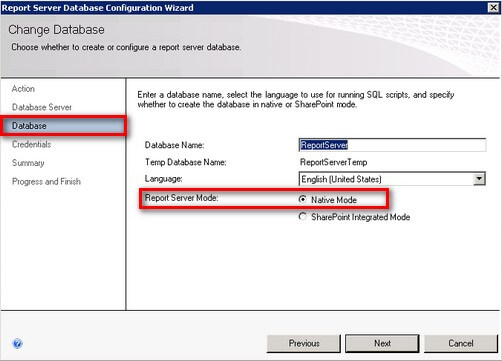
In the Database page, accept the default database name ReportServer and, under the Report Server Mode option, select either Native mode or SharePoint Integrated mode, depending on how you want to use your Reporting Services instance. In this example, I used Native Mode. Click Next.
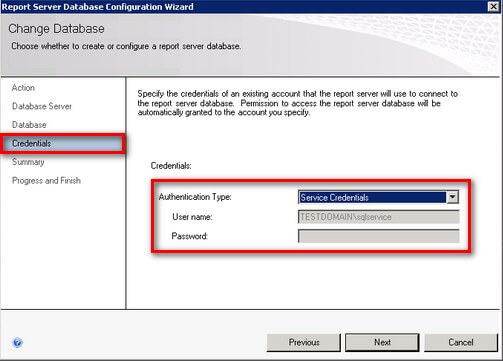
In the Credentials page, select the Authentication Type that you want to use to allow the report server instance to connect to the report server database. In this example, I will be using the service account that I used for the reporting services instance. Click Next.
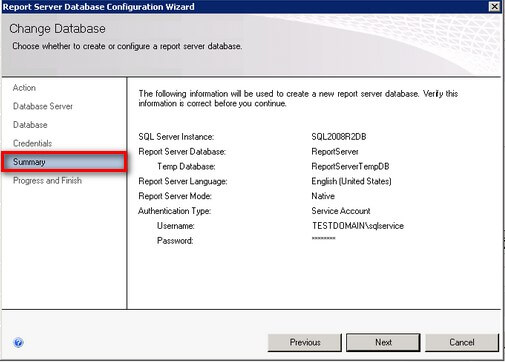
In the Summary page, review all of the Reporting Server Database configuration settings. Click Next. This will create the report server database using the credentials that you have provided earlier.
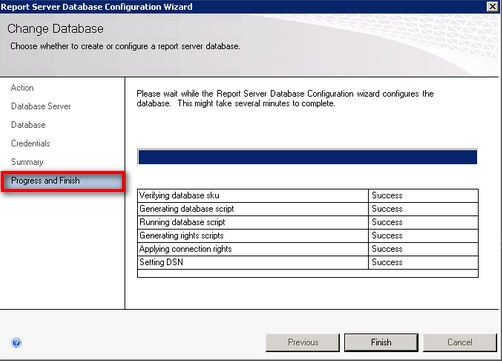
In the Progress and Finish page, verify that all the processes completed successfully. If you encounter issues in any of the steps, make sure you resolve them prior to continuing. The two most common issues in creating the report server database are credential permissions and remote connectivity. Click Finish to go back to the Database page of SQL Server Reporting Services Configuration Manager.
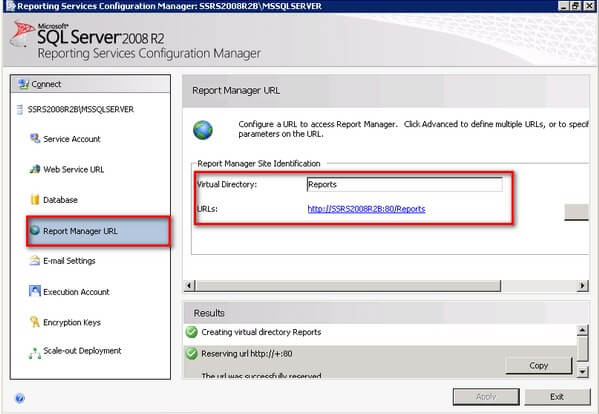
- Click the Report Manager URL link. Accept all the default values and click Apply.
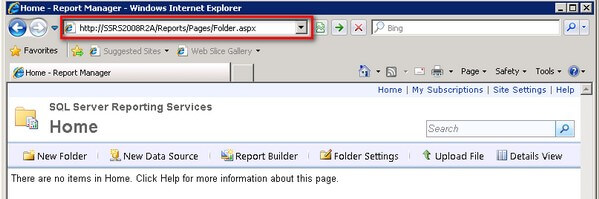
- Verify that the reporting services instance is configured and working properly. You can do this by opening a web browser and accessing the URL defined in the Web Service URL page
Once we have a working SQL Server 2008 R2 Reporting Services installation working for the first node, we will repeat steps #1 to #4 to add the second node to the NLB cluster.
Next Steps
- Prepare a test environment to apply this deployment scenario.
- Review the series of tips on Installing SQL Server 2008 on a Windows Server 2008 Cluster to create a highly available database engine for the report server database.


About the author
 Edwin M Sarmiento is a Microsoft SQL Server MVP and Microsoft Certified Master from Ottawa, Canada specializing in high availability, disaster recovery and system infrastructures.
This author pledges the content of this article is based on professional experience and not AI generated.
View all my tips
