By: John Miner | Comments | Related: > Azure
Problem
Microsoft has been encouraging companies to develop a Modern Data Warehouse (MDW) so that various organizational groups can have access to the information stored in one central place in the cloud. The Data Science (DS) team is one group that needs frequent access to the files in the Azure Data Lake Storage (ADLS). Many of the data science professionals like developing their own models (code) using languages such as Python or R. Some professionals like using the Windows operating system while others prefer Linux operating system.
How can we create and transfer files between a Data Science Virtual Machine and Azure Data Lake Storage?
Solution
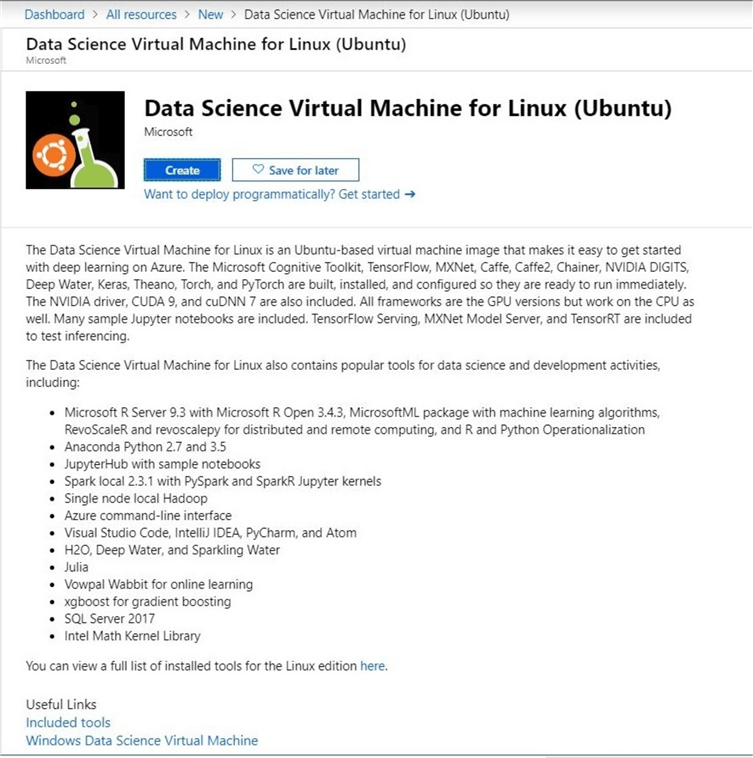
The Azure gallery has prebuilt templates to deploy a data science virtual machine using the operating system of your choice. All the common tools that a Data Scientist might want are pre-installed on the image. Please check out the documentation for more details.
The newest version of Azure Data Lake Storage lacks an Application Programming Interface (API) to this service. I typically write a lot of PowerShell cmdlets to Automate things in Azure. Unfortunately, I was told by the product team that these APIs are coming in the future.
That means we have only two tools that can be used to manage ADLS Gen 2 storage. First, the newest Azure Storage Explorer works with this service. Second, this application is just a nice graphical user interface (GUI) that leverages the AzCopy command line utility to perform the work behind the scenes.
Business Problem
The data science team has requested sample addresses from the United States be uploaded to the azure data lake storage for ingestion into a data science virtual machine. Our boss wants us to investigate the tools that can manage the data lake as well as how to use them on the DSVM's.
Azure Components
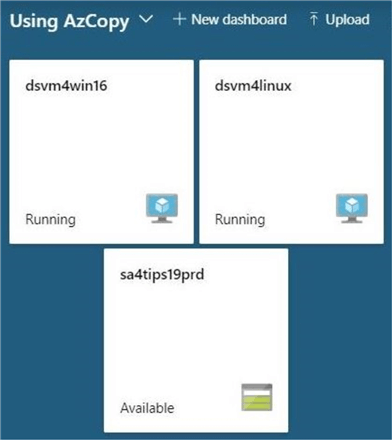
There are three main components being used in this proof of concept. Two data science virtual machines are called dsvm4win16 and dsvm4linux. They are aptly named after the hosting operating system. The storage account named sa4tips19prd is a contains a storage container or data lake file system named adls2x4tips19. Since the storage account and data lake files system are being re-used from another tip, I will be focusing how to create the virtual machines and use the tools to transfer large amounts of files. Please read the tip named "What's new in Azure Data Lake Storage Gen2" for full details.
Now that we have an overview of the components used in the design, we can focus on finding a large set of data files, building data science virtual machines, and transferring data between the lake and the machines.
Medium Size File Set
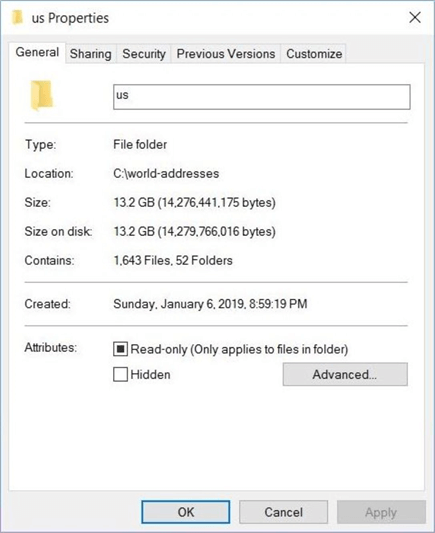
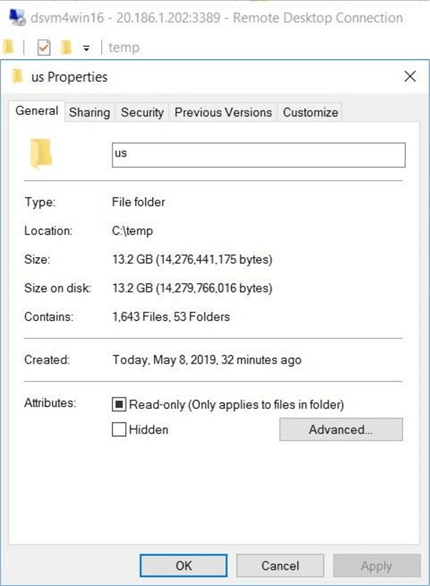
The open addresses site has a large collection of information for streets within the United States. I downloaded the four compressed zip files and uncompressed the folders/files into one directory named "c:\world-addresses\us". We can see there is 13.2 gigabyte of data or 1643 files stored on my laptop.
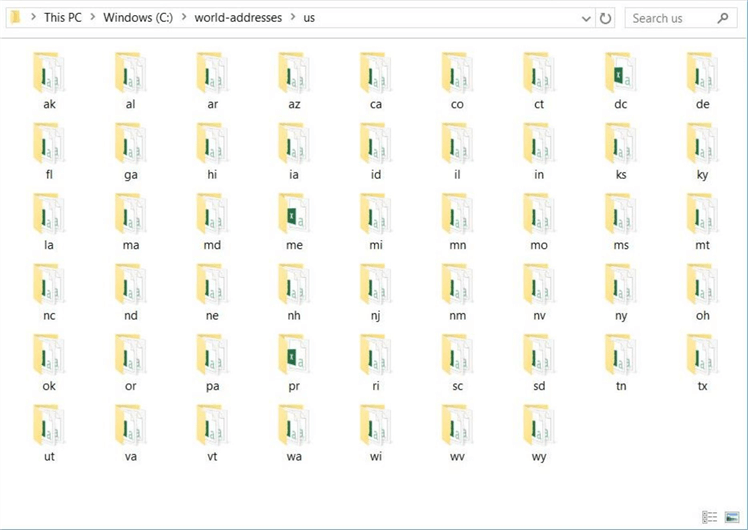
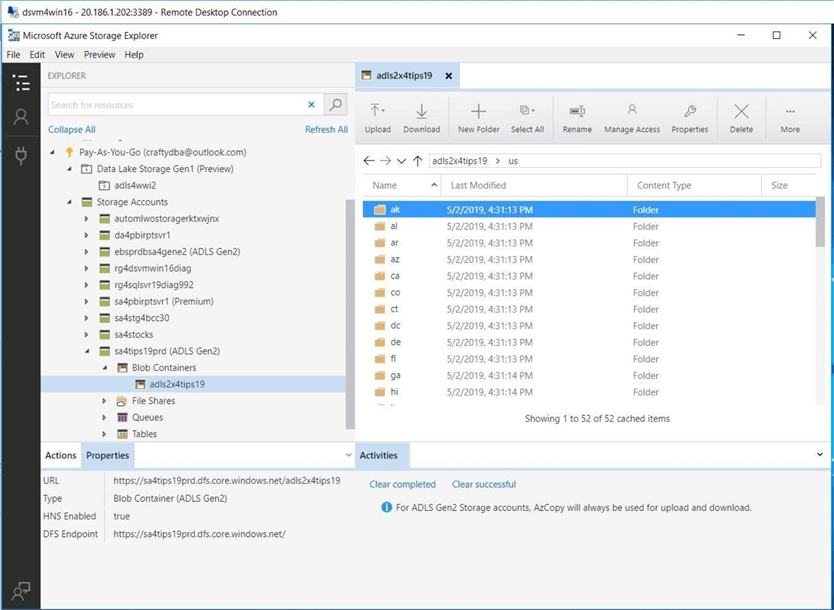
A quick review of the sub-directory structure shows each state abbreviation is listed under the us root directory.
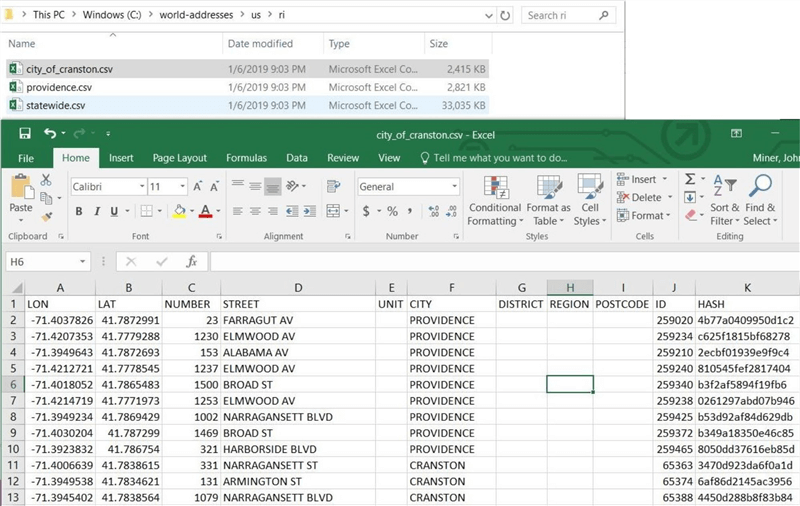
I am always curious about the data that I need to work with. The City of Cranston is within my home state, Rhode Island. Each file is a text delimited format using commas as the column separators. Microsoft Excel really likes the CSV format since it will open that file without any input from the user. Inside the file, we see key information such as longitude, latitude, number, street and city. Some fields are left blank because the data was not provided.
To recap, the open address site contains a medium size set of files describing sample addresses within the United States. If you did not notice, there are 52 folders but only 50 states. Information on the District of Columbia and the Puerto Rico Territory are included in the zip file.
Azure Storage Explorer
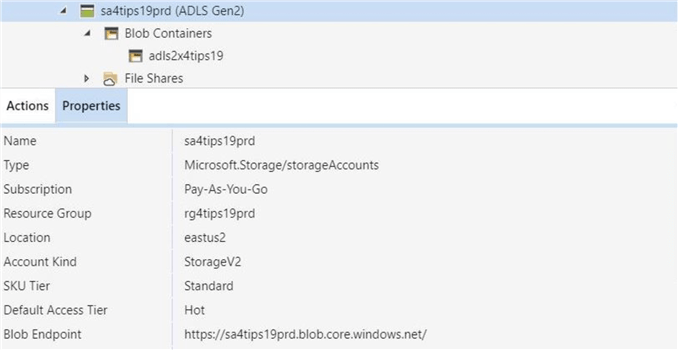
Please make sure you have downloaded and installed the latest version of this application. We want to copy the address files from the local c: drive to Azure Data Lake Storage container named adls2x4tips19. The image below shows the storage account called sa4tips19prd is contained within the resource group called rg4tips19prd. Both objects are located in the East US 2 data center.
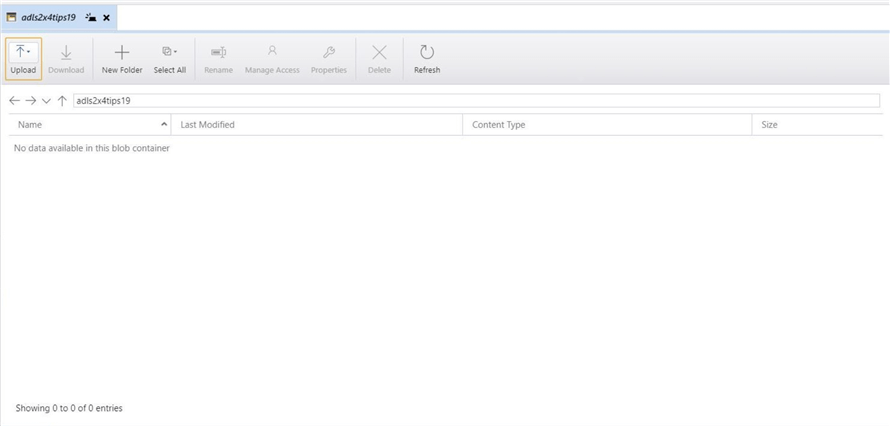
If we explore the new container, we can see that no folders or files exist. Use the upload button to either push files or folders from on premise to the cloud service.
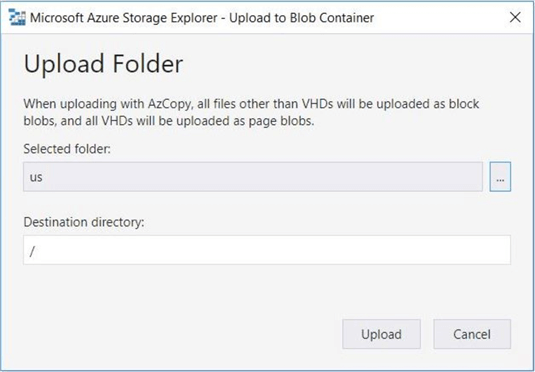
The dialog box below is used to copy the contents of the selected folder from on premise to the cloud.
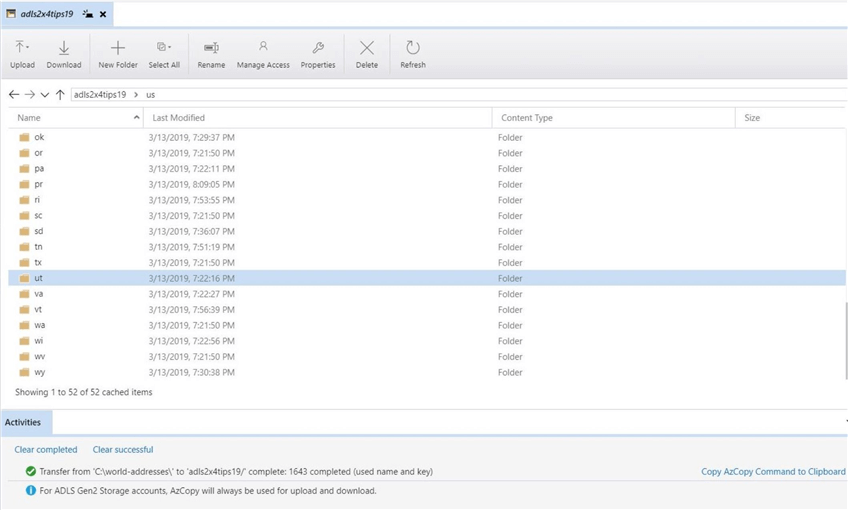
The Azure Storage Explorer creates each of the folders first before copy the files. The image below shows that the 40 items have been transferred to ADLS. The actual speed of the transfer and percentage completed can be seen at the bottom of the window.

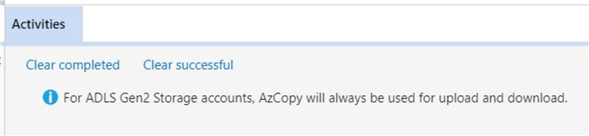
When working with ADLS Gen 2 storage accounts, the AzCopy utility will always be used for upload and download data. We can copy the actual command to the clipboard for inspect.
However, this command will differ slightly from the calls you might craft since it has been automated.
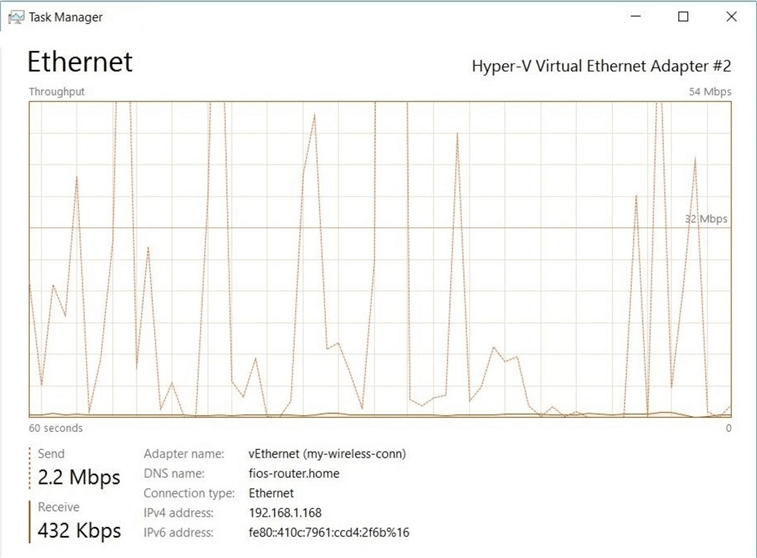
Because uploading files to the cloud takes considerable time, I wanted to see if the local Ethernet Adapter was the bottle neck of the process. The image below shows a non-constant usage trend of the network adapter. Therefore, I can only assume that the REST API calls to the Azure Storage Layer are taking some of the processing time. Also, since we do not have an Azure Express Route connection to the data center, we might be competing with other internet traffic.
The image below shows the completion of the folder transfer. All 1643 files were copied from on premise to the cloud service in 1 hour and 52 minutes. There must be some type of overhead happening in the copy process. If we use a standard transfer calculator, the transfer of 14 GB at a 28 mbps rate should only take 1 hour and 12 minutes. We have lost an additional 40 minutes during the process.
In summary, the Azure Storage Explorer is a very simple tool that can manage folders and files stored within Azure Data Lake Storage. Just remember the transfer time will be slower than a local area network.
Data Science Virtual Machine (Windows)
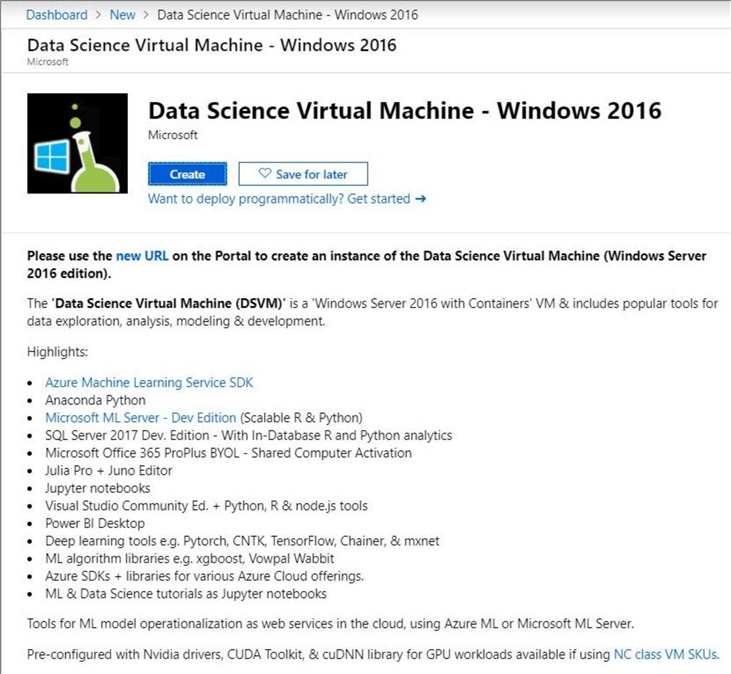
Deploying a DSVM for Windows is extremely easy. Use the new (add) button from the Dashboard in the Azure Portal. Search the gallery for data science virtual machines. I choose to deploy the image that has the Windows Server 2016 operating system. The next page has a bunch of fill in the blank questions such as resource group name and virtual machine name. The most important choice is the user name and complex password. Make sure you save this information in your key vault before hitting the create button.
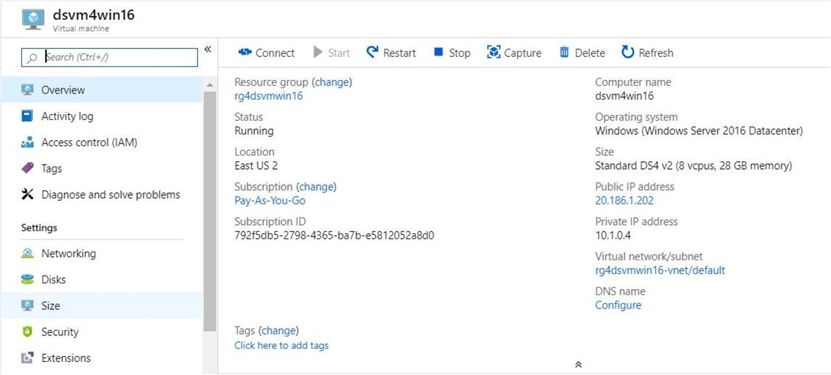
After several minutes, a notification in the portal will tell you that the deployment was successful. The image below shows a computer named dsvm4wind16 has been created in the resource group called rg4dsvmwin16.
Use the connect button to download a pre-configured Remote Desktop Protocol (RDP) file. Double click the shortcut to login into the virtual machine. Supply the correct user name and password. The usual windows GUI should be available.

If we take a look at the icons pinned to the tool bar, we can see that Azure Storage explorer is already installed. It might not be the latest version of the application.
At this point, we can use the graphical user interface of Azure Storage Explore to move files from the data lake to the data science virtual machine. However, I would like to automate this process in the future. Using this application will not solve that goal. We really want to explore how to use the command line utility.
Login Action
Regardless if you use the AzCopy utility in Windows or Linux, you need to Login to Azure before any work can be done. This requires three prompts to be answered with the correct information. One prompt will notify you if the action succeeded.
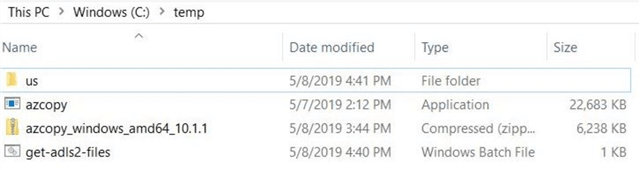
It is import to download and use the most current version of the utility. The azcopy.exe version 10.1.1 for windows has been extracted to the c:\temp directory as seen below.
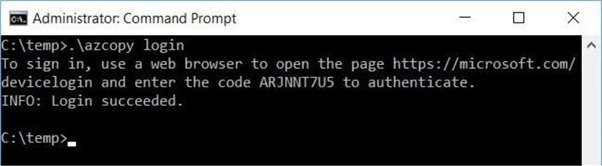
The window below shows the response of the command line utility after a login request has been successfully made. A device login has to be complete with the given authentication code. Since both the DOS prompt and Linux do not have a web browser, this action can be completed from an operating system that has a GUI. Of course, I choose my laptop running Windows 10 and the google chrome browser.
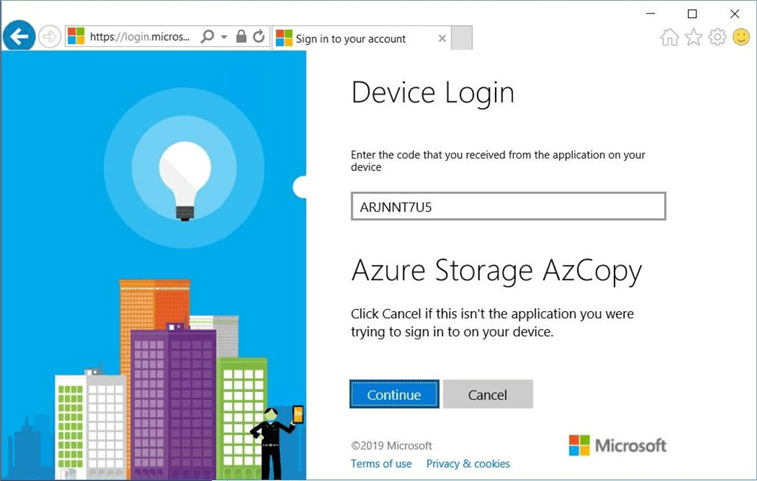
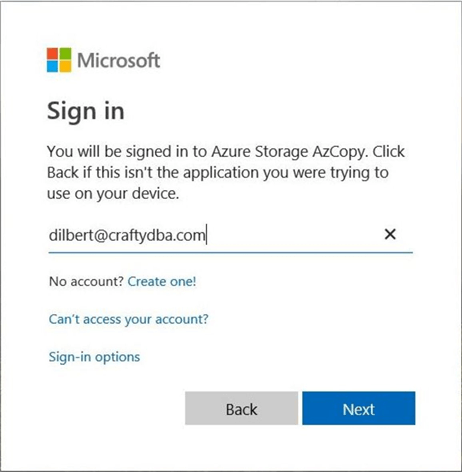
Please browse to https://microsoft.com/devicelogin to start the process. The image below shows the first prompt (dialog box) that needs to be answered. Enter the authentication code seen in the command prompt.
The second prompt (dialog box) is used to sign into the Azure Subscription using an account that is not related to any Microsoft online services. Thus, a Microsoft Outlook account would fail at this point. I choose to use the [email protected] account that has access to the ADLS Gen 2 blob container.
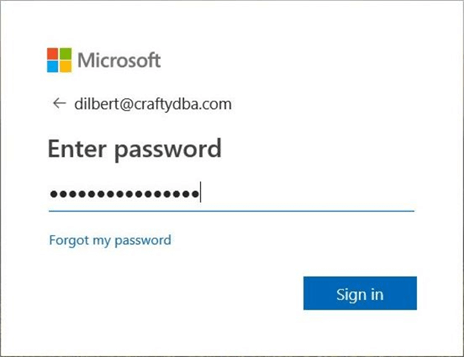
Every user account deserves a correct password. Supplying this information will allow you to pass the third prompt (dialog box).
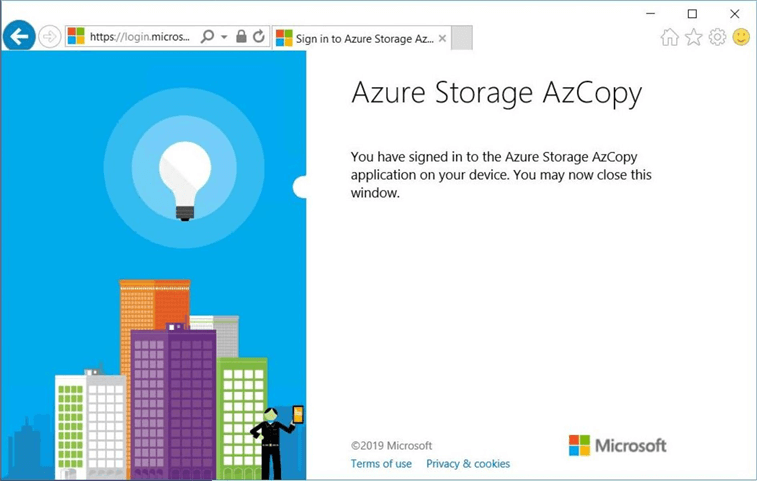
Of course, Microsoft likes to notify the user in both the command prompt and web browser windows when a successful connection has been established.
In a nutshell, the login process is quite simple but requires the completion of 3 dialog prompts in the web browser. Given the fact that Shared Access Signatures are not supported for ADLS Gen2, this utility can't be used to automate file transfers without human interaction.
Copy Action (Windows)
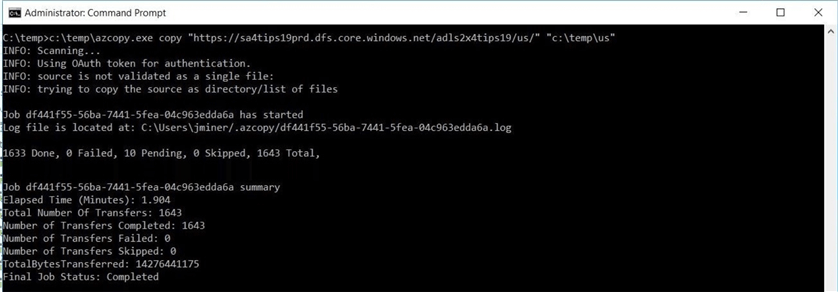
The copy action requires both a source and destination. In our case, we want to supply the storage account, container and folder path in one string as the source. Please note that in a past tip named "Copying SQL Server Backup Files to Azure Blob Storage with AzCopy", I used blob.core.windows.net as the URL for working with blob storage. To work with latest data lake storage, we must use dfs.core.windows.net as the URL path. The image below shows the data transfer from the data lake to the virtual machine taking less than 2 minutes. This is a far cry faster than the 2 hours to upload the data set over the internet.
I like to verify that the number of files, folders, and bytes have been correctly transferred. The image below shows my RDP connection to the dsvm4win16 virtual machine. I am using windows file explorer to double check the numbers.
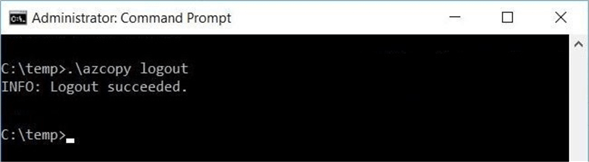
Last but not least, the connection to the data lake storage service should be severed after work is complete. This can be done by executing the logout command.
The following three commands can be added to a batch file for automation. Unfortunately, the login process requires heavy human interaction from a web browser. At this time, we can't schedule this batch job.
REM Login ADLS Gen 2
AzCopy Login

REM Copy files from ADLS 2 DSVM
AzCopy /Source:https://sa4tips19prd.dfs.core.windows.net/adls2x4tips19/us /Dest:c:\temp\us /SyncCopy

REM Logout of ADLS Gen 2
AzCopy Logout
To sum up the key points in this section, it is very easy and fast to copy files within the azure domain. The login process requires a lot of human interaction. Remember to always logout of the utility when you are done.
Data Science Virtual Machine (Linux)
Deploying a DSVM for Linux is easy. Use the new (add) button from the Dashboard in the Azure Portal. Then, search the gallery for data science virtual machines. I choose to deploy the image that has the Ubuntu operating system. The next page has a bunch of files in the blank questions such as resource group name and virtual machine name. The most important choice is the user name and complex password. Make sure you save this information in your key vault before hitting the create button.
Unlike Windows, we have the ability to supply a public SSH key. This key can be used when making a connection using the SSH protocol. Please see my prior tip named "Getting started with SQL Server on Linux". It goes over how to configure both the operating system and connectivity utilities for SSH.
After several minutes, a notification in the portal will tell you that the deployment was successful. The image below shows a computer named dsvm4linux has been created in the resource group called rg4dsvmlinux.

Deploying a Linux machine is slightly harder than a window machine. You better get used to the command line interface since there is not graphical user interface.
Upgrading the utility
The image below shows a typical login using the Putty utility and a configured SSH private key. As we can see, this is version 16.04.6 of the Ubuntu operating system.

Just like the Windows virtual machine, the Linux image has software preinstalled on the system. If we type the command "azcopy", we can see that version 7.2.0 is installed. This version does not work with Azure Data Lake Storage Gen 2.
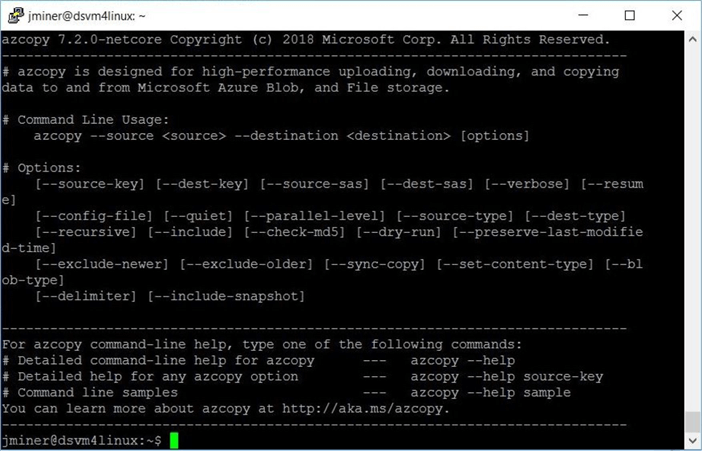
We need to upgrade the current version of "azcopy".
How do we perform this action?
The commands below assume that the bash shell is the default. Otherwise, just remove the comments that start with the pound sign. Execute the seven steps in order to successfully upgrade the utility.
# Step 1 - Download the bits
wget https://aka.ms/downloadazcopy-v10-linux

# Step 2 - Uncompress the directory
tar -xvf downloadazcopy-v10-linux

# Step 3 - Change current working directory
cd azcopy_linux_amd64_10.1.1

# Step 4 - Remove existing binary
sudo rm /usr/bin/azcopy

# Step 5 - Copy over newest binary
sudo cp azcopy /usr/bin/

# Step 6 - Move to root directory
cd /

# Step 7 - Obtain version of new binary
azcopy
The image below shows version 10.1.1 of the "azcopy" utility has been installed.

The prebuilt virtual machine images for data science are configured with many programs. However, it is very tough to keep up with changes in the Azure ecosystem. Make sure you upgrade the current version of utility before working with data lake storage.
Transfer Files (Linux)
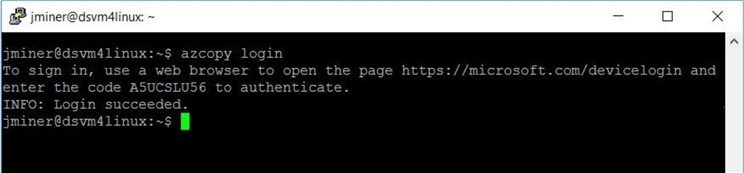
The first task to complete before the utility can be used is a successful login action. The process and dialog boxes are the same between operating systems. Please see the above section named "Login Action". The screen shot shows a successful login to Azure.
The following window show a compressed version of the output that was displayed. I did some magic with the paint utility and three screen shots. There is a complete log file that is generated for the command line action. We can see various file counts, network throughput and disk performance warnings in the window below. The whole transfer task took just over 2.1 seconds to copy 1643 files down from the lake. This is about 0.2 seconds slower than the Windows virtual machine.

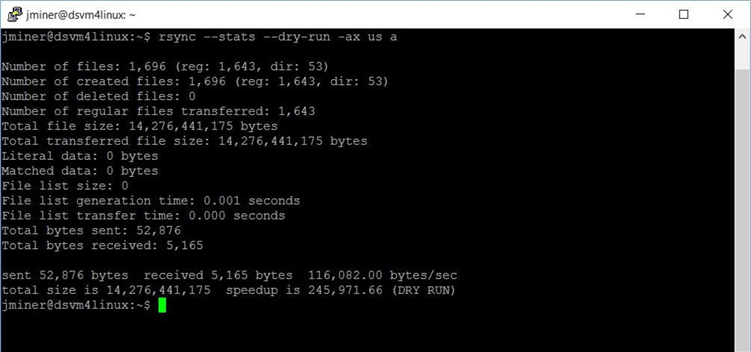
The rsync command can be used to list the number of files, folders and bytes that exist in a given directory. Make sure you use the dry-run switch so that a file transfer is not started.
Last but not least, the logout command is used to closed the connection to Azure.

The commands below assume that the bash shell is the default. Otherwise, just remove the comments that start with the pound sign. Execute the three steps in order to successfully transfer all address files from data lake storage to the Linux data science virtual machine.
# Step 1 - Log into Azure
azcopy login

# Step 2 - Copy folder from ADLS 2 local disk
azcopy cp "https://sa4tips19prd.dfs.core.windows.net/adls2x4tips19/us" "."

# Step 3 - Logout of Azure
azcopy logout
A quick review of this section shows that the steps used to transfer files using the Linux operating system match the ones used by the Windows operating system. The syntax and name of the commands might vary, but the purpose behind the actions are the same.
Summary
Today, I showed you how easy it is to deploy either a Windows or Linux Data Science Virtual Machine using the prebuilt galley images. The only action you might need to do is upgrade a utility or package.
There are only two tools that can be used to transfer files to and from Azure Data Lake Storage Gen 2. The Azure Storage Explorer is a windows application that provides a nice graphical interface to work with the underlying file system. The AzCopy command can be used to automate data transfers with the older storage technologies.
Unfortunately, the newest version of AzCopy is required to perform any work with the latest Data Lake Storage. However, there is no way to execute a login action without a lot of human interaction. Right now, this tool can't be used to automate file transfers to Gen 2 storage. Manual execution of this tool works fine. This tool is the only way to transfer data lake files to Linux.
Last but not least, transfer of data within the Azure domain is pretty quick. A file set transfer of 14 GB took around 2 minutes. That is almost a GB back bone. On the other hand, transfer of files from on premise to the cloud are impacted the overhead of REST API calls and/or internet traffic. The same file set transfer took almost 2 hours to complete.
In summary, I am still on the hunt for a tool than can transfer files to and from Azure Data Lake Storage Gen 2 in an automated fashion.
Next Steps
- Using Azure Data Factory and Self Hosted IRE to transfer files from on premise to ADLS Gen 2
- Can Python effectively write to DFS used by ADLS Gen 2?


About the author
 John Miner is a Data Architect at Insight Digital Innovation helping corporations solve their business needs with various data platform solutions.
This author pledges the content of this article is based on professional experience and not AI generated.
View all my tips
