By: Manvendra Singh | Updated: 2021-10-07 | Comments | Related: 1 | 2 | 3 | 4 | 5 | 6 | 7 | 8 | 9 | > Virtualization
Problem
I had a requirement to create a virtual machine using Red Hat Enterprise Linux and then install SQL Server 2019. In this article we look at how to install the operating system on a new VMware Workstation VM.
Solution
As you may know, SQL Server is supported on Linux, so we will build a VM using Red Hat Enterprise Linux which was designed for commercial use and RHEL 8 was released May 7, 2019. Red Hat introduced these new features in RHEL 8:
- Live Kernel Patching
- Support for Rootless Containers
- In place upgrade from RHEL 7 to RHEL 8
- Enhanced Security
Note: If you don’t know how to create additional virtual machine to install RHEL 8.1 then I would recommend you read below articles in sequence.
Prerequisites
Make sure to meet the below requirements before starting the installation of RHEL 8.1 on your virtual machine. Prerequisites must be checked and passed before installation to prevent an unsuccessful installation.
- You have a 64-bit system architecture
- Your machine has enough resources that can meet the minimum requirements. RAM should be more than 2GB and minimum available disk space is more than 10GB.
- You have an active Red Hat subscription
- You have logged in and downloaded your installer file from the official website
- You have downloaded a full DVD ISO image of RHEL 8.1 from above website
- You must have administrator level privileges on the VM
- Your system where you are installing RHEL must have access to the remote installation source
Step by Step Process to Install RHEL on a new Virtual Machine
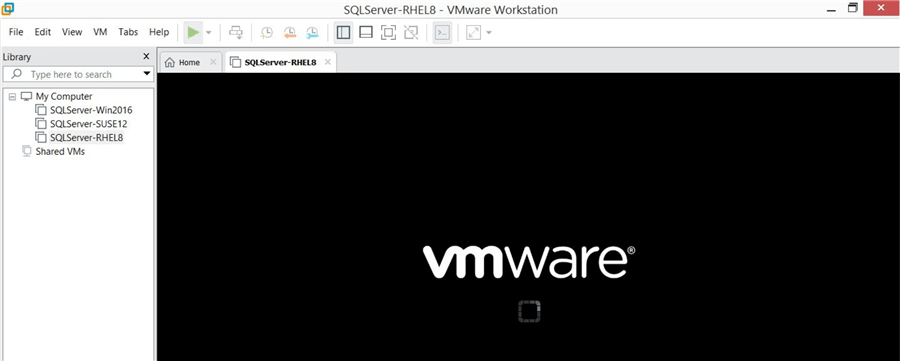
I have launched the VMware Workstation PRO and powered on the new virtual machine to install RHEL 8.1 operating system, by selecting the VM on the left and using the green play button to start the VM. Once you start the VM, the system boot will start and attached the RHEL 8.1 installation setup ISO image for the installation.
Note: If you did not select the RHEL 8.1 setup ISO image during the VM creation, then you can simply do it using VMware Workstation settings page. You can go ahead and browse the location where RHEL 8.1 setup file is stored and start the installation.
The below image shows the VM has started processing now.
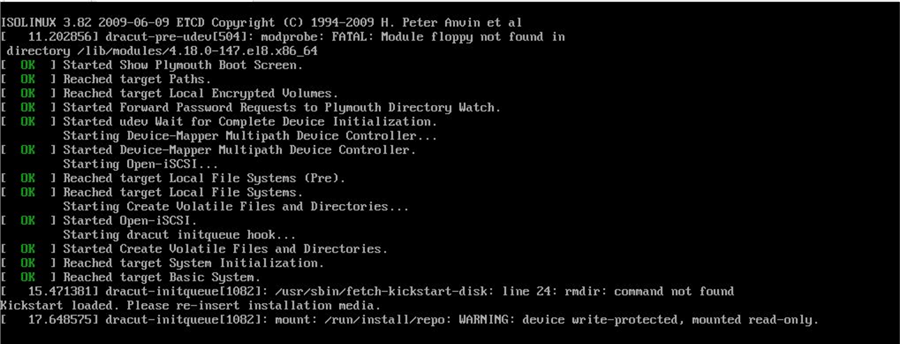
Once the system boot starts, a series of processing will start and multiple checks will be performed as shown below. Let it run and wait for the next window to appear to move forward.
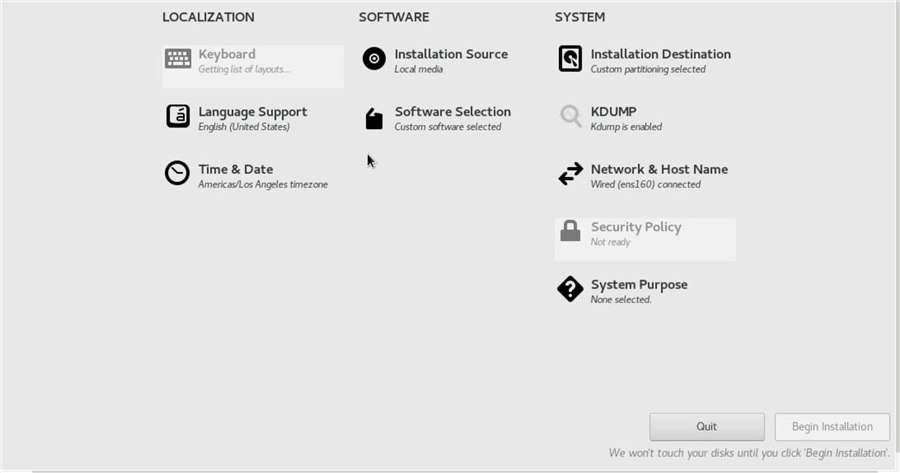
As, this version of the operating system RHEL 8.1 is supported by the easy install feature of VMware, (I used the "Easy Install Information" page during the virtual machine creation in my last article) so all the configuration values will display with the default settings as part of the easy install. You can see all options that we generally configure manually if we install it in custom mode are shown with their default values. If you don’t want to change them and want to go ahead with the default settings then you don’t need to make any changes and can just click "Begin Installation" in the bottom right.
If you are not using the Easy Install approach, then you need to manually configure Network & Hostname and installation destination options along with any other settings that will show in red. The Begin Installation button will be enabled once all values are correctly entered.
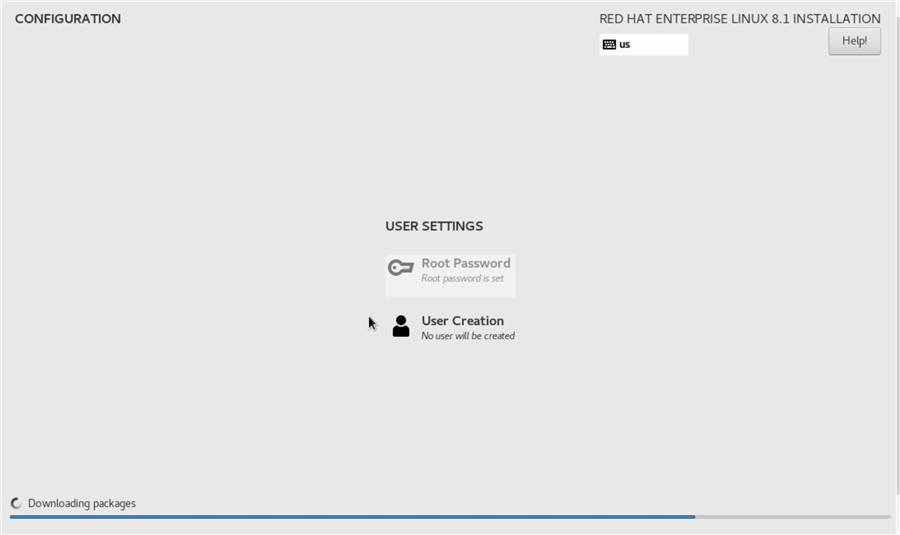
You will then get the below screen after you click "Begin Installation". You can see, the root password is shown as set because we had already entered this information during the VM creation in the "Easy Install Information" page. Now setup is downloading all the required packages as shown in the below image. Once the package download completes, installation will start in the same screen. You don’t need to do anything here, just wait and watch the sequence of events for the installation.
You can see setup has started installing some of the OS packages in the below screenshot.
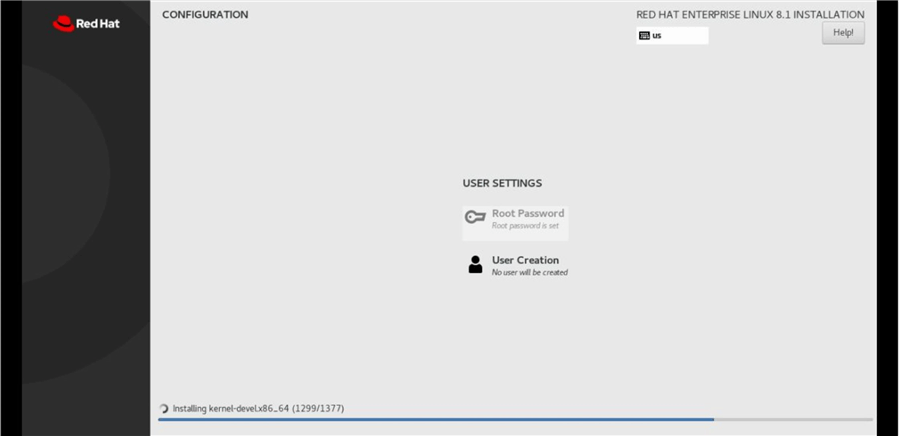
Next, configuration is in process.
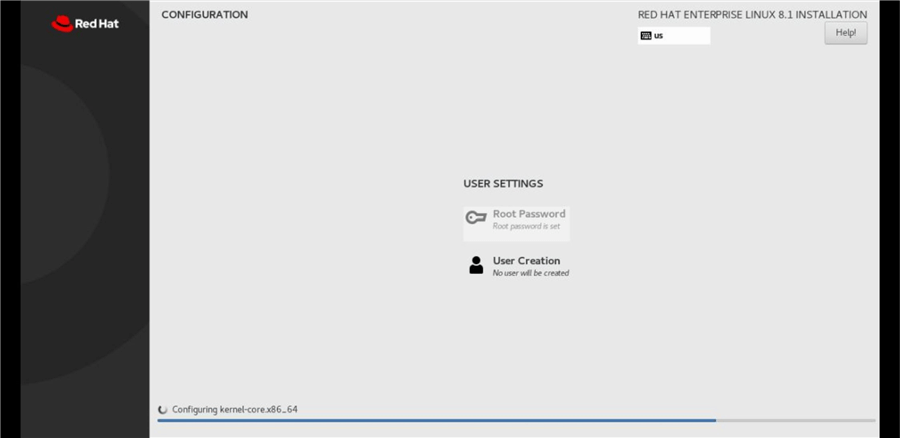
One thing to notice in the image is that the first option "Root Password" is grayed out on above image whereas you can observe both options "Root Password" and "User Creation" are grayed out in the below image. User name will be taken from the details of easy install information page where you entered the user name.
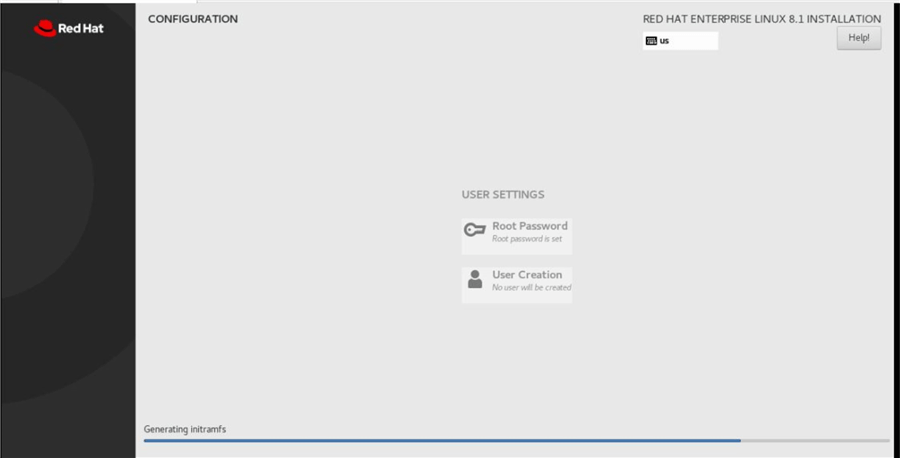
Installation of RHEL 8.1 will be complete once processing of the above image is 100%. The system will reboot automatically to complete the installation and you will be prompted with the below screen post reboot.
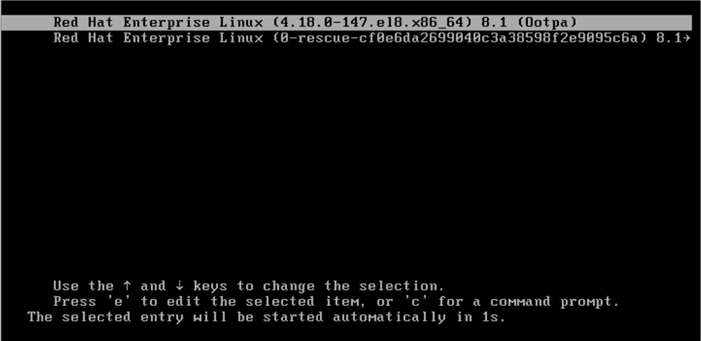
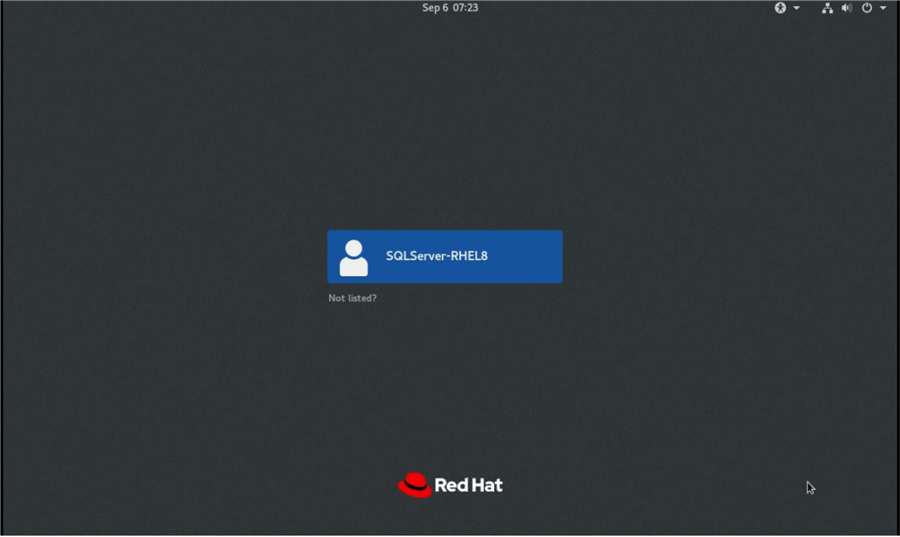
Once the restart finishes, the below screen will appear. Now, you can enter the password and login to the server. Right click on the VM tab and click on send Ctrl+Alt+Delete command to show the password prompt. Enter the credentials to proceed.
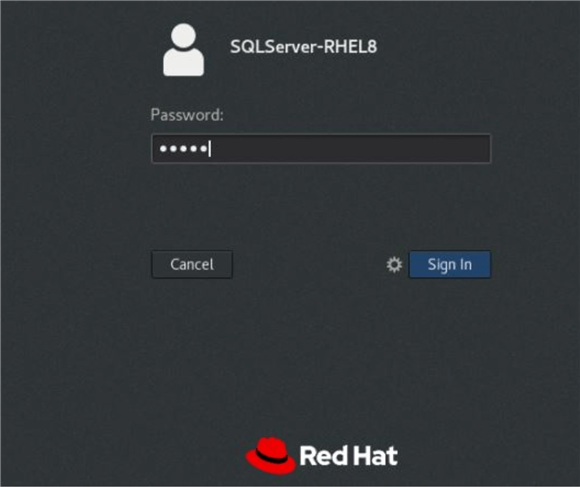
Enter the password and press enter to login to the server.
This is the home screen of RHEL 8.1 shown below.
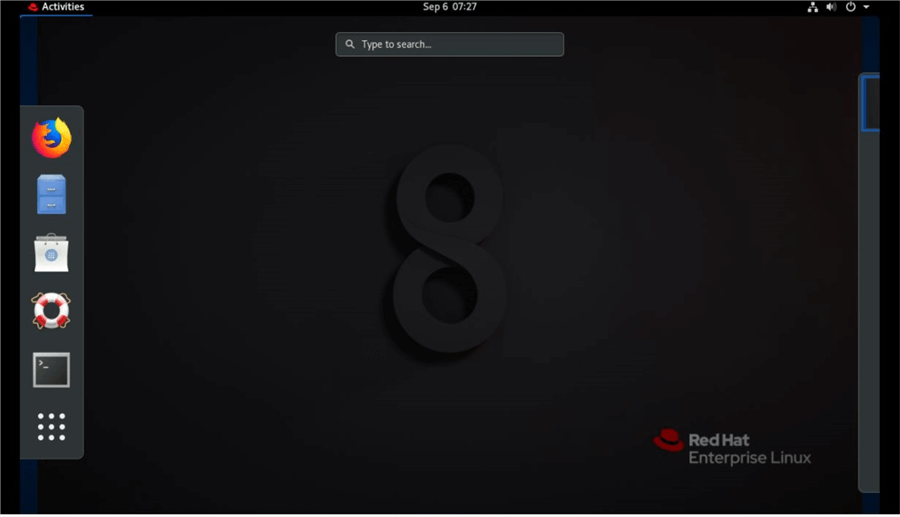
You can launch the terminal to check installed version and host name. Either right click on the desktop and choose terminal option or click the Activities in top left and click the second last option which is command prompt.
Below we checked the hostname by running the hostname command and it shows "localhost.localdomain".
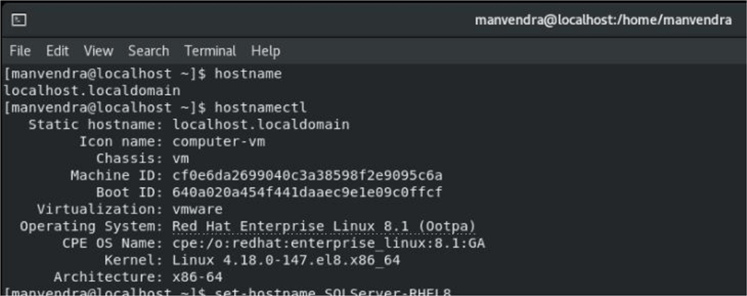
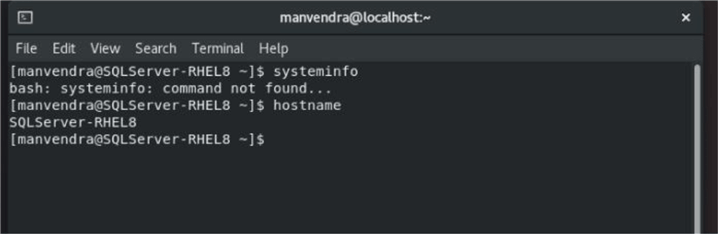
If you want to change the hostname, login with root privilege by entering su then use the set-hostname command to change the hostname of this machine. You can see the commands below and execution of these in the screenshot.
--Connect with superuser#su

--Change the hostname
#set-hostname SQLServer-RHEL8

--Check the new hostname
#ho#hostnamectl

You can then use the hostname command to see the name of this machine as shown below.
Next Steps
- Now that we have Red Hat Enterprise Linux 8.1 installed on a new virtual machine, then next steps will be to install SQL Server 2019, so stay tuned.


About the author
 Manvendra Singh has over 5 years of experience with SQL Server and has focused on Database Mirroring, Replication, Log Shipping, etc.
This author pledges the content of this article is based on professional experience and not AI generated.
View all my tips
Article Last Updated: 2021-10-07
