By: Koen Verbeeck
Overview
We're going to build a pipeline using the Copy Data tool. This tool makes it easier for people starting out with ADF to create their first pipelines. Before we start, we need to make sure some prerequisites are met.
Prerequisites
If you haven't already, follow the steps of the previous part of the tutorial to set up ADF, a storage account with a blob container and an Azure SQL DB.
In the Azure Portal, go to your storage account and then to the "data-input" container we created. Click on the Upload link.
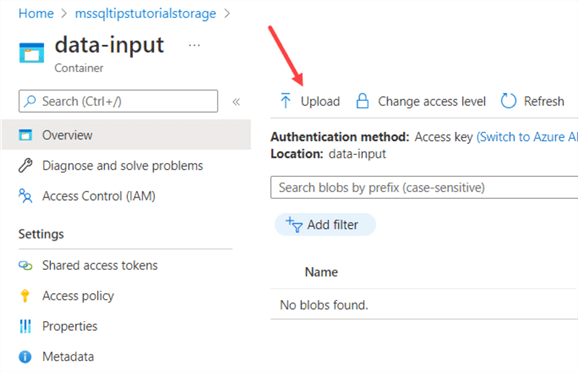
A pane will open where you can select a local file. Upload the Customers.csv file, which you can download here.

Click Upload to put the file in the blob container.
Create the Pipeline
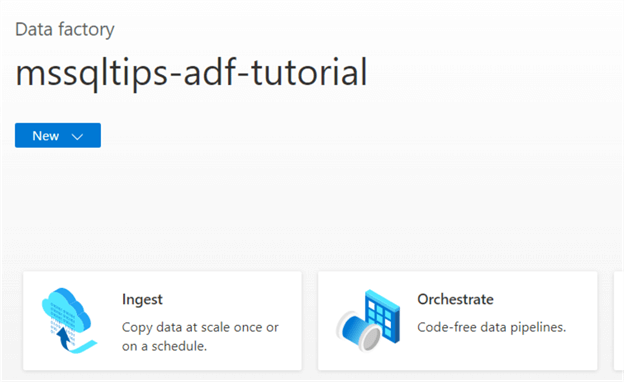
Go to ADF Studio and click on the Ingest tile. This will open the Copy Data tool.
In the first step, we can choose to simply copy data from one location to another, or to create a more dynamic, metadata-driven task. We'll choose the first option. Parameters and metadata are covered later in this tutorial.
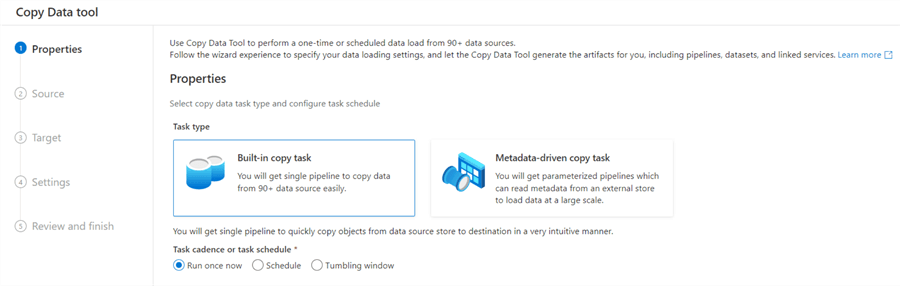
You can also choose how the resulting pipeline needs to be scheduled. For now, we're going with "run once now". Schedules and triggers are also discussed later in the tutorial.
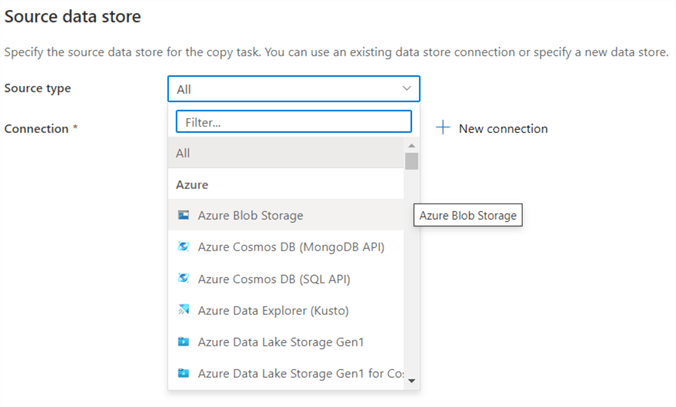
In step 2, we need to choose the type of our source data. This will be our csv file in the blob container. Azure Blob Storage is the first option in the dropdown:
We also need to define the connection to the blob container. Since we don't have any connections yet in ADF, we need to create a new one by clicking on "New connection". In the new pane, give the new connection a name and leave the default for the integration runtime (also covered later in the tutorial). As authentication type, choose account key. Since the blob storage is in the same Azure tenant as ADF, we can simply choose it from the dropdowns. Select the correct subscription and the correct storage account.
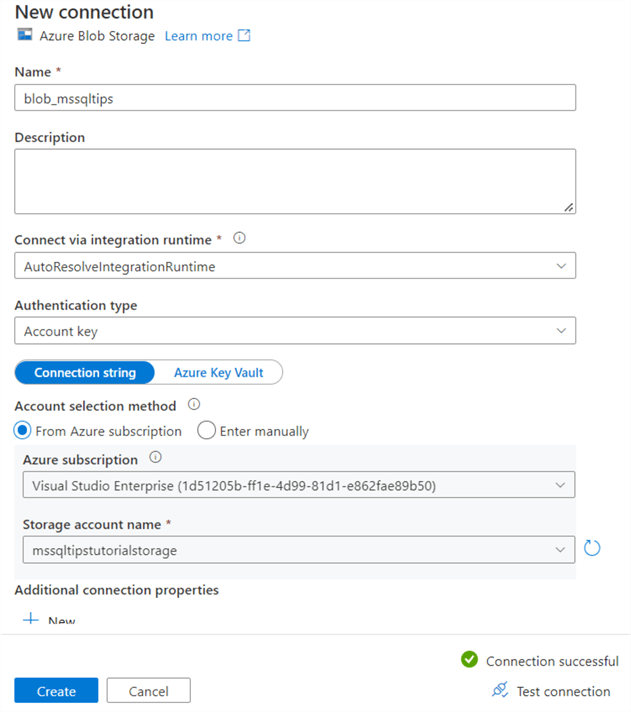
Finally, you can test your connection. If it is successful, click on Create to create the new connection. The screen for step 2 should look like this:
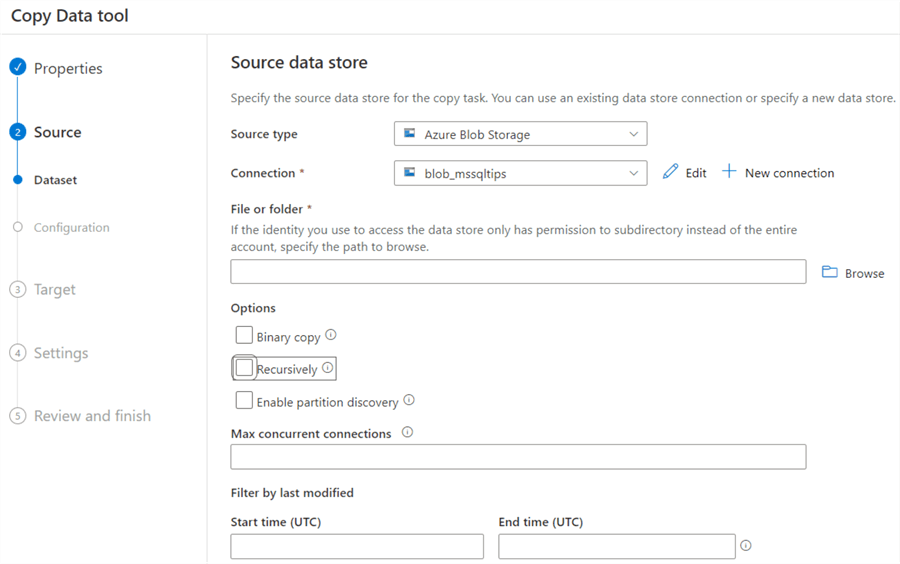
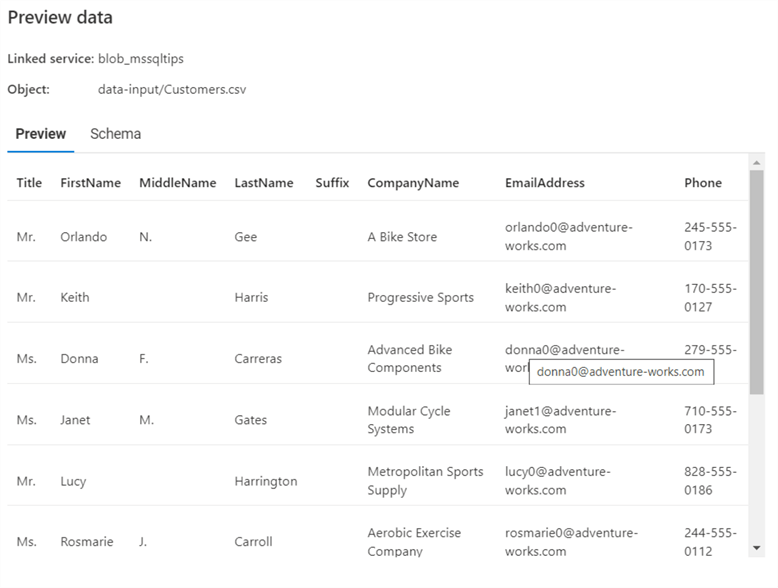
We now need to select a file from the connection we just created. Click on Browse to open a new pane to select the file. Choose the Customers.csv file we uploaded in the prerequisites section.

ADF will automatically detect it's a csv file and will populate most of the configuration fields for you.
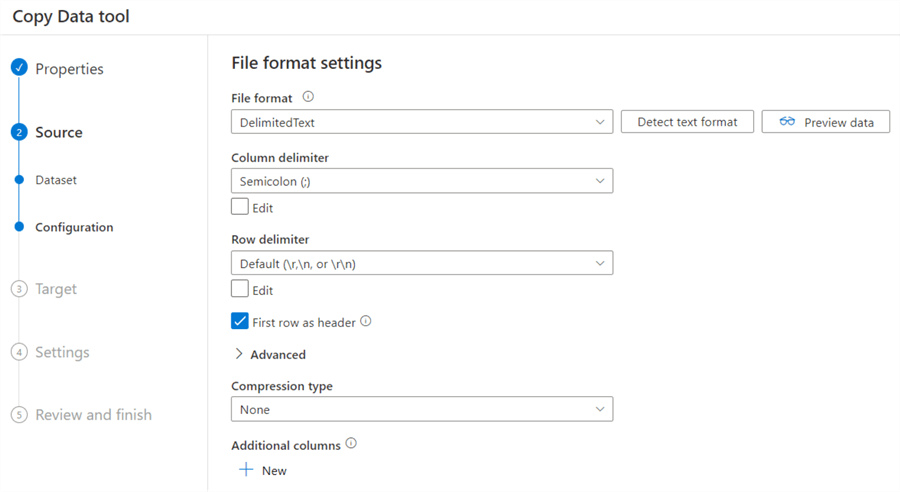
Make sure the first row is selected as a header. You can do a preview of the data to check if everything is OK:
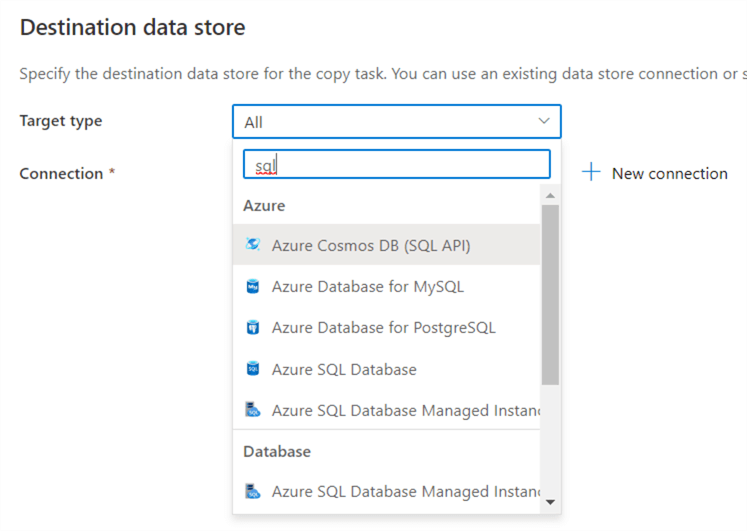
Now we need to configure our destination in step 3. Search for "sql" and select Azure SQL Database from the dropdown list.
Like with the source, we will also need to define a new connection. Give it a name and select the correct subscription, server and database from the dropdowns. If everything is in the same Azure tenant, this should be straight forward.
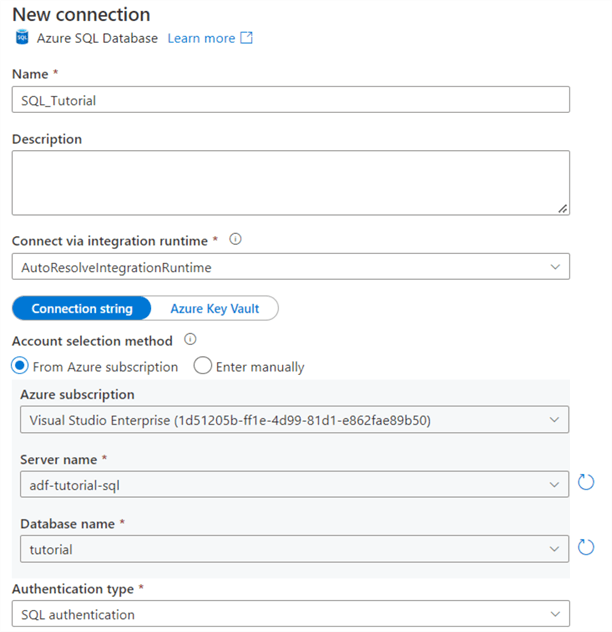
Choose the authentication type that you configured during the setup of the SQL Server. In the following screenshot, I chose SQL authentication, so I need to supply a username and a password.
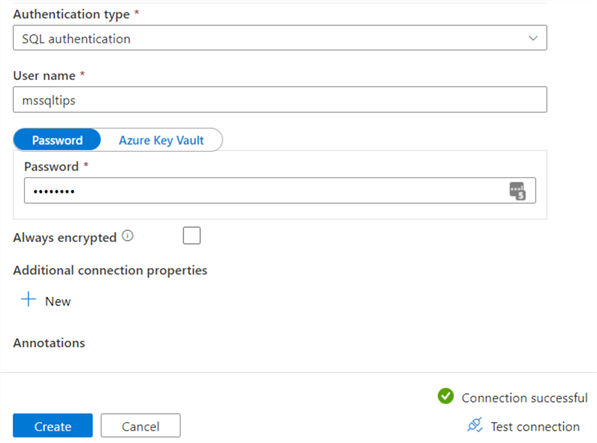
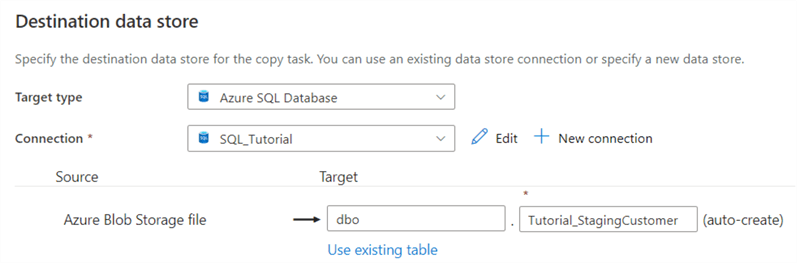
You can test the connection to see if everything works. Make sure you gave Azure Services access to the SQL server – as shown in the previous part of the tutorial – or you will get a firewall error. Once the connection is created, we need to choose the destination table. You can either choose an existing table or let ADF create one for you. Fill in dbo as the schema and Tutorial_StagingCustomer as the table name.
Next, we need to define the mapping. A mapping defines how each column of the source is mapped against the columns of the destination. Since ADF is creating the table, everything should be mapped automatically.
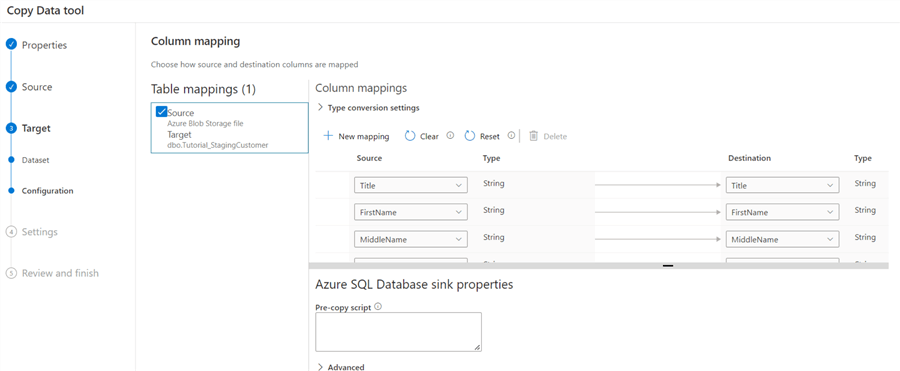
If you want, you can supply a pre-copy script. This is a SQL statement that will be executed right before the data is loaded. In a recurring pipeline, you can for example issue a TRUNCATE TABLE statement to empty the table. Here it would fail, since ADF first needs to create the table. If you try to truncate it, it will fail since the table doesn't exist yet.
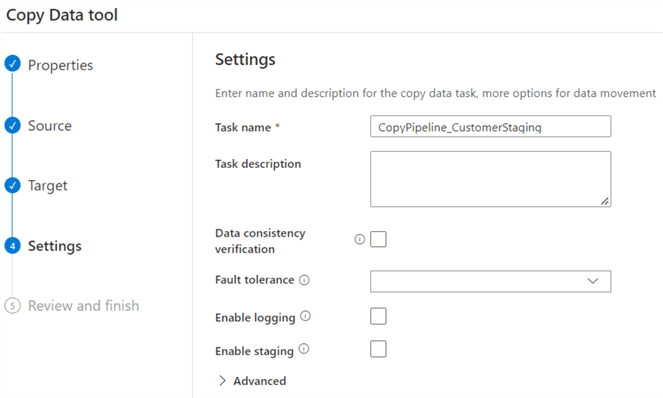
Now we're in step 4 of the tool and we can define general settings for the pipeline. You can change the name of the pipeline. Leave everything else to the defaults.
In the final step, you can review all the configurations we made in the previous steps.
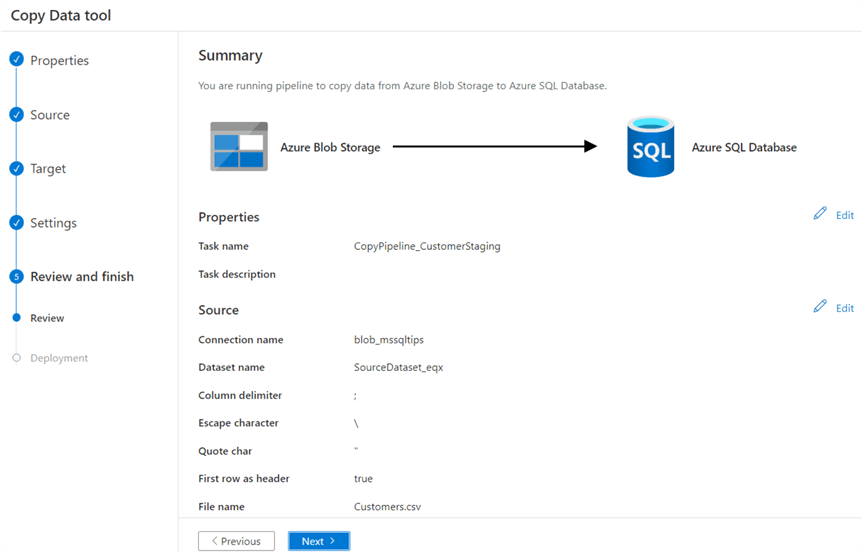
Click Next. ADF will create the pipeline and will run it once.
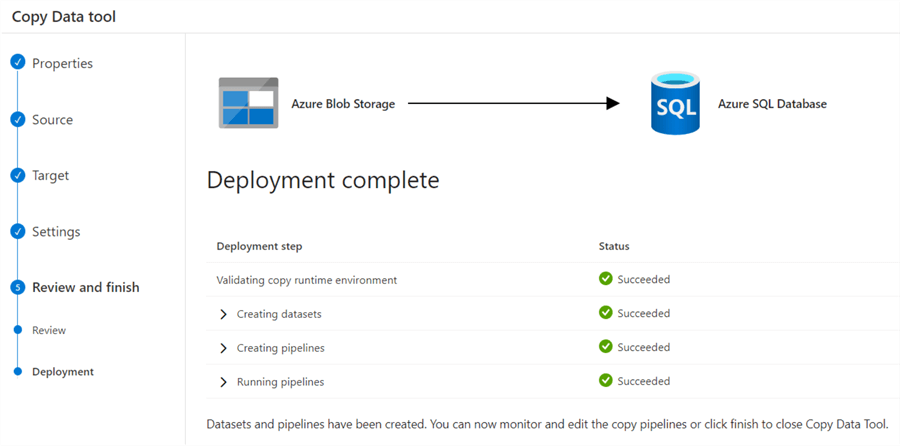
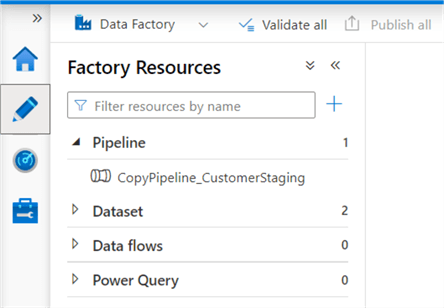
We can verify a pipeline has been created when we check the factory resources by clicking the pencil icon in the left menu.
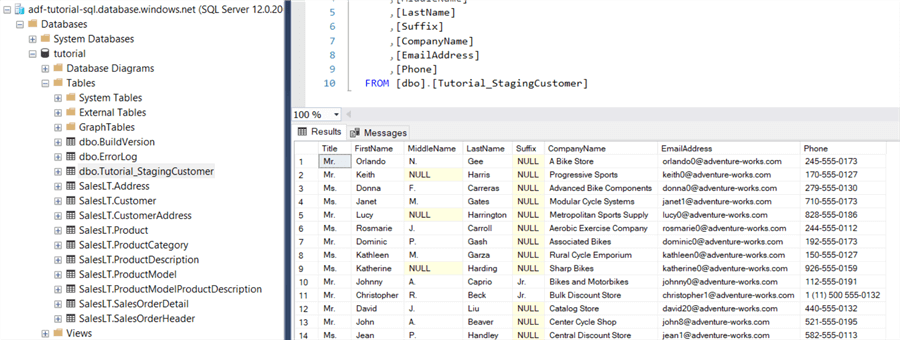
We can also check in the database itself that a new table has been created and has been populated with the data from the CSV file:
Additional Information
- The Copy Data Tool has much more settings you can play with. Why don't you try them out?
- Check out Getting Started with Azure Data Factory - Part 1 for another example of how to create a pipeline.