By: Rob Fisch | Comments | Related: > Sharepoint Design
Problem
SharePoint security trimmed navigation like Global and Current Navigation and the Quicklaunch (where objects and links only appear to a user when they have permission access) are great features. But at times these are limiting (i.e. cannot do multilevel nesting out of the box). Sometimes I don't care about security trimming and I just want to have a plain old multilevel navigation tree without having to download some 3rd party javascript (that is usually nasty to maintain).
Solution
SharePoint Designer to the rescue!
Yes, you can make a multi level navigation tree menu with (out of the box) tools built into SharePoint Designer.
Briefly, we will make a document library to store my code, use SharePoint Designer to create an aspx file with a multi level tree menu, then use a Page Viewer Web Part to display the menu on one or more web site home pages.
Here's how to do it in SharePoint 2010 with SharePoint Designer 2010.
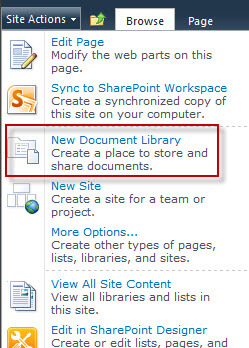
Create a Document Library to store the code for your menu.
From the "Site Actions" menu, click "New Document Library".
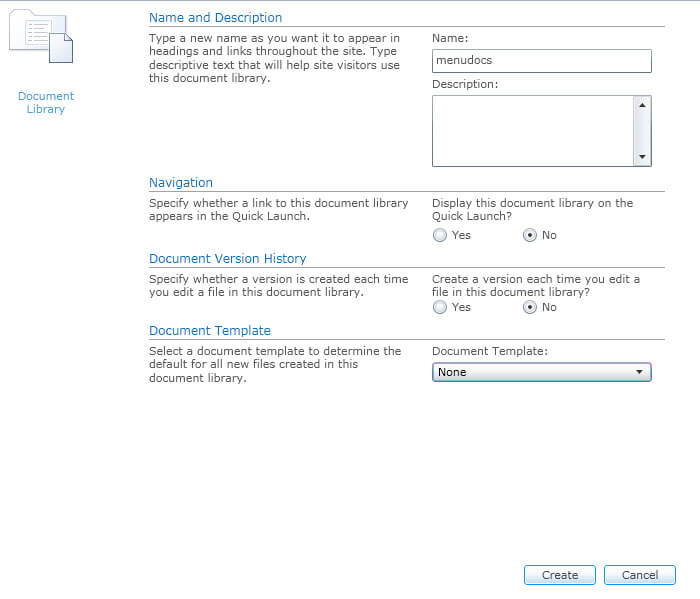
Give your library a name. Navigation is not warranted. Version History is optional. A Document Template is not needed.
Creating the Tree Menu With SharePoint Designer 2010
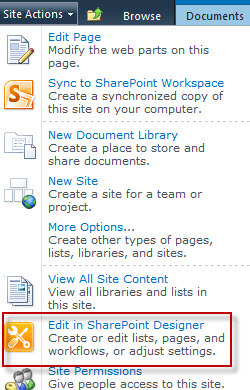
Start SharePoint Designer 2010 from the Site Actions menu in the site where you library is.
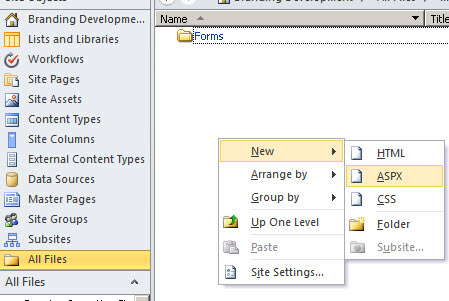
Click on "All Files" and navigate to the new library. Right click in the white space under the Forms folder and select "New", then "ASPX".
Rename the ASPX file to something appropriate.

Double click on the file, and then click the "Edit File" link under "Customization". (There are other ways to edit the file. Use your own method if you like.)
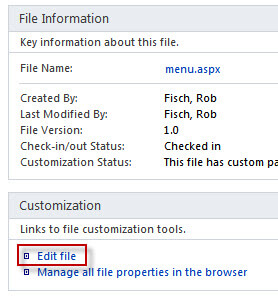
You will get prompted to open the page in "Advanced Mode". Click "Yes".

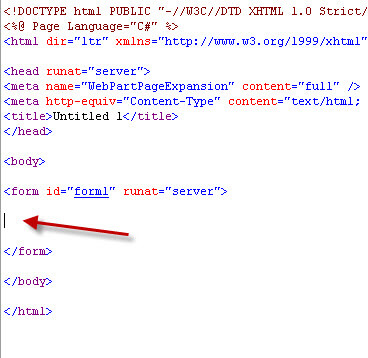
Your cursor should start within the <form> tag. But if you want to be sure and a could of line breaks and put your cursor in between the tags.
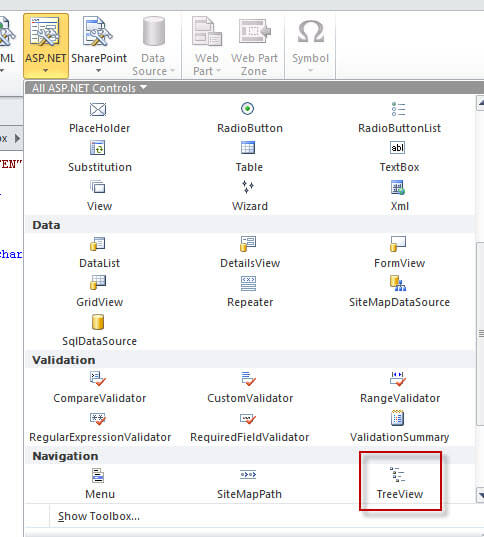
From the "Insert" Tab, select "ASP.NET". In the "Navigation" section (scroll down), select "TreeView".
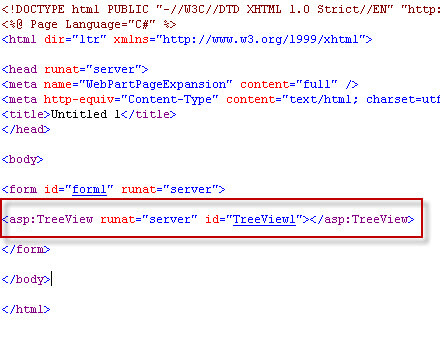
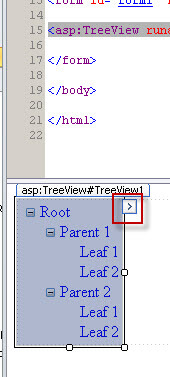
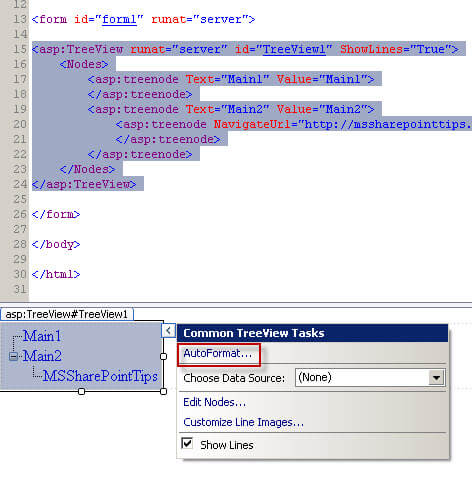
Notice in the code window how the treeview is added...
In "Design", select the new Treeview object and then click on the options menu (> sign) highlighted below.
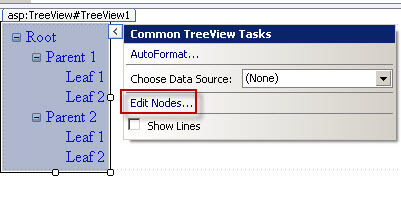
In "Common TreeView Tasks", click "Edit Nodes..."
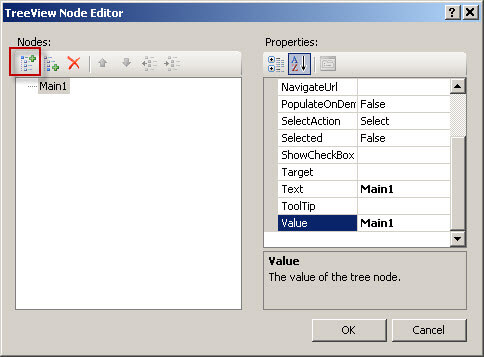
To add a top level menu, click the first button on the left (hightlighted below),
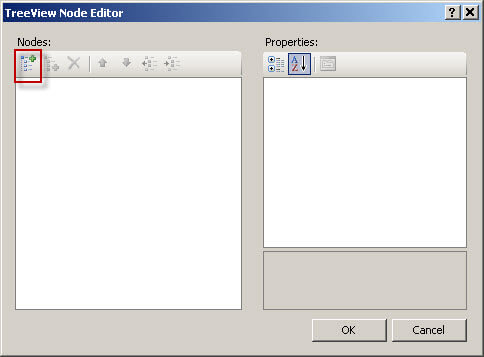
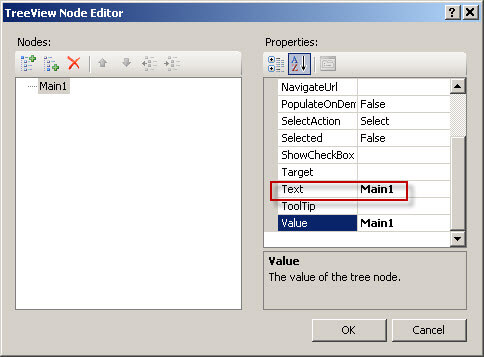
Enter text for the menu option.
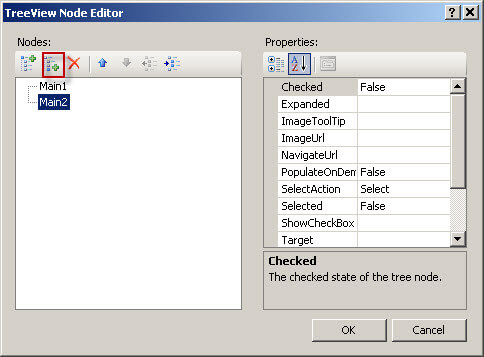
Click the same button again to add another top level choice.
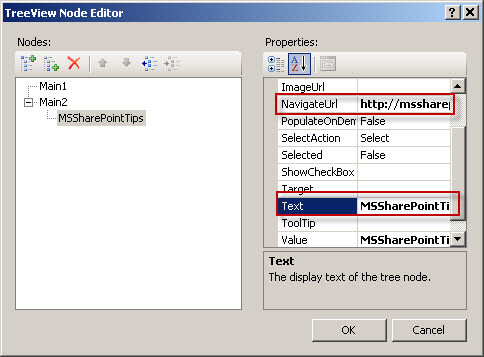
With one of the choices selected, click the 2nd button on the left. This will create a child level menu option.
To add a link to the option, scroll up under the "Properties" section on the right, and enter a desired link in the NavigationUrl. (You can experiment with other property options later on.)
Save the file in the SharePoint Designer and then check the document library where the code is being stored in SharePoint. You should see your file there. You can click it if you want to check it.
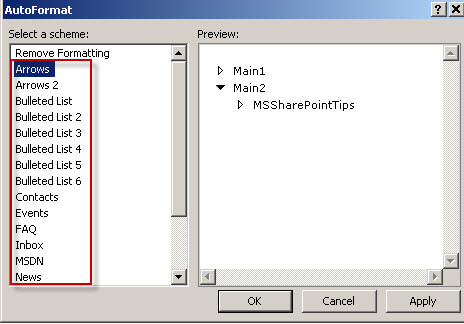
Now let's do a little formatting of the menu. Back in SharePoint Designer, open the Common TreeView Tasks and click "AutoFormat".
Select different "Schemes" until you find one you like.
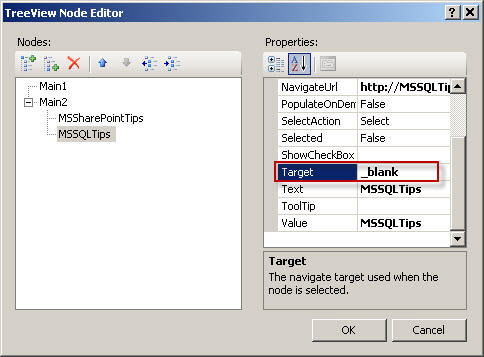
It's a good practice to pop up a new window, especially if it is an external link. To do that, find the "Target" property for the link and add "_blank".
Placing the Menu on your Team Site
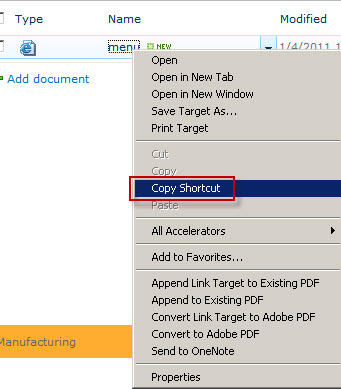
From your Document Library, let's get the URL of the saved ASPX file. In Internet Explorer, right click on the file and select "Copy Shortcut".
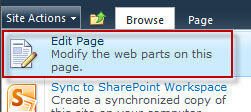
Now, navigate to your Team Site or Top Level home page. Under "Site Actions", click "Edit Page".
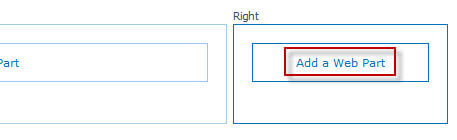
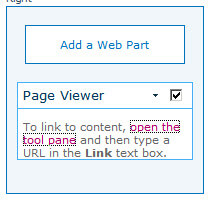
Then click "Add a Web Part".
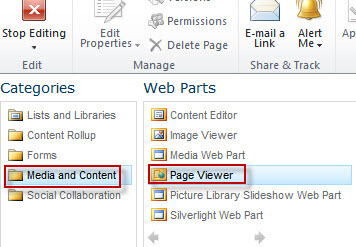
Under "Categories", choose "Media and Content", then click "Page Viewer".ÿ
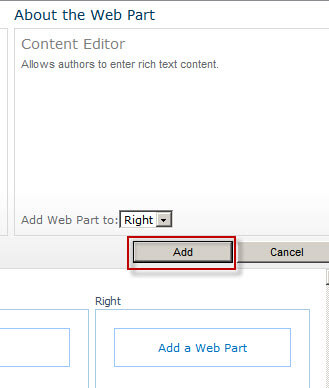
Then click the "Add" button.ÿ
Click "open the tool pane".
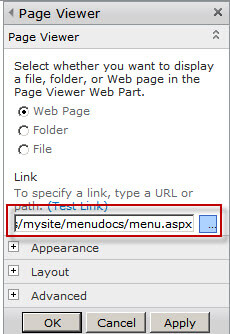
Choose "Web Page" and paste the URL of your menu aspx file in the Link box.
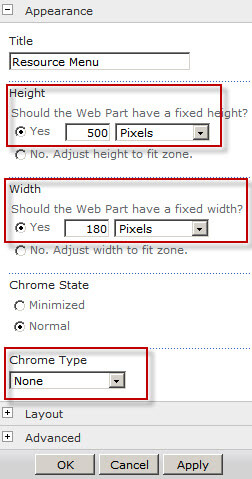
Under the "Appearance" section of the Web Part, adjust the Height and Width as necessary. Try expanding all the menu nodes and recheck your sizes by clicking "Apply". When you get it right. Click "OK".
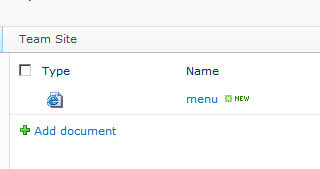
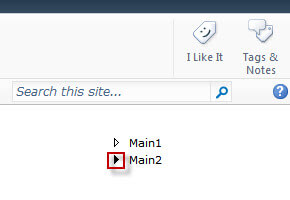
Here's a sample of what my menu looks like:
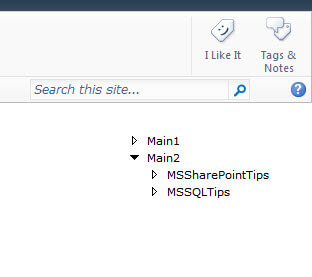
Here it is in collapsed form.
There you have it. Your own TreeMenu, built "out of the box" right from SharePoint Designer.
Next Steps
- Though I didn't test it, all these options are available in SharePoint 2007 with SharePoint Designer 2007.


About the author
 Rob Fisch has worked with SQL Server since version 6.5 as a dba, developer, report writer and data warehouse designer.
This author pledges the content of this article is based on professional experience and not AI generated.
View all my tips
