By: Ranga Babu | Comments (2) | Related: > Amazon AWS
Problem
Amazon EC2 offers another option for putting SQL Server in the cloud. It is easy to setup, upgrade and you are only charged when the box is in use. Let's take a look at how to use Amazon EC2 for SQL Server.
Solution
Amazon EC2 instances are easy to launch and use. They can be easily upgraded with more RAM, CPU and disk space. Billing is done on an hourly basis and they do not charge when the box is shut down. Let's look at how to use Amazon EC2 for SQL Server.
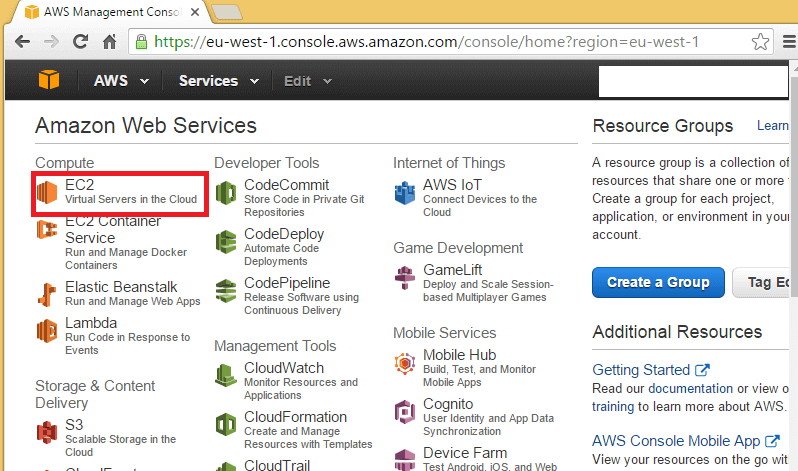
Login to the Amazon console. Click on EC2 as shown below.
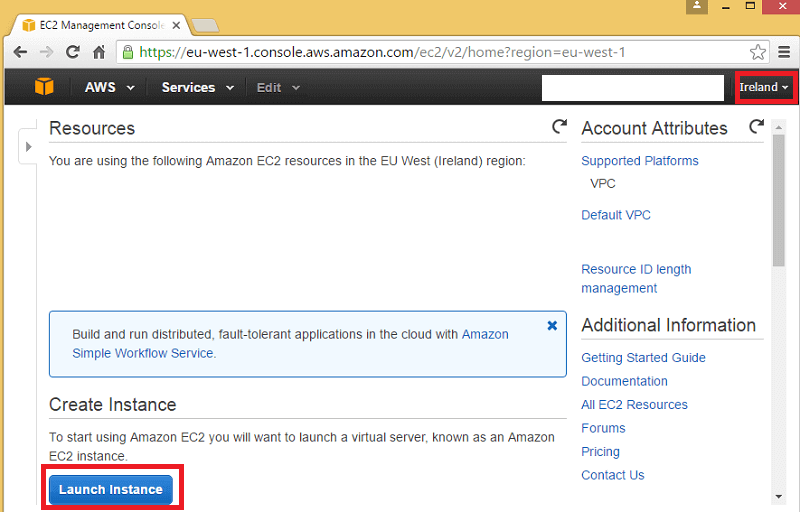
Select a region on top right hand side and then click on Launch Instance.
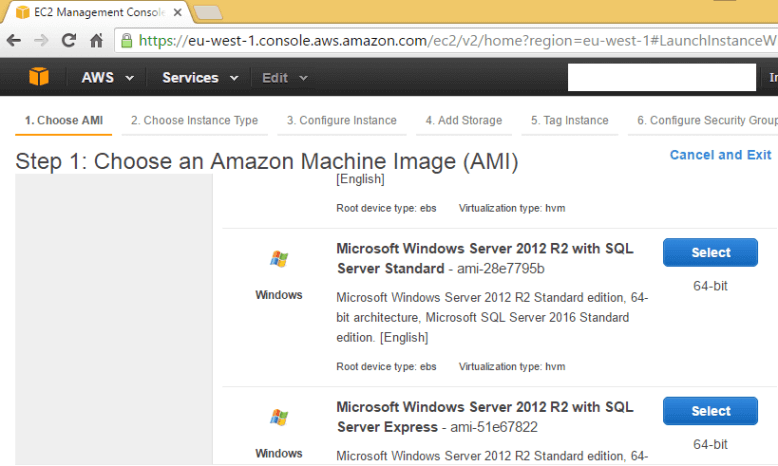
Select appropriate Amazon Machine Image (AMI) and instance type as shown below.
On the Configure Instance Details page you need to specify the number of instances (default is one). If you need more similar instances you can increase the number.

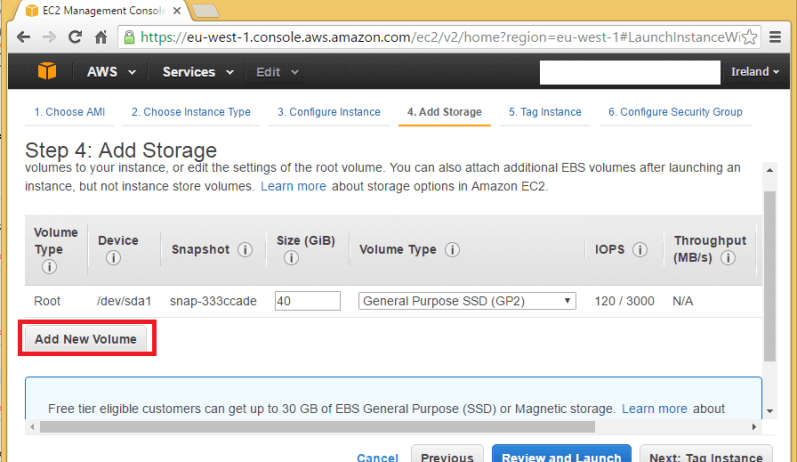
On the Add Storage page click on Add New Volume to add additional EBS (Elastic Block Store) volumes if you want to separate data and log files.
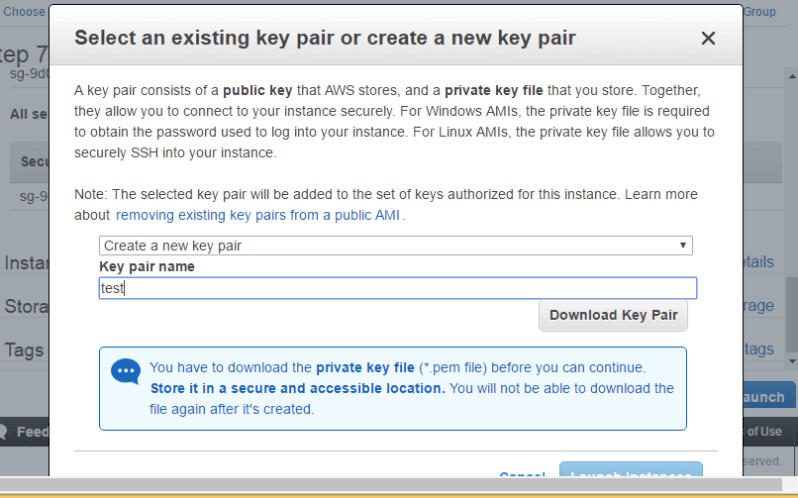
On the Security Group page create a new security group and specify rules to access the instance. Here you can specify different rules for different traffic. Once you review and click the launch button, it asks to create a new key pair for the first time. Download the .pem file, because we will need this .pem file to get a Windows password.
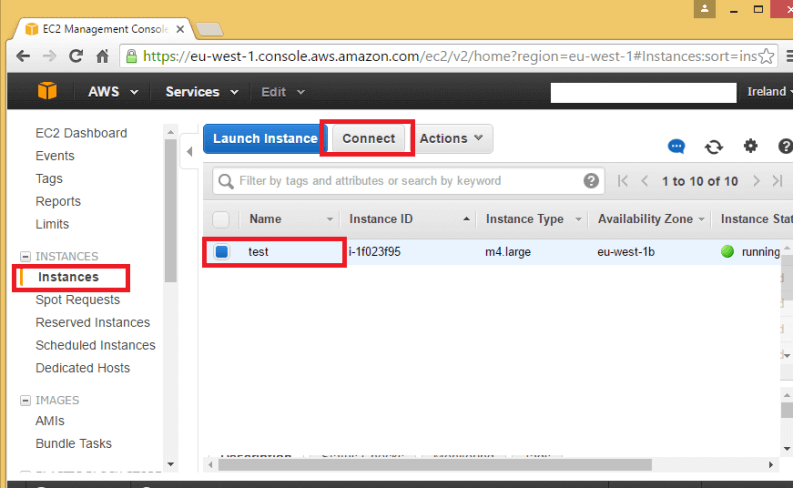
Click on Instances which lists the instances you created. Select an instance and click on Connect.
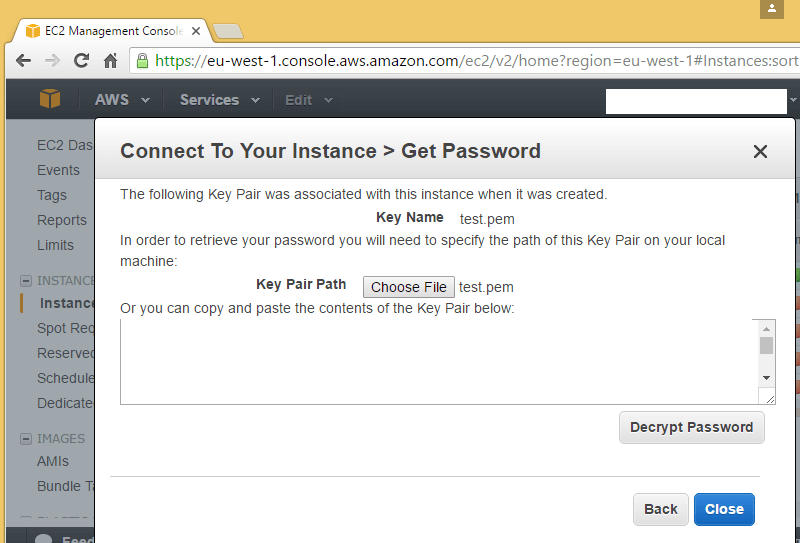
On the Get Password screen, select the .pem file you downloaded earlier and select Decrypt Password.
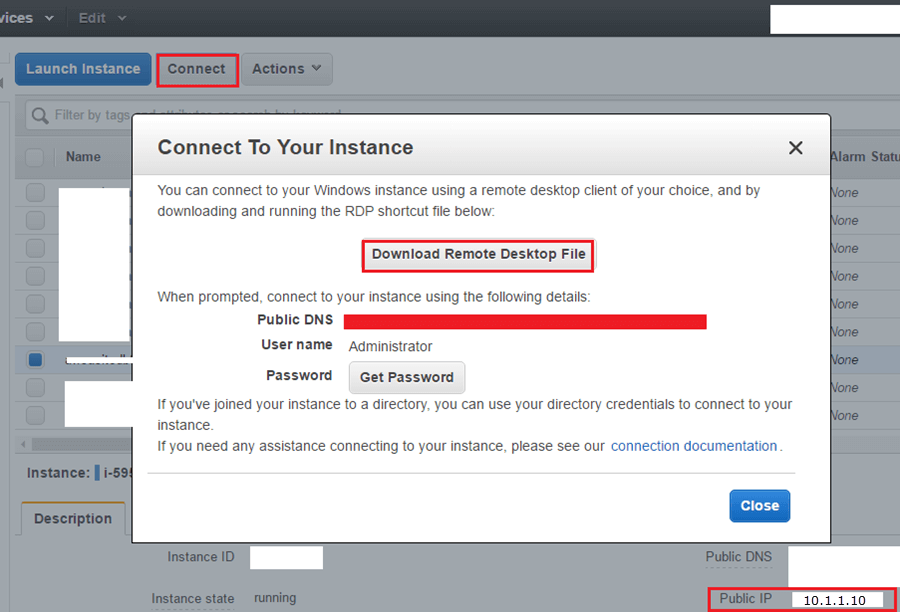
To connect to your instance, you can connect via RDP using Administrator as the user name and the given password. You can see the IP address for the RDP connection in the lower right corner.
Once you get the password, RDP to the box using the IP Address. Once logged into the box you can see the default SQL Server instance installed on the box. (Note: I masked the IP addresses below, but this is where you will see the them.)
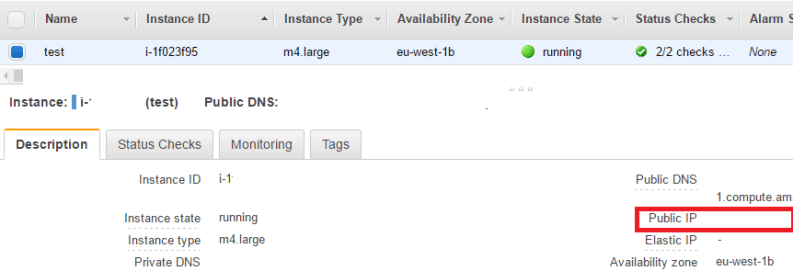
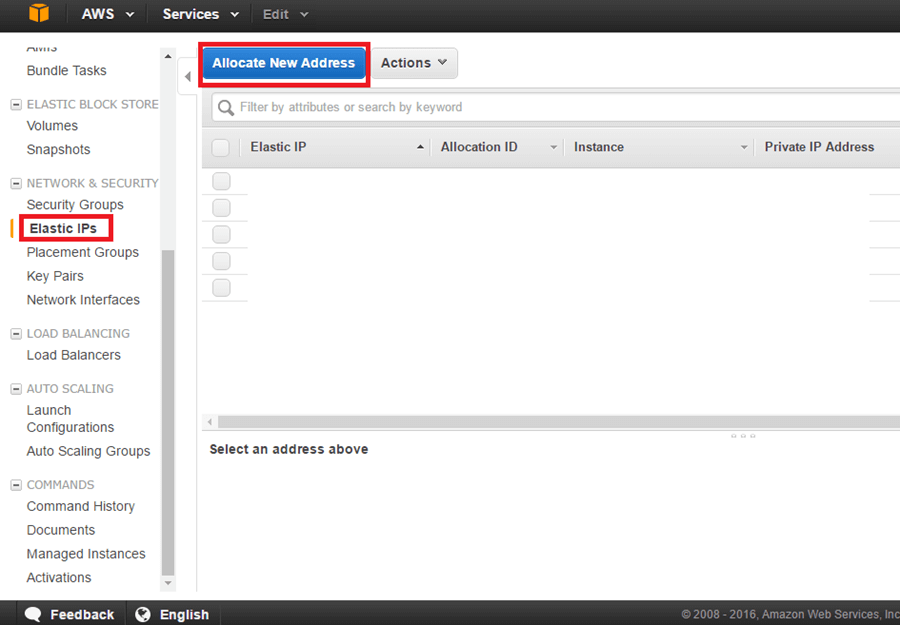
Another thing to note is that the IP Address is dynamic and will change on a restart. So we need to create an elastic IP Address and assign it to the instance. To do so select Allocate New Address and create a new Elastic IP.
Next Steps
- After the instance has been created you can easily add volumes which does not need a restart or add CPU or memory which will require a restart.
- Read more Cloud Related Tips


About the author
 Ranga Babu is a SQL Server DBA with experience on performance tuning and high availability.
This author pledges the content of this article is based on professional experience and not AI generated.
View all my tips
