By: Fikrat Azizov | Comments | Related: > Azure Data Factory
Problem
In these series of posts, I am going to explore the Azure Data Factory, compare its features to SQL Server Integration Services (SSIS) and show how to use it towards real-life data integration problems. In the previous post I've provided a high level overview for Azure Data Factory (ADF) and explained some of the main concepts. In this post, I will demonstrate how to create ADF, add a simple data movement pipeline then execute and monitor that pipeline.
Solution
Create Azure Data Factory
As mentioned in the previous post, there are multiple ways to create and deploy an ADF. I think creating it directly on the Azure Portal is the easiest approach. All Azure services, including ADF need to be included in resource groups. Resource groups are logical containers, which could contain one or more Azure resources. A resource group should have a name and Azure region, where it was created. We can either create a resource group beforehand and use it while creating the ADF or create a resource group as part of the ADF creation. We will use the latter approach. As mentioned earlier, having an Azure subscription is pre-requisite to ADF deployment and once you get it, you can log into the Azure Portal (https://portal.azure.com) and follow the below steps to create an ADF v2.
- Click 'Create a resource' on the top left corner, type Data Factory and press the 'Create' button at the bottom.
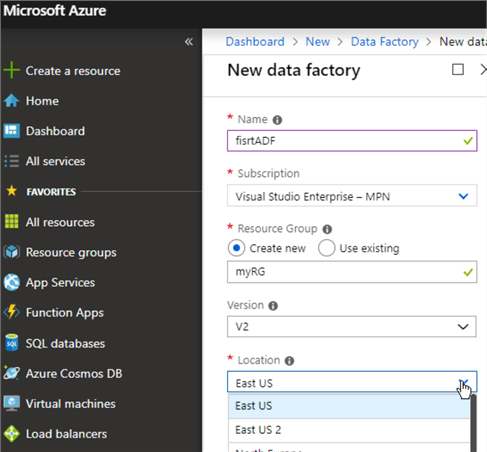
- Enter the ADF's name in the 'Name' box, select 'Create new' and enter the resource group name under 'Resource Group' section, leave version as 'V2' and select a region which is closest to you and press the 'Create' button at the bottom.
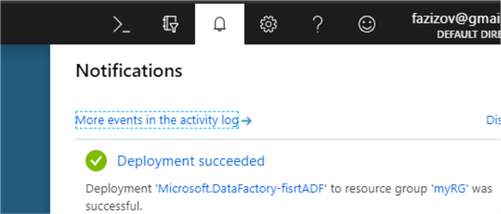
- It may take few minutes for the ADF to be provisioned and once it is done, you will get a message in the notification area on the top right corner about the successful deployment.
- There are multiple ways to open a newly deployed ADF and here is one way:
- Select the 'Resource groups' menu button on the left side of the Azure portal, find the resource group you assigned to ADF and open it.
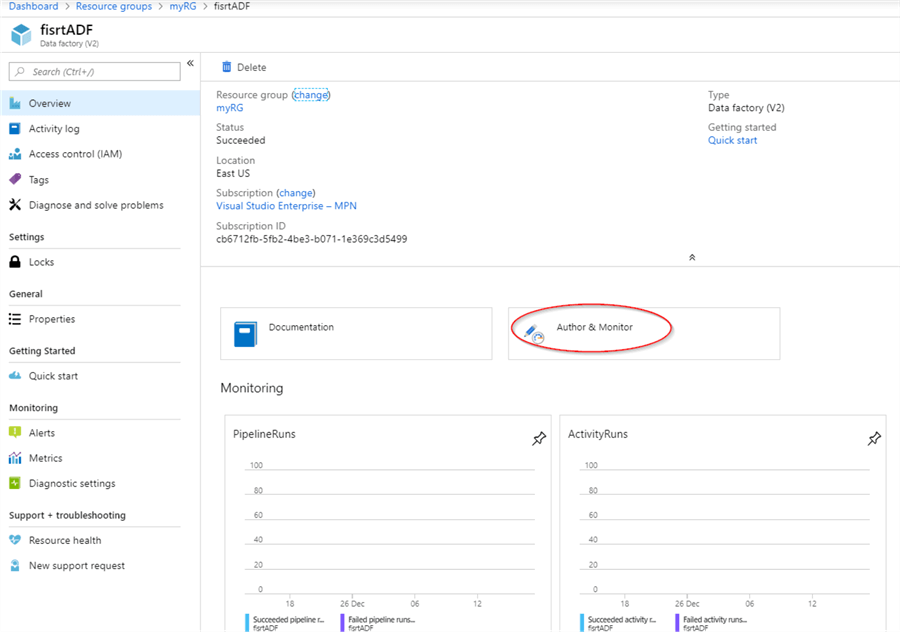
- Next, find the name of the newly created ADF and open it. The ADF's general page contains some charts reflecting past activities on it and important links to ADF documentation and editing. Select the 'Author & Monitor' link.
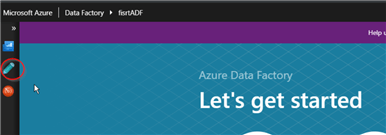
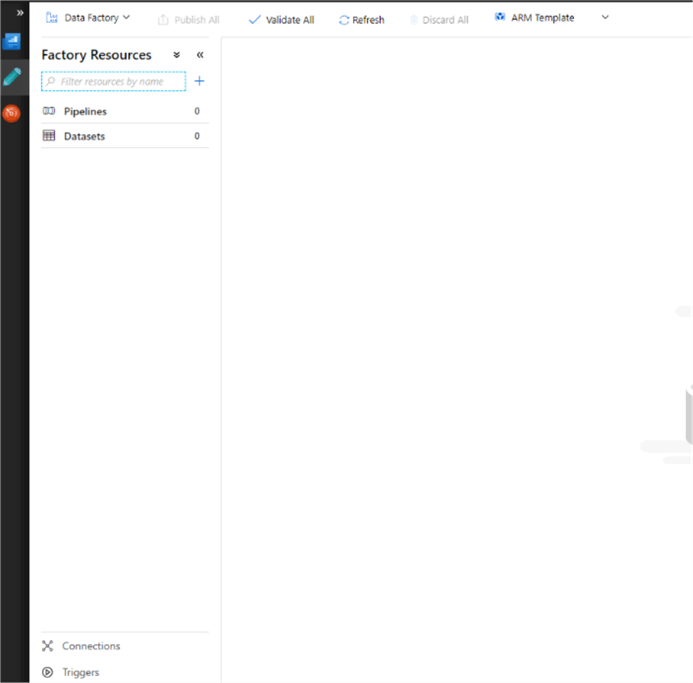
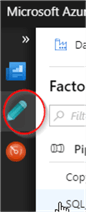
- Click 'Author' button on the left-hand menu.
- The main ADF authoring screen, has a 'Factory Resources' panel with the tabs for Pipelines, Datasets, Connections and Triggers.
Create Azure Data Factory Pipeline to Copy a Table
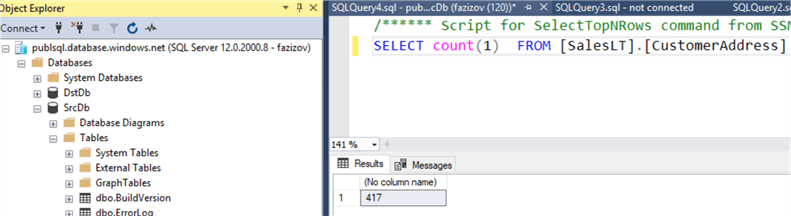
Let's start by adding a simple pipeline to copy a table from one Azure SQL Database to another. We will need both source and destination tables in place before we start this exercise, so I have created databases SrcDb and DstDb, using AdventureWorksLt template (see this article on how to create Azure SQL Database). Our pipeline will copy the CustomerAddress table, which currently has 417 rows:
Here are the steps required to create the copy pipeline.
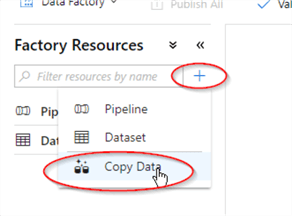
- There're two main methods to create copy pipelines - manual and using the wizard. Both methods can be accessed using the '+' button on the 'Factory Resources' panel. The copy wizard is the easiest option and we'll start by selecting the 'Copy Data' menu option.
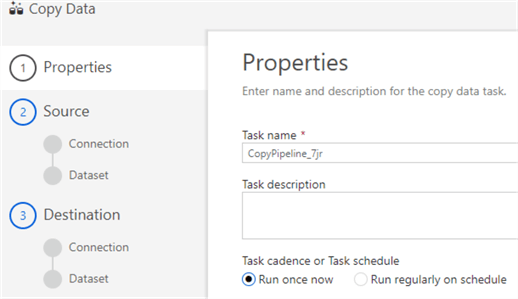
- The copy wizard has six steps, the first step identifies the scheduling option. For now, let's keep as 'Run once now' and confirm by using the 'Next' button:
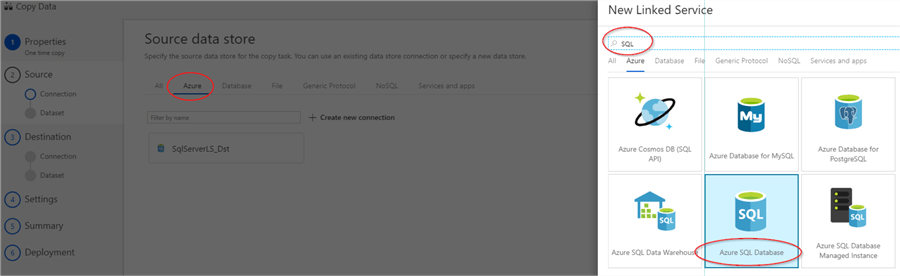
- The second step identifies the source connection. Since Azure SQL will be our source database, select the 'Azure' tab in the top menu, then press 'Create new connection', type 'SQL' in 'New Linked Service' window and select 'Azure SQL Database'.
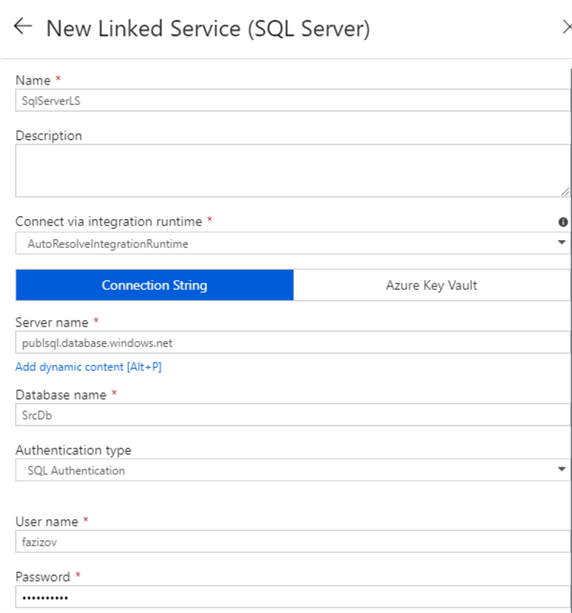
- Now, enter 'SqlServerLS' as the linked server's name and fill in 'Server name', 'Database name' and the credentials fields for the source Azure SQL database and leave all other fields as is.
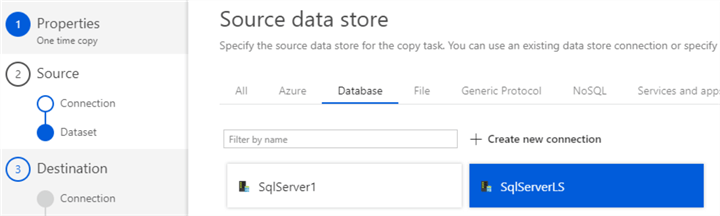
- Once confirmed, you will see a newly created linked service in the 'Source data store' page, select it and move to the next page.
- The next page identifies the source tables. Please note, you can also type a custom query if you switch to the 'Use query' tab.

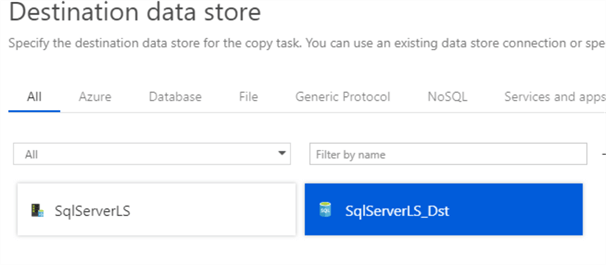
- Step 3 requires the selection of the destination linked service. Select the 'Create new connection' menu item and enter settings for the destination database, just like you did for the source linked service (I named the linked service as SqlServerLS_Dst).
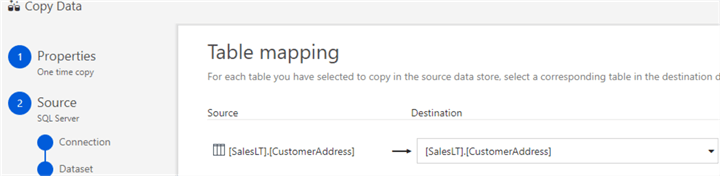
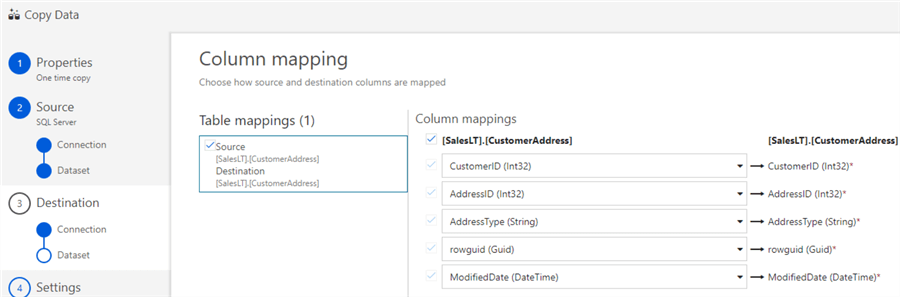
- The next two steps allow creating mapping between the source and destination tables. Since both table names are the same, leave the settings as is.
- Finally, the last step confirms successful deployment and provides links to authoring and monitoring screens. Hit 'Edit Pipeline' to review artifacts created by the ADF.
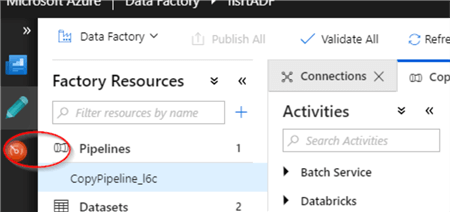
Azure Data Factory Pipeline Components
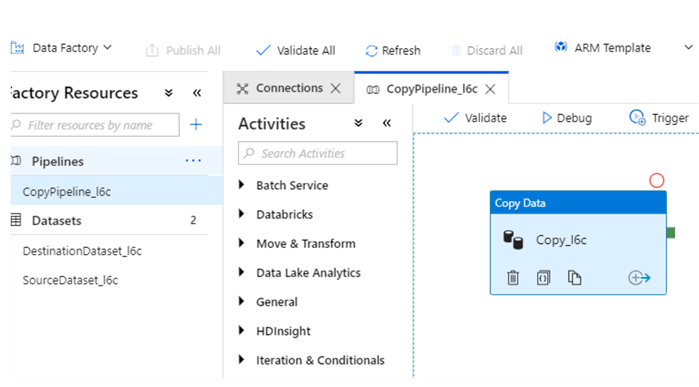
As you can see from the 'Factory Resources' panel, the 'Copy data' wizard has created pipeline 'CopyPipeline_6lc' and two datasets. Selecting the pipeline's name on the left panel allows examining its content (see the central panel). As you can see, we have a single activity named 'Copy_l6c' and when we select it, the bottom panel starts displaying that activity's properties. At this point, we can change the activity's name ('General' tab), source table or query ('Source' tab), destination ('Sink' tab), table/column mapping and customize other settings. We will examine these settings more closely in future posts and we will change some of these settings to create pipelines that are more sophisticated.
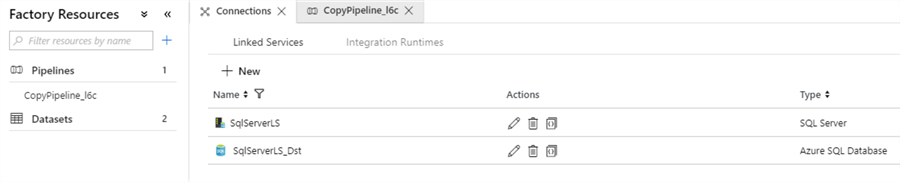
We can also examine the linked services created by the wizard by opening the 'Connections' tab on the bottom left corner.
Monitoring Azure Data Factory Pipeline Execution
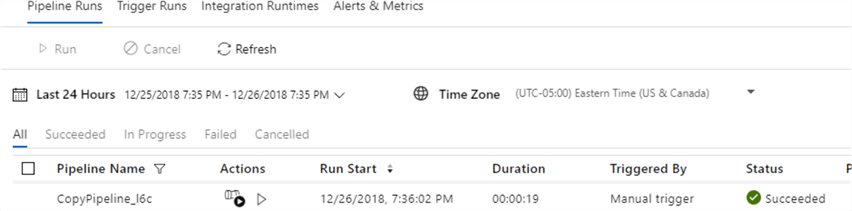
As mentioned earlier, ADF pipelines can be started either manually or by triggers. Creating pipelines using the copy wizard usually results in manual execution and we can examine the execution results by switching to the ADF monitoring page (press the 'Monitor' button on the left side of the screen).
As you can see from the below screenshot, the pipeline execution was successful.
Now, let's ensure that all the source rows moved to the destination by using the following query.

Next Steps
- Read the Azure Data Factory Overview
- Read the Azure Data Factory Documentation


About the author
 Fikrat Azizov has been working with SQL Server since 2002 and has earned two MCSE certifications. He’s currently working as a Solutions Architect at Slalom Canada.
This author pledges the content of this article is based on professional experience and not AI generated.
View all my tips
