By: Koen Verbeeck | Comments (2) | Related: More > Snowflake
Problem
We are using Snowflake for our data warehouse in the cloud. We would like to use the Azure toolset for managing the data pipelines. Is it possible to use Azure Data Factory to get data in or out of Snowflake?
Solution
Snowflake is a cloud-based data warehouse solution, which is offered on multiple cloud platforms. Once you’ve configured your account and created some tables, you most likely have to get data into your data warehouse. But sometimes you also have to export data from Snowflake to another source, for example providing data for a third party.
If you’re invested in the Azure stack, you might want to use Azure tools to get the data in or out, instead of hand-coding a solution in Python, for example. The main tool in Azure to move data around is Azure Data Factory (ADF), but unfortunately integration with Snowflake was not always supported. This meant work arounds had to be created, such as using Azure Functions to execute SQL statements on Snowflake. This concept is explained in the tip Create an Azure Function to execute SQL on a Snowflake Database - Part 2. Luckily, Snowflake integration has now been implemented, which makes implementing pipelines more straight forward.
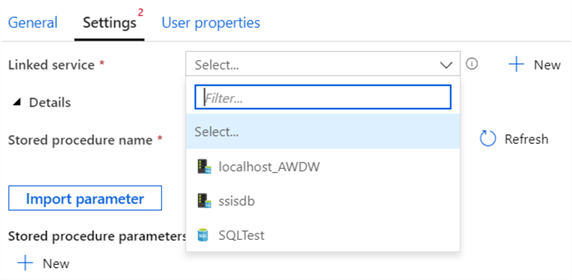
At the time of writing, not all functionality in ADF has been yet implemented. Data flows are in the pipeline, and you cannot use a Snowflake linked service in the Execute Stored Procedure activity. If you created such a linked service, you cannot use it in the activity:
In this tip, we’ll show you how you can create a pipeline in ADF to copy the data from a .csv file in Azure Blob Storage to a table in Snowflake, and vice versa.
If you need more information about Snowflake, such as how to set up an account or how to create tables, you can check out the Snowflake tutorial.
Copying Data from Snowflake to Azure Blob Storage
The first step is to create a linked service to the Snowflake database. ADF has recently been updated, and linked services can now be found in the new management hub:
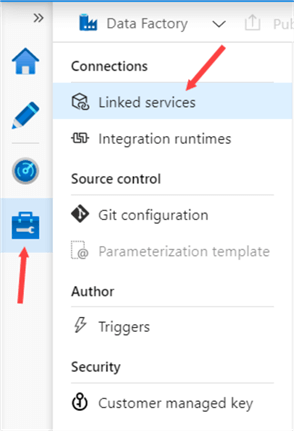
In the Linked Services menu, choose to create a new linked service:

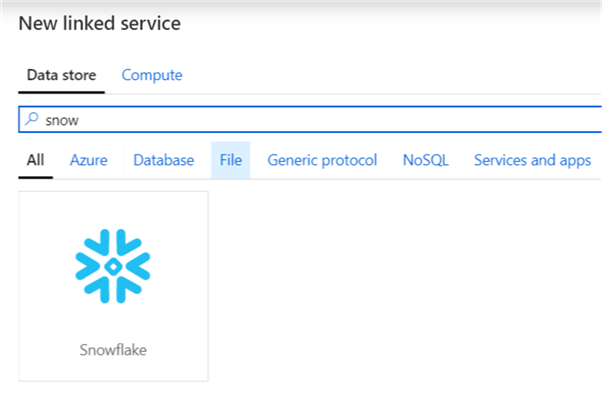
If you search for Snowflake, you can now find the new connector:
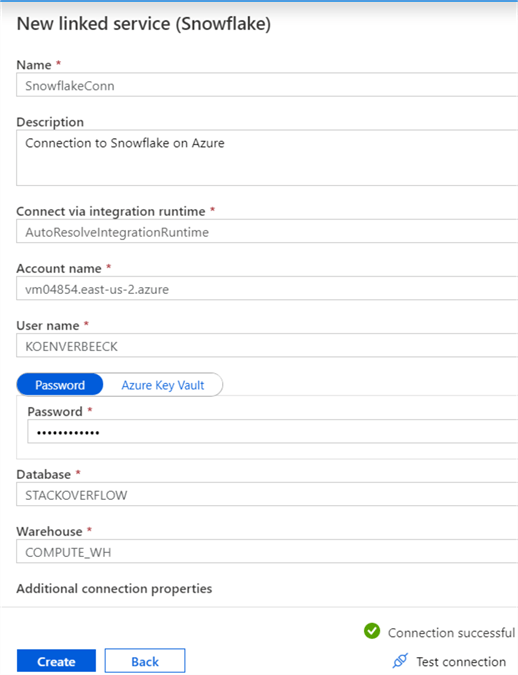
You can specify the integration runtime you wish to use to connect, the account name (without the https), the username and password, the database and the warehouse. Remember, you always need to specify a warehouse for the compute engine in Snowflake. You can also specify additional connection properties, such as for example a default role.
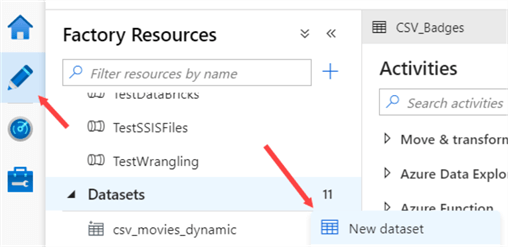
First, let's create a dataset for the table we want to export.
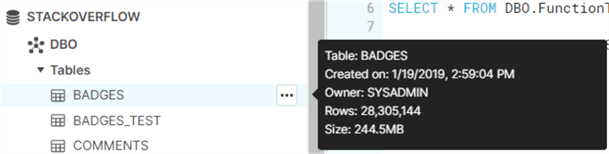
In this tip, we’re using the Stack Overflow sample data, but any dataset can be used. We’re going to export the data from the Badges table to a csv file. This table has over 28 million rows and is about 244 megabytes in size.
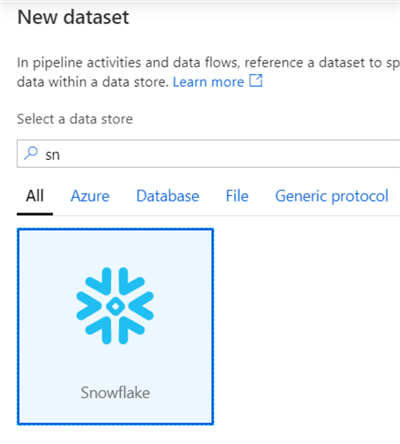
In the New Dataset dialog, search for the Snowflake dataset:
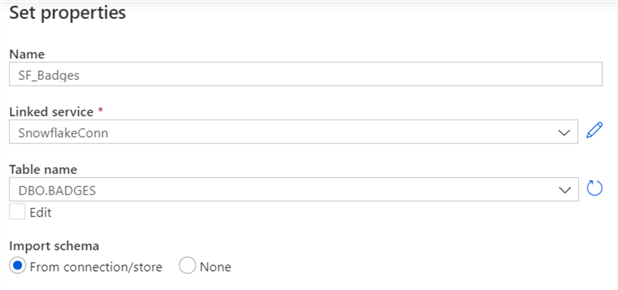
In the next screen, select the Snowflake linked service we just created and choose the desired table from the list.
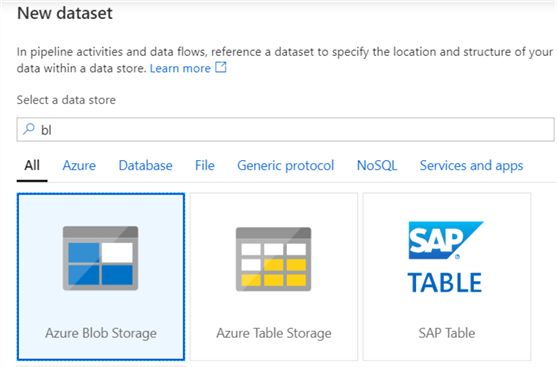
The following step is to create a dataset for our CSV file. Select Azure Blob Storage from the available locations:
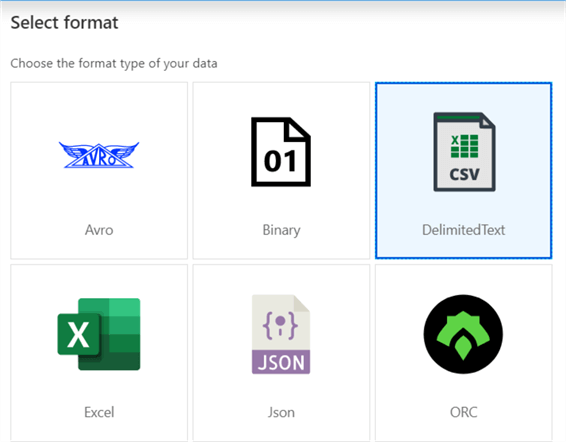
Next, choose the DelimitedText format:
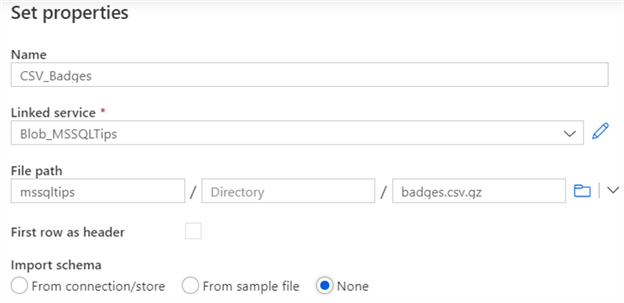
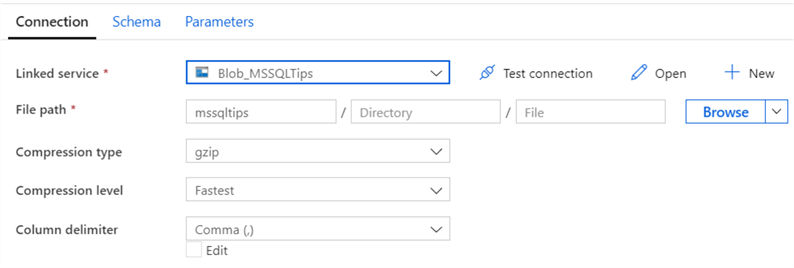
If you haven’t already, create a linked service to a blob container in Azure Blob Storage. Next, specify the name of the dataset and the path to the csv file. For the CSV dataset, configure the filepath and the file name. Since the file does not exist yet, we’re not going to import the schema.
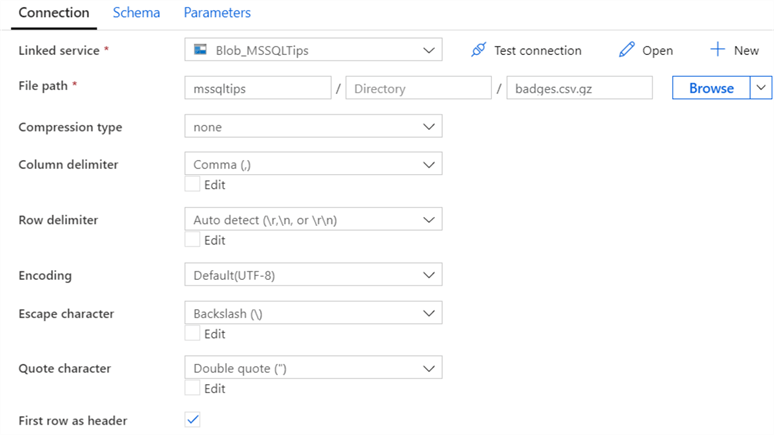
These are the default settings for the csv file, with the first row configured as the header:
However, it seems auto-detecting the row delimiter does not work:
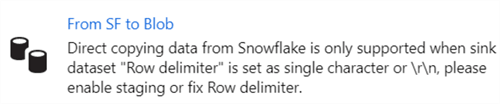
So, make sure to give it an explicit value:

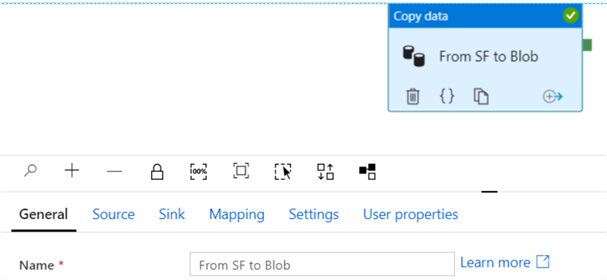
Now we can create a new pipeline. Add a Copy data activity.
For the source, choose the Snowflake dataset:
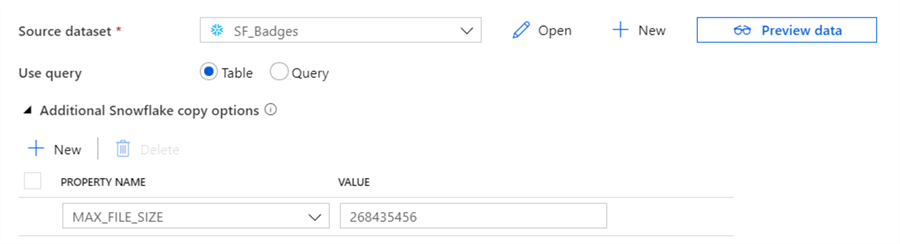
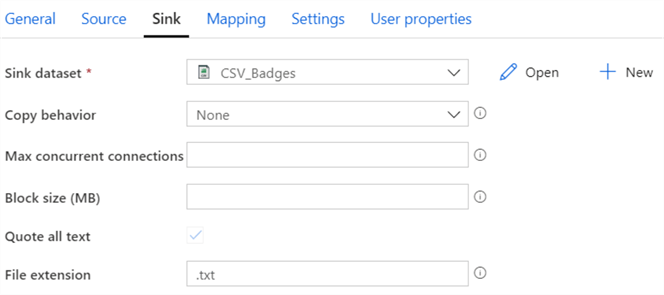
Since the Badges table is quite big, we’re going to enlarge the maximum file size using one of Snowflake’s copy options, as demonstrated in the screenshot. For the sink, choose the CSV dataset with the default options (the file extension is ignored since we hard-coded it in the dataset):
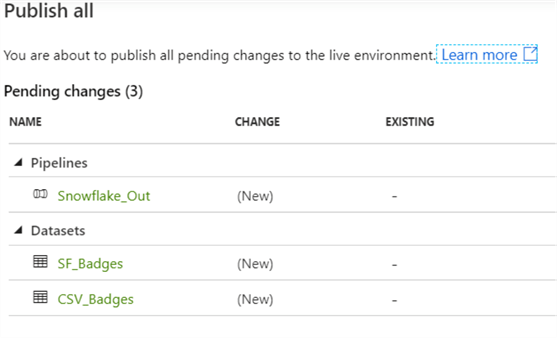
Once everything is configured, publish the new objects:
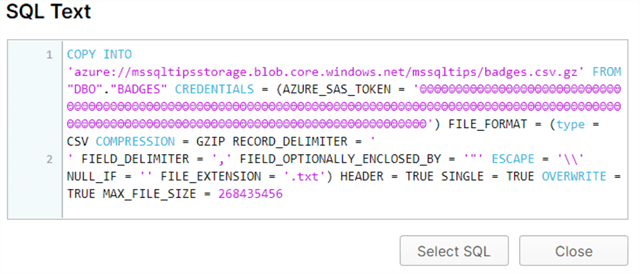
Once you run the pipeline, you can see the COPY INTO statement being executed in Snowflake:
The full SQL statement:
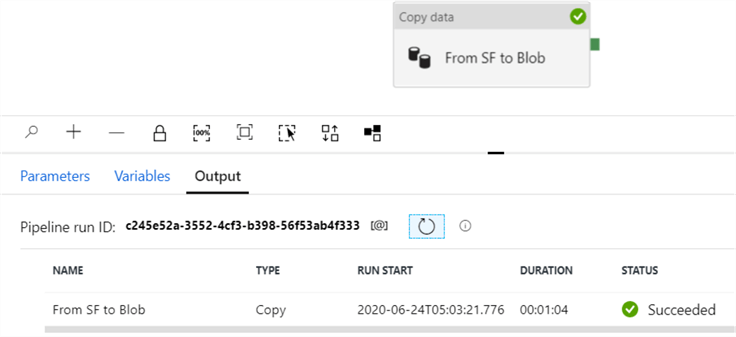
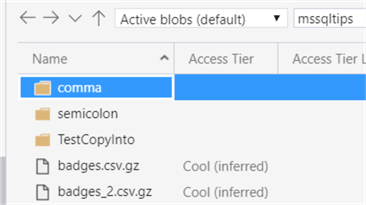
In about 1 minute, the data from the Badges table is exported to a compressed CSV file:
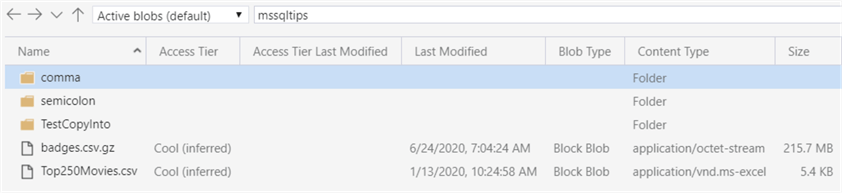
We can verify the file is actually created in the Azure Blob container:
A Couple of Pitfalls
When exporting data from Snowflake to another location, there are some caveats you have to take into account.
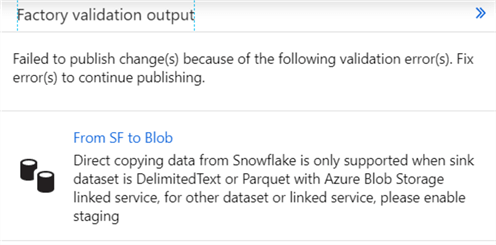
- JSON is not yet supported. Only delimitedtext and parquet file formats are supported for direct copying data from Snowflake to a sink.
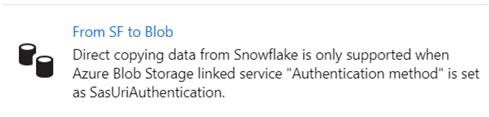
- When using Azure Blob Storage as a source or sink, you need to use SAS URI authentication. The reason for this is that a COPY INTO statement is executed in Snowflake and it needs to have direct access to the blob container. An example of creating such an SAS URI is done in the tip Customized Setup for the Azure-SSIS Integration Runtime.
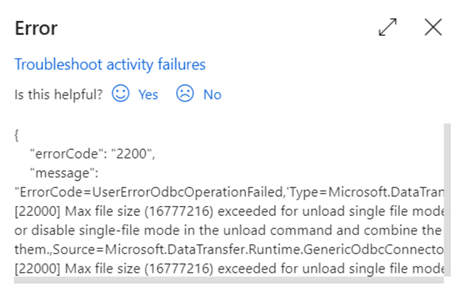
- If the table contains too much data, you might go over the maximum file size. You can enlarge this as we’ve shown earlier. Also make sure you’re using compression. If the output is still too big, you might want to create a solution that writes to multiple files. Mapping data flows have this ability, but they do not support Snowflake at the time of writing.
Copying Multiple Files Azure Blob Storage from to Snowflake
Let’s reverse the roles. Now we’re going to copy data from multiple CSV files to a Snowflake table. First, let’s clone the CSV file we created in the previous section:
In the configuration of the dataset, we’re going to leave the filename blank:
In Snowflake, we’re going to create a copy of the Badges table (only the schema, not the data) with the following SQL statement:
create table dbo.BADGES_TEST like dbo.BADGES;
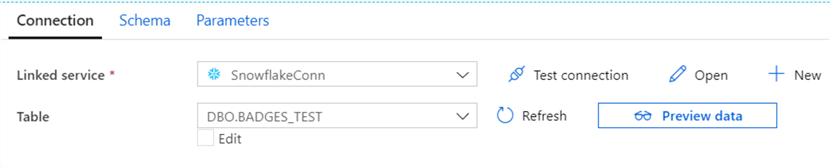
The Snowflake dataset is then changed to this new table:
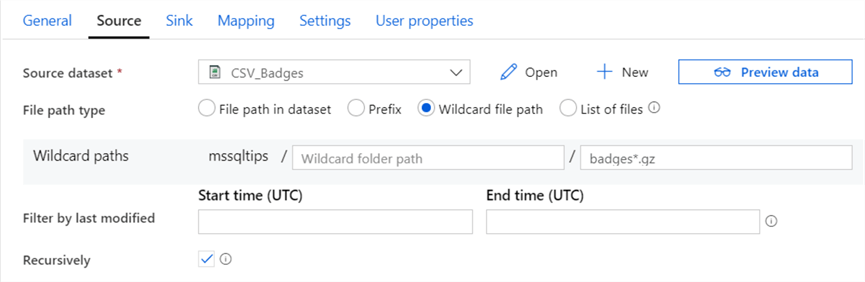
Create a new pipeline with a Copy Data activity (of clone the pipeline from the previous section). For the source, choose the csv dataset and configure the filename with a wildcard:
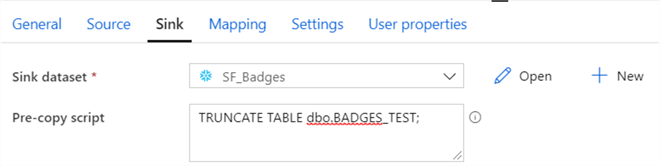
For the sink, choose the Snowflake dataset and configure to truncate the destination table before the data is copied:
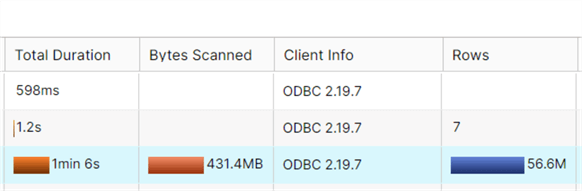
When the pipeline is started, the destination table will be truncated, but it’s schema will be retrieved as well (for the mapping). Finally, the COPY INTO statement will be executed.
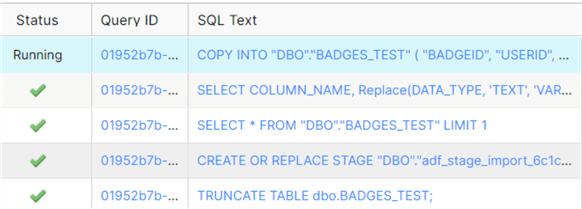
The full SQL statement:

You can see the wildcard from the filename is translated into an actual regular expression. After about one minute, the two CSV files are copied into the table. This is 56 million rows and almost half a gigabyte. The performance of the COPY INTO statement is quite good.
Conclusion
In this tip, we’ve shown how you can copy data from Azure Blob storage to a table in a Snowflake database and vice versa using Azure Data Factory. At the moment, ADF only supports Snowflake in the Copy Data activity and in the Lookup activity, but this will be expanded in the future.
Next Steps
- If you’re interested in Snowflake, check out
the tutorial.
- The section about Loading Data into Snowflake gives more information about stages and the COPY INTO statement.
- Check out the documentation for more details.
- For more Azure tips, check out this overview.


About the author
 Koen Verbeeck is a seasoned business intelligence consultant at AE. He has over a decade of experience with the Microsoft Data Platform in numerous industries. He holds several certifications and is a prolific writer contributing content about SSIS, ADF, SSAS, SSRS, MDS, Power BI, Snowflake and Azure services. He has spoken at PASS, SQLBits, dataMinds Connect and delivers webinars on MSSQLTips.com. Koen has been awarded the Microsoft MVP data platform award for many years.
This author pledges the content of this article is based on professional experience and not AI generated.
View all my tips
