By: MJ Ferdous | Comments | Related: > SharePoint Administration
Problem
Many SharePoint sites need to allow public access and/or registration. However developers face the problem of programmatically adding a new user to needed groups in order to avoid "Access Denied" errors.
Solution
This article will demonstrate how to register a new user programmatically for a SharePoint site using a custom register page and add this user into a SharePoint user group. This solution is an enhanced version of the tip on "Creating and deploying custom Login page - SharePoint 2010 FBA authentication".
Step 1:
(This first step is same as step 1 from the above referenced tip. If you already created the project from that step and would like to reuse it, you may skip to Step 2 below.)
- Create a new project of type "Empty SharePoint Project" in Visual Studio 2010 as shown below.
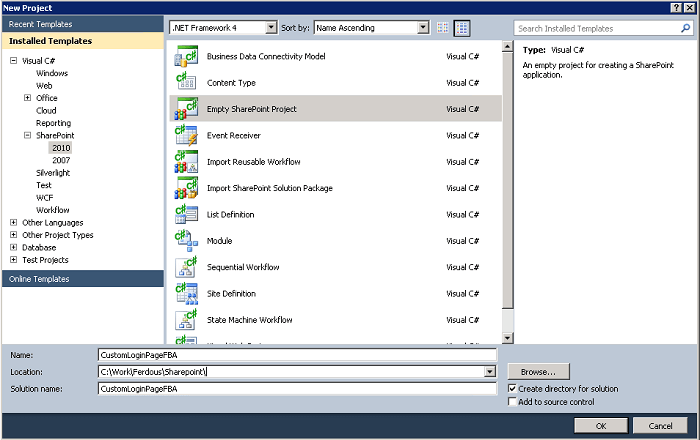
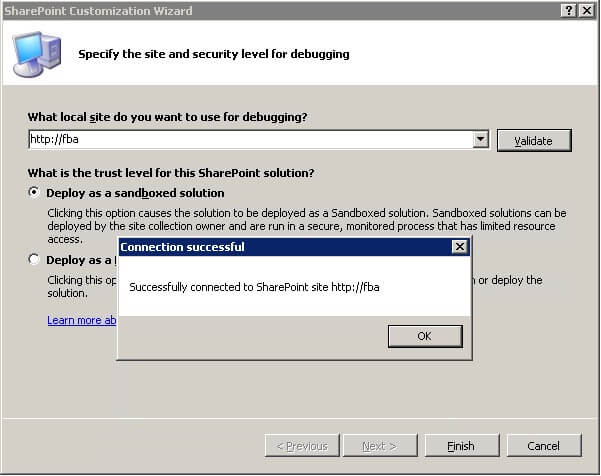
- Provide a Project name and Press "OK". You will be prompted by a Wizard to specify a SharePoint site where you want to deploy a custom login page. You can validate the site URL to ensure that your site is fine to deploy in this solution. Remember that you have to choose Deploy as Server Farm solution instead of deploying as a sandboxed solution (default selected as below). Otherwise you will get an error when you deploy the solution "The deployment type "TemplateFile" of file "CustomLogin.aspx" in Project Item "Layouts" is not compatible with a Package in a Sandboxed Solution" Because Layout is the root place to deploy in SharePoint server farm which is mapped {SharePointRoot}\Template\Layouts.
So you will select Deploy as Server Farm solution after validation of the site URL.
- Then "Click to Finish" to create the project.
Step 2:
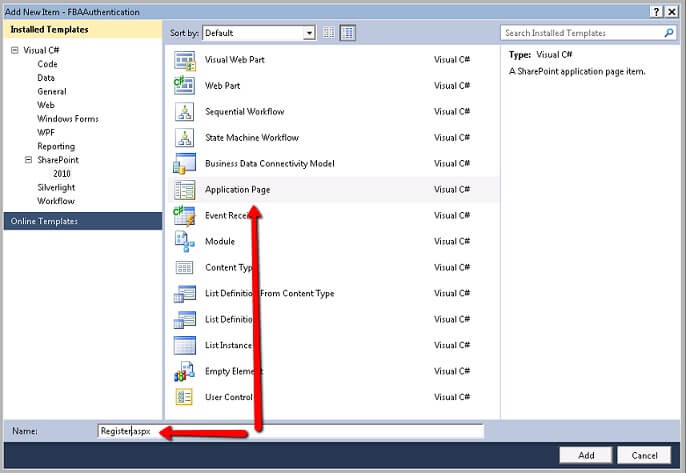
You have to add a new Application Page using a right-click on the project Solution Explorer -> New item to create a Register Page (Register.aspx) in the following way.
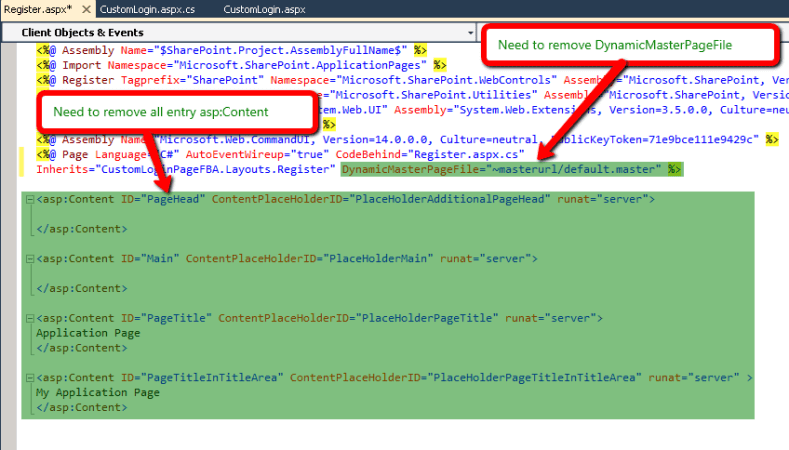
The form will auto-generate some code where you:
- Need to remove the entry asp:Content ID="Content1" runat="server" from the Register.aspx
- Need to remove DynamicMasterPageFile="~masterurl/default.master" from @Page Register tag
- Change Inheritance LayoutsPageBase to System.Web.UI.Page
- Copy the following code to register the new user. Detailed steps are:
- Create membership user
- Create SharePoint user
- Add SharePoint user to a desired group
string login = UserName.Text.Trim();
string password = Password.Text.Trim();
string email = Email.Text.Trim();

//1) Create membership user
MembershipUser membershipUser = Membership.CreateUser(login, password, email);
Microsoft.SharePoint.SPSecurity.RunWithElevatedPrivileges(delegate
{
    //2) Create sharepoint user
    using (SPSite spSite = new SPSite(SPContext.Current.Site.ID))
    {
        SPWeb spWeb = spSite.OpenWeb();
        spWeb.AllowUnsafeUpdates = true;
        SPUser spUser = spWeb.EnsureUser(login);

        //3) Add sharepoint user to a desired group
        SPGroup spGroup = spWeb.SiteGroups["FBA Demo Members"];
        spGroup.AddUser(spUser);
        spWeb.AllowUnsafeUpdates = false;
    }
});
Step 3:
Then deploy the solution which will create a folder inside .\Microsoft Shared\web server extensions\14\TEMPLATE\LAYOUTS\CustomLoginPageFBA
Step 4:
- Go to Central Administration
- Select "Site" from "Application Management"
- Click on Authentication Provider
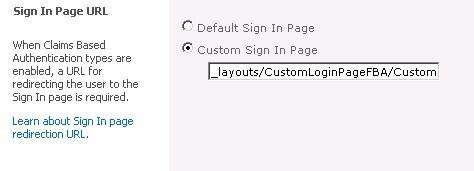
- Select the Zone and go inside it to get the following Sign In Page URL Section
- Change the Custom Sign In Page URL from where you will link Register Page
Next Steps
- Download the complete source code from here


About the author
 MJ Ferdous
This author pledges the content of this article is based on professional experience and not AI generated.
View all my tips
