By: Burt King | Updated: 2024-01-11 | Comments | Related: > Backup
Problem
A wide range of teams could benefit from a database backup when needed. Since most are familiar with SQL Server Management Studio (SSMS), this tip will provide information on how to use SSMS to create a full backup of a database.
A full backup will allow you to create a complete database backup which can be used to restore the database to the time when the backup was created or restore the backup to another instance of SQL Server so you have a copy of the database that can be used.
Solution
Backing up a database with SSMS can be performed by a user with sysadmin, db_owner, or db_backupoperator role. In addition, the service account running SQL Server must have the correct NTFS permissions to write to the file system. SSMS can back up system databases (Master, Model, MSDB, but not tempdb) and all user databases if the database is online and all files are available.
Backup a SQL Server Database
Open SSMS. Expand the databases folder and select the database you want to back up. Right-click on the database name and select Tasks > Back up… which will open the backup database interface.
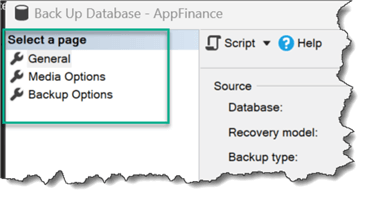
General Page
The first page opened is General. The selected default options are:
- Database: Name of the database you selected for backup
- Backup type: Full
- Backup component: Database
- Destination: Backup to disk in the default backup location for the server.
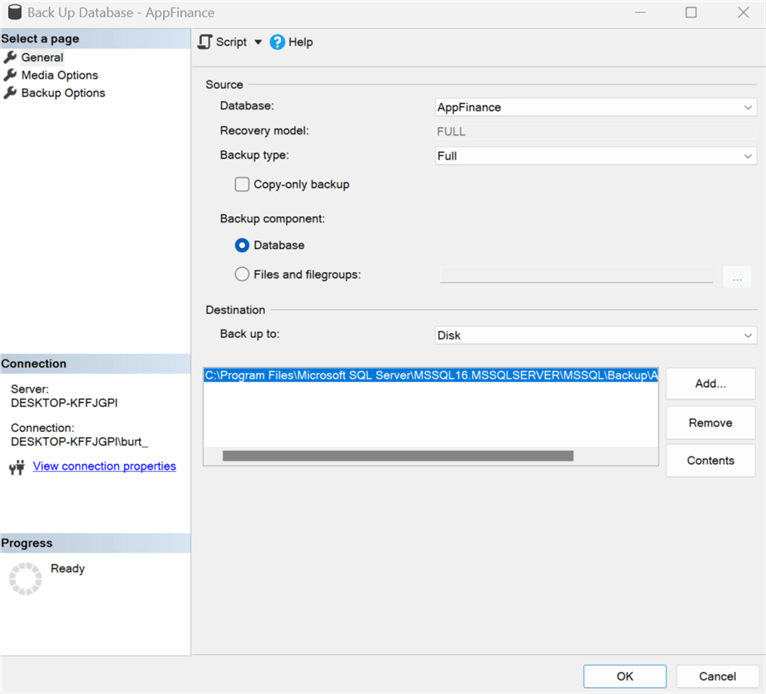
To get a complete copy of the database you need to select Full. Also, if this backup is being created outside the regular backup schedule it is best to use the "Copy-only backup" option.
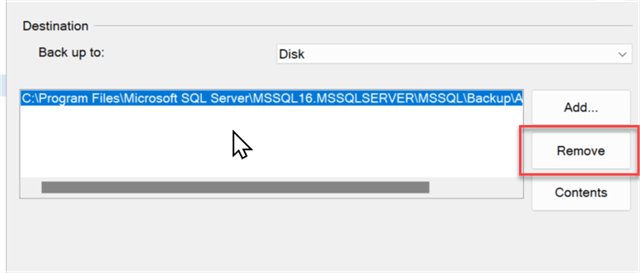
There may be a need to create the backup in a different location other than the default. To do so, click Remove, which will remove the default location and name.
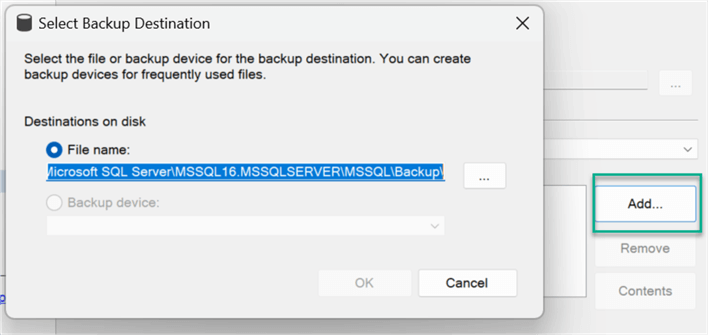
After removing the default location, click Add… to add a new destination and filename.
Media Options
The next page to configure is Media Options.
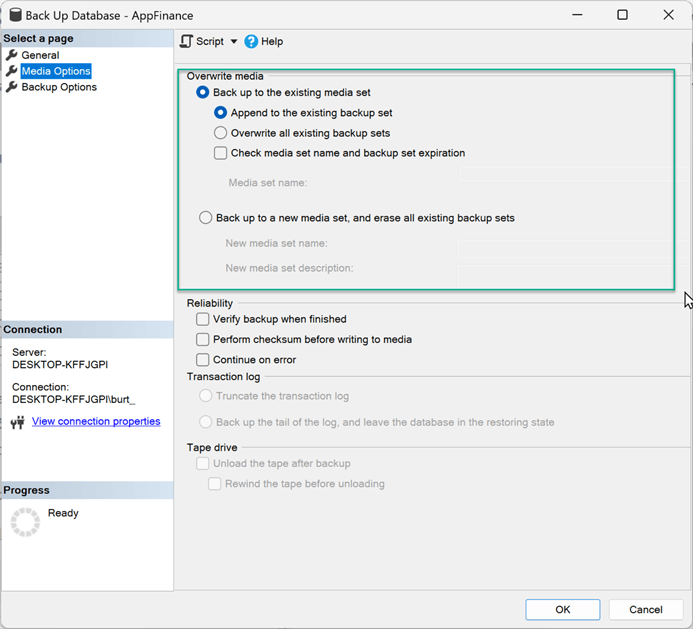
The Media Options page includes more advanced options for DBAs. In the Overwrite media section, the default is to back up to the existing media set by appending it to the file you selected on the General page. In other words, the interface offers this selection whether the file selected on the General page exists or has not been created yet.
The Reliability section offers three options that a DBA should be familiar with:
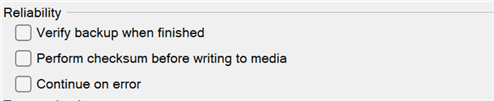
- Verify backup when finished: This will execute the "RESTORE VERIFYONLY" command on the backup once completed. This will increase the backup time but ensure the backup image is valid. This does not run a checkdb against the database. The SQL 2022 documentation states that the process "has been enhanced to do additional checking on the data to increase the probability of detecting errors."
- Perform checksum before writing to media: This adds checksums to the pages for verification when the database is restored. This is the default with compressed backups. Torn page detection or checksum detection must be enabled on the database.
- Continue on error: When an error is encountered, it is ignored, and the backup proceeds.
Backup Options
The final page is Backup Options.
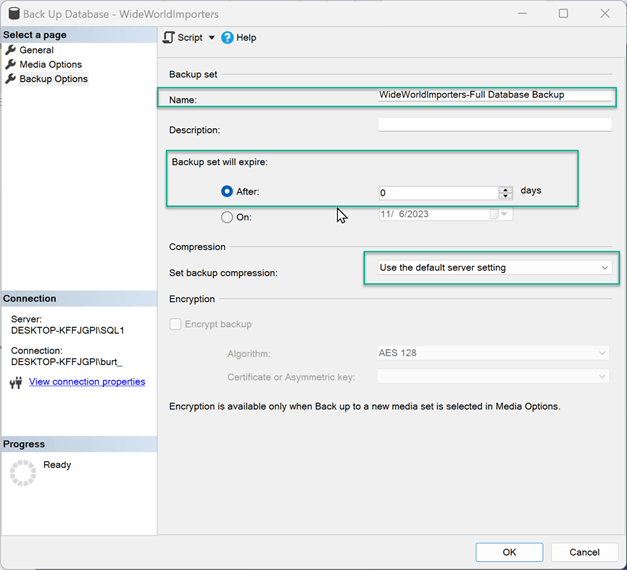
On this page, you can select:
- Name: Defaults to the database name - database backup type. A description can also be added but is not required.
- Backup set will expire: Default 0 days means the backup set never expires and can never be overwritten.
- Set backup compression: Uses the default server setting. This option does not compress backups with the Express edition.
- Encryption: Encryption is an advanced option that organizations can choose based on the needs of the business. If you have a certificate available, select it and the algorithm here. This is not the same as Transparent Data Encryption (TDE), which encrypts the database files.
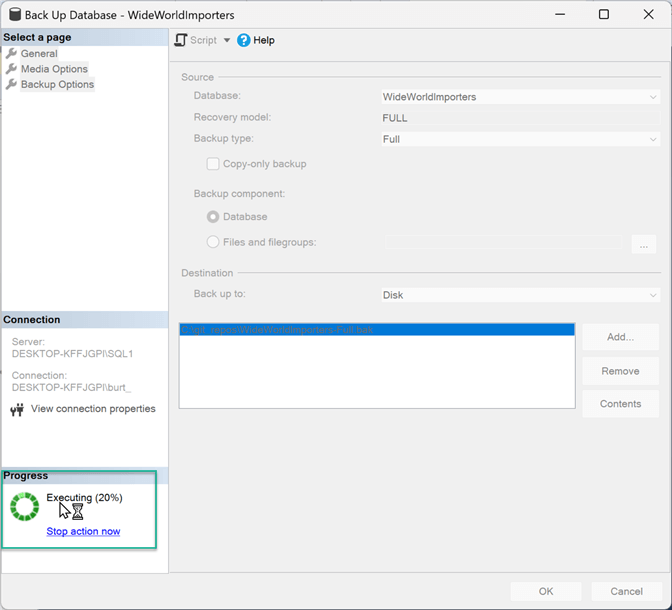
Start the SQL Server Backup
After reviewing and editing the pages, click OK. The backup will begin. As shown in the image below, a new window will open where you can review the progress of the backup.
When the backup is complete, a new window appears with the status (image below).
Next Steps
- Document the process for your teams based on best practices at your organization.
- Review checksum behavior in backups -- BACKUP (Transact-SQL)
- Review recovery process tip -- Validate a SQL Server Backup can be Restored
- Review backup encryption and best practices if you need more information on how to encrypt backups -- Backup Encryption


About the author
 Burt King is Senior Database Administrator at enservio with more than 15 years experience with SQL Server and has contributed to MSSQLTips.com since 2011.
This author pledges the content of this article is based on professional experience and not AI generated.
View all my tips
Article Last Updated: 2024-01-11
