By: Manvendra Singh | Updated: 2021-10-29 | Comments | Related: 1 | 2 | 3 | 4 | 5 | 6 | 7 | 8 | 9 | > Virtualization
Problem
This tutorial explains the steps to install Python2 and openssl1.0 which are prerequisites to install SQL Server 2019 on Red Hat Enterprise Linux systems. The RHEL operating system does not install this software during installation, so we need to manually install and configure both components separately on the target system before installing SQL 2019.
Solution
SQL Server 2019 is the latest available SQL Server version which can also be installed and configured on Linux based systems. Microsoft started support for Linux systems with SQL Server 2017. If you want to install SQL Server 2017 on Linux systems, then you can read this article SQL Server on Linux.
There are previous articles in this tutorial series, so you can start with this one if you want to cover all of the aspects of setting up a VM for SQL Server. Before going ahead, I would recommend reading the previous articles in sequence to understand the flow of this article. These articles will also help you to install the operating system, create VMs, install VM workstations, etc. which is very important if you don’t have a dedicated machine for such installations.
Let’s see what must be installed in order to install SQL Server 2019 on RHEL system.
- You must have a system running with RHEL 8.
- Your VM must be registered with RHSM (Red Hat Subscription Management), this is required to install python2
- Verify you have python2 installed on your target RHEL VM. RHEL 8 doesn’t comes with this module. You need to install it manually as part of the prerequisites.
Install Python
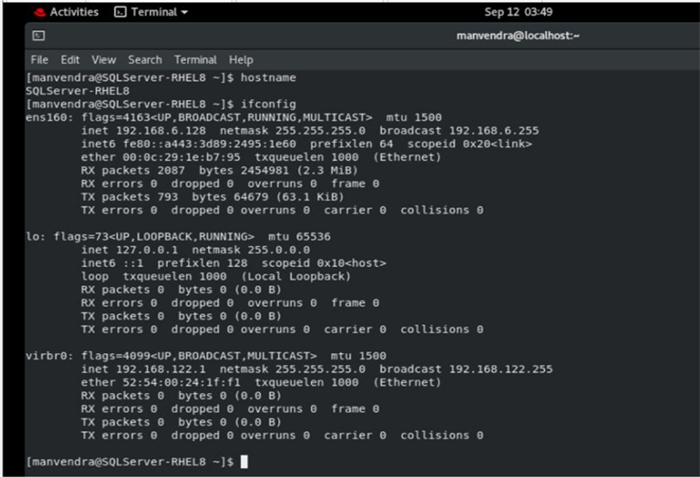
The first step is to connect to your target RHEL system. Login to the system or remotely connect to the target system using tools like PuTTY. You can see I have logged in to the RHEL system and fetched the hostname and IP address of this system which I will use to make a remote connection using PuTTY to perform the installation steps.
--Get Server Name
Hostname

--Get Server IP
Ifconfig
If you are already know the server IP then you don’t need to do the above step, you can directly launch the PuTTY utility and establish the connection using that IP.
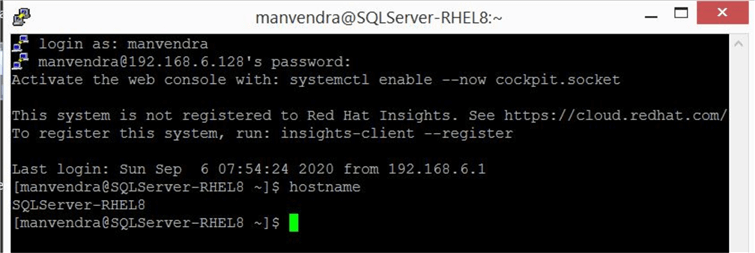
You can see, I have connected to my target RHEL system using the IP address of the target system. I have also validated the hostname to verify I have connected to right machine.
Next, we will check whether any version of SQL Server is already installed on this machine. Run the following command to check SQL Server service status on the target server.
--Get Server Name
Systemctl status mssql-server
There is no SQL Server service installed on this server as per the output below. If SQL Server is already installed, then somebody might have already installed python2.

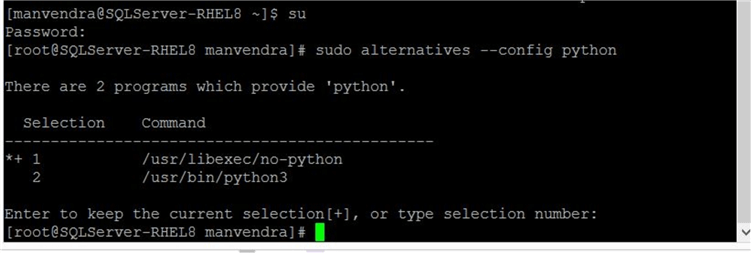
Execute the below command to check the existing configuration of python on this system.
--Check the configured version of python
Sudo alternatives –config python
There are 2 programs that provide python support on the operating system and we can see python2 is not installed on this machine yet.
First, we will install python2 then openssl1.0 in sequence.
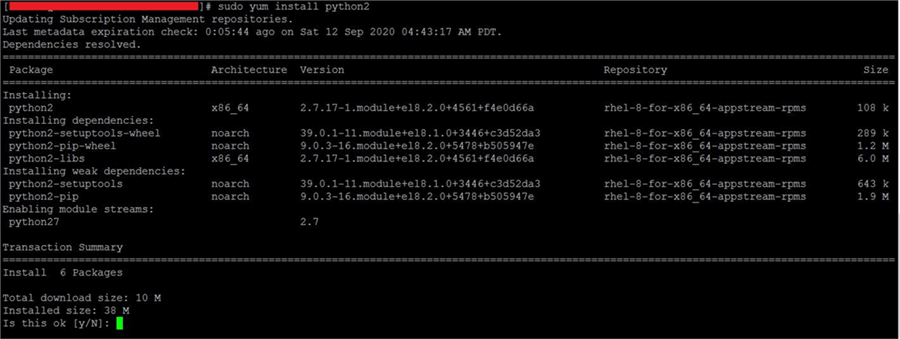
Execute the below command to install python2 on this machine.
--Install python2
sudo yum install python2
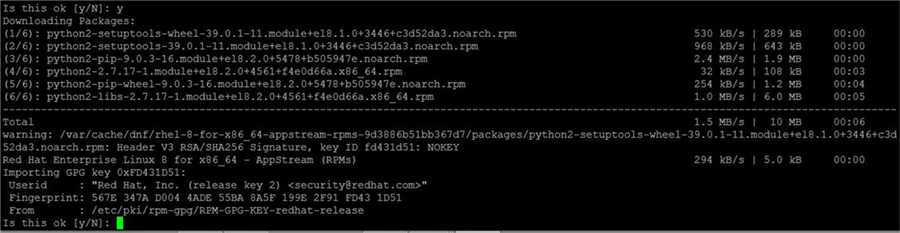
You will get all packages along with their dependencies that will be installed on this machine as part of the python2 module. The prompt will ask you to enter y for Yes to proceed with installation and N to abort this installation. Type y and press Enter to proceed.
I have taken screenshots with multiple images as it was not captured in one image. So, you can see the packages have been downloaded. The screen will ask you to enter y again while importing the GPG key. Follow the instructions to proceed with the installation.
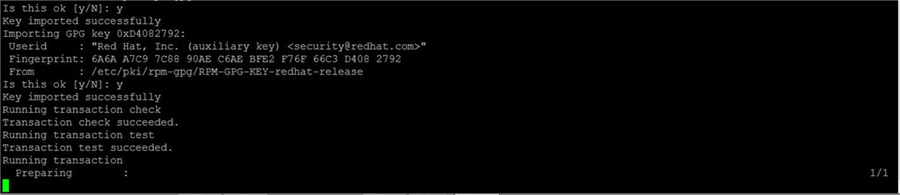
The key has been imported successfully and installation has started as shown in the below image.
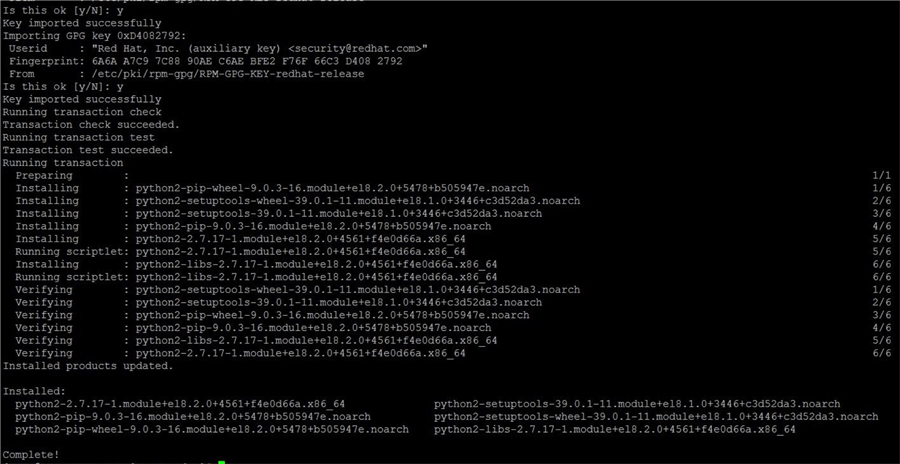
All packages have been installed along with master package python2 in the below screenshot. Here we have completed the python2 installation that was the main prerequisite for SQL Server 2019 on RHEL 8 system.
You might be faced issues while installing python2 if your system is not registered with RHSM (RedHat Subscription Management). You can do this first and then proceed with the installation, you can find information here to register with Red Hat Subscription Management.
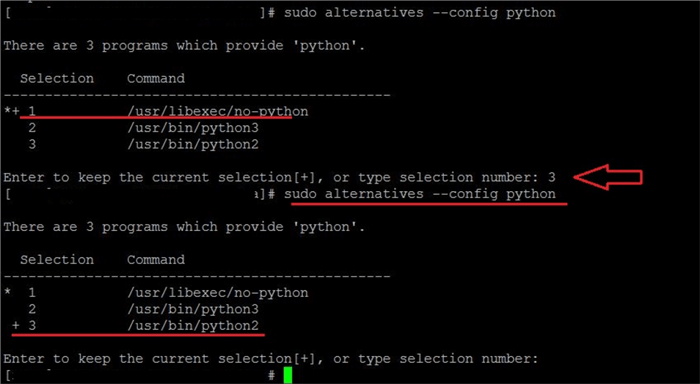
Next, we will configure newly installed python2 as the default interpreter. Run below command for this.
--Configure python2 as default interpreter
sudo alternatives –config python
Now, we can see pyhton2 is showing in the below screenshot, but it’s not set as the default because the + sign is shown next to no-python value. You just need to enter the selection number of your desired python version to make python2 the default.

I have chosen 3 to set python2 as the default interpreter. I validated it again by running the same command and now you can see the + sign is besides python2 now.
OpenSSL1.0 Installation
OpenSSL is an open-source command line tool that is used to establish secure communications between machines, generate private keys, create CSRs, install your SSL/TLS certificate, and identify certificate information. This is also one of the important components to have it on your server before installing SQL Server 2019 on your RHEL system.
Now we will run the below command to install openssl1.0.
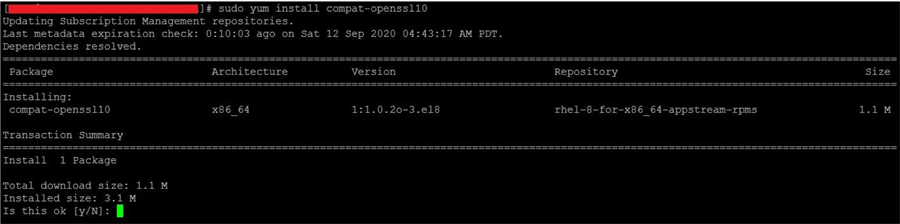
--Install python2
sudo yum install compat-openssl10
We can see the package name and other details that will be installed as part of module. Type y and press Enter to proceed with the installation when prompted. If you want to abort this installation, then type N and press Enter.
After pressing y and Enter, the package starts downloading followed by installation as shown below.
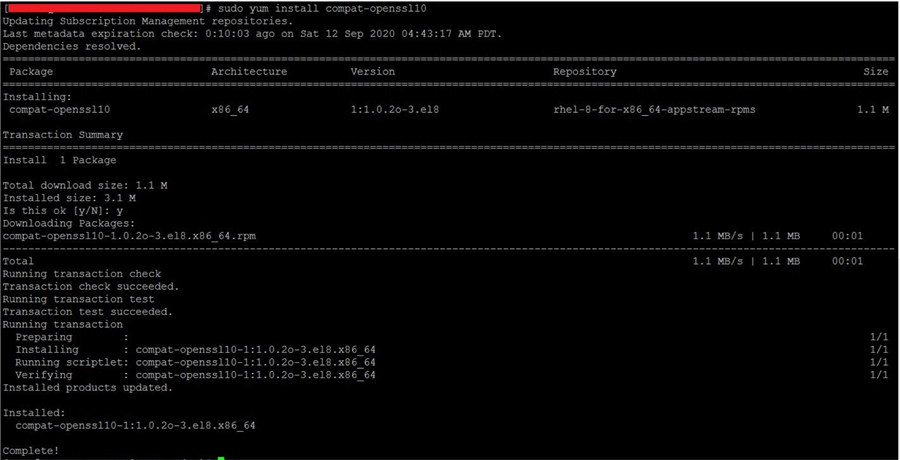
Now both python2 and openssl1.0 have been installed successfully, so we can install SQL 2019.
Next Steps
- Stay tuned for my next article in which I explain how to install SQL Server 2019.


About the author
 Manvendra Singh has over 5 years of experience with SQL Server and has focused on Database Mirroring, Replication, Log Shipping, etc.
This author pledges the content of this article is based on professional experience and not AI generated.
View all my tips
Article Last Updated: 2021-10-29
