By: Edwin Sarmiento | Comments (3) | Related: 1 | 2 | 3 | 4 | 5 | > Reporting Services Network Load Balancing
Problem
Delivering reports is becoming more critical due to the increasing demand for business intelligence solutions. And while there are a lot of guides that walk us through building a highly available database engine, you'll rarely see one for SQL Server Reporting Services. How do I go about building a scale-out SQL Server 2008 R2 Reporting Services running on Windows Server 2008 R2?
Solution
To continue this series on Building a Scale-Out SQL Server 2008 R2 Reporting Services Farm using Windows Network Load Balancing, we will look at installing SQL Server 2008 R2 Reporting Services on the second node of an existing NLB cluster. In Part 1, we have completed adding the Network Load Balancing feature on both of the servers that we will be using as part of the NLB cluster. In Part 2, we built the 2-node NLB cluster. In Part 3, we installed and configured SQL Server 2008 R2 Reporting Services on the first node of the NLB cluster. This tip will walk you through installing and configuring SQL Server 2008 R2 Reporting Services on the second node of the NLB cluster. After completing the process, we will add it to the scale-out deployment.
Configuring the second SQL Server 2008 R2 Reporting Services instance
Before we proceed with configuring the SQL Server 2008 R2 Reporting Services instance on the second node, make sure that you already have it installed in files-only mode as defined in the previous tip. We will use the Reporting Services Configuration tool to connect the second report server instance to the shared database. Follow steps #1 to #4 from the previous tip and accept the default values for the Web Service URL and Report Manager URL pages. The only difference here is step #3 since we already have an existing report server database. All we have to do is connect the second instance to it.
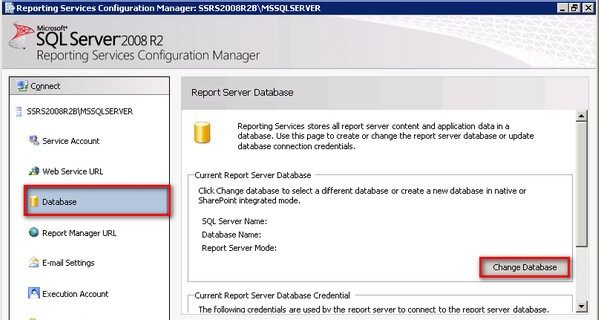
- Click the Database link and click the Change Database button. This will open the Report Server Database Configuration Wizard
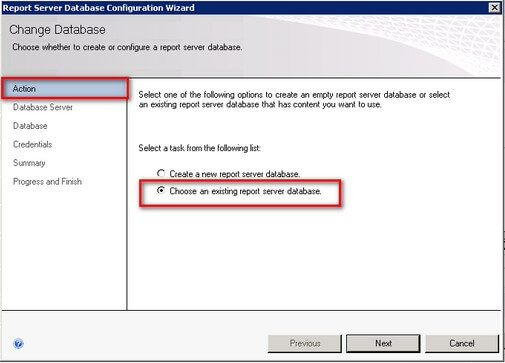
- In the Actions page, select the Choose an existing report server database option and click Next
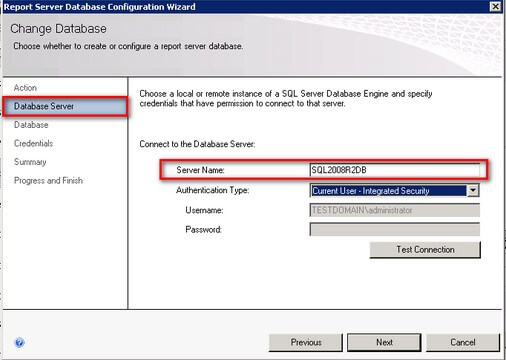
- In the Database Server page, enter the SQL Server database server instance name in the Server Name field. This should be the same as what you used in the first reporting services instance. In this example, my SQL Server database instance name is SQL2008R2DB. Click Next,
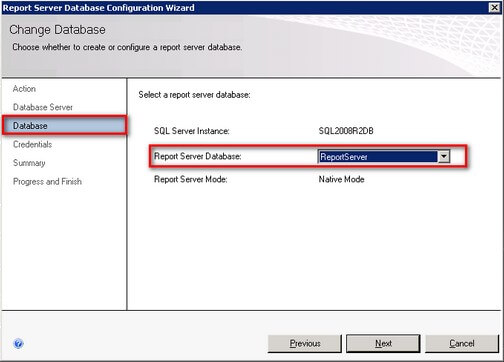
- In the Database page, select the name of the database you used to configure the first report server instance. From the previous tip, we will choose the database name ReportServer. The Report Server Mode option value will automatically be filled in based on the report server database selected. Click Next.
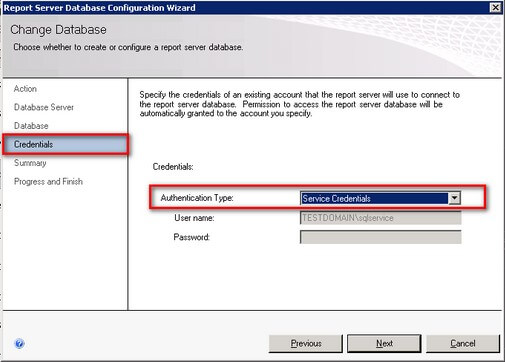
- In the Credentials page, use the same values from the first reporting services instance. We'll use Service Credentials in the Authentication Type as per the previous tip. Click Next.
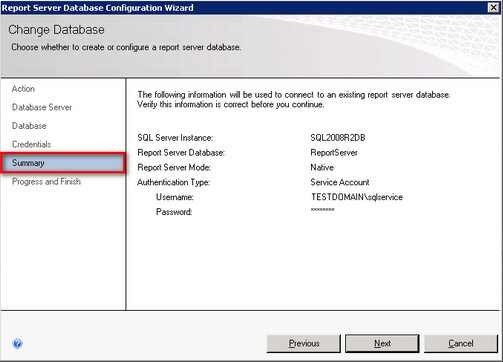
- In the Summary page, review all of the Reporting Server Database configuration settings. Note that this should be the same as the first reporting services instance that you configured. Click Next.
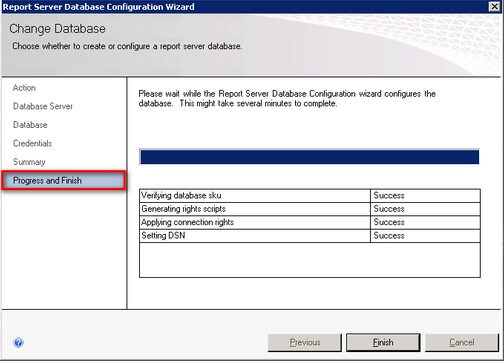
- In the Progress and Finish page, verify that all the processes completed successfully. Click Finish to go back to the Database page of SQL Server Reporting Services Configuration Manager.
While step #5 from the previous tip mentions verifying if the reporting services instance is working properly, we will not do it this time. The report server will be unavailable until the report server instance is joined to the scale-out deployment.
Joining the second SQL Server 2008 R2 Reporting Services instance to the Scale-Out Deployment
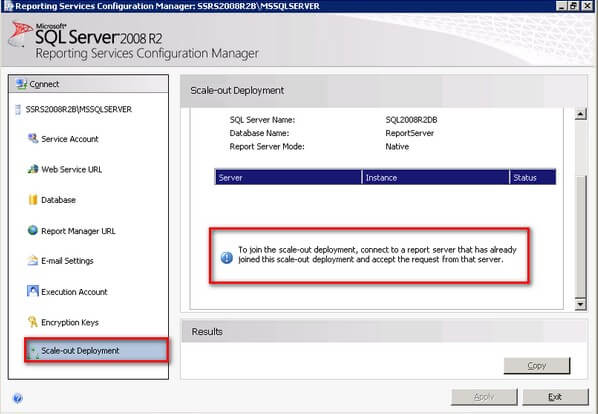
Up to this point, you may not have paid attention to the last link in the Reporting Services Configuration Manager - the Scale-Out Deployment link. When you click on that link, you should see a message stating that you should connect to the report server that has already been joined to this scale-out deployment.
This means that we need to connect to the first reporting services instance that we configured and accept the second reporting services instance to join the scale-out deployment. In this example, I ran the Reporting Services Configuration Manager and connected to SSRS2008R2A
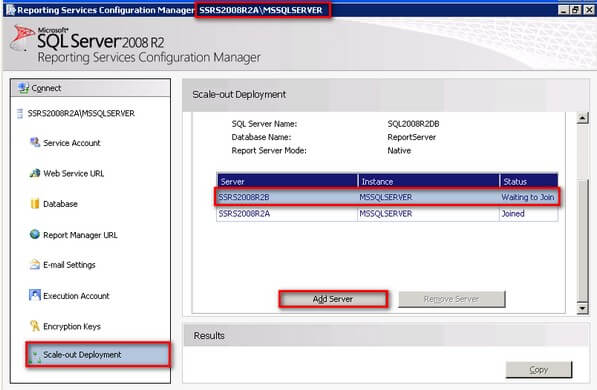
You should see the second reporting services instance with a Waiting to Join status. Select the report server instance that is waiting to join the scale-out deployment and click on the Add Server button. Once completed, you can now verify that both reporting services instances are working properly.
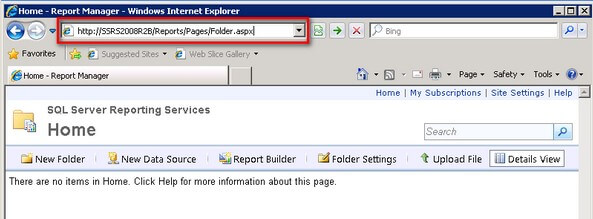
At this point, both the reporting services instances are now configured and working properly. However, we still need to do a few more things. In the last part of this series, we will configure view state validation and the virtual server name that will be used as a point of access to the SQL Server 2008 R2 Reporting Services instance running on the NLB cluster
Next Steps
- Prepare a test environment to apply this deployment scenario.
- Review the series of tips on Installing SQL Server 2008 on a Windows Server 2008 Cluster to create a highly available database engine for the report server database.


About the author
 Edwin M Sarmiento is a Microsoft SQL Server MVP and Microsoft Certified Master from Ottawa, Canada specializing in high availability, disaster recovery and system infrastructures.
This author pledges the content of this article is based on professional experience and not AI generated.
View all my tips
