By: Koen Verbeeck
Overview
Weíre almost at the end of the tutorial. We now know how to read metadata for the tables we want to transfer and how to create representative objects of those tables in memory. The next step is to create all those tables in the destination tables. Biml canít generate SSIS packages if the tables donít actually exist.
Creating the Destination Tables
The solution is to create a single SSIS package that will contain an Execute SQL Task for every table we want to create. The first step is to create an environment file containing the connections, databases and schemas. To keep it simple, we will maintain the same schemas as in the AdventureWorks database. This file has tier 10.

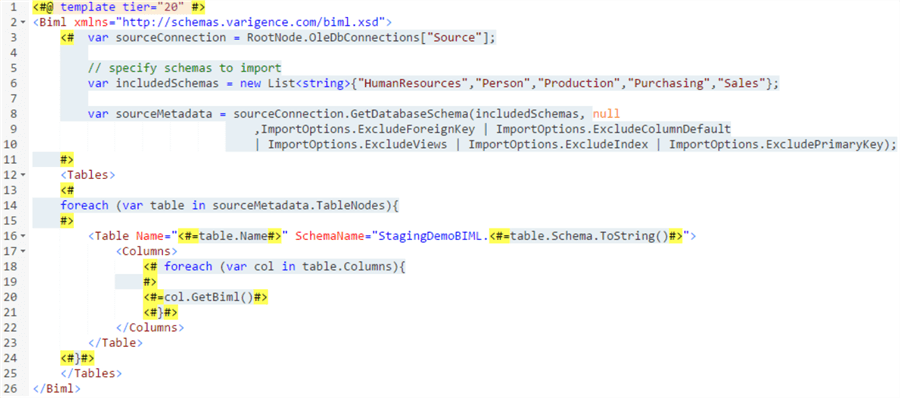
The next Biml file fetches the metadata from the AdventureWorks database, as we have seen in the previous chapters. It uses the Source connection from the environment file. The tables are also created in memory. The file has tier 20.

The third file will create the actual SSIS package. A foreach loop is placed inside the Tasks element so it can create a new Execute SQL Task for each iteration of the loop. This file has tier 30.

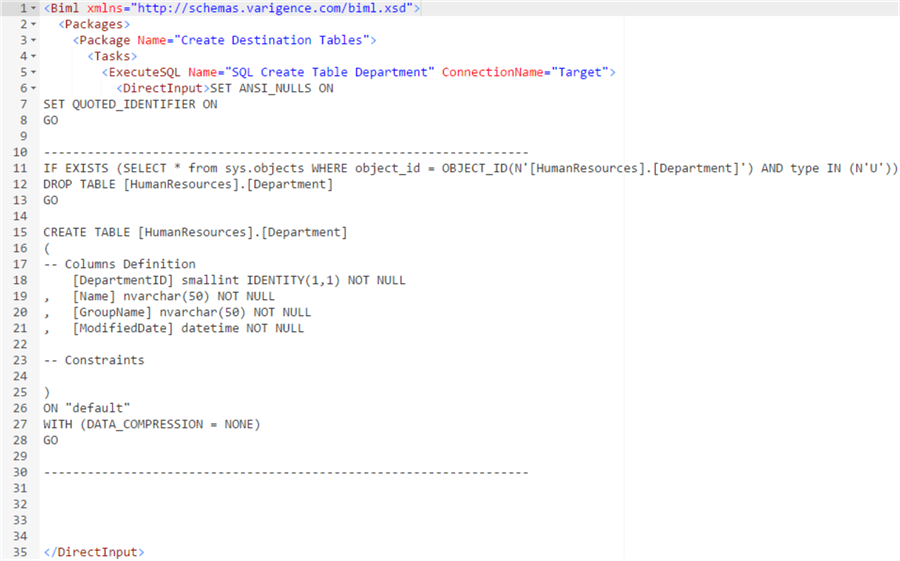
As you can see, the actual Biml code is quite short. The magic comes from the GetDropAndCreateDdl extension method. It creates a valid DDL statement that will delete the destination table if it already exists and then create the table again. The expanded Biml looks like this:

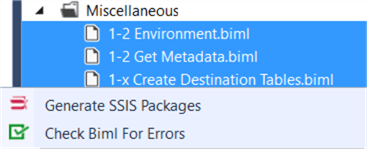
All that is left is to select all three Biml files and generate the package.

One package is added to the project. It contains one Execute SQL Task for every table of AdventureWorks.

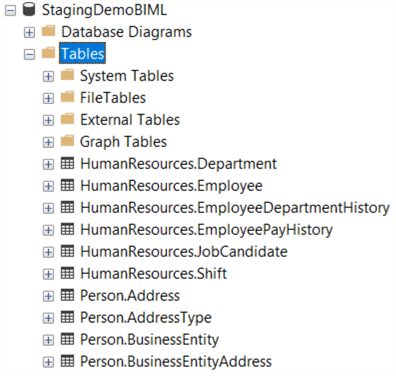
After running the package, we can see the tables have been created in the target database:

Additional Information
- You can download the three Biml files used in this chapter here.
