Problem
SQL Server used to be considered a Windows-based database only, but now SQL Server 2017 works on both Windows and Linux. As a DBA, you should have knowledge and hands experience of SQL Server on Linux. Most SQL DBAs do not have access to a Linux system, therefore in this tip series we will explore how we can still learn SQL Server on Linux OS using Oracle VirtualBox.
Solution
VirtualBox is a piece of software that can be used to install various Operating Systems like Linux, Windows, MacOS, Solaris, etc. Oracle VM VirtualBox (formerly known as Sun VirtualBox, Sun xVM VirtualBox, and Innotek VirtualBox) is a free and open-source software which is currently developed and maintained by Oracle. Oracle VM VirtualBox has pre-built binaries for Windows, Linux, Mac OS X and Solaris.
We can use Oracle VM VirtualBox to install and configure SQL Server. It makes it easy to explore SQL Server on the Linux Operating system. In this tip, we are installing RHEL 7.5 on Oracle Virtual box. This image of the OS can be further used to install Oracle Database Server, Microsoft SQL Server, etc. We will install SQL Server in the next part of this tip series.
Installation and Configuration of Red Hat Enterprise Linux 7.5 on Oracle Virtual Box
Oracle VM VirtualBox is available as Open Source or pre-built binaries for Windows, Linux, Mac OS X and Solaris. While writing this tip, the latest release of Oracle VM VirtualBox is 5.2.16.
To install Oracle VM VirtualBox is 5.2.16, go to this URL and click on the download page.
The download page contains options available information according to the host operating system. In this tip, we will install Oracle VM VirtualBox on a Windows operating system.
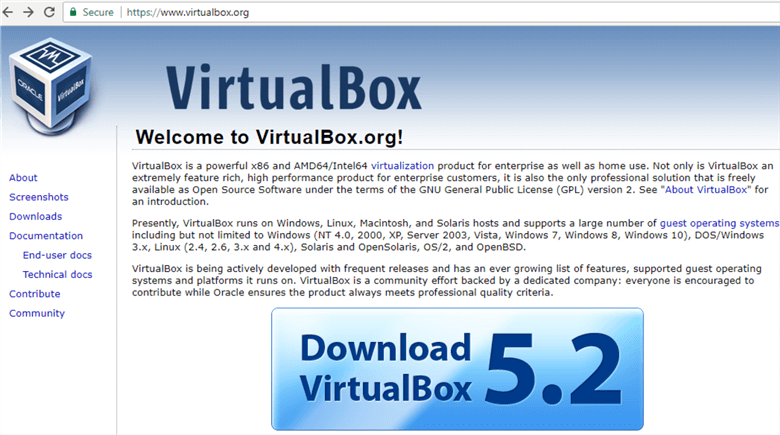
Click on Windows hosts to download the installer on the local system drive.

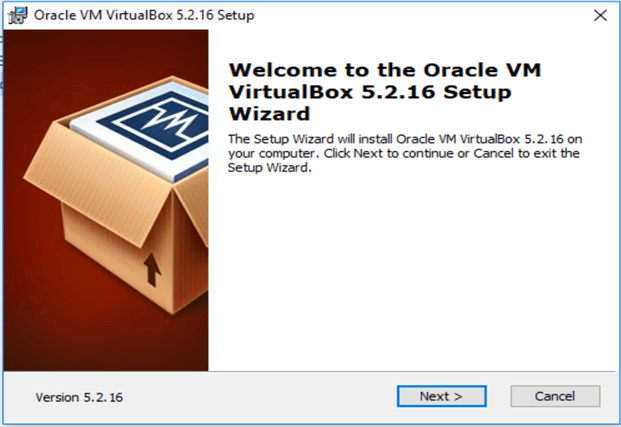
Now launch the setup from the downloaded file by double clicking on the file. It starts the Oracle VM VirtualBox 5.2.16 as shown below.
Click on Next and choose the location of the installation on the host OS. By default, it goes to C:\Program Files\Oracle\VirtualBox.

Click Next. In the next screen, we can choose to create startup entries or shortcut in desktop\Quick Launch Bar. Choose the options you want as shown below.

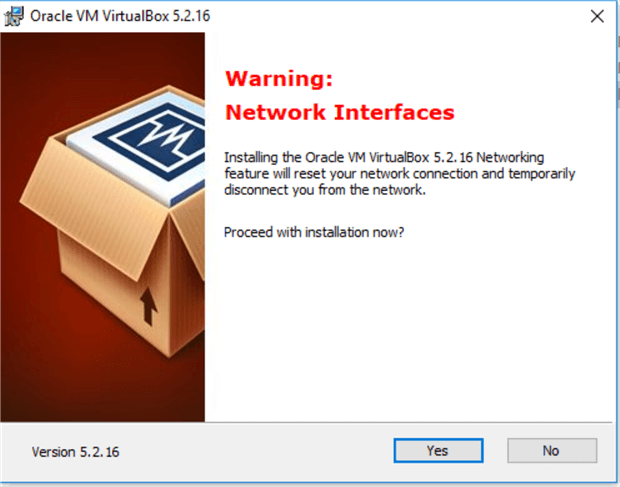
The next step will update the network connection. Click on Yes to proceed with the installation.
Now we reached the final window of the VirtualBox installation. If we want to review or change any configuration settings, go back else click Install to begin the installation.

It shows the below page once installation of Oracle VM VirtualBox 5.2.16 is complete. We can launch it from the final setup completion page after the installation. If we do not want Oracle VM Virtual Box to begin now, uncheck the checkbox “Start Oracle VM VirtualBox 5.2.16 after installation”.

We can launch Oracle VirtualBox from multiple places on the Windows host depending on the configuration we have selected, i.e. shortcut in desktop, quick launch bar, etc. Below we can see, I have launched it from the Windows menu.

The Oracle VM VirtualBox Manager main page is shown below. Click on the New Icon button to initiate the process of creating a new virtual machine.

On the next page, we need to specify the multiple configurations to create a Virtual Machine.
- Name: Give a name to the Virtual Machine
- Type: Select the type of operating system. We can select from the drop-down list.
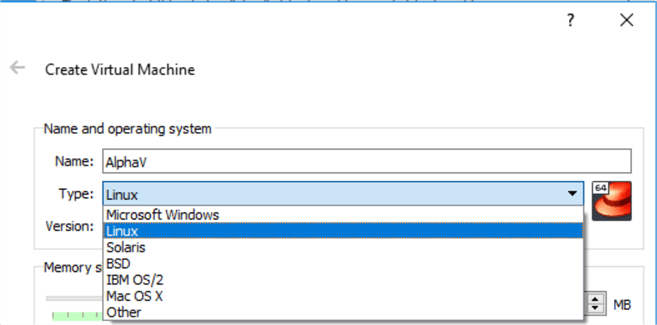
- Version: Select the operating system version based on the type. For example, in Linux, we can see below operating systems.

- Memory Size: Select the proper memory as per the requirement. We can change it later if the memory is not sufficient.
- Hard Disk: It shows below options available to choose for the hard disk.
- Do not add a virtual disk. This option will not add a .vdi file, which can be used to restore the image.
- Create a virtual hard disk now. This option will create a .vdi file in local and later we can use this file to create /open previously created image file.
- Use an existing virtual hard disk file. This option able to restore previously created images in .vdi format.
In this tip, we are going to install RHEL Linux, so I have chosen the below configuration:
- Name: ALPHAV (Name of the Virtual Machine as per your requirement.)
- Type: Linux
- Version: Red Hat (64 bit)

For this installation, I choose the second option of “Create a virtual disk now”. It jumped to the screen below where we need to provide:
- File location (location to create the virtual file followed by the virtual file name, by default the file name is virtual box name. In my case it is AlphaV.vdi).
- File size (how much space we want to allocate, here I specified 8GB which can be changed later).
- Choose Virtual Hard disk type: We can select the hard disk file type from the below list of options. I have chosen default option VDI, but you can select it as per requirement.
- VDI (VirtualBox Disk Image)
- VHD (Virtual Hard Disk)
- VMDK (Virtual Machine Disk)
- HDD (Parallels Hard Disk)
- QCOW (QEMU Copy-on-Write)
- QED (QEMU enhanced disk)
- Storage on physical hard disk – select storage as dynamically or as a fixed size. Leave it as dynamically allocated unless you a specific requirement.
Now hit the Create button to prepare the machine.

Installation of RHEL 7.5 version on Oracle VM VirtualBox
Step 1: Map.ISO file into VM VirtualBox
Open a browser and go to this URL. It opens up the below webpage.
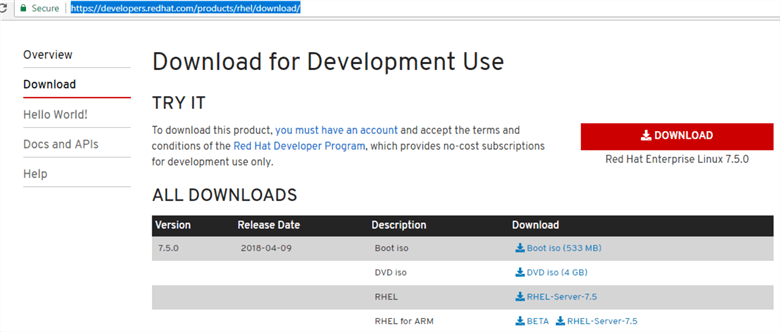
We need this to install RHEL 7.5 version on Oracle VM VirtualBox. Download the DVD.iso image of RHEL version 7.5.
Once the DVD.iso is downloaded, go to VM settings and click on storage. We need to add RHEL .iso image to the controller: IDE.

Click on small CD image icon next to Optical Drive option. Choose the file from the location.

Select the ISO image of the RHEL server.

After selecting the image click OK to complete the mapping.

Step 2: Installation of RHEL 7.5 on Oracle VM VirtualBox
We have created an Oracle VM VirtualBox, so in this step we will install and configure RHEL on this box from the .iso file.
In the Oracle VM VirtualBox Manager, go to the VM (in our case ALPHAV) and right click on it.
Go to Start and choose Normal Start.

After the start of the virtual box. It asks to select a virtual optical disk file or physical optical drive containing a disk to start the virtual machine. Select the .iso image we have mapped in the previous step and hit the start button.

It starts the installation of RHEL Linux 7.5 on our VirtualBox.
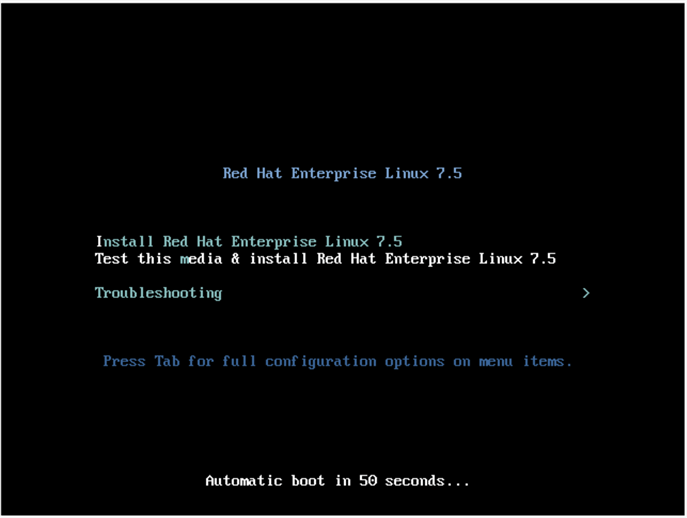

Choose the language, which you want to use.

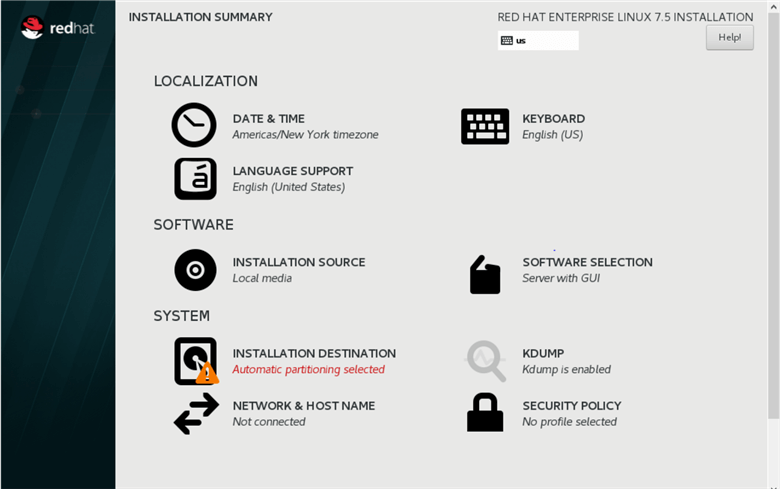
Below the screen shows the Installation Summary page where we can configure multiple options as per requirements.

The Software Selection page will give the option of Environment. Select the option 'Server with GUI'.

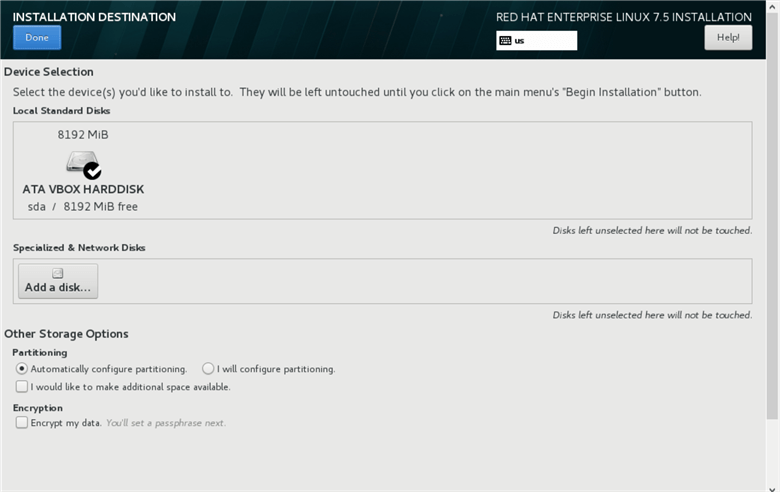
Click on the Installation Destination.
Keep the settings default for Installation Destination or configure as needed on the below page.
Now click on KDUMP. KUDMP is a kernel crash mechanism. It will capture information from the system that can be very helpful in determining the cause of a failure.

Choose the default options.

Go to Network and Host Name.

Enable Ethernet by switching ON the radio button.

Add Hostname in the Hostname box and click Apply.

Now click Begin Installation.

We need to create the root user password during the installation process. The root account in Linux is used for administration of the system.
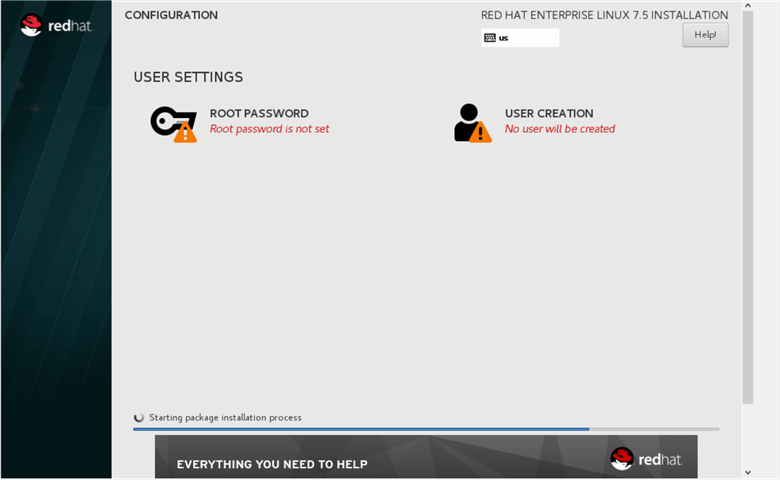

Enter the password.

On the Create User page make it administrator as shown below.

We can see in the below screenshot:
- The root password is set
- The administrator account is created

Once the installation is complete, we get below Installation completion page. Go ahead and Reboot the VirtualBox to start using it.

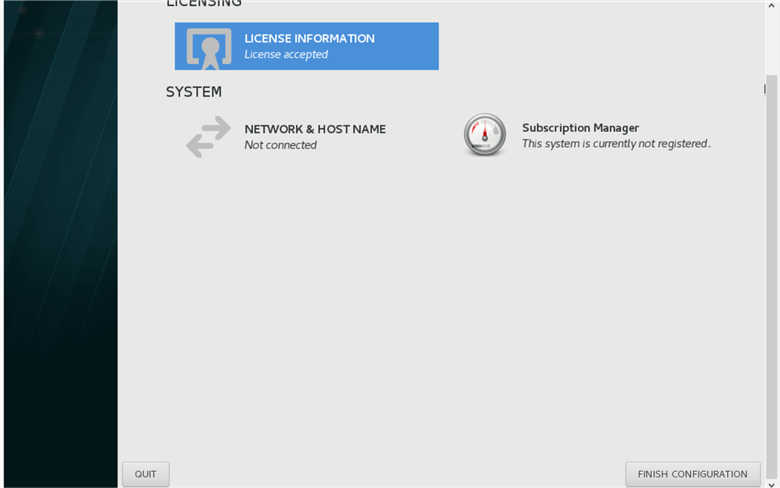
After reboot, the initial setup page will come up where we need to accept the License terms for RHEL. Click on License Information.


We can see that the license is accepted.
Now we can login to the server using the root user and password.

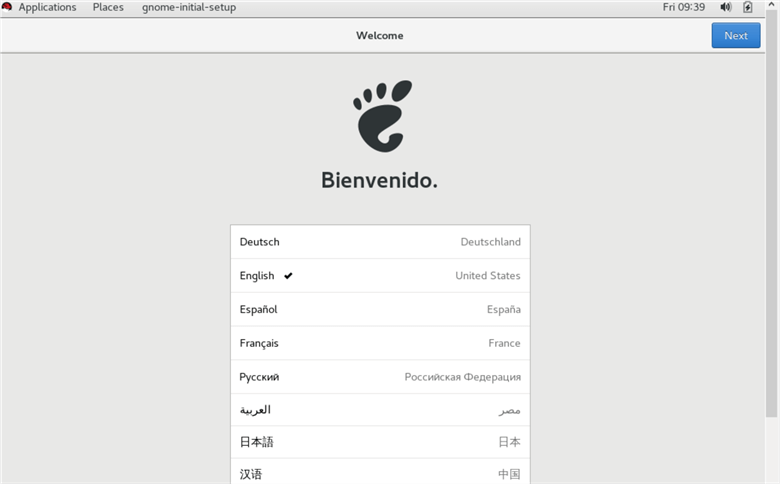
Choose the desired language. You can see symbol Ü in front of the language.
Select the Keyboard layout and click next. You can see symbol Ü in front of the selected language.

Select the Privacy option. If we want to allow applications to use geographical location, enable this option.

If we want, we can connect any online account from Google, Microsoft, and Nextcloud. We can skip this step as well.

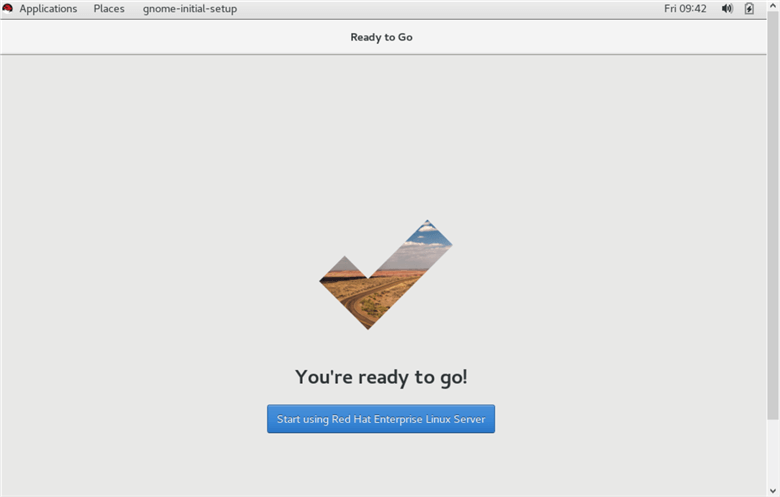
Finally! We are ready to go. We can start using the Red Hat Enterprise Linux Server.
Next Steps
- In the next tip we will show how to install SQL Server on this new Oracle VM VirtualBox Red Hat Linux server.
- Explore these other SQL Server on Linux tips.

Hi! I am Rajendra Gupta, Database Specialist and Architect, helping organizations implement Microsoft SQL Server, Azure, Couchbase, AWS solutions fast and efficiently, fix related issues, and Performance Tuning with over 14 years of experience.
I am the author of the book “DP-300 Administering Relational Database on Microsoft Azure.” I can be reached at: Rajendra.gupta16@gmail.com for any consulting help.
- MSSQLTips Awards:
- Author of the Year – 2022 | Author Contender – 2021/2023/2024 | Champion Award (100+ tips) – 2020
