Problem
You have a SQL Server Integration Services (SSIS) Project deployed to an Integration Services Catalog and need to make changes to it, open it or move it to another server, but you don’t have the original source file or access to the Project source. Is it possible to access the project source code to make changes or deploy to another SQL Server via an ISPAC file in Visual Studio?
Solution
We’ll look at a few ways to solve this based on what needs to be accomplished.
- Option 1 – Extract Project it to .ispac file and import into Visual Studio
- Useful if you didn’t have access to the SSIS Catalog form the machine you’re running Visual Studio on so you could extract the file, move it, and import into Visual Studio
- We will cover how to open an .ispac file in Visual Studio
- Option 2 – Import Project directly into Visual Studio
- More straight forward if you need to make changes to Project
- Option 3 – Deploy Package from one SSIS Server to another via SQL Server Management Studio (SSMS)
- Easiest if you’re just migrating from one server to another and don’t need to make changes
The following versions were used in this tip:
- SQL Server 2017 CU19 Developer Edition
- SQL Server Management Studio 18.4
- Visual Studio 2019 v16.4.5
1 – Export SSIS Project to .ispac file and Import into Visual Studio
This method is handy if you maybe don’t have Visual Studio at the moment, the SSIS Server is not on your network, or you just want to have the source.
First, let’s see what the .ispac project deployment file is. Here’s the Microsoft’s definition from Deploy Integration Services (SSIS) Projects and Packages:
At the center of the project deployment model is the project deployment file (.ispac extension). The project deployment file is a self-contained unit of deployment that includes only the essential information about the packages and parameters in the project. The project deployment file does not capture all of the information contained in the Integration Services project file (.dtproj extension). For example, additional text files that you use for writing notes are not stored in the project deployment file and thus are not deployed to the catalog.
Export the Catalog to a .ispac file
- Connect to SQL Server with the SSIS project using SSMS and expand the server dropdown in Object Explorer
- Expand Integration Services Catalogs
- Expand SSISDB
- Expand Projects
- Right click on the project to export
- Export…

Choose file path and name
- Select folder
- Name .ispac file
- Save

What’s inside the ispac file
- We can digress for a moment. This is not necessary for this process, but if you’re curious to see what’s in an .ispac file, rename it to .zip or append a .zip to it and open it with Windows Explorer.

- And here you’ll see the files inside it.

- Just rename it back to its original name before proceeding.
You’re all set and can stop here at this point if all you need is the .ispac file to archive. But if you are making edits, we’ll create a new Visual Studio Project, create a new SSIS Project and import the file.
- Open Visual Studio and choose ‘Create a new project’

Import .ispac file with wizard
- Choose ‘Integration Services Import Project Wizard’
- Next

Name Project and give it a home
- Name Project
- Click …
- Enter folder name
- Select Folder
- Create

- Next

Select .ispac file
- Browse…
- Browse to .ispac file path
- Click on file
- Open

- Next

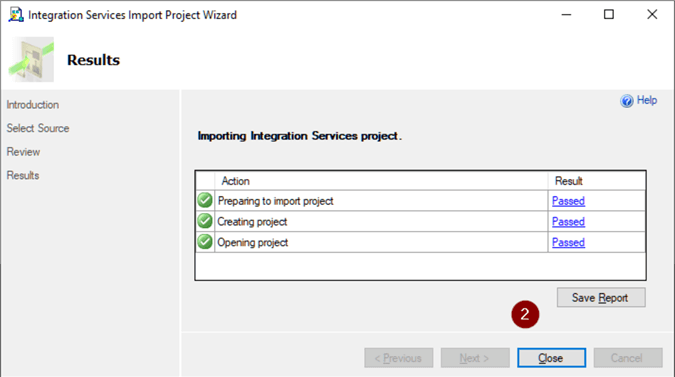
Do the import
- Import

- Check Results -> Close

You’ve now imported the Project so let look at it.
- View
- Solution Explorer

And here it is.

2 – Import SSIS Project directly into Visual Studio
If we have Visual Studio and access to the SSIS Catalog, and you need to make edits and aren’t concerned with having the source this option will save us some steps.
We’ll start off in Visual Studio the same was as in the first method.
- Open Visual Studio and choose ‘Create a new project’

- Choose ‘Integration Services Import Project Wizard’
- Next

Give Project a name and a home
- Name Project
- Click …
- Enter folder name
- Select Folder
- Create

- Next

This is where we tell it to import from an SSIS Catalog rather than a .ispac file.
- Server name
- Path
- Next

- Import

- Check results
- Close
And here it is.

Redeploying SSIS Project
Whichever of the two methods above we used to get the Project into Visual Studio, the redeployment is the same.
- View
- Deploy

- Next

Choose SSIS Catalog
- Server name
- Connect
- Browse
- Choose Project
- Next
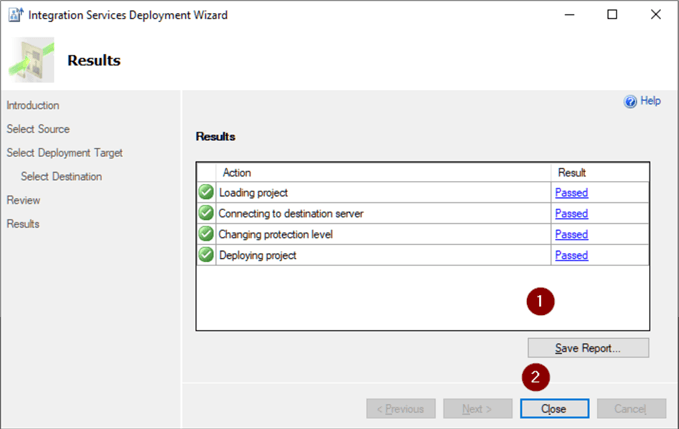
- Deploy

- Check results
- Close

3 – Deploy Package from one SSIS Server to another via SQL Server Management Studio (SSMS)
This method is handy if all you need to do is migrate an SSIS Project from one server to another and it doesn’t require Visual Studio.
Open SSMS and connect to the source server.
- Expand SQL Server
- Expand Integration Services Catalogs
- Expand SSISDB
- Right click on Projects
- Deploy Project…

Select SSIS Project source server and path.
- Click Integration Services Catalog radio button
- Fill in or Browse to SSIS server
- Browse for Project
- Select Project to deploy

- Next

Choose deployment target type
- Verify target
- Next

Select deployment target
- Fill in or Browse to SSIS server
- Connect
- Browse to Project patch and enter Package name (I just renamed MySsisProject1 to MySsisProject2 where I’m deploying to the same server just to demonstrate)
- Next

Verify and deploy.
- Verify
- Deploy

Verify.
- Verify results
- Close
And here it is.

Next Steps
We’ve seen three ways to get an SSIS Project from the Catalog. These are links to some more information:
- You can find a slew of SSIS related tip on MSSQLTips here: SQL Server Integration Services Development Tips
- And here is the Microsoft Docs SSIS documentation: SQL Server Integration Services

Joe Gavin is from Greater Boston and has worked in technology as a Field Service Engineer for an automotive dealer computer system vendor, a Technical Consultant and Operations Analyst with Sybase and SQL Server based database applications in financial services and now works as a SQL Server Database Administrator.
- MSSQLTips Awards:
- Achiever Award (75+ Tips) – 2024 | Author of the Year – 2021 | Author Contender – 2024 |
- Rookie Contender – 2018


Thank you. Useful
thanks for sharing!
Thank you!
Afraid not Marc. The scope of this tip was on-prem to on-prem. Haven’t done anything with Azure Analysis Services yet.
Did you find anything yet to deploy projects from one Azure SSIS Catalog (SSISDB) to another Azure Catalog ? Problem is that there is no SQL Authentication when selecting source, for destinition you have the SQL Authentication. So by using the wizard you can’t deploy from Azure to Azure ? To bad that Microsoft didn’t alter the Wizard by now.
Ann, I don’t recall running into issue with needing the encryption key with that method so I think you’re good.
For option 3, do we need to do anything or any migration for the encryption key of SSIS catalog.
I guess not, we will just use the new server encryption setup for SSIS catalog, correct? that is because those environment variables need to setup on new server, so no need to migrate old encryption key, is that right?
Thanks Anil. I’m afraid you would need connectivity to both for #3.
Excellent Article, Thank you! With option 3, what if we do not have connectivity between source and target server.
Excellent.. Thanks
Very useful two methods!
Thanks. Very useful post