Problem
Every SharePoint site template (both MOSS 2007 and WSS3) has its own default layout of Web Part Zones. I would like to customize the layout of these zones for flexibility of design in a particular site.
Solution
To customize the Web Part Zone layout, you need SharePoint Designer. This is available free from Microsoft.
Let’s create a new document library for some practice Web Part Pages. (See this tip if you need instructions.) Later, you can use the procedure in this article to edit your main site pages.
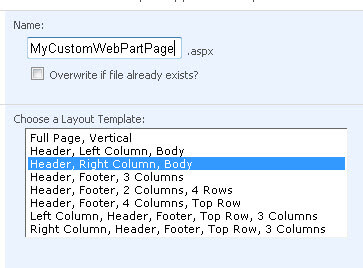
In your Web Part Page library, create a new Web Part Page. Choose the “Header, RIght Column, Body” to follow my design (or choose another if you like to be creative).
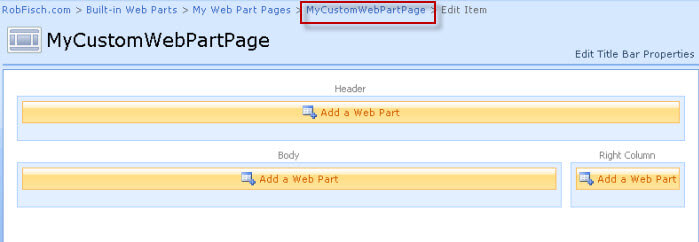
Once you get your page, there is no need to add web parts now. Just stop editing it and return to the library where it exits. I use the breadcrumbs pictured below.
Editing Web Part Pages with SharePoint Designer
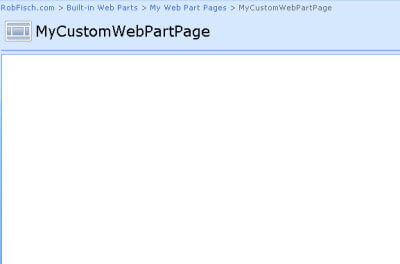
Now open the web page by clicking on it.

Here’s a view of the blank page.
Assuming you have SharePoint Designer 2007 installed, go to the “File” menu of Internet Explorer and select “Edit with Microsoft Office SharePoint Designer”.

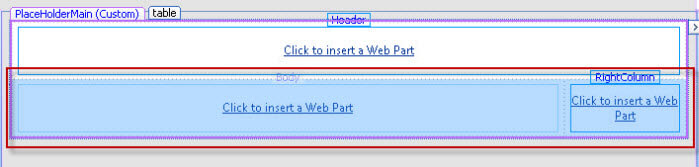
You will now see your page, in edit mode, from inside the SharePoint Designer. Note that the Web Part Zones exist within a standard HTML table. (You may need to open the “Design” tab in SharePoint Designer.)

Select the lower row of the table.
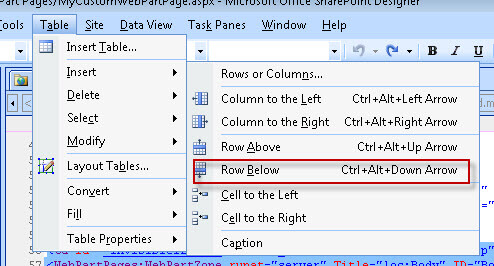
Then, from the “Table” menu in SharePoint Designer, select “Insert” and then “Row Below”.
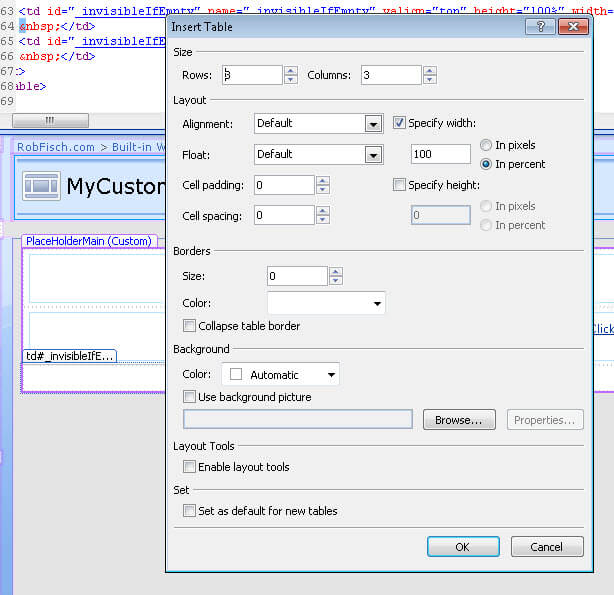
Click into the row you just created. For illustration purposes, I am going to add a table with 3 rows and 3 columns. From the “Table” menu, select “Insert Table”. Use the parameters I have below (or anything you like).
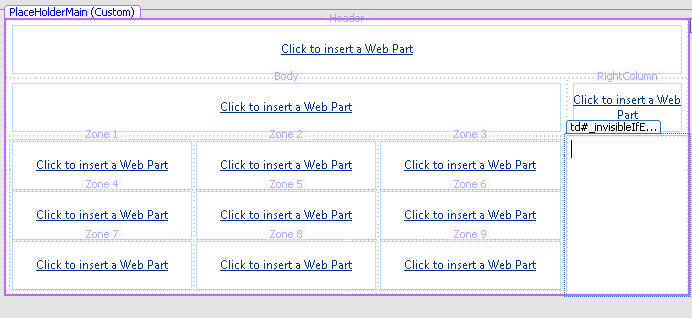
In the top left cell of the table, I now add a Web Part Zone:
Insert –> SharePoint Controls –> Web Part Zone.
(The graphic below looks like I am in the HTML menu, I am really not.)

Repeat the procedure for each cell in the table.
View the Results
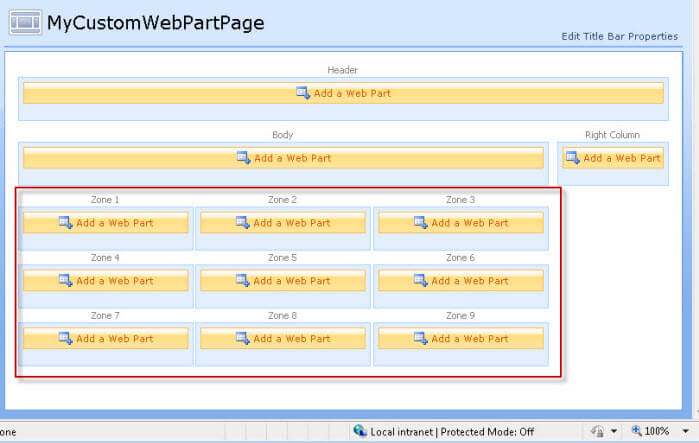
Save the page in SharePoint Designer and exit the application. Then open the page in your library, click “Site Actions” and then “Edit Page”.

Here you should see the new Web Part Zones added.
Next Steps
- Try this procedure in different layout designs.
- Create a new (test) site and try editing the main page of the site.

Rob has worked with MSSQL since version 6.5 in various capacities (dba, developer, report writer, data warehouse designer) and with SharePoint technologies (WSS2, WSS3, MOSS2007 & MOSS2010 beta) since 2003 as an architect and designer. He has written several articles on MSSQLTips.com and is Editor in Chief (and frequent author) at MSSharePointTips.com. You can contact Rob at rob.fisch [@] yahoo.com.