By: Hesham Saad | Comments | Related: > SharePoint
Problem
One of the restrictions and limitations of using SharePoint Sandbox solutions is that we can not create or find the Visual Web Part template at Visual Studio.Net 2010, while we can see and use the standard normal webpart template. We'll see how to overcome this issue.
Solution
Building web parts is one of the most common tasks that are performed by SharePoint developers. SharePoint 2010 & Visual Studio .Net 2010 enable us to create web parts quickly and easily so we can use project templates and project item templates to help us get started building ASP .Net "Normal & Standard" Web Parts. Also we can build a new type of web part called a "Visual Web Part". When using the Visual Web Part SPI "SharePoint Project Item", Visual Studio .Net 2010 will create a number of files... ".cs, .webpart, elements.xml & .ascx designer files" ...which actually create an ASP.Net user control. There are three primary advantages to user controls when dealing with SharePoint:
- Familiarity.
- Reusability.
- Development Speed.
We can check the advantage points here in detail. But as mentioned above we can not create or find the installed default visual web part template in Visual Studio .Net 2010. In order to overcome this let's follow the steps below:
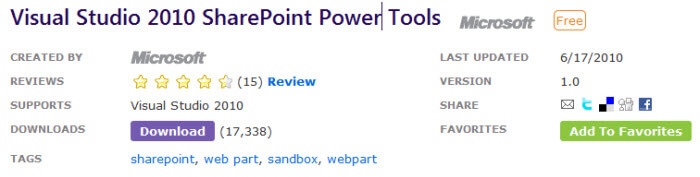
1. Download and install "Visual Studio 2010 SharePoint Power Tools":
- Visual Studio 2010 SharePoint Power Tools allows us to create Visual Web Part running in a Sandbox mode. We can get it for free and download it from here:
2. Create Sandboxed Visual Web Part Project in Visual Studio .Net 2010:
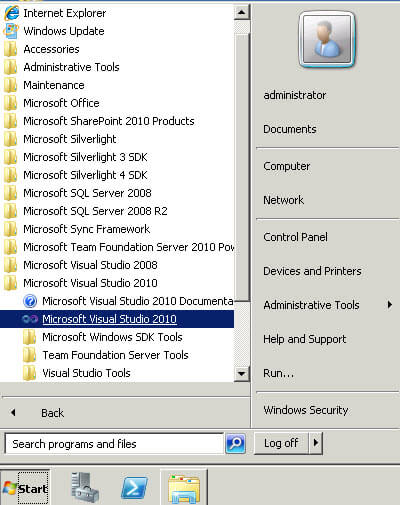
- Click "Start" > Microsoft Visual Studio 2010 > "Microsoft Visual Studio 2010":
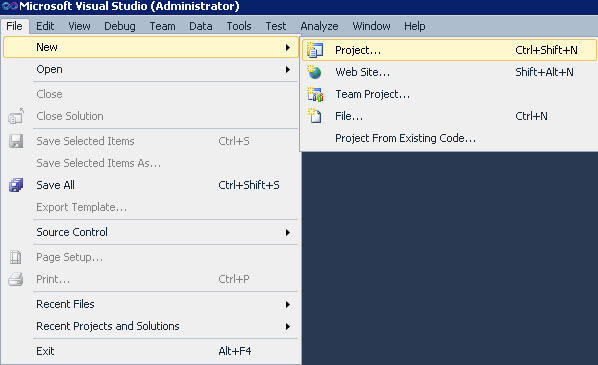
- Click "File" > New > Project:
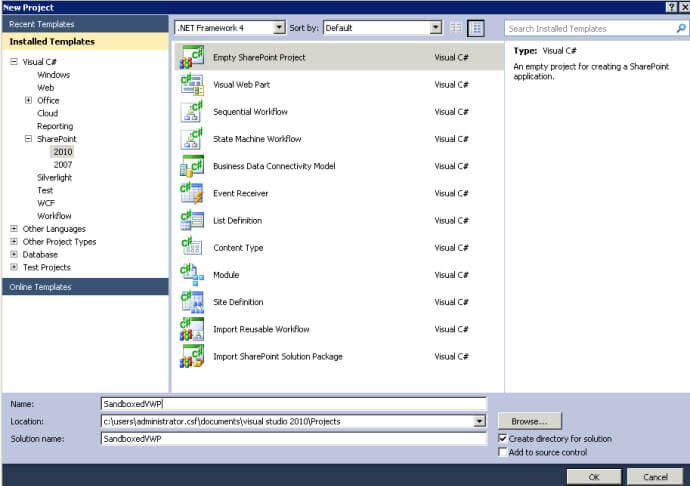
- Select "2010" for SharePoint under "Installed Templates" from the left side panel > Select "Empty SharePoint Project" from the right side panel. Type a name for your project and then click the OK button:
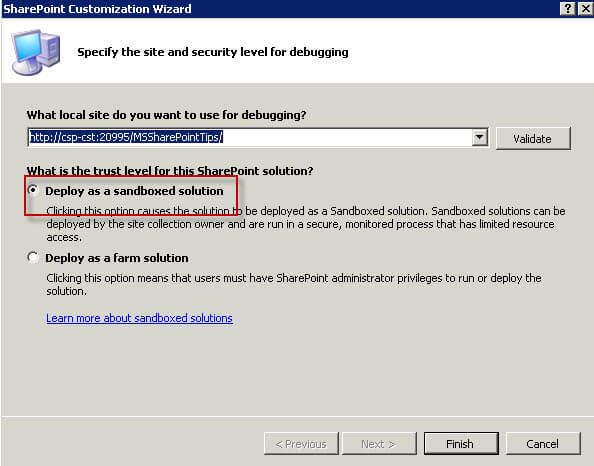
- Type the URL of your local SharePoint site at the "What local site do you want to use for debugging?" textbox and choose "Deploy as a sandboxed solution". (Differences between Farm & Sandbox Solutions):
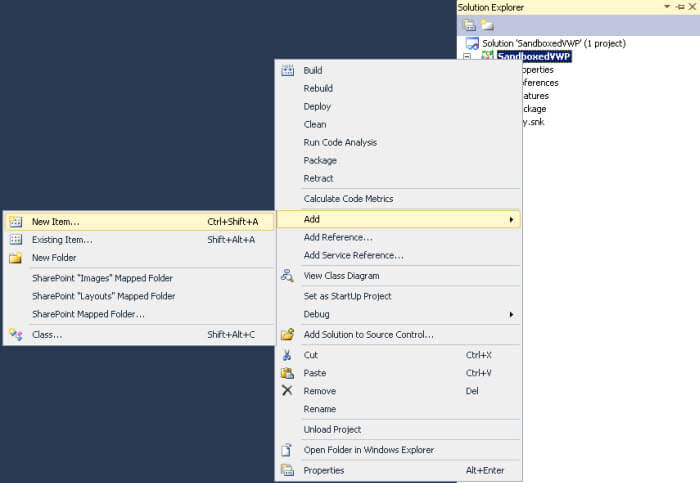
- Click on the "View" menu > Solution Explorer > Right-click at the created solution > Add > New Item:
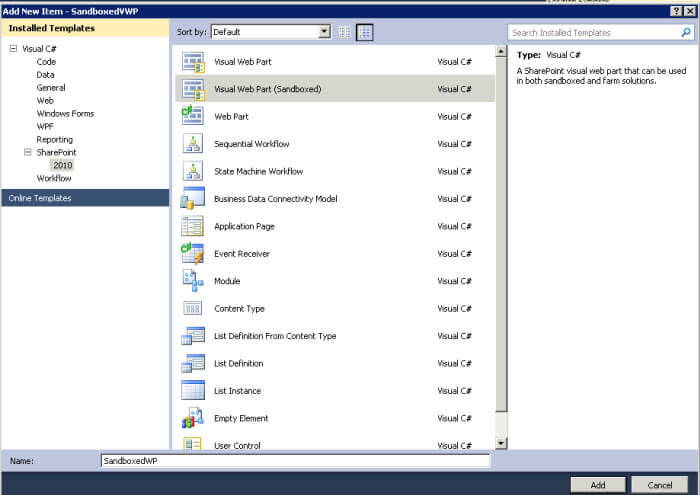
- Select "2010" for SharePoint under "Installed Templates" from the left side panel > Select "Visual Web part (Sandboxed)" from the right side panel:
3. Exploring and designing the created sandboxed visual web part:
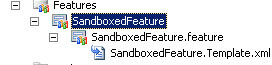
- Now after the project is created, the Solution Explorer contains the default visual web part named "SandboxedVWP". It also has the presence of the Features and Package nodes. A feature organizes the application in a way that SharePoint Foundation understands. Features can be deployed to SharePoint Foundation at the site or web level. The package contains features and other assets used when you deploy solutions to SharePoint Foundation.
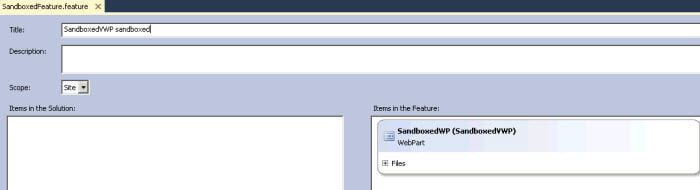
We can change the default Feature1 name by renaming it to "SandboxedFeature" by clicking on the F2 function key or right clicking on it and selecting "rename":
- We can change the feature scope by double clicking on the "SandboxedFeature" renamed default feature, then choosing from the Scope choices. We'll select the Site scope feature:
- Let's explore the sandboxed visual web part by opening the "Elements.xml" file under "SandboxedVWP":
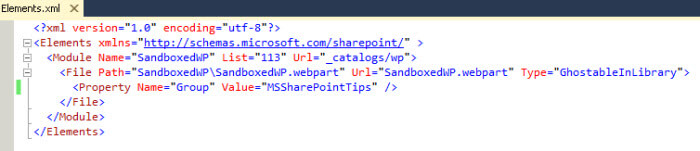
Grouping" web parts is one of the best practices that we have to follow for better management and organization of web parts, so, set the "Group" property in the Elements.xml file of web part to make sure the web parts comes under a specific group (ex: Value="MSSharePointTips"). This will make easier to find the web part from the SharePoint site.
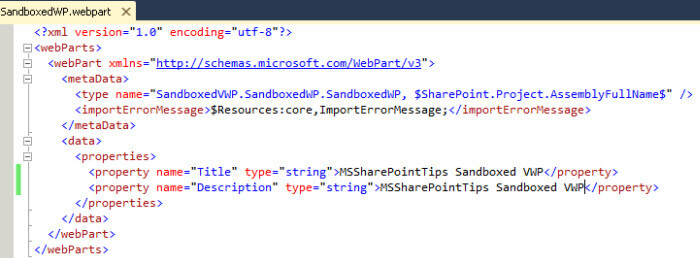
- We can change the Title and Description for the sandboxed visual web part by editing the "Title" & "Description" properties in the "SandboxedWP.webpart" file:
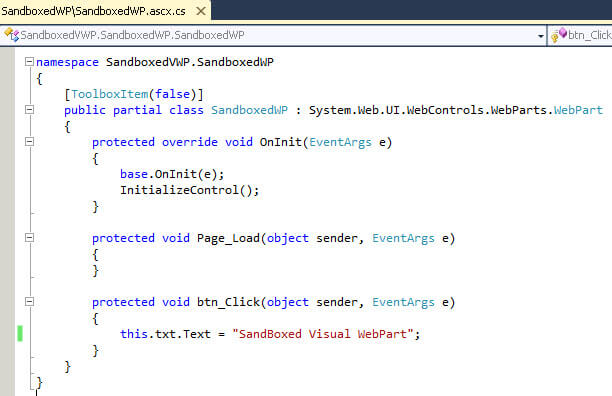
- Let's design our visual web part by opening the "SandboxedWP.ascx" design user control and add a "TextBox" and "Button":
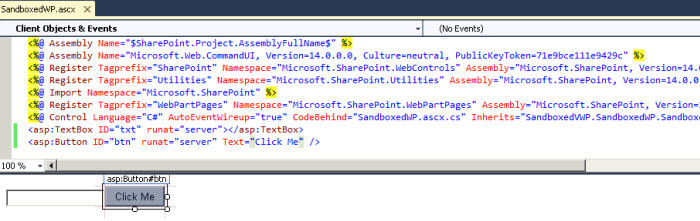
- Double click on the "Click Me" button to go to the btn_click event handler at the "code behind" file:
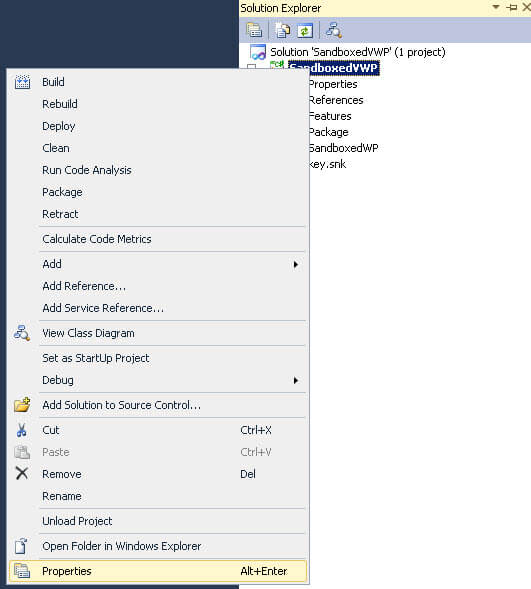
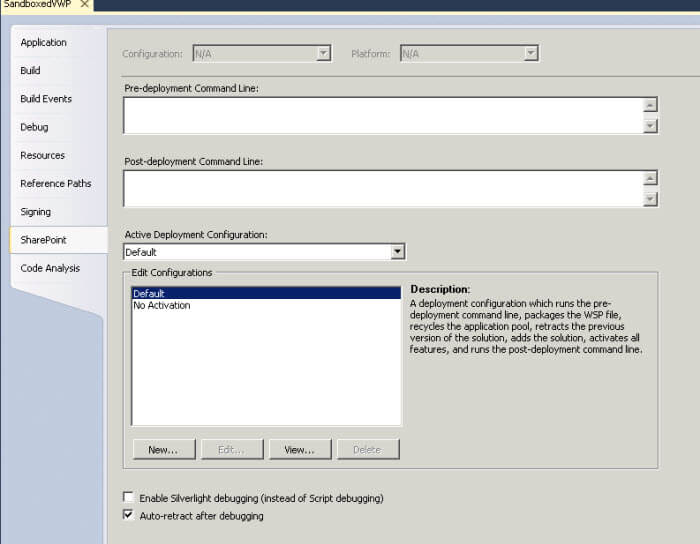
- Let's make sure that the feature will activate automatically once deploying the solution by right clicking on the solution > Properties > SharePoint: "Active Deployment Configuration > Default".
If we want to manually activate the feature we can set it to "No Activation":
- Then, right click at the solution and select "Build" to check that everything is OK and ready for the deployment, then wait until we receive a message at the output window telling that we have a successful build:
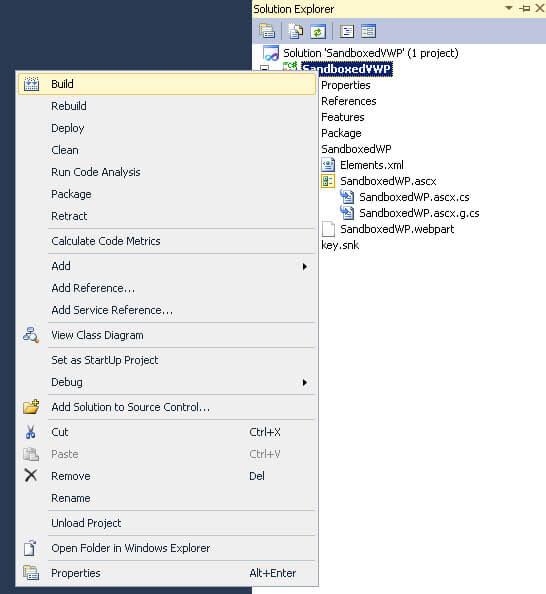
- Then, right click again the solution and select "Deploy" and wait until we have a successful deployment:


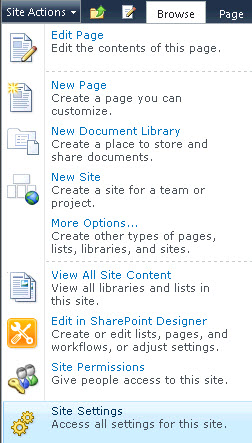
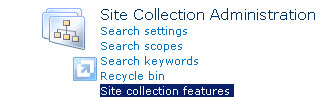
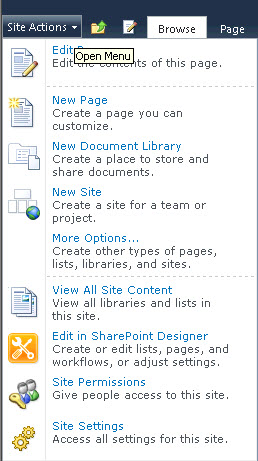
- Let's go to the SharePoint site which we deployed the sandboxed visual web part to, then click on the Site Actions menu > Site Settings > Site Collection features under Site Collection Administrator. We'll see that the "MSSharePointTips" feature activated automatically:

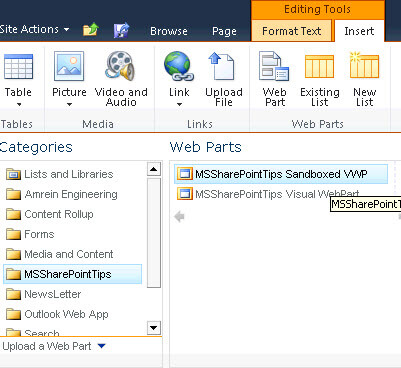
- Click on "Web Part" under "Insert: Editing Tools" from the SharePoint 2010
ribbon bar:
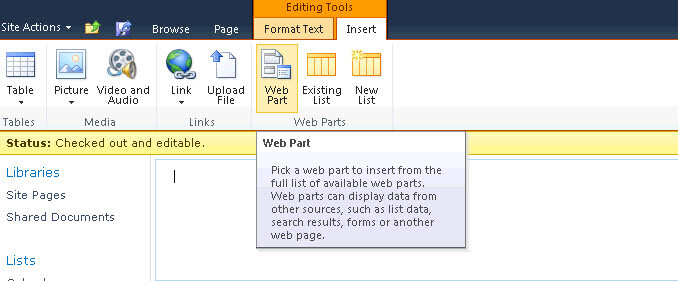
- Then, click on "MSSharePointTips" from the Categories web parts list, then click on "MSSharePointTips Sandboxed VWP", then click on add button:
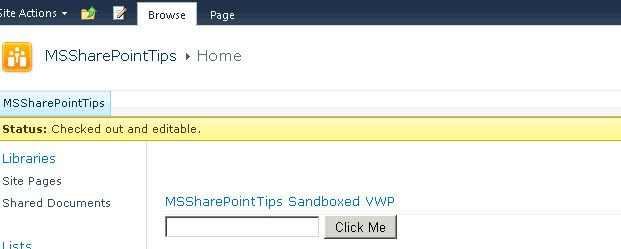
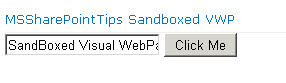
- Now our sandboxed visual web part has been added to the page and if we click on the "Click Me" button the text box will be populated with the predefined text value:
Next Steps


About the author
 Hesham Saad
This author pledges the content of this article is based on professional experience and not AI generated.
View all my tips
