By: Manvendra Singh | Comments (2) | Related: 1 | 2 | 3 | 4 | More > Database Administration
Problem
In a previous tip, I demonstrated how to rename physical database files for a SQL Server database using SQL Server Management Studio. In this tip, I will demonstrate how to do this same process using T-SQL code.
Solution
The physical database file name is the name of the actual file which is created in your operating system directories during database creation. Here, I will show the step by step method to rename a physical database file by using the detach-attach method with T-SQL commands.
NOTE: BE SURE TO TAKE A FULL BACKUP OF THE DATABASE BEFORE MAKING ANY CHANGES. DO NOT MAKE ANY CHANGES IN PRODUCTION WITHOUT PROPER TESTINGS IN LOWER-LIFE CYCLE ENVIRNOMENTS.
Rename the Physical Database File Name of a SQL Server Database using T-SQL
Step 1 - Check the Current Physical SQL Server Database File Names
We created a database in a previous tip named Manvendra which we will use for this demonstration.
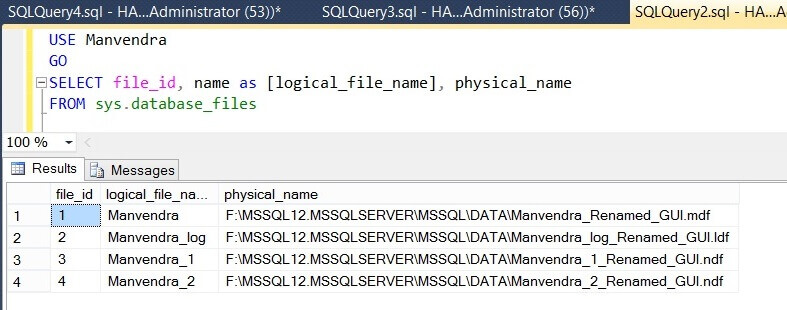
Check the physical database file names and the location of your database files. Run the below T-SQL command to get this information.
USE Manvendra
GO

SELECT file_id, name as [logical_file_name], physical_name
FRFROM sys.database_files
Step 2 - Detach the SQL Server Database
We can see the physical database file names in the above screenshot, now we will detach this database to make changes to the database file names. Run the below T-SQL commands to get this done. If there is any critical transactions running it's recommended to let them complete first then go ahead with this step.
ALTER DATABASE Manvendra SET SINGLE_USER WITH ROLLBACK IMMEDIATE
GO

sp_detach_db 'Manvendra'
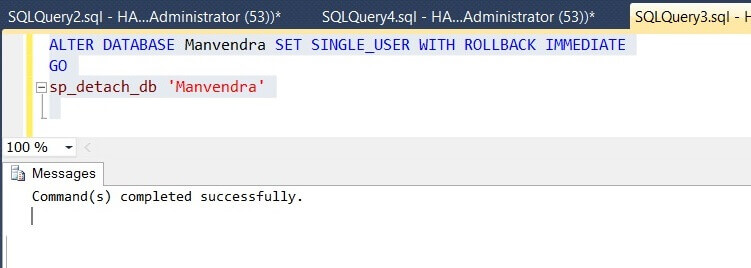
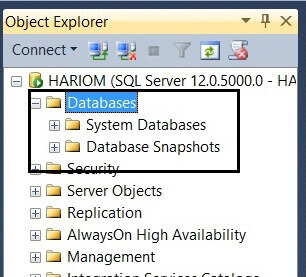
Once the above commands complete, the database will be detached. You can validate whether the database is detached by refreshing the database folder in SQL Server Management Studio. You can see the database is not showing in the Databases folder below.
Step 3 - Rename SQL Server Database Physical Files in Windows
Now go to the database file location and rename the database files accordingly. Below are screenshot of the database files which we are going to rename.

Below is a screenshot of the database files after renaming.

Step 4 - Attach the SQL Server Database
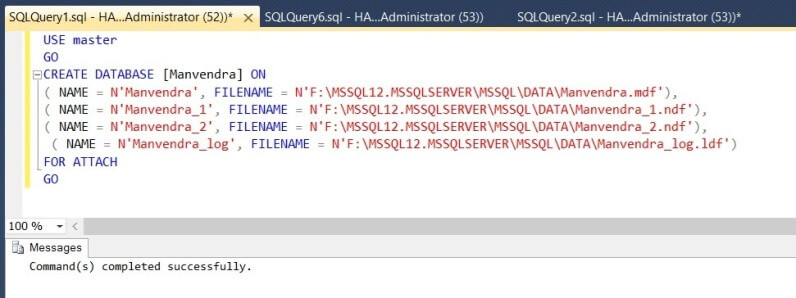
Now, the next step is to attach the database using the renamed database files. Run the below command to attach the database using the new file names.
USE master
GO

CREATE DATABASE [Manvendra] ON
( NAME = N'Manvendra', FILENAME = N'F:\MSSQL12.MSSQLSERVER\MSSQL\DATA\Manvendra.mdf'),
( NAME = N'Manvendra_1', FILENAME = N'F:\MSSQL12.MSSQLSERVER\MSSQL\DATA\Manvendra_1.ndf'),
( NAME = N'Manvendra_2', FILENAME = N'F:\MSSQL12.MSSQLSERVER\MSSQL\DATA\Manvendra_2.ndf'),
 ( ( NAME = N'Manvendra_log', FILENAME = N'F:\MSSQL12.MSSQLSERVER\MSSQL\DATA\Manvendra_log.ldf')
FOR ATTACH
GO
Step 5 - Validate the SQL Server Database Changes
Now we will validate the change and whether the database is attached and operational. Run the below command to check the database status.
SELECT name as [Database_Name], State_desc from sys.databases

As we can see database is attached to the SQL Server instance and is operational. Our final step is to validate that the database file names were changed. Run the below command which we ran in step 1 to validate this change.
USE Manvendra
GO
SELECT file_id, name as [logical_file_name], physical_name
FROM sys.database_files
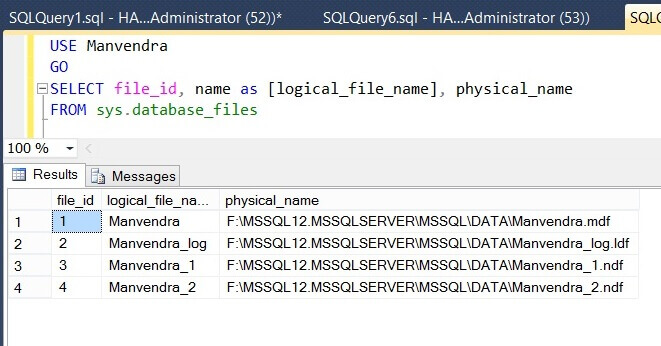
We can see the database file names have been changed.
Next Steps
- Follow the proper change process while implementing this change.
- Do not change physical database file names of your production database until it is required or needed.
- First test this process in a lower life cycle environment and then replicate the change in production once approved.
- Explore more knowledge on SQL Server Database Administration Tips.
About the author
 Manvendra Singh has over 5 years of experience with SQL Server and has focused on Database Mirroring, Replication, Log Shipping, etc.
This author pledges the content of this article is based on professional experience and not AI generated.
View all my tips


