By: Arshad Ali | Comments (1) | Related: > Azure Backup and Restore
Problem
Microsoft offers Windows Azure SQL Database as a cloud based SQL Server service offering. Though it has built-in features to protect data from server, network and device failures (reducing overhead for setting up and ensuring high availability) in certain cases you still need to protect your data from application or users errors. In this tip we cover how to setup a backup and restore strategy for a Windows Azure SQL Database.
Solution
Although there is no direct support for backing up and restoring a Windows Azure SQL Database (no support such as BACKUP DATABASE or RESTORE DATABASE commands) as it already provides protection of data from a high availability point of view since the data is replicated 3 times to ensure high availability. However, in certain cases you still need to protect your data from application or users errors, or if there is a total loss of a region or if you want to create your own backup of the data. In this tip, I am going to talk about how you can do that.
SQL Database is available now as Web (scales up to 5 GB) and Business (scales up to 150 GB), but these editions will retire in April 2015. There are also three other service tiers (editions) currently available as a preview with better capabilities, i.e. Basic (scales up to 2 GB), Standard (scales up to 250 GB) and Premium (scales up to 500 GB). You can find details on pricing for these different service tiers for SQL Database here and can learn more about these service tiers here.
Windows Azure SQL Database - Export
Windows Azure SQL Database provides export service to export the schema definition and data of the database tables to a logical export file (BACPAC). Before I talk about this in detail, let me show you how you can do this; go to Windows Azure Portal then go to the database and click on the Export link on the bottom of the screen as you can see below: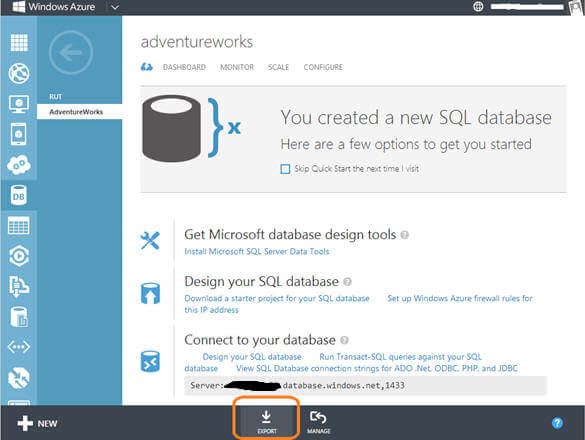
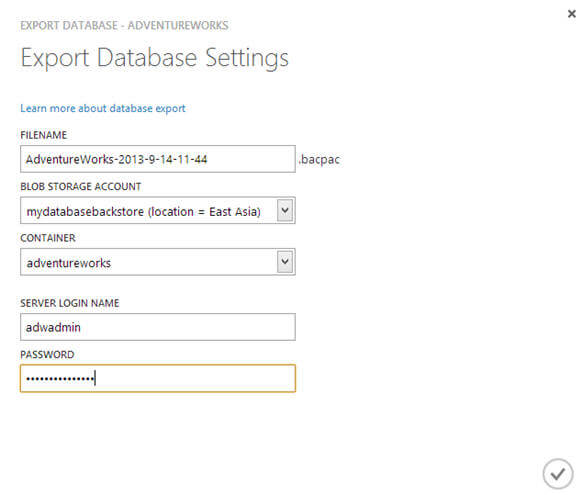
Clicking on the above link will launch the Export Database operation wizard for the selected database and then you need to specify export related settings as shown below. Please note, using the Windows Azure portal you can only export your database to a Windows Blob Storage Account:
Once the export process starts you can see the progress message as shown below and it disappears when the export process is completed:

Now you can go to the Windows Blob storage account (you can use Azure Storage Explorer for browsing the Windows Azure Storage) and verify the existence of the BACPAC file as you can see in this case below:

Export SQL Azure Data Using SSMS
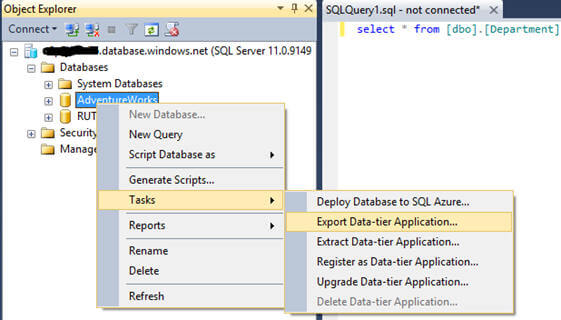
This is not all, you can even use SQL Server Management Studio (SSMS) to connect to the Windows Azure SQL Database server and then export the database using SSMS as well. It even provides more granular controls like, you can select the local file location for the BACPAC file as well as specify which objects you want to export. To do that, right click on the database in Object Explorer of SSMS and go to Tasks and then click on Export Data-tier Application as shown below:
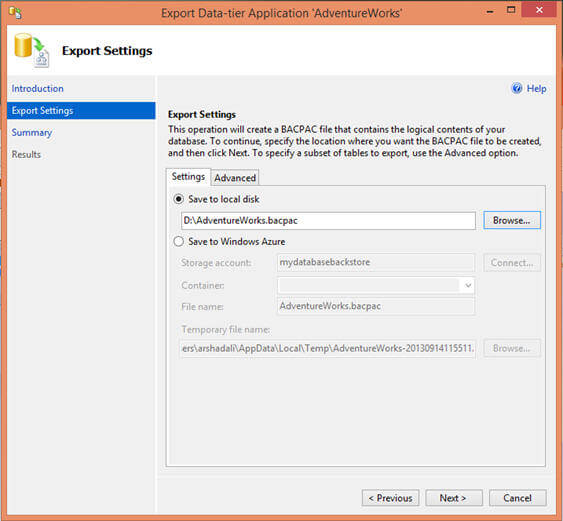
On the Export Data-tier application wizard, specify the location for the BACPAC file which could be either a local file location or Windows Azure blob storage account as shown below:
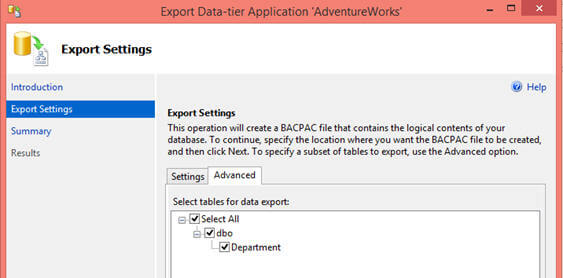
On the Advance tab of the Export Data-tier Application wizard, you can select which database objects you want to export. In my case, as I have just one table in the database this is how it looks:
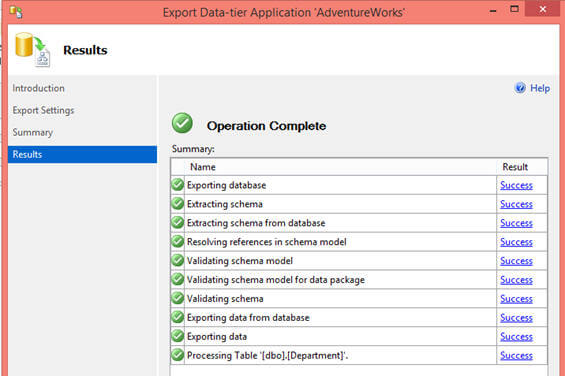
Click on the Finish button to start the export operation and once it is completed, your screen should look similar to this:
Getting a Transactional Consistent Backup
There is an important point to note here, the export operation performs a bulk copy operation on each individual table (or on selected tables if you are using SSMS) in the database and hence it does not guarantee the transactional consistency of the data. So, how do we get a transactional consistent BACPACK file?
The first option is to set the database to READ-ONLY mode, export the data to a BACPAC file and then set it back to READ-WRITE mode. But what if you cannot do that as you want your database to be fully available during export operation?
The second option is to create a database copy of the Windows Azure SQL database (which is actually a consistent copy of your original\source database at the time when it completes) and then perform an export operation from the copy of the database. Note that the SQL Database copy process is asynchronous and runs in the background without resulting in any downtime for the source database.
There are pros and cons of each of these options - in the first option, as we are not creating a copy of the existing database it does not involve additional cost but at the same time it does not guarantee the transactional consistency of the data. If we have to put the database in read-only mode to guarantee the transactional consistency of the data we are again reducing the usage time for the database for write operations. The second choice may be better as it does not impact the write operations of the database, but while you are creating another copy of the database there would be a cost involved for this second copy of the database.
SQLPackage.exe (Data-Tier Application client tool) is a command line utility that can be used to export or import a BACPAC file. For more information, see SqlPackage.exe.
Windows Azure SQL Database - Import
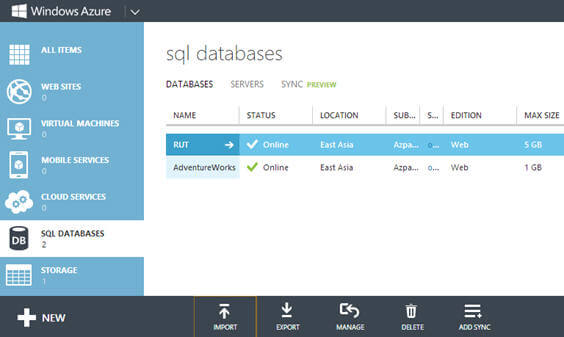
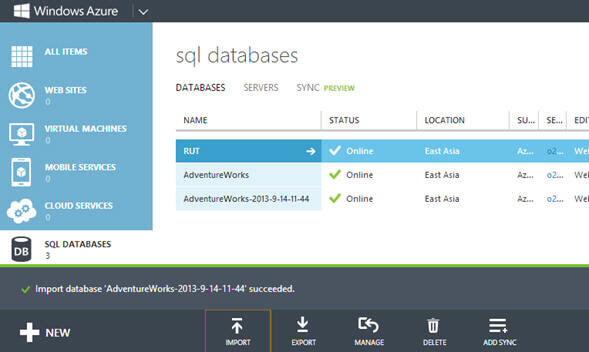
If you have a BACPAC file, you can then restore\recreate the database on the same Windows Azure SQL Database server or another Windows Azure SQL Database server or an on-premises instance of the SQL Server Database Engine. Windows Azure SQL Database has an import service to import from the BACPAC file. On the Windows Azure portal, under SQL Databases section click on the Import link available at the bottom as shown below:
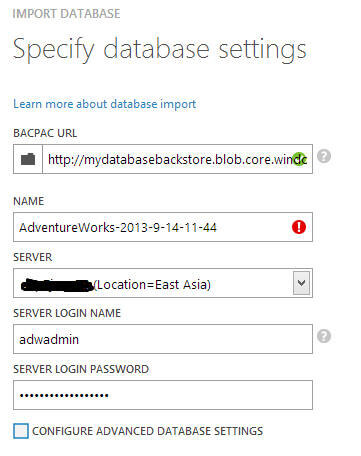
Clicking on the Import icon will bring up the following screen, here you need to select the BACPAC file, specify the name of the database to be created and server information as shown below. If you check "Configure Advance Database Settings" it will allow you to specify the edition of the database you want to create (Web or Business) and size of database:
When you start the import operation, you can monitor the progress as shown below:

Once the import operation is successfully completed, you can see your new database as shown below:
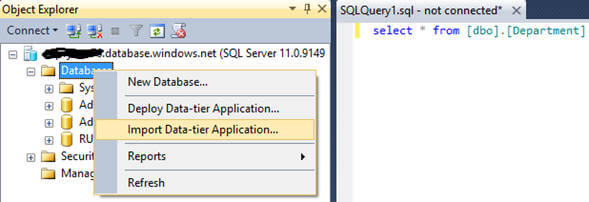
Like export, SSMS allows importing the database from a BACPAC file. To launch it, right click on the Database node in the Object Explorer of SSMS then click on Import Data-tier Application menu item as shown below:
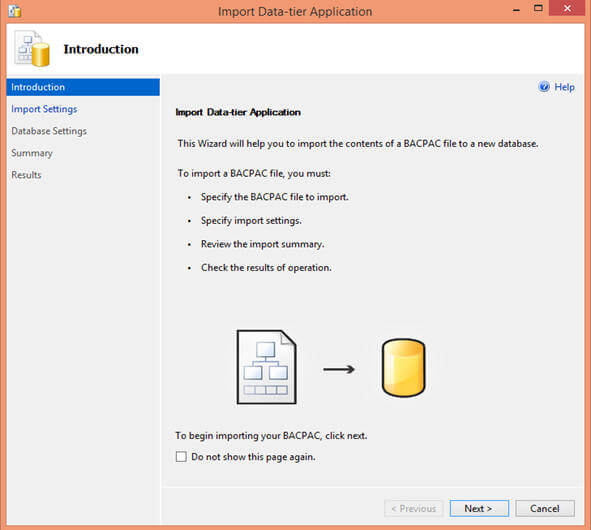
On the first screen of the Import Data-tier Application wizard, just click on Next button to move to the next screen of the wizard:
On the Import Settings screen of the wizard specify the location of the BACPAC file (BACPAC file could be from local file system or Windows Azure blob storage) and then click on the Next button to move ahead:

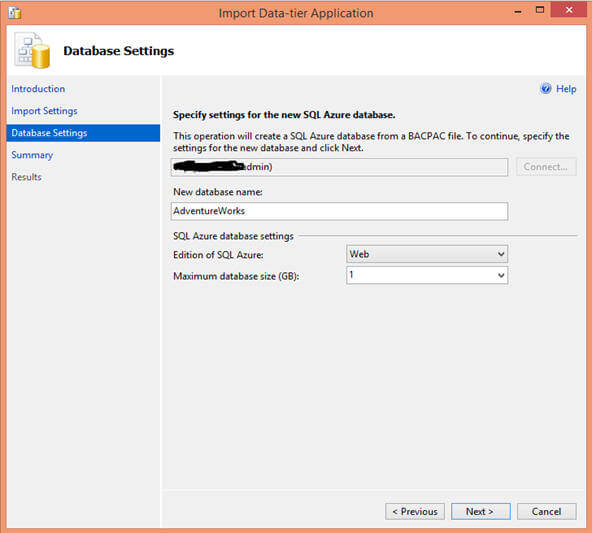
On the Database Settings screen of the Import Data-tier Application, specify the server instance, edition and maximum size of the database to be created as shown below:
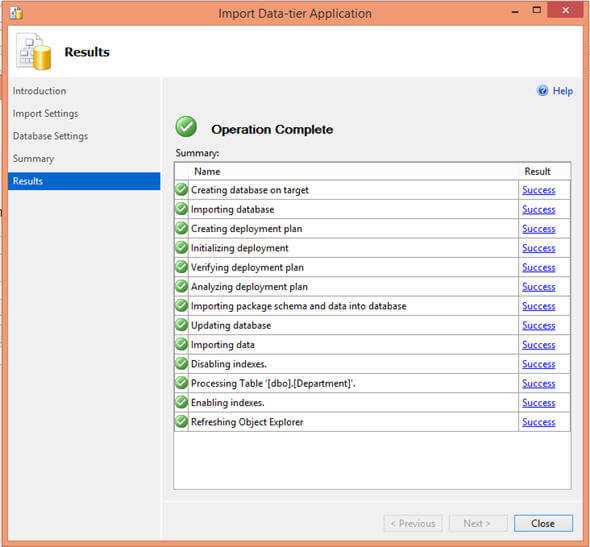
The Import Data-tier Application wizard should look like this after completion of the import operation from the BACPAC file.
Windows Azure SQL Database - Automating Exports
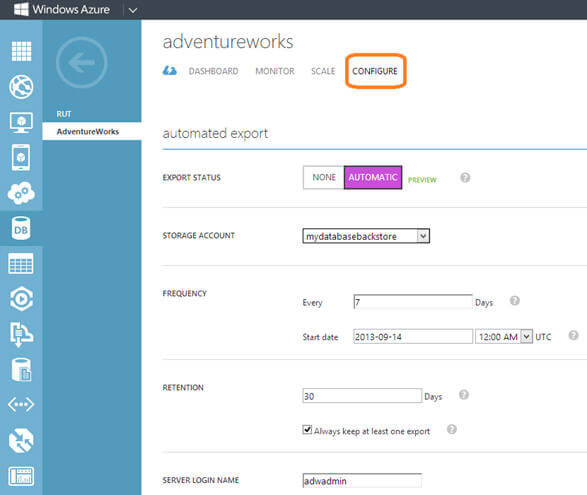
Windows Azure SQL Database provides a mechanism for automating the process for exporting a database to BACPAC files on a set interval and frequency. In order to set up the automatic export process, go to the Configure page of the database on the Windows Azure portal and select Automatic as shown below. Next you can specify the storage account where the BACPAC files will be stored after export, authentication mechanism to connect for exporting, frequency of export and retention settings for the BACPAC files:
As I talked above, when we export from an online Windows Azure SQL database the transactional consistency is not guaranteed and hence the other option is to create a database copy (which guarantees to be consistent when it completes) and export from it. But now the question is how to automate this process? Well there is way to do it, you need to create a program or script, it should first kick off a SQL database copy operation, monitor the SQL database copy process, and when the copy is complete, export a BACPAC file from the database copy (then you can drop-off the database copy if you want to save money). You can schedule the program or script to run on a recurring basis by using a task scheduler like Windows Scheduler on an on-premises machine or by using with Window Azure worker role in the Windows Azure platform.
Next Steps
- Review Creating backups and copies of your SQL Azure databases tip.
- Review Windows Azure SQL Database related tips.
- Review How to: Import and Export a Database (Windows Azure SQL Database) on msdn.
- Review my all existing tips


About the author
 Arshad Ali is a SQL and BI Developer focusing on Data Warehousing projects for Microsoft.
This author pledges the content of this article is based on professional experience and not AI generated.
View all my tips
