Problem
You are using a SharePoint blog and you want to speed up and improve the blogging experience.
Solution
In a nutshell Microsoft Live Writer is a client application which allows you to create a blog entry with rich content. It is then able to post your entry directly to Windows Live, WordPress or even SharePoint!
Microsoft Live Writer is part of the Windows Live Application suite.
Quick start guide : Installation
1. Download and run the Windows Live installation program, check here for system requirements

2. Select the components you want to install. I only installed Writer.

3.Click install to start the installation, should only take a few minutes.

4.Select any additional post installation settings

5. Finished, no need to configure a Windows Live ID if you are posting to SharePoint.

Quick start guide : Configuration for SharePoint
Now Live Writer is installed you can run the configuration Wizard to setup an account for your SharePoint blog. Please note the wizard should automatically run the first time you start Live Writer if it doesn’t you can select to add anew Blog from the Blog’s menu.
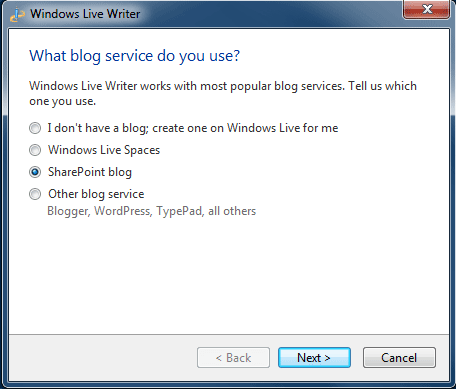
1. On the the first Wizard step select SharePoint blog
2. Enter the URL of your SharePoint blog, make sure you include the http:// and the full path to your Blog (http://sharepoint/blog/)

3. After you have clicked Next the wizard will connect to you Blog and download the supporting theme. This is a great feature as you can see what your post is going to look like as you write it.

4. Finally give your Blog a friendly nickname. More useful when using Live Writer for multiple blog’s.

Quick start guide : Your first post
Hopefully by this point you have installed Live Writer and have configured it for your SharePoint Blog. You can revisit your configuration from the Blog menu in the application. Right, time for your first blog post.
1. Starting Live Writer should automatically fire up a new post page, note the boxed area at the top of the page for the blog title. This may be slightly different on your blog if you have applied a custom theme\template.

2. Create your first test post. Make sure you have a good look around the GUI (graphical user interface) at all of the options. Set categories, post date, rich text controls, insert rich media etc. Note the Edit, Preview and Source tabs along the bottom, create for checking the html Live Writer is going to post.

3. The screen shot below shows the Insert Picture dialog, allowing you to easily browse to your graphics\images.

4. Note the right hand menu area can change depending on what you have selected in the main preview area. Below its showing me the various picture options, great effects like drop shadow and text wrapping..

5. Click Publish to publish your post to your SharePoint blog.
Quick start guide : Checking your post
Once you have clicked publish Live Writer should publish your post to SharePoint including any supporting files, like graphics.
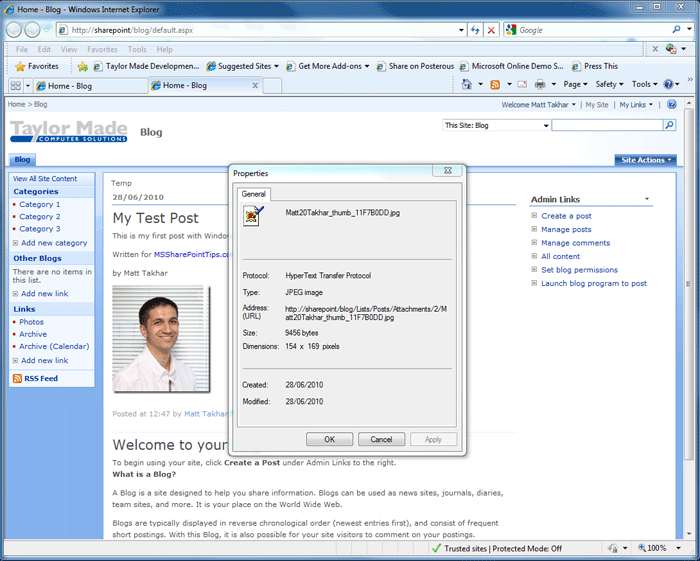
1. Browse to your SharePoint blog to check you post. Note the drop shadow on my example graphic below.

2. Something to note is the location the graphic has been automatically uploaded to. I noticed the graphic isn’t accessible via SharePoint but is via SharePoint designer. Hopefully Microsoft will update Live Writer to allow the user to select the media library for uploads.
Bonus: Plug-ins
I have to mention another really cool feature in Live Writer and that’s Plug-ins! Yes there are lots of extra plugins on the web, two of my current favorites are Clipboard Live and Code Snippet. I’ll write another tip on “Great Live Writer plugins for SharePoint” soon!
Extra Tip : Removing Live Writer
Finally you may decide Live Writer isn’t for you and you may choose to uninstall it from your PC. Please note you will need to follow these steps:
1. Browse to the Live Writer Installer folder, default is C:\Program Files\Windows Live\Installer

2. Double click the wlarp.exe file to uninstall or repair your Windows Live programs, select Uninstall

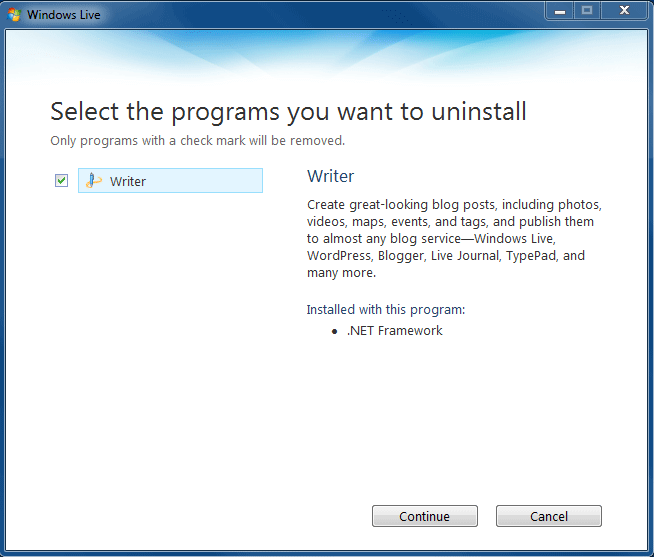
3. The uninstall wizard will show all of the Windows Live applications you have installed, in my case just Writer. Select the ones you want to remove.
4. Continue on to the next step letting the wizard finish. This should only take a minute or so.

5. Finally check the uninstall was successful and click done to close the wizard

Environment
- Windows 7
- Microsoft SharePoint Server 2007 with SP2
- Microsoft .NET Framework 2.0
Next Steps
- Download Live Write from http://explore.live.com/windows-live-writer
- Check back here for my next article on SharePoint related Live Writer plugins

Matt has a background in engineering and has 15+ years of IT experience. He has been working with SharePoint since 2006. In 2007 he attended a 6 day SharePoint boot camp by Firebrand training. He aced the WSS 3.0 and MOSS 2007 exams and this makes him a Microsoft Technical Specialist in Windows SharePoint Services Configuration and a Microsoft Technical Specialist in Microsoft Office SharePoint Server Configuration. Since 2007 he has been specializing in delivering SharePoint solutions and in 2009 he changed roles to Software Development Manager, where his team specializes in developing SharePoint based solutions.