Problem
This tip intends to help those professionals that are moving for the first time to SQL Azure. You should use this article as a tutorial and follow it step-by-step. I will also try to share my experience on the differences that I have found when I was moving from SQL Server to SQL Azure for the first time.
Solution
If you are moving from an on premises environment to the cloud, you will need to consider a new mind set. Microsoft SQL Azure is a Database as a Service (DBaaS) or we can also say that a SQL Azure database is a virtual database. This means that you do not need to have a Windows Server nor install a SQL Server instance. It also means that resources such as network or storage are also not needed. SQL Azure will provide everything that you need for your SQL Azure database work without issues.
Microsoft Azure login
To connect to Microsoft Azure, go to http://portal.azure.com and provide your credentials.
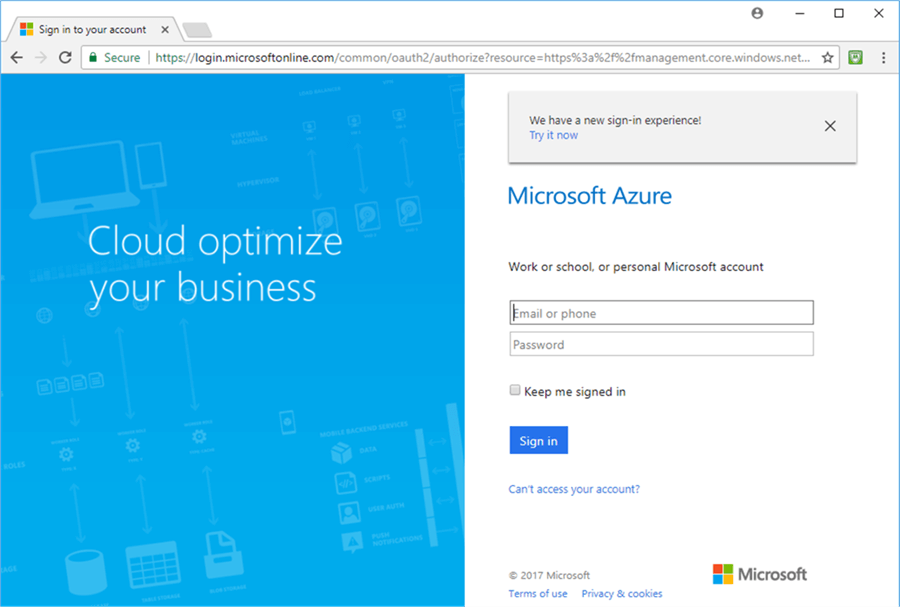
If you do not have an Azure account, provide your email or telephone number and it will verify that you are not in the system and will invite you to create an account. There is an option for a free trial account with $200 USD in credits for 30 days, so you can play with Azure resources without spending money during those 30 days.
After logging into Microsoft Azure, you will be presented with a dashboard for your subscription:

Create a SQL database in Azure
To create a database, click on the “SQL databases” option in the left menu. This will show a similar screen as the next one:

Click on the “Create SQL databases” button to proceed with the database creation as the following image shows:

All fields marked with a red star (*) are required fields so they must be provided.
So let’s start with providing the Database name and choose the Subscription and Resource group where it will be stored. If you do not have any resources created you can create a new one now. Otherwise select one from the existing resources. Then you must select the source from where you want to create a database:
- Blank database – Create a new and empty database
- Sample database – Create a copy of the AdventuresWorksLT sample database
- Backup – Create a database from a backup that needs to exist in Azure
For this tip I choose the sample database, so it will have a schema and data loaded.
Now we must choose a Server where the database will be stored. For people used to working with SQL Server this Server is the SQL Server instance name.
If you do not have a server, you are required to create a new server as shown below where you will need to provide a server name and the admin credentials. Note that this server name needs to be unique across Microsoft Azure, meaning that it might to be hard to find a name that is not already in use.
The nearest Azure data center Location will be provided by default and you can change it as you need or want.

For the purposes of this tip I will go with the basic options so I will not want to use the SQL elastic pool and will choose the basic Pricing tier.
The Pricing tier will provide the number of Database Transaction Units (DTU) and this is a ratio of CPU, Memory and I/O. I will choose the Basic tier that will let me have 5 users and a database with a maximum size of 720MB. The following table outlines all of the service tier options: Service Tier Max DTUs Included Storage Max Concurrent Logins Max Concurrent Sessions
*** NOTE *** – This table outlines the actual service offering tiers from Microsoft Azure at the time of writing. Please check here for any service updates.
The SQL elastic pool is useful when you have many databases and you want to let Microsoft Azure manage the DTUs of the databases. It will automatically remove the DTUs from databases that have light resource consumption and add those DTUs to databases that are facing high demand resource consumption.

Since I am using a free trial account, I cannot choose a Premium or PremiumRS tiers since they cost more than $200 USD. After selecting the Pricing Tier your screen should looks like the following one:

When choosing to create the database from a sample, the Collation cannot be changed. You can only provide a Collation when creating a blank database. A Collation is used to specify the language characters used in char and varchar datatypes. It also specifies sorting rules, case, and accent sensitivity properties for the data. You can learn more about collations by reading this MSDN article.
Validation should be successful to create the desired database and if you want to have the new database available in the dashboard just check the Pin to dashboard option. The dashboard is presented by default when you log in to the Microsoft Azure portal, but you can always go to the dashboard anytime by clicking on the Dashboard option in the left menu of the portal.
What is also interesting is that Azure gives you an option to generate the code for creating the database. For that click in the Automation options link to check what is available. At the time I am writing this tip the following options are available:

Those automation options are out of the scope of this tip, but I wanted to show them anyway because it might be useful for you.
It will take a few minutes to create the database and it can be followed in the main Azure Portal screen:

When finished the Azure Server and the SQL Azure database will be displayed in the Dashboard. From here you can access your SQL Azure server and databases:

In the my upcoming tips I will show you how can you work and manage the databases in Microsoft Azure and with SSMS and how to connect to a SQL Azure from an application.
Next Steps
- Stay tuned for my next tips in this series.
- Check out these additional resources:

Vitor Montalvão is a SQL Server engineer with 20 years of experience in SQL Server, specializing in performance & tuning, data modelling, migration and security. Vitor also has a website with some useful information about SQL Server: https://f1-sqlserver.wixsite.com/f1-sqlserver.
- MSSQLTips Awards: Author of the Year Contender – 2017


