Problem
In this tip we will cover how to add another database to an existing SQL Server Always On Availability Group.
Solution
Sometimes we need to add databases to existing SQL Server Always On Availability Group (AG) configuration according to business needs. Here I will show the steps to add a database to an existing Availability Group.
Before we get started, let me give you details about the existing configuration. I have an Availability Group with two database between two replicas. I will show how to add a database to an existing Availability Group.
NOTE: BE SURE TO TEST THIS SOLUTION IN LOWER LIFE CYCLE FIRST. DO NOT MAKE ANY CHANGES IN PRODUCTION WITHOUT PROPER TESTING IN LOWER LIFE CYCLE ENVIRNOMENTS.
Add Database to a SQL Server Always On Configuration
Step 1: The first step is to check the existing AG configuration and its state. The AG should be healthy before proceeding to the next step. You can check dashboard report as well the Availability Group tree in SSMS. You can see AG looks healthy in the below screenshot.

Step 2: Now identify your database that needs to be added to the AG. Once you have identified the database, you need to prepare it on the secondary replica as a secondary database by restoring it to a norecovery state with a copy of a full backup and a transaction log backup from the primary database. You can see I have restored this database on the secondary replica in the below screenshot and it shows the database is a restoring state.

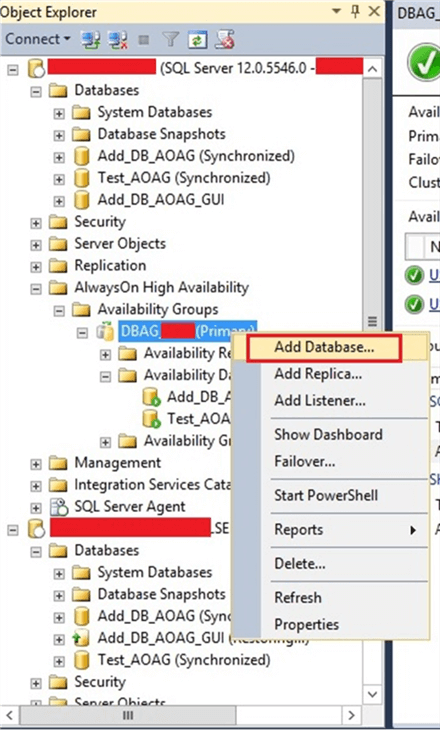
Step 3: Once you prepared the secondary database, the next step is to add this database to the AG configuration. Connect to the primary replica and expand AlwaysOn High Availability and Availability Groups in SSMS as shown below. Right click on the Availability Group name and choose Add Database… as shown in below image.
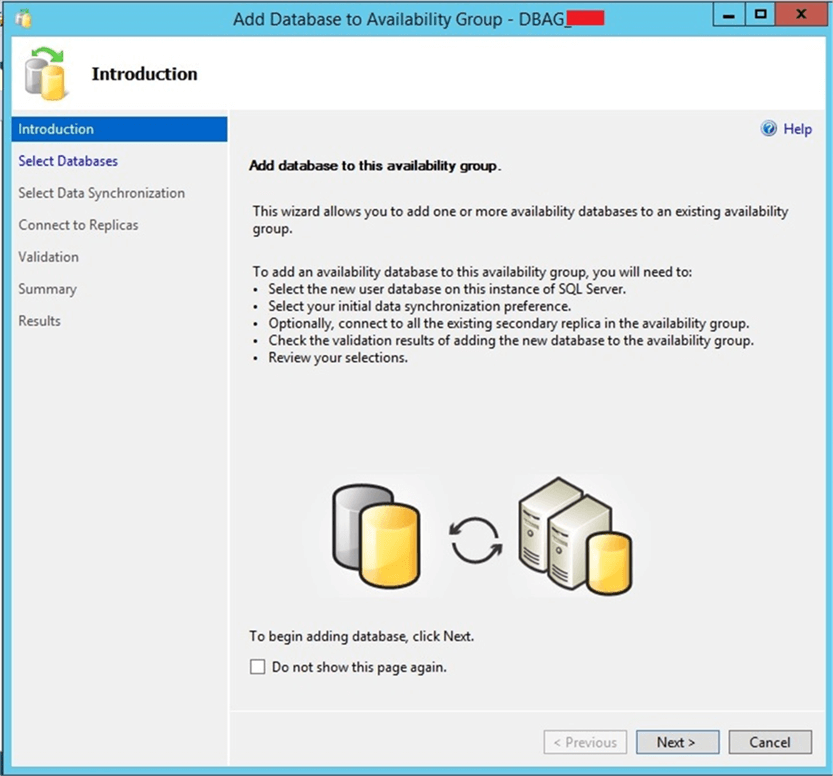
Step 4: You will get the screen once you click Add Database. Click on Next button to proceed.
Once you click on Next button, you will get the below screen to choose the database.

Check database “Add_DB_AOAG_GUI”, to add to the AG.

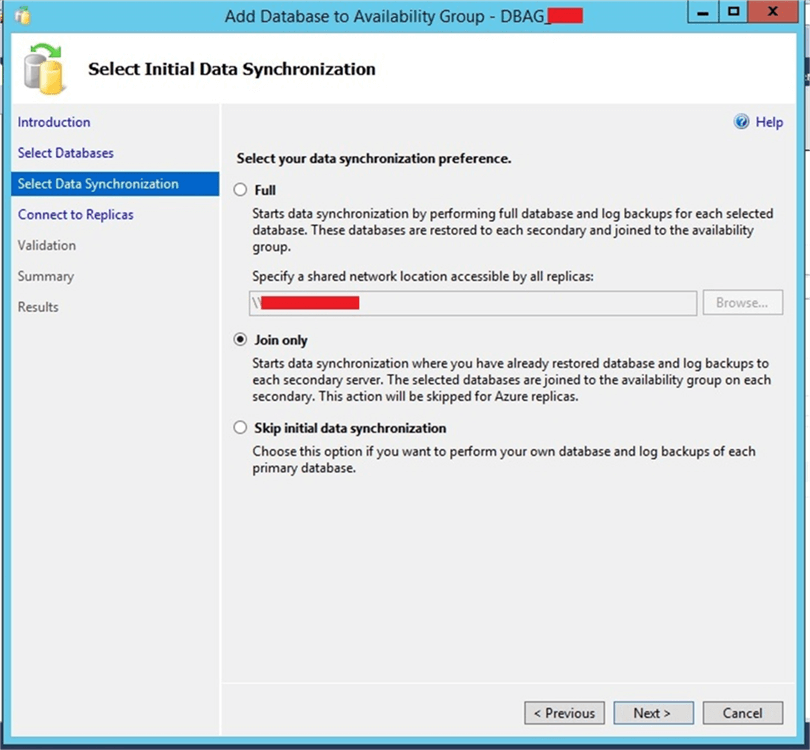
Click on Next button after selecting the database and you will get the below screen to proceed. As we have already prepared the secondary database, we will choose the “Join Only” option and click Next.
You will then get this screen. Click Connect to proceed.
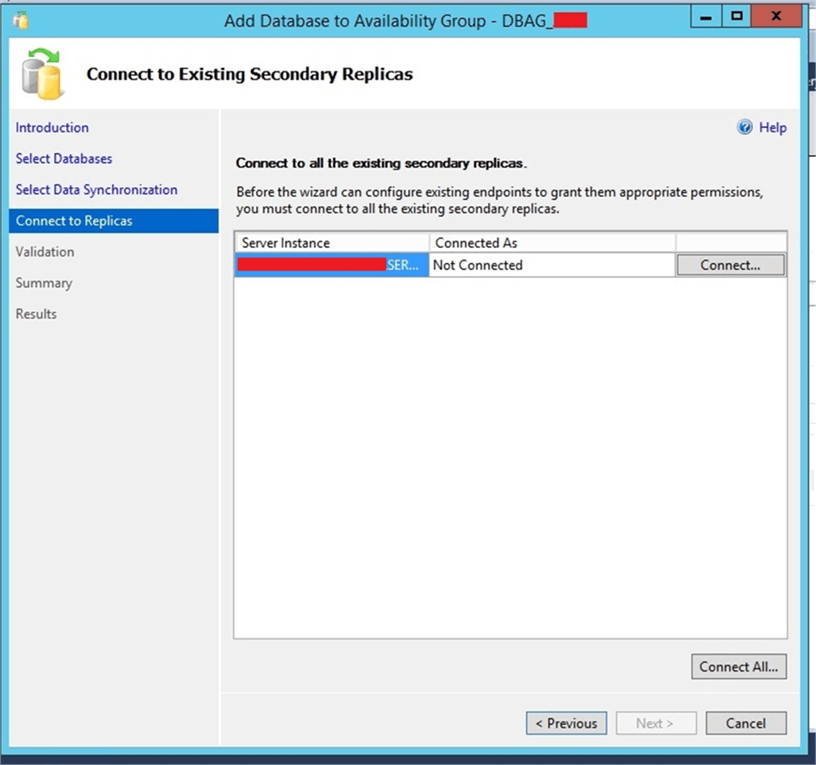
Clicking on the Connect above will open a window to enter credentials to connect to the secondary replica.

Once you connect to the secondary replica you will get the below screen. Then click on the Next button.

After clicking Next it will check validation rules for this configuration. If they all pass, click Next to proceed.

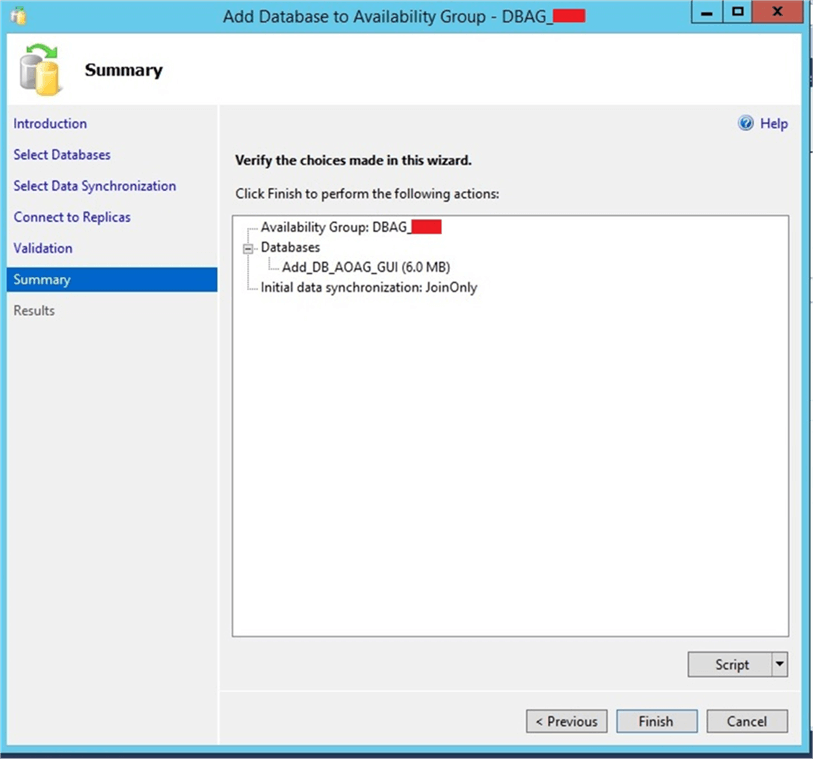
Then you will get a summary page to verify the details as shown in the below image. This is final window of this configuration. Click on the Finish button to add the database to the AG.
You will see the following that shows the database has been added to the AG. Click Close to close this window.

Step 5: Now the database has been added to the existing AG. Next, we will check and validate this change. We can run the dashboard report again or check in SQL Server Management Studio. I checked both ways and you can see the database has been added to this AG in the below image and our Availability Group is running healthy post adding this database.

Next Steps
- Read below articles to learn more on Always On Availability Groups.
- Explore more knowledge on SQL Server Database Administration Tips.

Manvendra is a passionate database lover currently working as a Technical Architect at one of the top MNCs. He has extensive experience on all versions of SQL Server since 2000 and has built Big Data skills. He has lead projects on the following database features: Database Mirroring, Always ON, Replication, Log Shipping, Geo-Clustering and Performance Tuning and delivered many SQL Server projects on consolidation, upgrades, heterogeneous replication, HA / DR solutions, automation and major performance tuning projects. You can also follow Manvendra on his blog, Twitter, LinkedIn and Facebook.
- MSSQLTips Awards: Champion (100+ tips) – 2018 | Author Contender – 2015-2018, 2021-2022