Problem
During an Azure migration, I faced a challenge when trying to migrate our large on-premises database to an Azure IASS server. We were configuring Always On between the on-premises and Azure server. The database was more than 500GB and taking backups from a local share and restoring on to the Azure DR server was taking more than 24 hours and it failed a few of times as well. How can this be improved?
Solution
Taking a local backup and restoring it to an Azure DR server with an ETA of more than 24 hours was not acceptable as we couldn’t have such a long process. We had to come up with the quickest possible solution to migrate the on-premises databases to the Azure DR server. With the solution below, we were able to cut down the time to 5 hours by using an Azure Storage Account.
What is an Azure Storage Account?
An Azure Storage Account comes with the Azure subscription and is charged based on the consumption of storage. I won’t be covering the features of Azure Storage Accounts, but I am going to show you the step-by-step procedure to use a storage account to take an on-premises SQL Server database backup and restore the database onto an Azure DR SQL server directly from the storage account.
1. Login to Azure portal with your login Id and password.
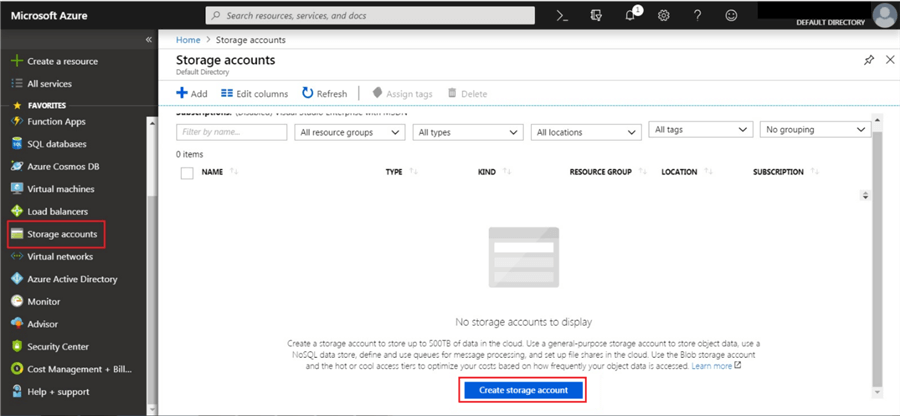
2. Go to Storage accounts and click on Create storage account (refer to screenshot below):
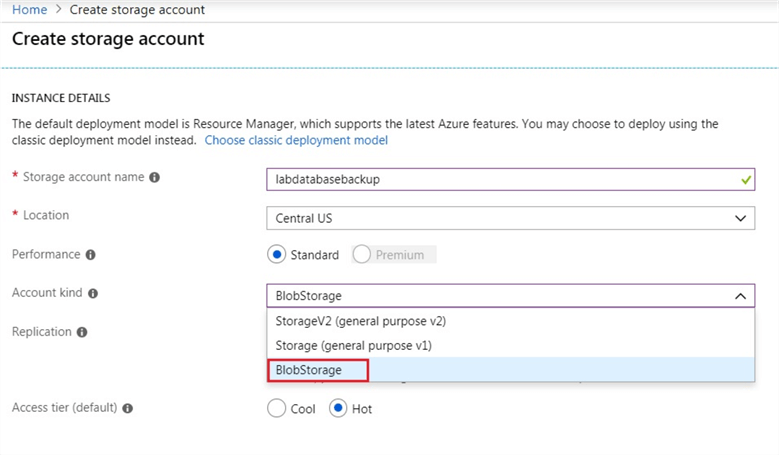
3. Once you click create, you will see the below window. Enter an appropriate Storage account name and select a Location nearest you as it will impact the performance when you are trying to access the storage account to and from the SQL Server.
4. For Performance you can select standard, but if you are creating for production you should select premium. The Account kind should be BlobStorage as we are using it for backups only.
5. Next you will have to choose the Replication type. Select Geo-redundant if your datacenter is scattered across the globe and you will be accessing the storage account from different regions. I choose Locally-redundant storage (LRS) for the demo.
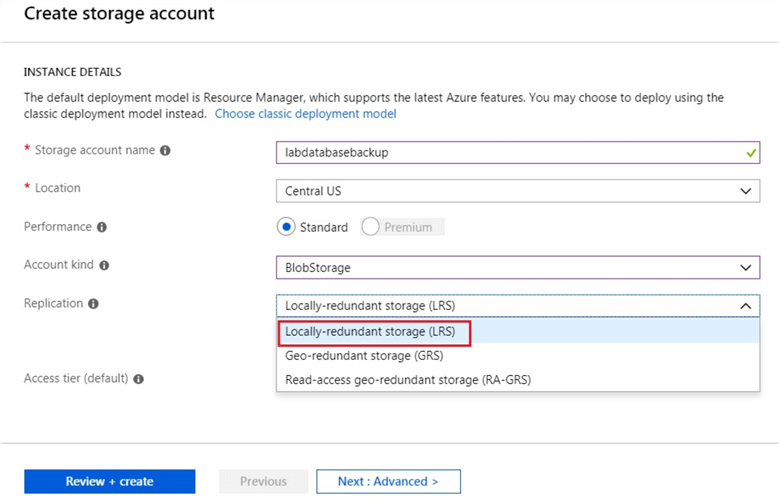
6. Choose Access tier as Hot, this will be a bit costly, but performance will be better for the backup and restore.

7. Keep the other options as the defaults. Click on Review and create.
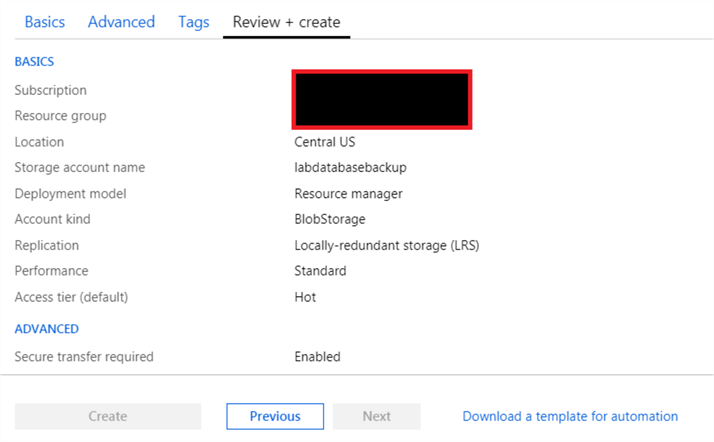
8. It will take some time to create. Once the account is created you will be notified.
9. Once the storage account is created. Go to storage accounts and click on the storage account. Then click on Blobs.

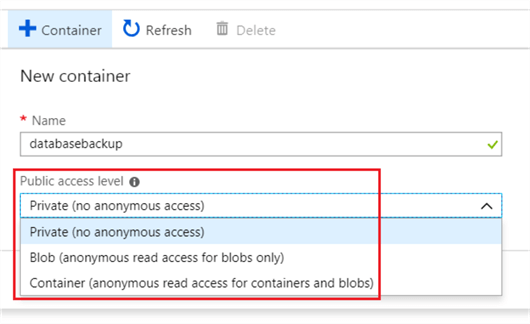
10. You will have to create a storage container for the database backup. It’s like a folder to save the backup. Click on Add container. Once a new container window opens as below, give the appropriate name and choose access level. If you don’t want any unauthorized user to access it select private only. Click OK.
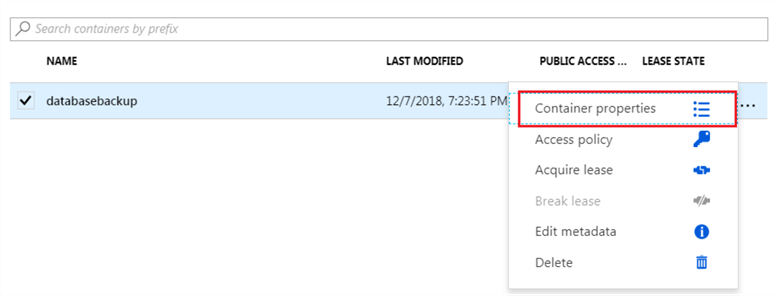
11. The container will be created as below.

12. Click on three dost at the end of the storage container and select container properties.
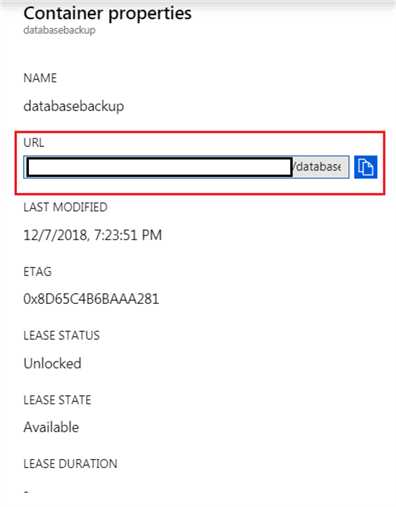
13. You will see the URL for the storage account which you are going to use to take the backup and restore from (see below). Click on the copy icon to copy and save it somewhere such as notepad.
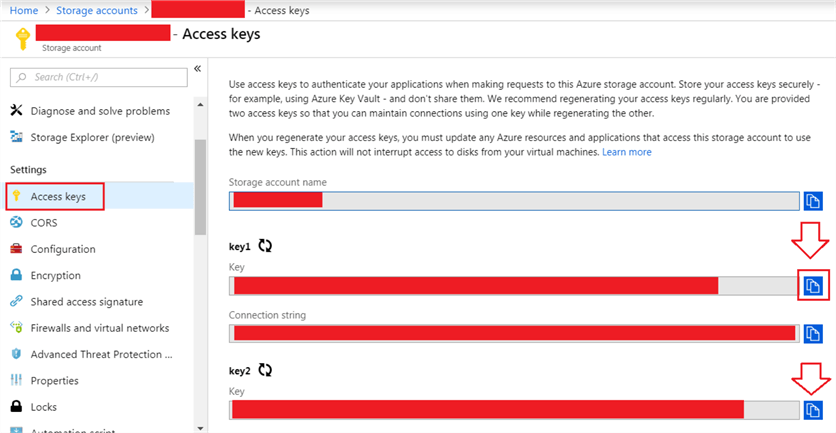
14. Now go back to storage account and click on Access keys as show below and copy the access key as shown below. There are 2 access keys, you can use any one of them. It’s nothing but a password to connect your storage account. Now, we are done with the storage account configuration for taking the backup.
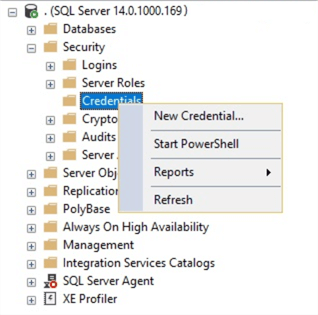
15. Now, connect with SQL Server in Management Studio and click on security and then credentials and right click and click New Credential.
16. Enter credential name, you can give any name and it is not necessary to match the storage account name. The Identity name should be your storage account name and the password should be the access key you copied in the previous step. Copy the same key to confirm password and click OK.
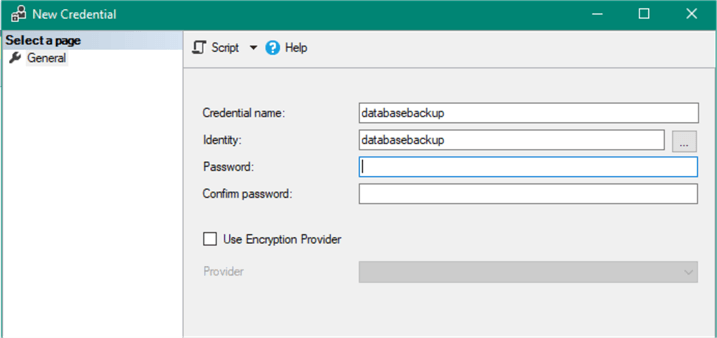
17.This will create a credential in SQL Server for your storage account which you will be using to take the backup to the storage account and will be used as an authentication. Currently, AD level authentication is not available and we need to use the storage account key to authenticate to the storage account.

18. Follow the same steps on your Azure DR server.
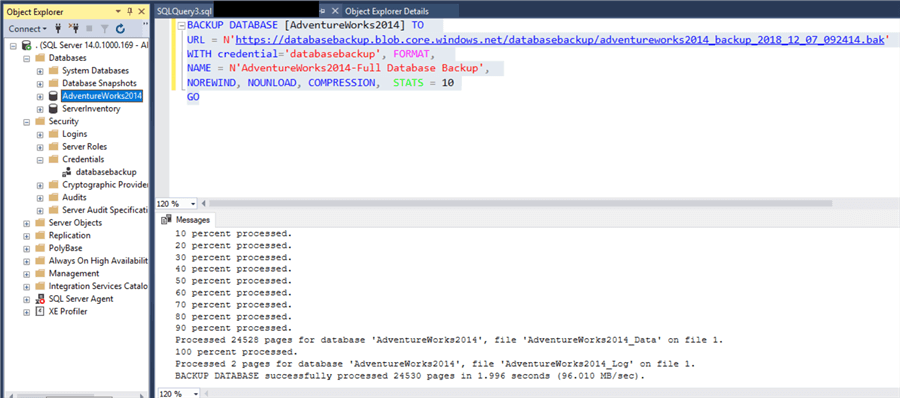
19. Now click on new query in SQL Server Management Studio and run this command. After it runs you will see the backup is completed. Connect to the Azure portal and verify the backup is in the storage container.
BACKUP DATABASE [AdventureWorks2014] TO
URL = N'https://databasebackup.blob.core.windows.net/databasebackup/adventureworks2014_backup_2018_12_07_092414.bak'
WITH credential='databasebackup', FORMAT,
NAME = N'AdventureWorks2014-Full Database Backup',
NOREWIND, NOUNLOAD, COMPRESSION, STATS = 10
GO
20. Now that the backup is complete, we will try to restore the backup from the storage account which we have taken in the previous step. Open a new query window and run the below query.
USE [master]
GO
ALTER DATABASE [AdventureWorks2014] SET SINGLE_USER WITH ROLLBACK IMMEDIATE
GO
RESTORE DATABASE [AdventureWorks2014] from
URL = N'https://databasebackup.blob.core.windows.net/databasebackup/adventureworks2014_backup_2018_12_07_092414.bak'
WITH credential='databasebackup', STATS = 10
GO
USE [master]
GO
ALTER DATABASE [AdventureWorks2014] SET MULTI_USER
GO

As you can see above, I have restored the database on the same server for this demonstration, but note that in an actual scenario you don’t want to run the restore command on the same server or else you will overwrite your production database. Make sure you run the restore command on your DR, Dev or UAT server.
If you are working on an Azure migration, then this tip will definitely save lot of time required for the backup and restore from on-premises to the cloud.
Next Steps
- Check out these other tips:

Atul Gaikwad has over 14+ years of experience with SQL Server. He currently works for one of the leading MNCs in Pune as a Delivery Manager handling small to large SQL Server production support projects. He is technology savvy and believes in automation and innovation. He likes to automate anything and everything which can help save time and make a DBAs life effortless and smooth, to focus on larger projects. He has extensive hands on experience in SQL Server administration and high availability solutions like clustering, replication, log shipping, mirroring, etc. He also possesses strong knowledge of SSRS and SSIS.
- MSSQLTips Awards: Rookie of the Year Contender – 2016
I am having following error: `BACKUP DATABASE failed. SQL Database Managed Instance supports only COPY_ONLY full database backups which are initiated by user.` at step 19. How could I fix this error?