Problem
When you have a created a model in Power BI Desktop using Import Data, you have to refresh the model to refresh with new data. If you also have a daily ETL batch process, it is a good idea to refresh your model after your data warehouse has been loaded with new data. In this tip, we’ll take a look on how we can achieve this in Azure Data Factory and Logic Apps.
Solution
In part 1, we created an Azure Logic Apps custom connector. Having this custom connector is a prerequisite for Azure Logic Apps to connect to the Power BI API. If you haven’t read part 1 yet, I advise to do so. In the remainder of this tip, we’ll discuss how we can create the Azure Logic App – which is going to be started from an Azure Data Factory (ADF) pipeline – that will refresh the Power BI dataset.
Refreshing a Power BI Dataset from Azure Data Factory
Creating a Sample Power BI Desktop Model
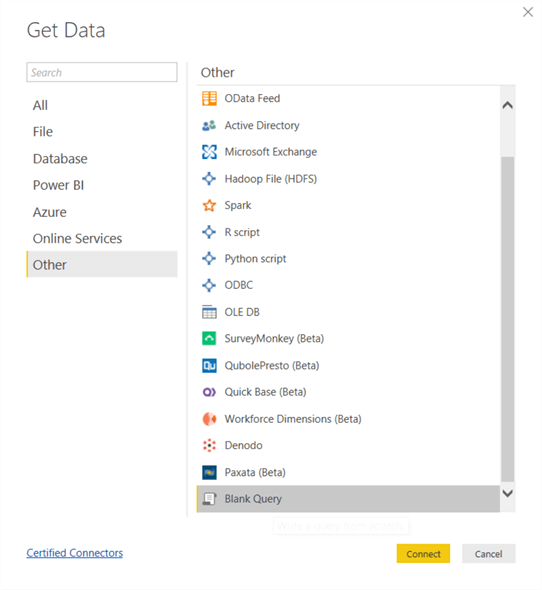
First, we need a model to refresh of course. Important is that we have a model that doesn’t use Direct Query or a live connection (there’s no refresh needed), but the Import Data method. Startup Power BI Desktop and select Get Data. In the menu, choose Blank Query.
In the Query Editor, choose Enter Data.

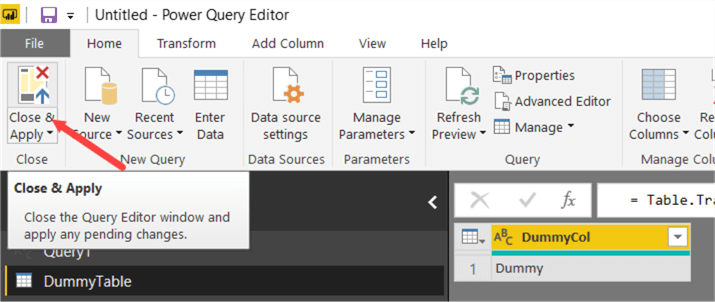
We’re going to enter 1 cell of dummy data. In the model, we’ll add a calculated column with a timestamp. That way we’ll know at what time the model was refreshed.

Hit Close & Apply to load this data to the model.
In the model, hide the dummy column:

Next, add a calculated column to the table.

The formula of this column uses the NOW() DAX function to get the current timestamp.

In the report canvas, use a card visualization to visualize this date:

The last step is to publish to a workgroup in the Power BI service.

Creating the Azure Logic App
In the Azure Portal, create a new Logic App by selecting Create a resource and then searching for Azure Logic Apps.

Make sure to create the Logic App in the same resource group and location as your custom connector. Once the resource is deployed, go to the Logic Apps designer. As a trigger, choose the HTTP request. This request will be sent by a Web Activity in ADF.

You don’t need to specify a request body. Click on New Step to add an action.

In the newly added action, search for Power BI. You’ll get multiple results. The connector with the Power BI name is the official one, but as mentioned in part 1 this connector has only one action (adding rows to a dataset). Choose the connector with the name of your custom connector.

There are a lot of actions, so search for refresh and pick the refresh action that refresh a dataset in a specified workspace.

The next step is to sign into your Power BI account. Make sure to use a browser that doesn’t block pop-ups or temporarily disable them.

Even though we specified the correct permissions for the app when we registered it on the Power BI website, you as an author might still need some admin permissions to log in and use the app to perform tasks on the Power BI service. This depends on the policy setting of your organization. You might get an error, even if you’re admin of the workspace where the dataset is located. At the very minimum, the user that logs in needs to be able to access the workgroup and be able to refresh the dataset.
After you’ve logged in, you need to specify the group ID (group equals workspace) and the dataset key. You can find both IDs by browsing to the dataset in the Power BI service. Click on the report icon by the dataset to create a new report.
When you’re in the blank report canvas, the URL will contain both the ID of the workspace and the dataset:

Copy paste both IDs and fill them out in the Logic App action:

The Logic App is now finished and can be saved.
Creating Azure Data Factory Pipeline
To finalize our setup, we need to create a pipeline in Azure Data Factory.

Add a Web Activity onto the pipeline canvas. In the settings tab, we need the URL from the HTTP request trigger of the Logic App.

Paste the URL. As method, choose the POST method.

A dummy body can be specified. Everything else can be left as-is. Although we created a new pipeline for this tip, in practice you’ll probably add this web activity at the end of your current ETL/ELT pipeline, right after your data warehouse has been refreshed.
Now we can test the whole setup. Debug the ADF pipeline to trigger the Logic App, which in its turn will refresh the Power BI dataset.

Sending an HTTP request is asynchronous, so it will finish very fast. Let’s take a look at the Logic App to see if it ran correctly:

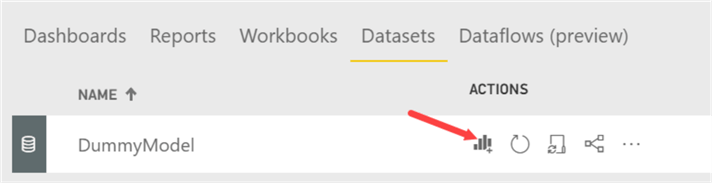
In the Power BI service, go to the dataset and click on the ellipsis to go to its settings.

There, we can check the refresh history of the dataset:

Indeed, when we take a look at the report, we can see the date has changed:

Apparently, the server hosting the dataset in the Power BI service has another time zone though.
Conclusion
In this two-part tip, we defined a workflow to refresh a Power BI dataset from Azure Data Factory. First, we created a custom connector that enabled an Azure Logic App to talk to the Power BI API. Then, we created an ADF pipeline to trigger said Logic App.
Next Steps
- If you haven’t already, read part 1 of this tip as creating an Azure Logic App custom connector for Power BI is a perquisite for this part.
- More tips about Logic Apps:
- You can find more Azure tips in this overview.
- More Power BI tips can be found here.

Koen Verbeeck is a seasoned business intelligence consultant with over a decade of experience with the Microsoft Data Platform. He holds several certifications, including Azure Data Engineer. He’s a prolific writer, with over 375 articles on technologies such as Microsoft Fabric, SSIS, ADF, SSAS, SSRS, MDS, Power BI, Snowflake and Azure services. He has spoken at various events such as PASS, SQLBits, dataMinds Connect and many others. He frequently delivers educational webinars on MSSQLTips.com. For his efforts, Koen has been awarded the Microsoft MVP data platform award for many years.
- MSSQLTips Awards:
- Leadership Award (200+ Tips) – 2021
- Author of the Year – 2014/2020/2022
- Author Contender – 2024/2025