Overview
We discussed the Shared Data Source in the earlier section on using the Report Wizard to create a new report. The Data Source contains the information that Reporting Services needs to retrieve the data that we want to render on our report. A Shared Data Source can be used by any report in the same project. In this section, we will create a Shared Data Source.
Explanation
To create a Shared Data Source, click on the New button in the Report Data area, then select Data Source from the menu as shown below:

The Data Source Properties dialog will be displayed, as shown below:
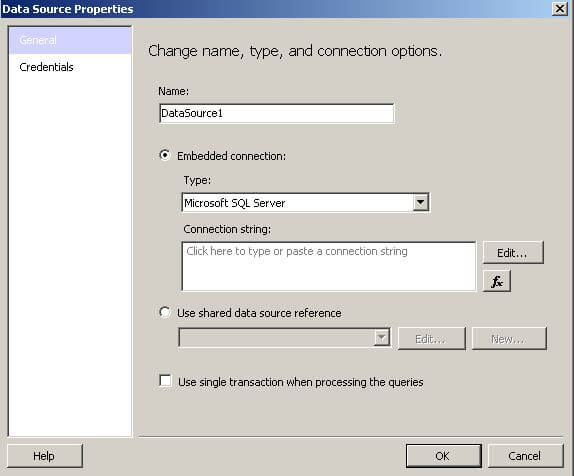
The first thing to do is to provide a name; enter AdventureWorksLT in the Name textbox. Since we already defined a Shared Data Source in the earlier section on using the Report Wizard to create a new report, click the Use shared data source reference radio button and select AdventureWorksLT from the drop-down list. The Data Source Properties dialog is shown below:

At this point, we are done. If you need to create a new Shared Data Source, click the New button and complete the Shared Data Source Properties dialog. This is essentially the same thing we did back in the Report Wizard section of the tutorial.
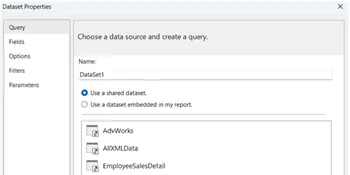
We can now see our Shared Data Source in the Report Data area, as shown below:

We are now ready to continue to the next section and create a Data Set.

Ray is a Principal Architect at IT Resource Partners focused on SQL Server and Business Intelligence. He is a Microsoft Certified Solutions Expert (MCSE) in Business Intelligence, a MSSQLTips.com BI Expert and Ambassador. He is also a co-author of the book: SharePoint 2010 Business Intelligence Unleashed.
- MSSQLTips Awards: Champion (100+ tips)