By: Daniel Calbimonte | Comments (24) | Related: 1 | 2 | 3 | 4 | More > Integration Services Development
Problem
I have seen a previous tip that explained how to import multiple images to SQL Server. This was a great tip, but now my question is: is it possible to do the opposite? Can I export images from SQL Server to a file in Windows? What SQL Server options are available to do so? Check out this tip to learn more.
Solution
Very simply, the answer is "yes". In this tip let's use SQL Server Integration Services to export images from SQL Server to the c:\images folder. In this tip, I will outline the requirements and step by step process to export images with SQL Server Integration Services in order for you to learn and duplicate the process.
Requirements
- I am using the SQL Server 2012 with the SQL Server Integration Services installed. This example should work in SQL Server 2008 as well.
- In this example I will use the Adventureworks 2012 database, but earlier version of the Adventureworks database should have the same information.
- An "images" folder was created on the c:\ drive.
Getting started
In this example, we are going to copy the images stored in the Adventureworks2012 database using the [AdventureWorks2012].[Production].[ProductPhoto] table which already contains some photos and export them to the c:\images folder.
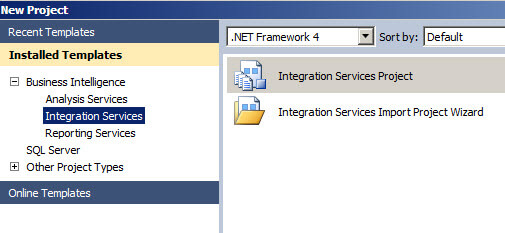
- Let's start with the SQL Server Data Tools (SSDT) in SQL Server 2012 or the Business Intelligence Development Studio (BIDS) in SQL 2008 and open an Integration Services Project:
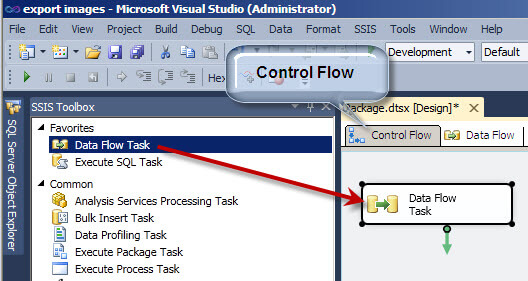
- In the control flow tab drag and drop the Data Flow Task from the SSIS Toolbox to the design area:
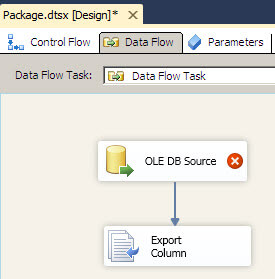
- Go to the Data Flow Tab and drag and drop the OLE DB Source and the Export Column task and join them:
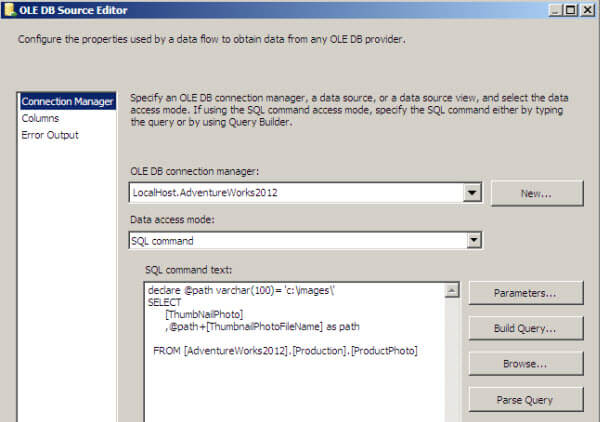
- Double click in the OLEDB Data Source.
- In this example, we are going to connect to the Adventureworks2012 database and the Production.Photo table. If you do not have a connection created, press the New button and create a connection to SQL Server and the Adventureworks2012 Database (older Adventureworks databases also contain the production.photo table).
- In the Database Access Mode, select SQL Command.
- In the SQL command text, write the following code:
declare @path varchar(100)= 'c:\images\'

SELECT [ThumbNailPhoto]
,@path+[ThumbnailPhotoFileName] AS Path
FROM [AdventureWorks2012].[Production].[ProductPhoto]
The query includes the picture (ThumbNailPhoto) and the path. In the variable @path we are using the "c:\images\" folder. The query is concatenating the path plus the filename.
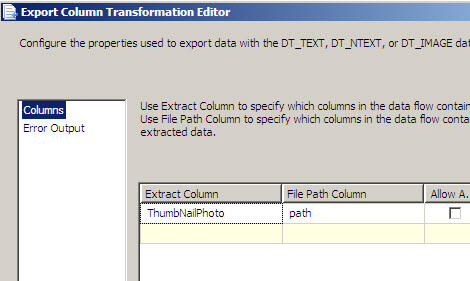
- Double click in the Export Column Task and select the Extract Column (the name of the column with the images) and the File Path column (the path where you want to save the image).
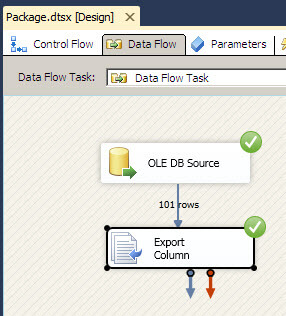
- Start the debug and 101 pictures will be saved.
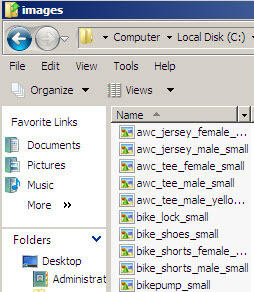
- Verify that the pictures were stored in the c:\images folder
Next Steps
- The Export Column task is a pretty easy tool to export data from SQL Server to a file. Basically it requires the image column and the path in another column.
- If you are working with files and documents with databases I strongly recommend you to read about the new FileTable feature tip.
- Review the following resources for more information:
About the author
 Daniel Calbimonte is a Microsoft SQL Server MVP, Microsoft Certified Trainer and 6-time Microsoft Certified IT Professional. Daniel started his career in 2001 and has worked with SQL Server 6.0 to 2022. Daniel is a DBA as well as specializes in Business Intelligence (SSIS, SSAS, SSRS) technologies.
This author pledges the content of this article is based on professional experience and not AI generated.
View all my tips


