By: Koen Verbeeck | Comments (9) | Related: > Azure Integration Services
Problem
In previous tips we introduced the Azure-SSIS Integration Runtime (IR), which allows you to lift & shift your existing SSIS projects to the Azure cloud. However, not every single SSIS package will automatically run in the cloud without additional set-up. In this tip, we’ll cover some of those additional configuration steps you might have to take.
Solution
For an overview of how to set up the Azure-SSIS IR in Azure Data Factory v2, check out the tip Configure an Azure SQL Server Integration Services Integration Runtime. If you want to follow along with this tip, it is recommended to follow the steps outlined in that tip. Furthermore, the tip Executing Integration Services Packages in the Azure-SSIS Integration Runtime explains how to deploy, schedule and execute your SSIS packages in the IR environment.
In this tip, we’ll cover how to do a custom setup of the Azure-SSIS IR on the nodes. For example, what if you need 3rd party SSIS components or additional .dll libraries? By default, those objects are not present on the nodes.
Custom Setup for the Azure-SSIS IR
If you need additional libraries or tools on each node of the Azure-SSIS IR, you can use the custom setup interface. When you create the Azure-SSIS IR or when you start it, this custom setup will be run on each node while it is being provisioned. In this tip, we’ll install the extra SDK libraries needed to read a SharePoint Online list with SSIS, as explained in the tip Reading SharePoint Lists with Integration Services 2017.
All of the scripts and components that you want to use for the custom setup need to be stored inside Azure Blob Storage. The easiest method to set this up is using Azure Storage Explorer. Make sure you have an Azure subscription and an Azure storage account created.
Creating the Azure Blob Container
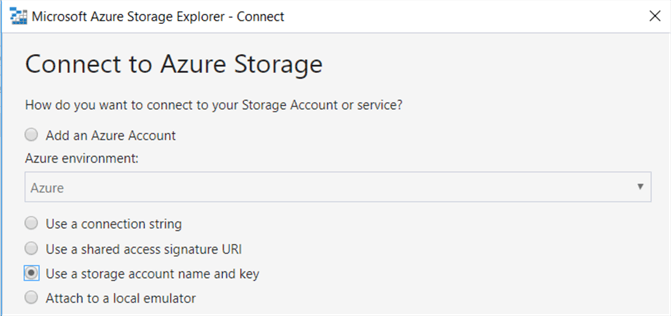
Start Azure Storage Explorer. In the Explorer tab, right-click Storage Accounts and choose Connect to Azure Storage.

In the wizard, choose to use a storage account name and key.
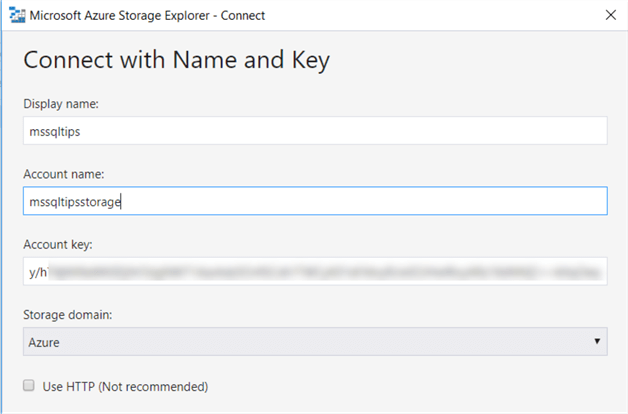
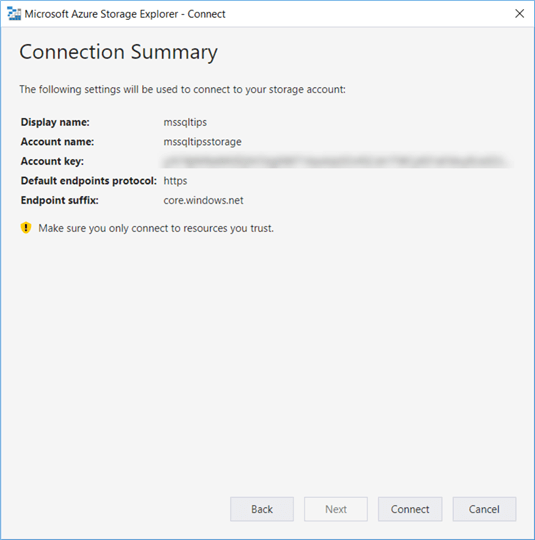
In the next window, enter the account name and the account key:
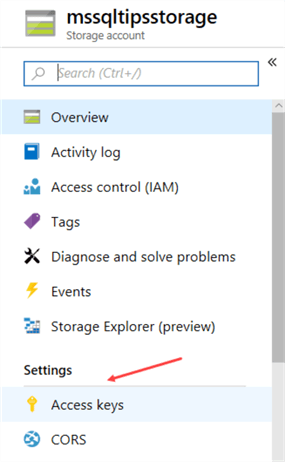
You can find this information in the Azure portal. Go to your storage account, then click on Access keys.
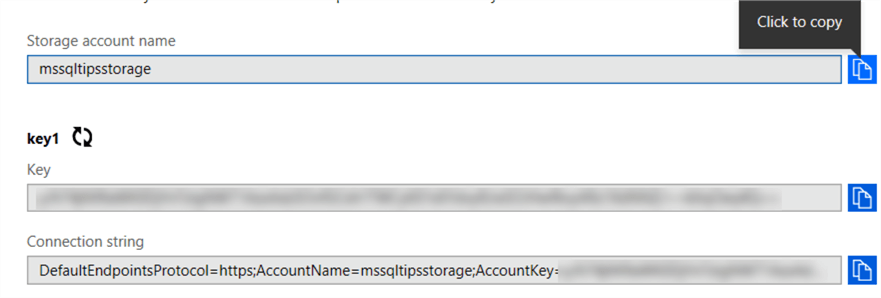
In the opened blade, you can find the name and the access key. Click the icon on the right-side to copy the value.
In the summary, review your configuration and hit Connect.
Next, we’re going to create a new container, which will store the custom setup script. Right-click on Blob Containers and choose Create Blob Container.
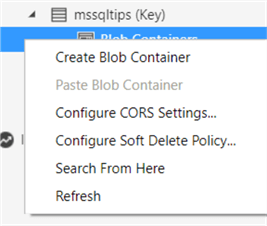
Give the newly created container a name which makes it intent clear.
With the container ready, we can create the script for the custom setup.
Create the Custom Setup Script
The script is a batch script with the name main.cmd. In this batch script, you launch all the executables (installers, gacutil etc.) which will configure and install your components on the node of the IR. To install the SharePoint SDK, enter the following batch code in the main.cmd file:
msiexec /i sharepointclientcomponents_15-4711-1001_x64_en-us.msi /quiet
The msiexec executable is by default present on the nodes and can be used to install any .msi file. The /i switch is used it install a program; the /quiet switch to disable any user interaction, which we want to avoid when installing on the IR nodes. Make sure you have the correct file name for the SharePoint SDK.
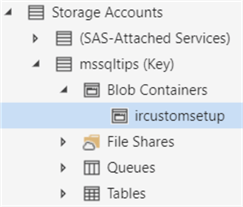
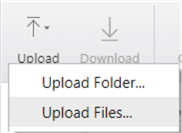
That’s all there is. Now we upload the main.cmd file and the SharePoint client components to the newly created blob container. In Azure Storage Explorer, double click on the ircustomsetup container to open it. Then, hit the upload button.
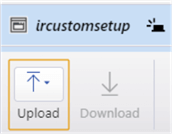
Next, choose Upload Files...
In the pop-up, select the files you want to upload and leave the default settings.
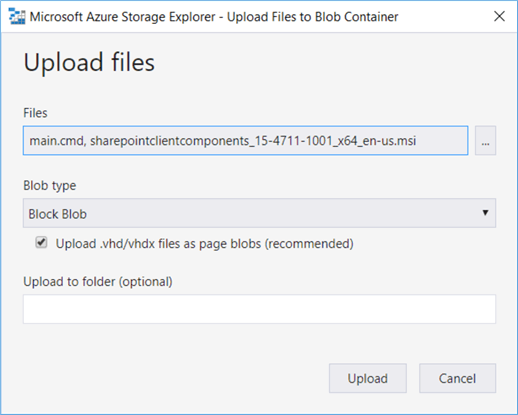
Click Upload to push your files to the Azure Blob container.
Customize the IR Setup
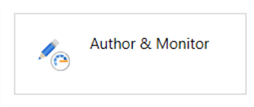
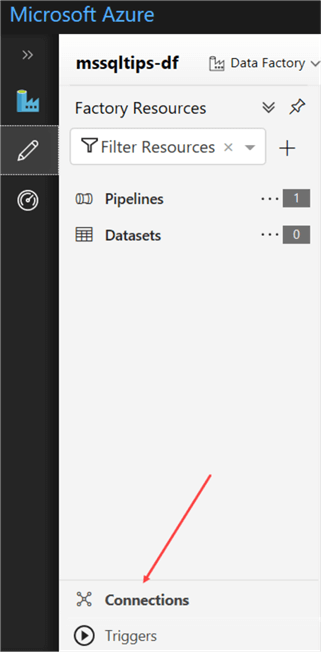
With the blob container in place, we can finally finish the customization of the setup. Go to Azure Data Factory and click on the Author & Monitor link.
In the Azure Data Factory environment, click on the pencil to go to the Author page.
In the left bottom corner, click on Connections.
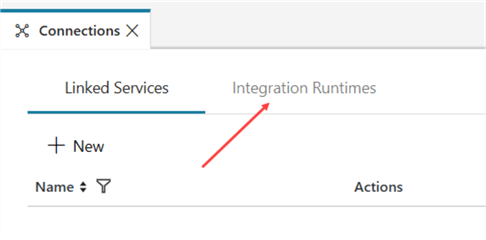
In the Connections screen, go to Integration Runtimes.
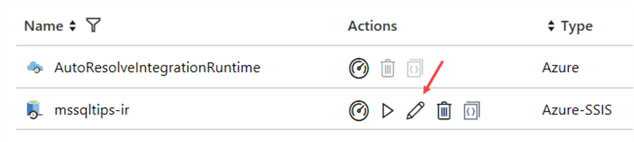
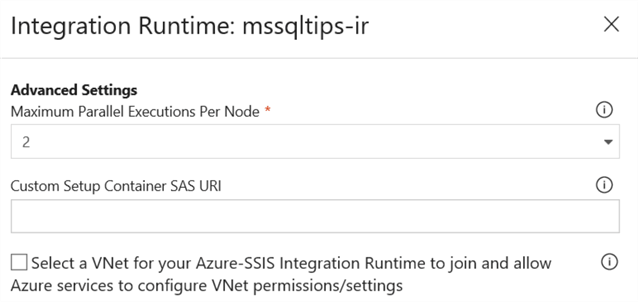
Stop the IR if necessary. Click on the pencil to edit the IR.
In the first and second step, you can leave everything as-is. In the third step, you need the SAS URI of your blob container where we stored the custom setup files.
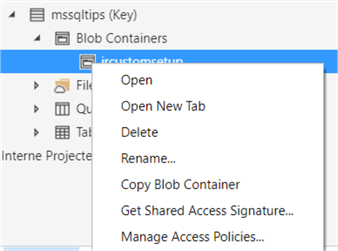
In Azure Storage Explorer, right-click the blob container and choose Get Shared Access Signature…
In the menu, choose a start and end date for your SAS URI. Make sure the end date is far enough in the future. You’ll need read, write and list permissions (the write permissions are necessary for the logs).
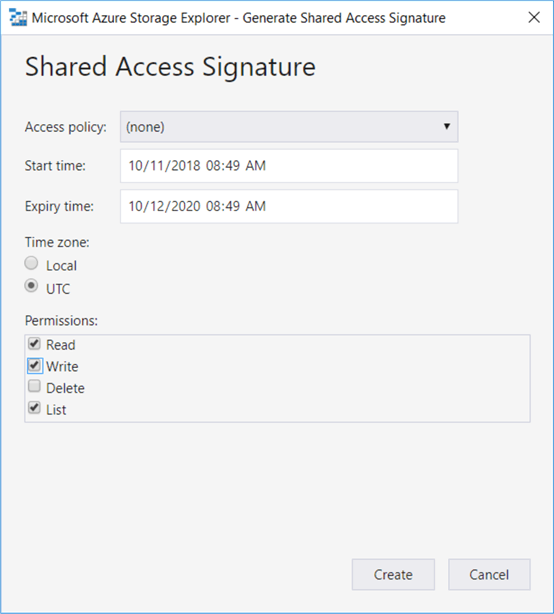
Click Create. In the next window, copy the URL.
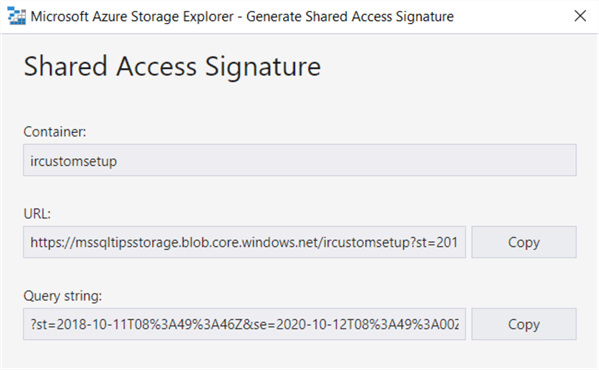
Back to the IR setup, paste the URL into the Customer Setup Container SAS URI box. The URL will be validated.
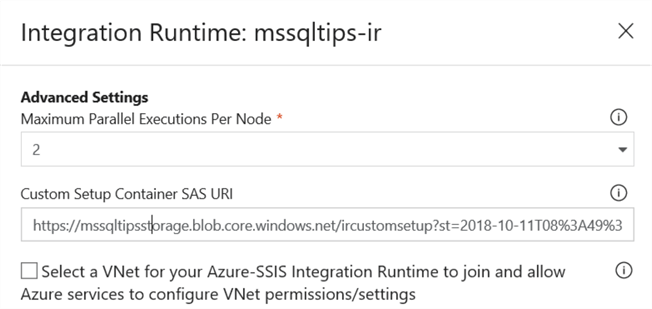
Click on Update to finish the wizard. When you now start the IR, the main.cmd file will be executed on each node, which will install the SharePoint components on each node.
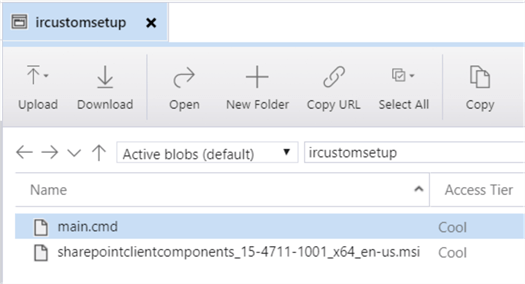
When the IR has started, you can check out the logs in your blob container:
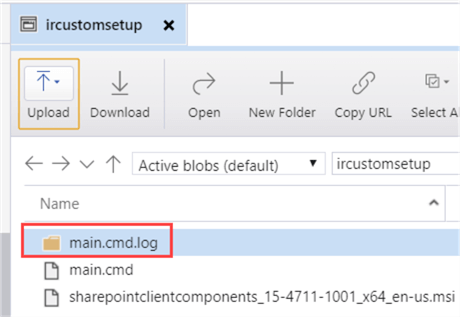
You’ll find a log folder for each of your nodes:

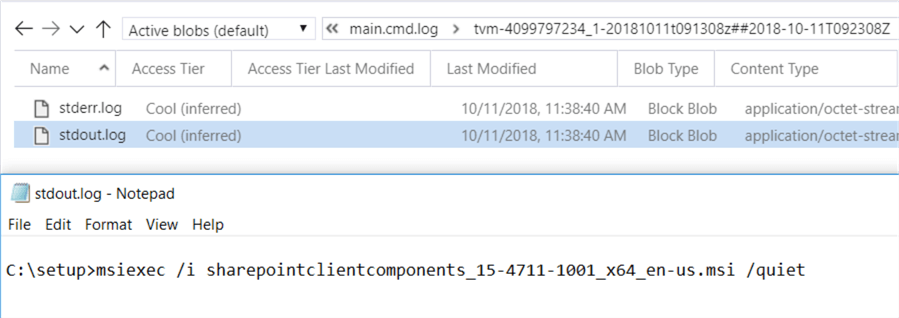
In each folder, you’ll find the standard output and the error output. Since we did a quiet install and everything went fine, we’ll only find the actual command in the logging.
For additional examples, you can take a look at the samples container of the public preview:

There are many samples for different scenarios and each scenario has its specific main.cmd file. You can also find an example where a custom SSIS task is installed using gacutil:
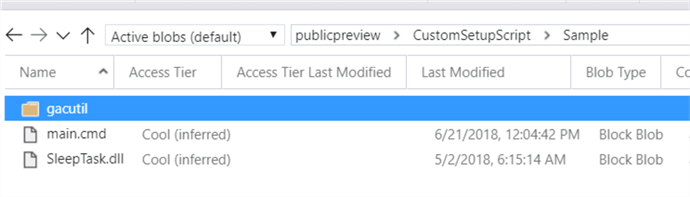
At the time of writing, the SAS URI for this sample container is https://ssisazurefileshare.blob.core.windows.net/publicpreview?sp=rl&st=2018-04-08T14%3A10%3A00Z&se=2020-04-10T14%3A10%3A00Z&sv=2017-04-17&sig=mFxBSnaYoIlMmWfxu9iMlgKIvydn85moOnOch6%2F%2BheE%3D&sr=c
(which should be valid until 2020-04-10)
Next Steps
- If you haven’t already, check out the tips Configure an Azure SQL Server Integration Services Integration Runtime and Executing Integration Services Packages in the Azure-SSIS Integration Runtime to get you started with the Azure-SSIS IR runtime. Then you can follow along with the steps of this tip to customize your setup. If you haven’t setup your IR yet, you can customize the setup when you are creating it for the first time.
- You can find more Azure tips in this overview.


About the author
 Koen Verbeeck is a seasoned business intelligence consultant at AE. He has over a decade of experience with the Microsoft Data Platform in numerous industries. He holds several certifications and is a prolific writer contributing content about SSIS, ADF, SSAS, SSRS, MDS, Power BI, Snowflake and Azure services. He has spoken at PASS, SQLBits, dataMinds Connect and delivers webinars on MSSQLTips.com. Koen has been awarded the Microsoft MVP data platform award for many years.
This author pledges the content of this article is based on professional experience and not AI generated.
View all my tips
