By: Koen Verbeeck | Comments | Related: > Azure Integration Services
Problem
I’m developing SQL Server Integrations Services (SSIS) packages in Visual Studio. These packages are deployed into Azure using the Azure-SSIS Integration Runtime in Azure Data Factory (ADF). Sometimes packages fail when running in Azure while they run successfully in Visual Studio. For example, because a package tries to access a local database which is not possible from ADF. How can I test for such scenarios in Visual Studio, before I deploy to Azure?
Solution
Azure Data Factory (ADF) supports a lift-and-shift scenario for SSIS projects, where you can easily migrate your packages to Azure. In ADF, packages are executed using an Integration Runtime. You can find more information about this setup in the following tips:
- Configure an Azure SQL Server Integration Services Integration Runtime
- Executing Integration Services Packages in the Azure-SSIS Integration Runtime
However, development is still done using SQL Server Data Tools in Visual Studio on your local machine. This means there’s a big difference between the development environment (your on-premises machine on your on-premises network) and the execution environment (a cluster of virtual machines in Azure). Packages that work on your machine might not execute successfully after deployment. To deal with this scenario, Azure-Enabled SSIS projects are introduced. In such a project, you can choose to execute a package from Visual Studio on a linked Integration Runtime in Azure, instead of executing it in Visual Studio itself.
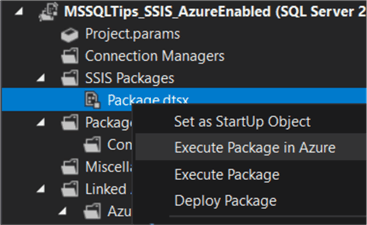
This way, you can actually test if your package will run in Azure while you are still developing it in Visual Studio. Another advantage is you can execute very resource intensive packages – which might not run on your own machine because of limited resources – on a more powerful cluster in Azure.
The screenshots in this tip are taken using Visual Studio 2019 with the SQL Server Integration Services Projects extension (version 3.4).
Executing Packages in Azure from Visual Studio
Creating an Azure-Enabled Project
In Visual Studio, choose to create a new project. Search for “ssis”. With the latest extension installed, you’ll get two versions: the regular SSIS project and the Azure-Enabled SSIS project. Both are able to create the exact same projects and packages, but the Azure-Enabled project will allow you to debug in Azure.
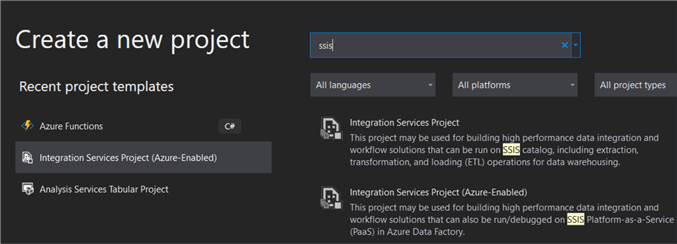
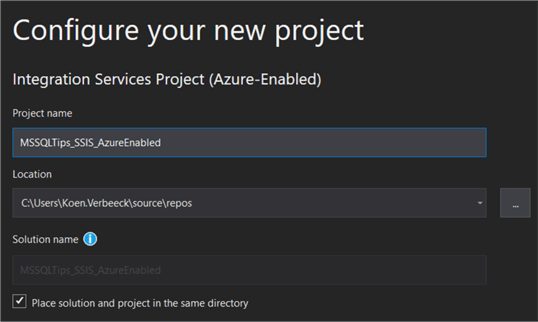
Choose the Azure-Enabled project and give it a name and location in the next screen:
When the project is created, you can see in the solution explorer window the basic parts are still the same. However, a section Linked Azure Resources is added.
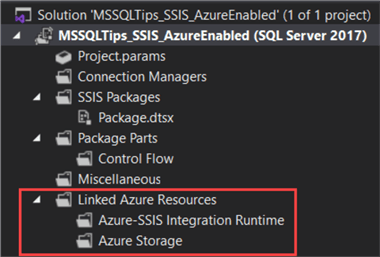
Another difference with regular project is you can only set the TargetServerVersion to the latest version supported by the Azure-SSIS Integration Runtimes. At the time of writing, this is SQL Server 2017.
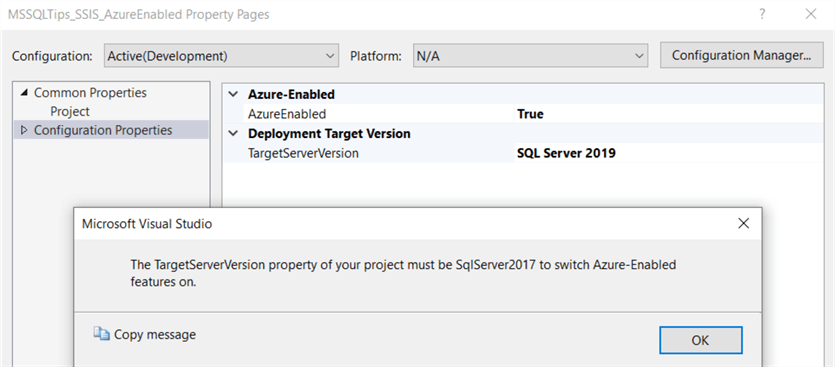
This means if you want to develop packages for SQL Server 2019, you currently must use the regular SSIS projects.
Sample Package
To test if a package is really executing in Azure, we’re going to create a simple package that writes the name of the machine into a SQL Server table. First, create a new OLE DB connection manager:
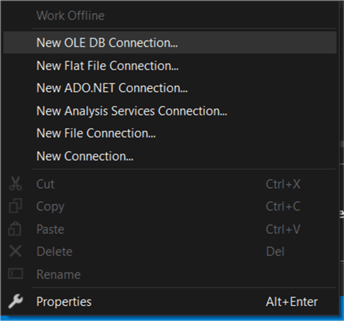
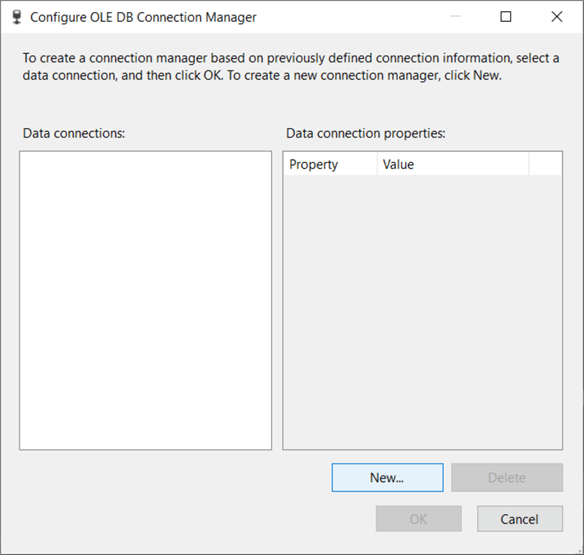
In the next screen, choose New:
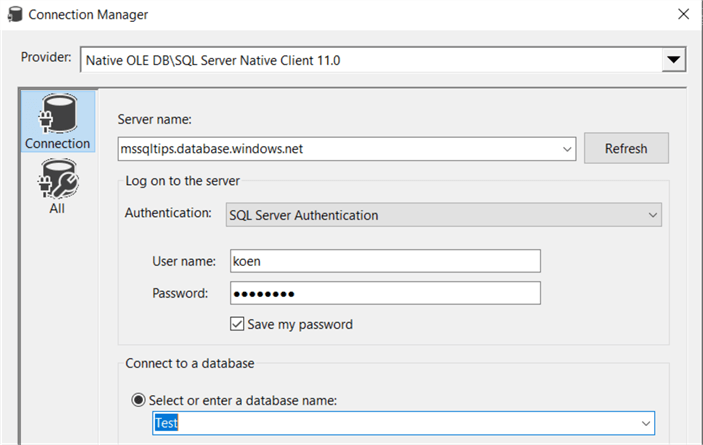
Fill in the name of the database server, configure the connection information and choose a database from the dropdown. As a database, I chose an Azure SQL DB so the package will work both in Visual Studio and in Azure.
In the database, we create a table with the following script:
CREATE TABLE dbo.AzureTest
(ID INT IDENTITY(1,1) NOT NULL
,ServerName VARCHAR(100) NOT NULL
,LoadDate DATETIME2 NOT NULL DEFAULT SYSDATETIME()
);
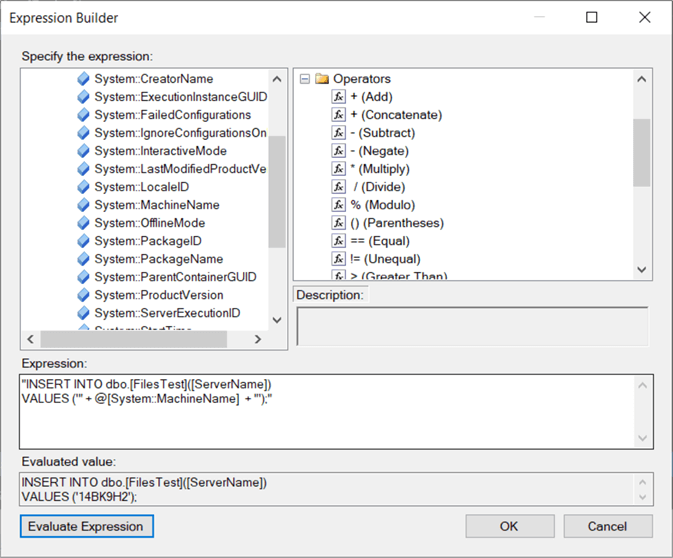
Back in the SSIS package, create a variable. The value is determined by the following expression:
"INSERT INTO dbo.[AzureTest]([ServerName])
VALUES ('" + @[System::MachineName]  + "');"
The MachineName variable is a system variable holding the name of the machine executing the SSIS package. This variable will change if we deploy it to another machine.
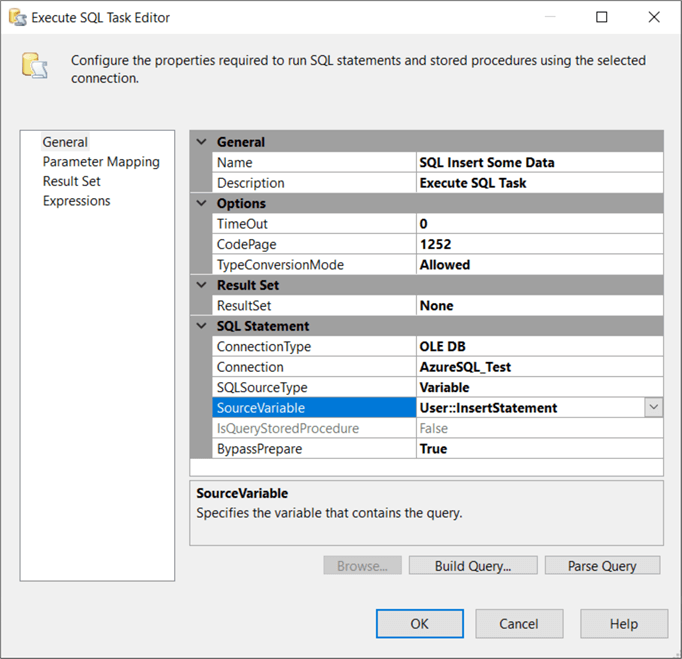
Add an Execute SQL Task to the control flow and configure it to use the variable and connection manager we just created:
When we execute the package in Visual Studio, we can see a row is added to the table using the local machine name:

Linking the Azure Resources
In the Solution Explorer, right-click on the Linked Azure Resources node. Click on Connect to SSIS in Azure Data Factory.
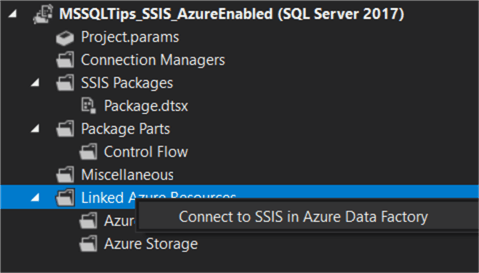
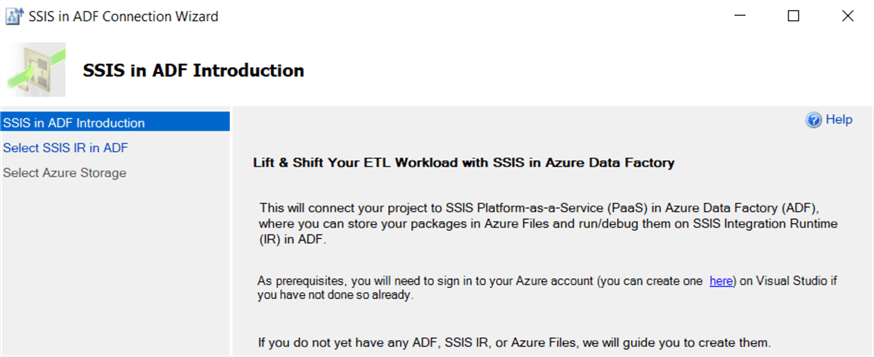
This will start a wizard to help you connect to the correct Azure resources.
In the next screen, choose your Azure subscription, the ADF environment and your Integration Runtime. You can switch between different accounts by clicking on your name in the top right corner.

There are currently two types of Azure-SSIS IR, corresponding with the project and package deployment model: you have an IR with a SSIS catalog (as demonstrated in the tip Configure an Azure SQL Server Integration Services Integration Runtime), but you also have the newer type of IR where the packages are stored in Azure-Files. You can use either type of IR for your Azure-Enabled project. If you don’t have an IR yet, the following button will pop-up:

Assuming an SSIS IR is present, we can continue to the next screen where we have to configure the Azure Storage connection.

In this storage account, SSIS will deploy and store the package and other artifacts needed to run the package in Azure.
When the wizard is done, you can see the configured items in Solution Explorer:
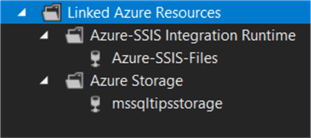
If you right-click on any of the objects, you can choose manage and this will redirect you to the object in the Azure portal using your browser. If you want to change objects, for example another storage account, you can simply run the wizard again.
Executing the Package in Azure
To execute the package in the Azure-SSIS IR, right-click the package in Solution Explorer and choose Execute Package in Azure:
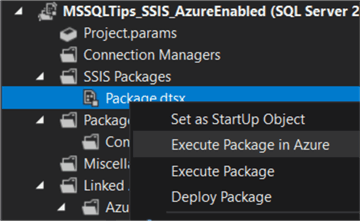
Alternately, you can click on the little arrow next to the “start debug” icon in the toolbar, and choose to execute the package in Azure from there:

When the package is started, it will be deployed into the Azure Storage account configured earlier. If the Azure-SSIS IR is not running, you will get a dialog asking to start it.
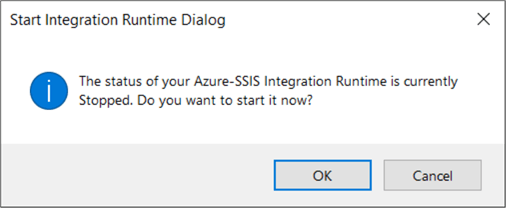
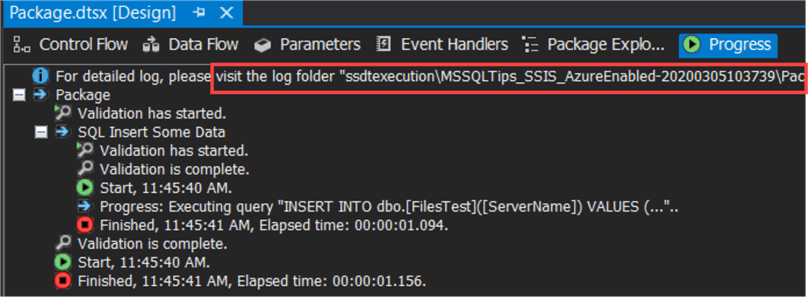
Keep in mind it can take an additionally 5 to 30 minutes to start the IR. If the IR is running, you can see the package executing in the progress window. However, there’s no visual execution like there is when running the package in Visual Studio itself.
We can verify the package has actually run on another machine by checking the data in the test table:

The progress window will also show you where the package and the logs are stored in the Storage account. If you browse to the folder ssdtexecution, you can see a folder being added with the project name and a timestamp:
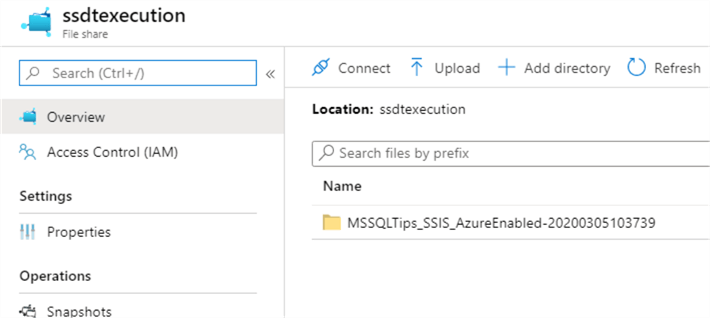
Inside the folder, you’ll find an .ispac file containing the package and related artifacts, as well as the logs generated by the package:

Let’s suppose we now change the database connection to an on-premises database. If the SSIS IR is not connected to a Virtual Network or there’s no self-hosted IR to act as a gateway, the package cannot connect to the database and it will fail. When running in Visual Studio, the package will succeed:
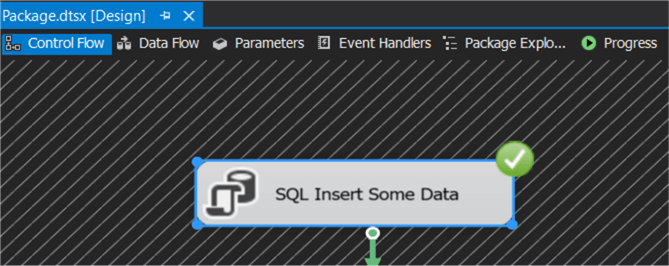
However, when running the package in Azure it will fail. The error states it cannot make a connection to the on-premises database:

When the development of the package has finished, don’t forget to stop your SSIS IR because they cost money to run.
Next Steps
- For more information about the Azure-SSIS IR, check out the following tips:
- Check out the official announcement of this feature and the documentation.
- For more Azure tips, check out these articles.
About the author
 Koen Verbeeck is a seasoned business intelligence consultant at AE. He has over a decade of experience with the Microsoft Data Platform in numerous industries. He holds several certifications and is a prolific writer contributing content about SSIS, ADF, SSAS, SSRS, MDS, Power BI, Snowflake and Azure services. He has spoken at PASS, SQLBits, dataMinds Connect and delivers webinars on MSSQLTips.com. Koen has been awarded the Microsoft MVP data platform award for many years.
This author pledges the content of this article is based on professional experience and not AI generated.
View all my tips


