By: Fikrat Azizov | Comments (10) | Related: > Azure Data Factory
Problem
In these series of posts, I am going to explore Azure Data Factory (ADF), compare its features against SQL Server Integration Services (SSIS) and show how to use it towards real-life data integration problems. In the previous post, I explained how to create ADF and use the ADF copy tool to add a simple copy pipeline to transfer data between Azure SQL databases. In this post, we will manually create pipeline to import data from a local SQL database to an Azure SQL database and we'll ensure that this pipeline is repeatable (i.e. can run multiple times without causing duplicate Primary Key errors).
Solution
For the purpose of this exercise, I have downloaded and installed the AdventureWorks 2016 database on my local SQL Server. This database contains DimDate table, with 3652 rows and DateKey as PK constraint. I have generated the below script for this table, which I will use to create a target table in Azure SQL database DstDb:
CREATE TABLE [dbo].[DimDate](
   [DateKey] [int] NOT NULL,
   [FullDateAlternateKey] [date] NOT NULL,
   [DayNumberOfWeek] [tinyint] NOT NULL,
   [EnglishDayNameOfWeek] [nvarchar](10) NOT NULL,
   [SpanishDayNameOfWeek] [nvarchar](10) NOT NULL,
   [FrenchDayNameOfWeek] [nvarchar](10) NOT NULL,
   [DayNumberOfMonth] [tinyint] NOT NULL,
   [DayNumberOfYear] [smallint] NOT NULL,
   [WeekNumberOfYear] [tinyint] NOT NULL,
   [EnglishMonthName] [nvarchar](10) NOT NULL,
   [SpanishMonthName] [nvarchar](10) NOT NULL,
   [FrenchMonthName] [nvarchar](10) NOT NULL,
   [MonthNumberOfYear] [tinyint] NOT NULL,
   [CalendarQuarter] [tinyint] NOT NULL,
   [CalendarYear] [smallint] NOT NULL,
   [CalendarSemester] [tinyint] NOT NULL,
   [FiscalQuarter] [tinyint] NOT NULL,
   [FiscalYear] [smallint] NOT NULL,
   [FiscalSemester] [tinyint] NOT NULL,
 CONSTRAINT [PK_DimDate_DateKey] PRIMARY KEY CLUSTERED
([DateKey] ASC)) ON [PRIMARY]
GO
Azure Data Factory Data (ADF) Exchange Architecture
ADF leverages a Self-Hosted Integration Runtime (SHIR) service to connect on-premises and Azure data sources. SHIR can run copy activities between a cloud data store and a data store in a private network, and it can dispatch transform activities against compute resources in an on-premises network or an Azure virtual network.
The installation of a self-hosted integration runtime needs to be on an on-premises machine or a virtual machine (VM) inside a private network. SHIR serves as a secure gateway between internal and external networks, it passes encrypted credentials to access internal resources and encrypts outbound data.
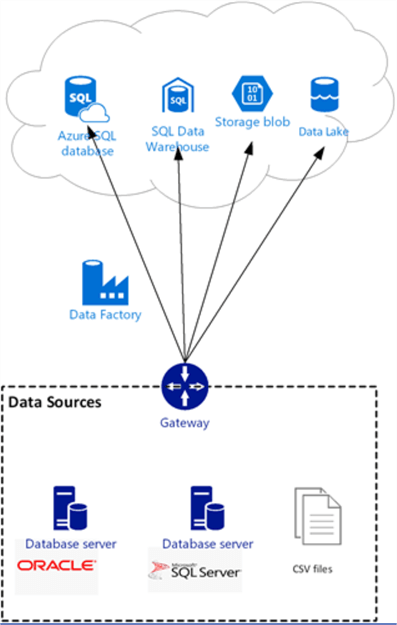
As you can see from ADF architecture diagram below, a single IR allows connecting multiple database servers and file servers to a specific Data Factory. It's possible to install multiple instances of SHIR within the same network, to provide high availability for this service and we will cover that configuration in a future post. SHIR does not need to be on the same machine as the data source, however, having the SHIR closer to the data source reduces the time for it to connect to the data source.
There are a few prerequisites for installing and configuring SHIR:
- The machine hosting IR should have OS version Windows 7 SP1, Windows 8.1, Windows 10, Windows Server 2008 R2 SP1, Windows Server 2012, Windows Server 2012 R2 or Windows Server 2016 and .NET Framework 4.6.1 or later. Installation of the SHIR on a domain controller is not supported.
- The recommended configuration for the SHIR machine is at least 2 GHz, four cores, 8 GB of RAM, and an 80GB disk.
- At the corporate firewall level, you need to open outbound port 443 for
the following domains:
- *.servicebus.windows.net
- *.core.windows.net
- *.frontend.clouddatahub.net
- download.microsoft.com
Installing and Configuring Self-hosted Integration Runtime
There are two methods to install SHIR – express setup and manual setup. We will use the express setup, which combines the SHIR installation and configuration.
Here are steps to be executed on the machine which will be hosting SHIR service:
- Open ADF authoring page and switch to the 'Connections' tab (see previous post for the details)
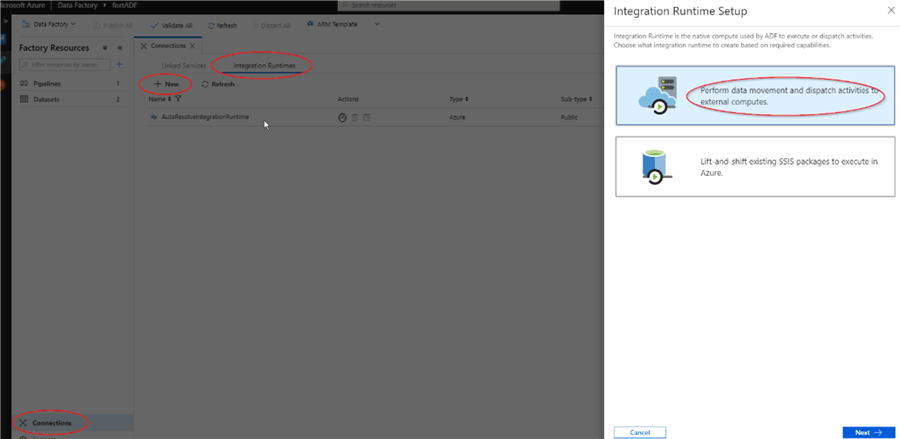
- Open 'Integration Runtimes' tab at the top of the page and click the '+' button to open the Integration Runtime Setup dialog window, select 'Perform data movement and dispatch activities...' tab and hit 'Next':
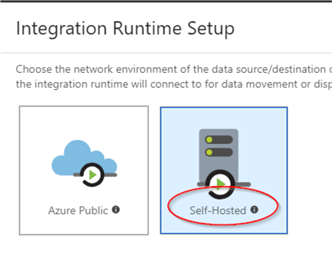
- Select the 'Self-Hosted' option and hit 'Next':
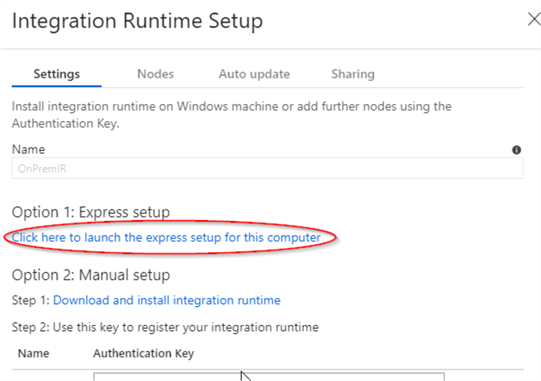
- Enter OnPremIR as the name for the IR service and confirm.
- Select the web link under 'Option1: Express setup' to download the SHIR installation package.
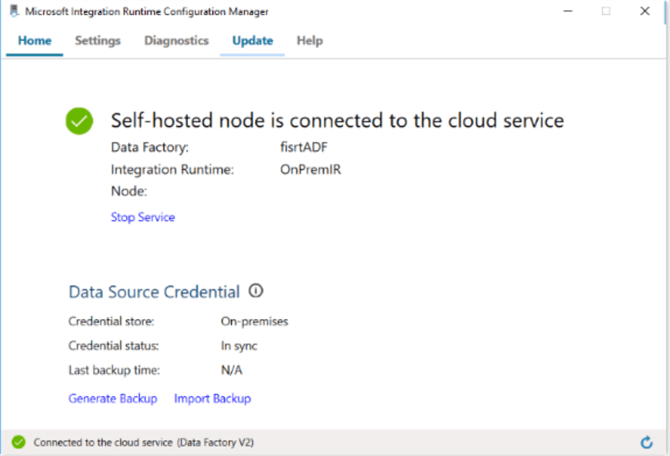
- Install the downloaded package. If installation is successful, you will see this screen:
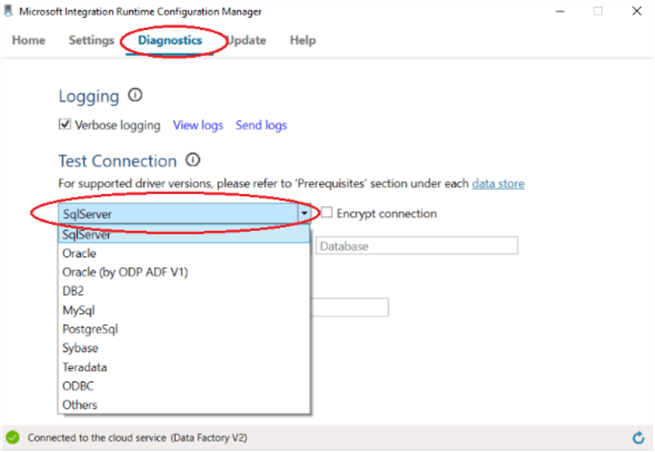
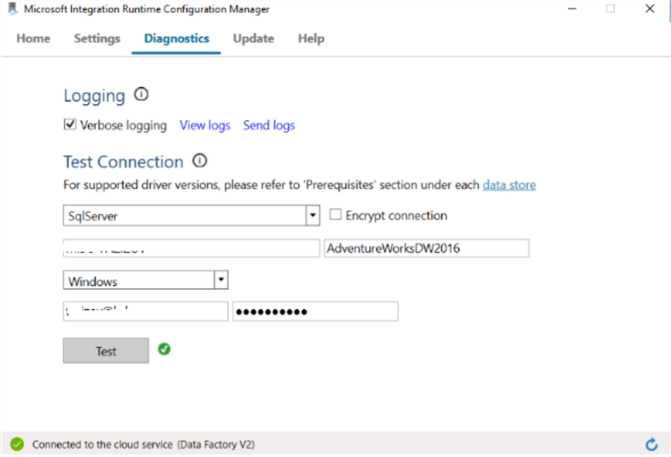
- In order to test SHIR's ability to connect to our local SQL database, open the 'Diagnostics' tab, select SqlServer from the combo box, enter your SQL instance name, database name, Windows credentials and hit 'Test':
Creating Azure Data Factory Copy Pipeline
ADF pipeline creation involves adding source and destination linked services, datasets, pipeline and activity. Here are the step-by-step instructions:
Linked services
As you may remember from the previous post, copy pipeline requires two linked services: source and destination. We will use destination linked service SqlServerLS_Dst, we created in the previous tip and create a SQL linked service for the source database. Here are the steps:
- Open 'Connections' tab from 'Factory Resources' panel and open 'Linked services' tab, hit '+' button to open 'New Linked Service' dialog window, type 'SQL', select 'SQL Server' and click 'Continue':

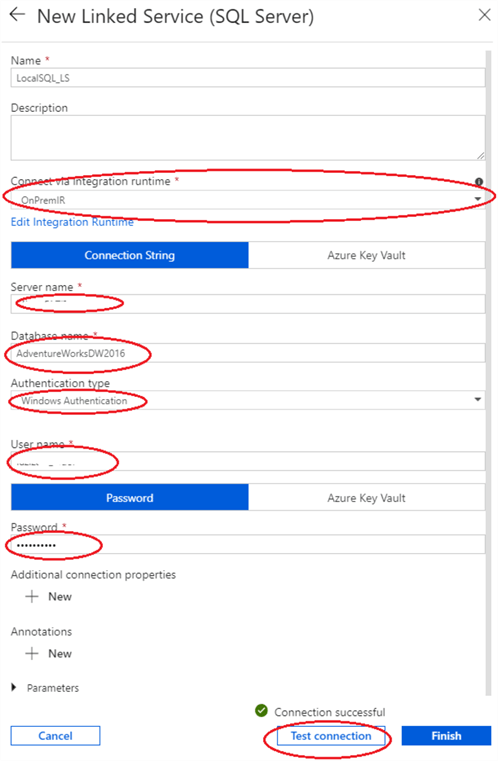
- Next, assign the name to the linked service, select OnPremIR from the drop-down list, enter your machine's domain name in the 'Server name' box, fill 'Database name' and credential boxes, as shown in the screenshot. Note: I've used 'Windows Authentication' for this exercise and if you choose to do same, you will need to enter the fully qualified domain user name in the format 'USERNAME@DOMAINNAME'. Alternatively, you could also use 'Basic Authentication', if you want to proceed with SQL Authentication. Once all the boxes are filled, click 'Test connection' to test connectivity to the database:
Datasets
Once we have source linked service in place, we can add source dataset, here are the required steps:
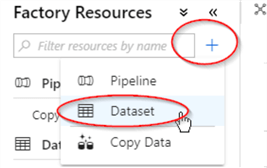
- Hit '+' on 'Factory Resources' panel and select 'Dataset'
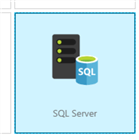
- Type 'SQL' on 'New Dataset' textbox, select 'SQL server' and confirm:
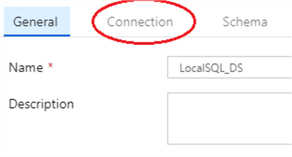
- Type dataset name and open 'Connection' tab:
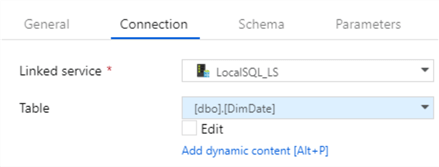
- Select source linked service we created in steps 1 and 2, as well as the DimDate table:
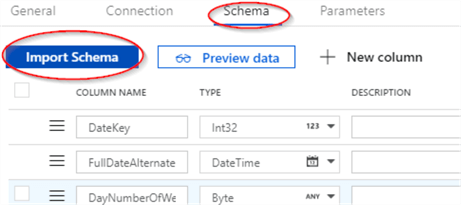
- Open the 'Schema' tab and hit 'Import Schema' button to import the table structure:
- Follow the steps above to add the destination dataset for DimDate table, using Azure SQL Database as the dataset type and SqlServerLS_Dst as the linked service and name it as DimDate_DS.
Pipeline and Activity
The last step in this process is adding pipeline and activity. Here are the steps:
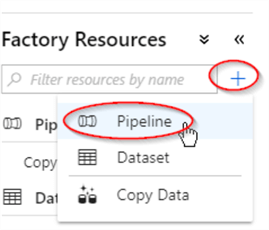
- Hit '+' on 'Factory Resources' panel and select 'Pipeline':
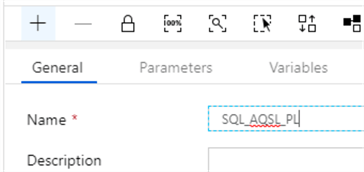
- Assign name to the pipeline:
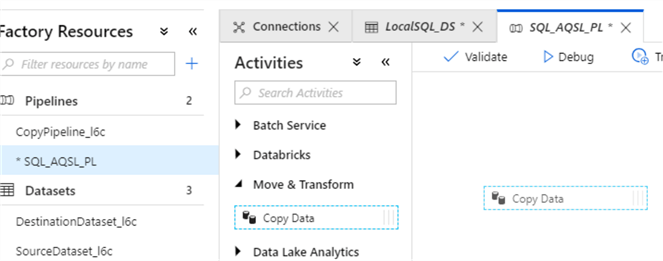
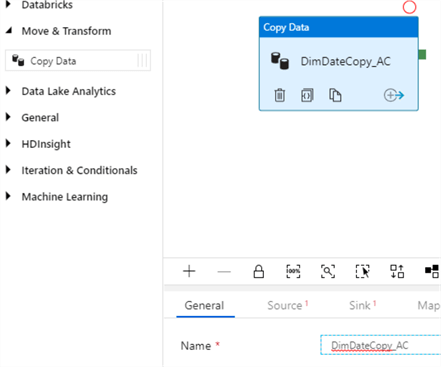
- Expand 'Move & Transform' category on the 'Activities' panel and drag/drop 'Copy Data' activity into central panel:
- Select newly added activity and assign a name to it, using the textbox under 'General' tab:
- Switch to 'Source' tab and select LocalSQL_DS dataset we created earlier:

- Switch to 'Sink' tab and select 'DimDate_DS' dataset we created earlier. Type query "Delete from DimDate" to ensure the destination table is purged before we insert new rows:

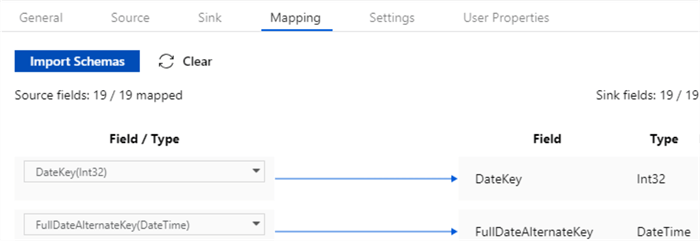
- Switch to 'Mapping' tab and hit 'Import Schemas' button to generate source/destination field mappings:
Publishing Changes
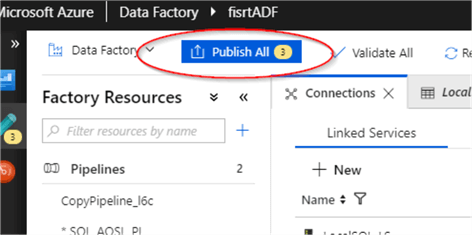
Now that we've added all the required components, the last step is publishing these changes. Hit 'Publish All' and check the notifications area (top right corner) for deployment status:
Execution and Monitoring of Azure Data Factory Pipeline
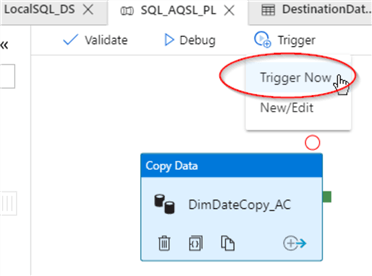
ADF pipelines can be started either manually or by triggers. We will examine ways to create triggers in one of the future posts, but for now, let's start our new pipeline manually. Click the 'Trigger' button at the top of central panel, select 'Trigger Now' command and hit the 'Finish' button on the 'Pipeline Run' window:
- To monitor pipeline execution progress, hit the 'Monitor' button on the left side of the screen:
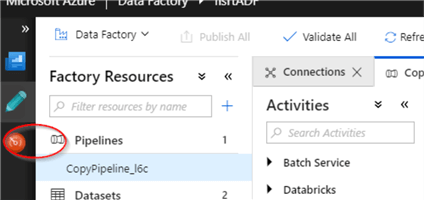
- As you can see from screenshot, pipeline execution has been successful:

- Querying destination table confirms that all the rows have been transferred successfully:

Next Steps
- Read Create Azure Data Factory Pipeline
- Read Copy data from an on-premises SQL Server database to Azure Blob storage
About the author
 Fikrat Azizov has been working with SQL Server since 2002 and has earned two MCSE certifications. He’s currently working as a Solutions Architect at Slalom Canada.
This author pledges the content of this article is based on professional experience and not AI generated.
View all my tips


