Problem
According to Microsoft, “Azure Databricks is an Apache Spark-based analytics platform optimized for the Microsoft Azure cloud services platform. Designed with the founders of Apache Spark, Databricks is integrated with Azure to provide one-click setup, streamlined workflows, and an interactive workspace that enables collaboration between data scientists, data engineers, and business analysts.”
Azure Databricks is enabling companies to accelerate big data analytics and artificial intelligence (AI) solutions. Above all it is providing a fast, easy and collaborative Apache Spark–based analytics service. Now companies can leverage a variety of data sources to drive actionable business insights.
Integrating with a variety of data sources also means management of credentials for connecting to different data sources.
Solution
To manage credentials Azure Databricks offers Secret Management. Secret Management allows users to share credentials in a secure mechanism. Currently Azure Databricks offers two types of Secret Scopes:
- Azure Key Vault-backed: To reference secrets stored in an Azure Key Vault, you can create a secret scope backed by Azure Key Vault.
- Databricks-backed: A Databricks-backed scope is stored in (backed by) an Azure Databricks database. You create a Databricks-backed secret scope using the Databricks CLI (version 0.7.1 and above).
In this tip we will learn about creating Databricks-backed secret scopes. Azure Key Vault-backed secrets are in Preview. Above all, Azure Key Vault-backed currently are only supported via the Azure Databricks UI and not through the Databricks CLI.
Following concepts will help to understand, organize and manage secrets:
- Secret Scopes – The logical grouping mechanism for secrets. All secrets belong to a scope. Scopes are identifiable by name and are unique per user’s workspace.
- Secrets – A key-value pair that stores the secret material. Keys are identifiable secret names, and values are arbitrary data that can be interpreted as strings or bytes.
- Secret ACLs – Access control rules applied to secret scopes. Secret scopes and their secrets can only be accessed by users with enough permissions. Only available with Azure Databricks Premium Plan.
Requirements
Following are the requirements for setting up Databricks-Backed secret scope and secret(s)
- An Azure Subscription
- An Azure Databricks workspace.
- An Azure Databricks Cluster (Runtime 4.0 or above).
- Python 2 (2.7.9 and above) or Python 3 (3.6 and above) installed
Getting Started
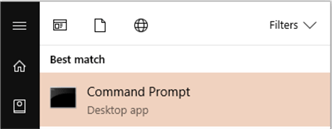
- Open Windows Command Prompt
- Open the windows Start Menu and type cmd and select Command Prompt.
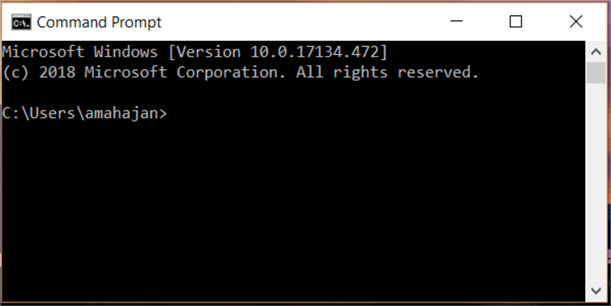
- To check if python has been installed or not perform the following steps.
- Type python in the command prompt and hit enter
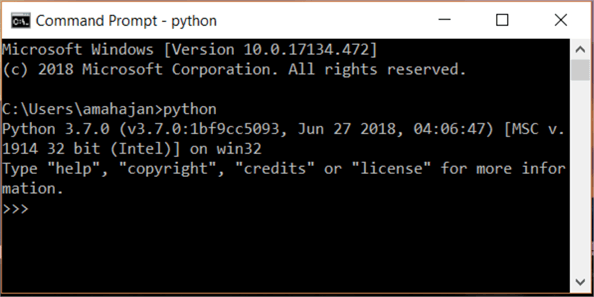
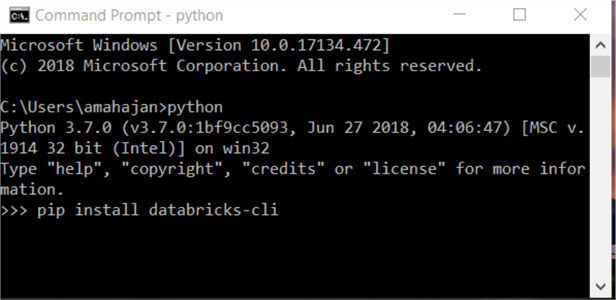
- Install Databricks CLI
- Type pip install databricks-cli using the appropriate version of pip for your Python installation. If you are using Python 3, use pip3 and hit enter.
pip install databricks-cli
- If there is no error, then Databricks CLI was successfully installed on the computer
Creating Databricks-Backed Secret Scope
- Log in to Azure Portal.
- Open the Azure Databricks workspace created as part of the Azure Databricks Workspace mentioned in the Requirements section.
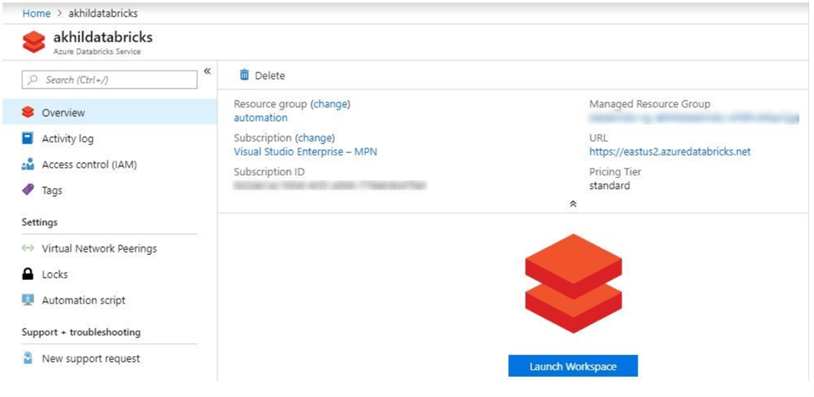
- Click on Launch Workspace to open Azure Databricks.
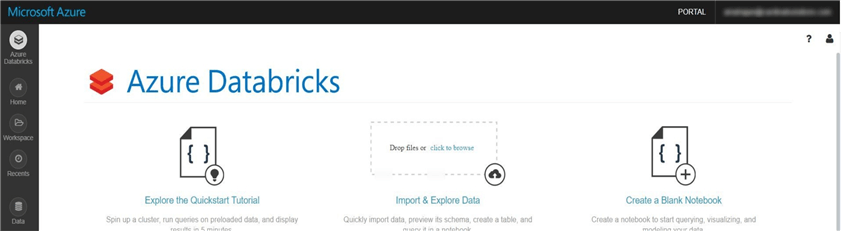
- Setting up Access Token – To authenticate and access Azure Databricks REST APIs, personal access tokens are used. Following steps will help us generate Personal access tokens:
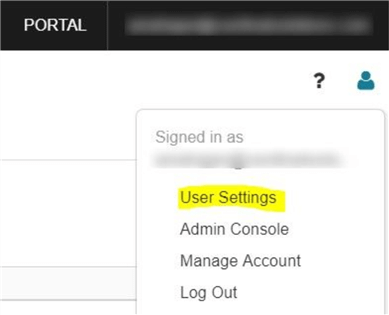
- On the upper right-hand side corner of the Azure Databricks, click on the user profile icon.

- Select User Settings from the drop-down values.
- Click on Generate New Token
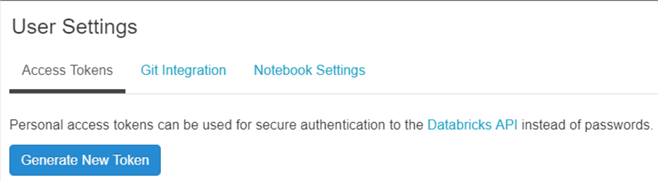
- In the Generate New Token, enter the comment and Lifetime (number of days its valid for).

- Click on the Generate button and copy the token that gets generated. Once you click on Done there is no way to get the token back.
- Now we are all set to use the Databricks CLI to create Databricks-Backed secrets.
- Authentication
- Open Windows Command Prompt as shown in Step 1 of Getting Started section.
- Type databricks configure –token and hit enter.
databricks configure –token
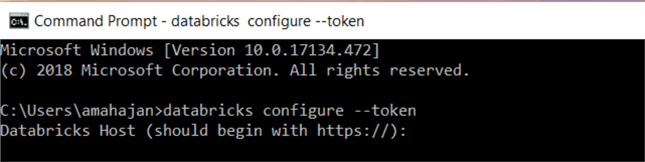
- You will be prompted to enter Databricks Host. In my case my Databricks Host is https://eastus2.azuredatabricks.net. Enter the value and hit enter.
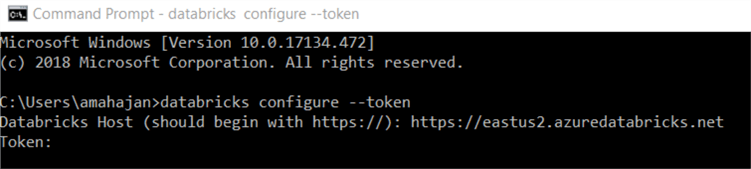
- You will be prompted to enter the Token. Please enter the value of Token which we generated in step 4 of Creating Databricks-Backed Secret Scope section.
- If there was no error, then we were successfully able to authenticate. Note: – Don’t close the command prompt.
- Create Secret Scope: By default, scopes are created with MANAGE permission for the user who created the scope. If your account does not have the Azure Databricks Premium Plan, you must override that default and explicitly grant the MANAGE permission to users (all users) when you create the scope. We are going to create a secret scope called BlobStorage
- If you closed command prompt please follow steps from the Authentication section above.
- Enter the command databricks secrets create-scope –scope BlobStorage –initial-manage-principal users in the command prompt and hit enter.
databricks secrets create-scope --scope BlobStorage -–initial-manage-principal users
- If there are no errors, the secret scope was successfully created.
- Create Secrets: – We are going to create a secret called BLB_Strg_Access_Key
- Enter the command databricks secrets put –scope BlobStorage –key BLB_Strg_Access_Key in the command prompt and hit enter.
databricks secrets put –scope BlobStorage –key BLB_Strg_Access_Key
- As soon as you hit enter a notepad will open, where you will be able to enter the value for the secret. Save the notepad after entering the value of the secret.
- If there is no error, then the secret was successfully created.
Using Secret Scope and Secret in Azure Databricks Notebook
- Log in to Azure Portal.
- Open the Azure Databricks workspace created as part of the “Azure Databricks Workspace” mentioned in the Requirements section.

- Click on “Launch Workspace” to open the “Azure Databricks“.
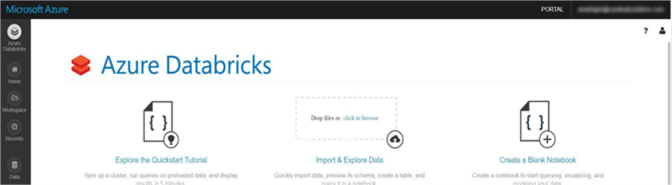
- In the left pane, click Workspace. From the Workspace drop-down, click Create, and then click Notebook.
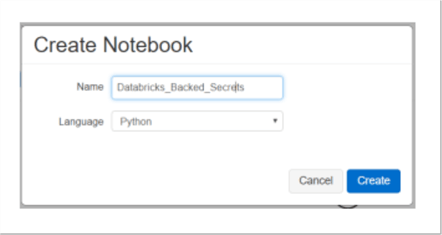
- In the Create Notebook dialog box, enter a name, select Python as the language
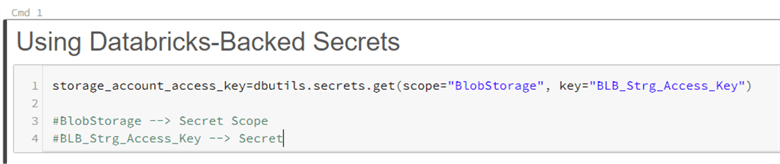
- Enter the following code in the Notebook:
storage_account_access_key=dbutils.secrets.secrets.get(scope="BlobStorage", key="BLB_Strg_Access_Key")
#BlobStorage à Secret Scope
#BLB_Strg_Access_Key à Secret
- When you run the above command, no error, should be there which will confirm that the secret was used from the Databricks-Backed secrets.
- In the same notebook we are going to add another command section and use Scala as the language.
%scala
val storage_account_access_key=dbutils.secrets.secrets.get(scope="BloblStorage", key="BLB_Strg_Access_Key")
#BloblStorage à Secret Scope
#BLB_Strg_Access_Key à Secret

- When you run the above command, it should show [REDACTED] which confirms that the secret was used from the Databricks-Backed secrets.

References
- https://docs.microsoft.com/en-us/azure/azure-databricks/what-is-azure-databricks
- https://docs.azuredatabricks.net/user-guide/secrets/index.html#secrets-user-guide
- https://docs.azuredatabricks.net/user-guide/secrets/secret-scopes.html
- https://docs.azuredatabricks.net/api/latest/secrets.html#secrets-api
- https://docs.azuredatabricks.net/user-guide/dev-tools/databricks-cli.html#id4
Next Steps
- In this article, we learned how to create Databricks-Backed secret scope using the Databricks CLI.
- To read a created secret in a notebook Secret Utilities are used. Secret Utilities are only available on clusters running Databricks Runtime 4.0 and above.
- Once a secret is created, the value is encrypted, so it cannot be viewed or changed. The secret will have to be deleted and re-created for any new value to replace the old value.
Command for listing Scopes
databricks secrets list–scopes
Command for deleting a Secret Scope
databricks secrets delete–scope –-scope BlobStorage
Command for listing Secrets in Scope BlobStorage
databricks secrets list –scope BlobStorage

Akhil Mahajan is a Data Architect with Digital Innovations Division of Insight. Akhil has over sixteen years of experience in the Information Technology industry as an architect, developer and systems analyst with a focus on Architecture, Data Analytics and Big Data. Akhil has a strong passion for data analytics and helping people make better and informed decision using data.


