Problem
Databases hosted in the cloud are now a fundamental part of applications. Knowing the right tools to perform a task is essential. If we use Azure SQL Database to host our data in the cloud, what if we need a solution to synchronize data bi-directionally with another SQL Database or an on-premises SQL Server?
Solution
Azure offers us SQL Data Sync. This technology permits us to synchronize data across multiple databases in Azure or on-premises.
Azure SQL Data Sync Overview
According to Microsoft Documentation, these are the suggested uses for Azure Data Sync:
- Hybrid environments: capability to have data on-premises and cloud.
- Offload work: to have a specific set of data using for reporting purposes on a cheaper environment to offload processing tasks from main database.
- Globally distributed applications: if you want a specific set of data to be available on other regions to minimize latency.
How does Azure SQL Data Sync work?
Data Sync uses an Azure SQL Database as a hub or central database, then you define a sync group to include the databases to be synchronized. The hub database manages the sync data with the member databases. Member databases can be Azure SQL databases or on-premises databases. You must create a sync metadata database in the same region and subscription as the Hub database, Microsoft recommends that this is an empty database. This database cannot be deleted while is part of a sync group.
What is needed?
As we mentioned before you need a hub database, this must be an Azure SQL Database. For on-premises member databases, you need to download and install the Data Sync agent (we will see this later this tip). Tables involved must have a primary key defined and cannot be changed while part of the data sync. Snapshot isolation must be enabled on involved databases. To check the complete list of limitations you can check the Microsoft Documentation.
Not recommended scenarios
Azure SQL Data sync is not recommended for: disaster recovery, read-only replicas, ETL processes and migrations (delta migrations are acceptable). For the above scenarios, there are specific solutions for each case that have better performance. At the time of the writing of this tutorial, Azure SQL Managed instances are not supported.
Azure SQL Data Sync Example
The best way to understand how it works is with an example, so let’s replicate data between an Azure SQL Database and an on-premises SQL Server 2019 instance.
Install Azure Data Sync Agent on-premises
Since we will use an on-premises server, download and install the data sync agent, this can be installed on a machine with access to the SQL Server instance, so no need to install it on the same machine.
Open the executable file and follow the setup instructions:
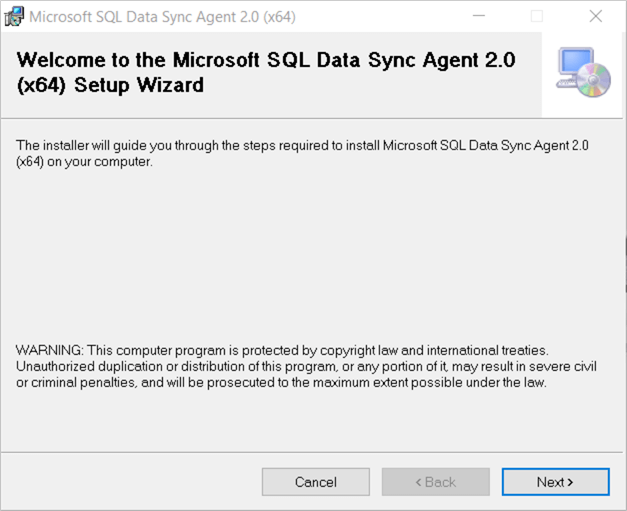
You must configure a service account for the agent with network access to the Azure service. If you use a localSytem account, you must use SQL authentication to connect. If you need to change the service account, you will need to uninstall and reinstall the agent.

After a couple of seconds, the installation will be completed:

To access the tool, search for “Microsoft SQL Data Sync Agent”
Setup Azure SQL Data Sync Group
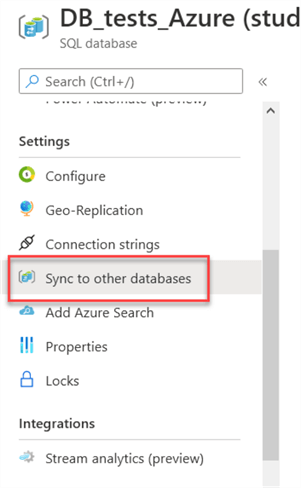
As we already listed on the requirements, you need an Azure SQL Database created, so using the Azure Portal, go to the SQL Database you want to use and click on “Sync to other databases”:
Then click on New Sync Group:

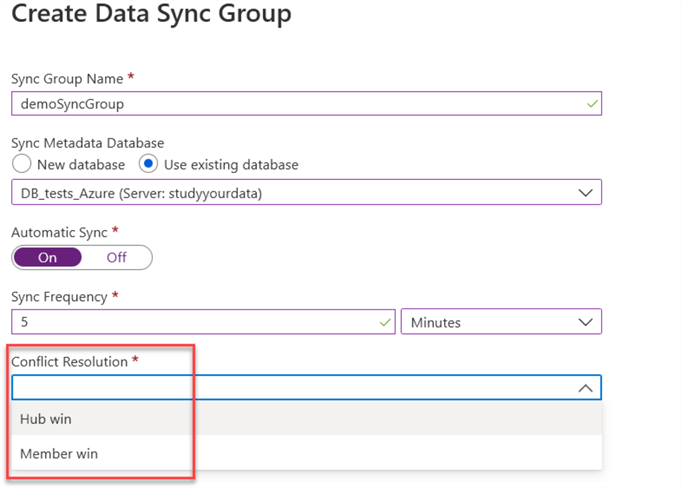
A new wizard will open and in the first step, you must select the sync group name and the Hub database to use. As we mentioned before, it is advisable to use a dedicated database for storing the sync metadata, the wizard gives you the option to create a new database, if you want:
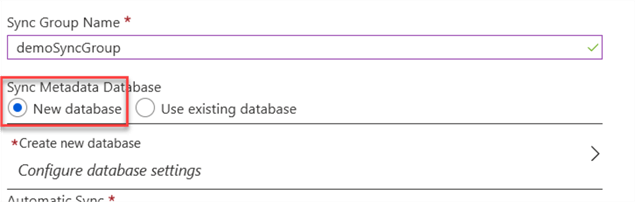
But for this example, we will use the same database we have to store the sync metadata, so we select the “use existing database” option.
At this point we can select the automatic sync if we want, and the interval to synchronize. Even when the documentation says that the minimum interval is 5 minutes, I have tested for 30 seconds, so it greatly depends on how much data you want to synchronize and the time it takes to copy it, we will see how you can check this time later.

If we plan to use a two-way synchronization, we can choose the conflict resolution option.
The last option “use private link” we will leave it unchecked now, but what it is? It is a preview feature allowing you to use a managed private endpoint to secure your connections between the hub and member databases. You can read more about this feature here.
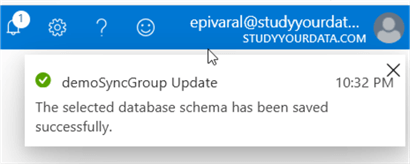
When you are ready, click on Save, this step will create the Synchronization group definition and the database to store the sync metadata.
Select the Azure SQL Data Sync hub and member databases
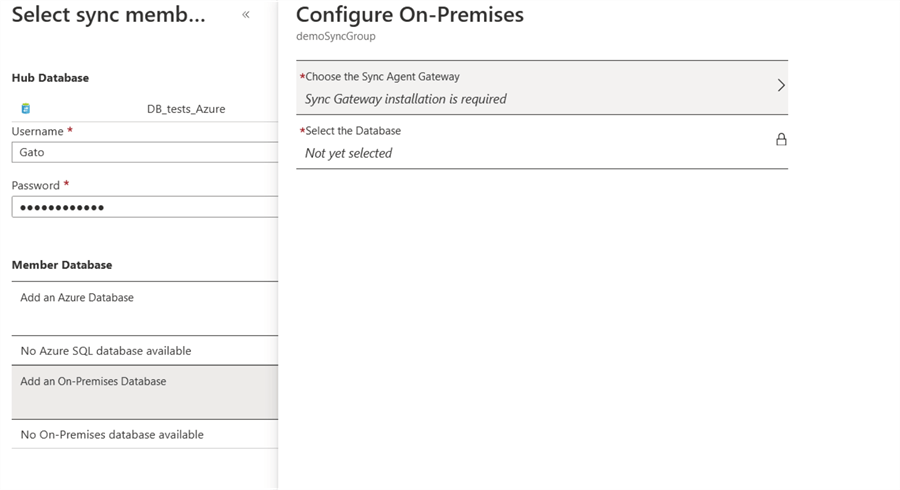
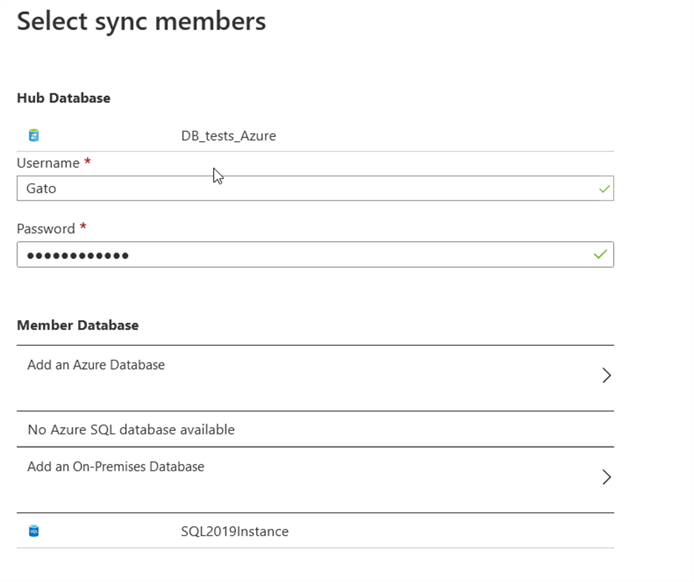
The second step is to select the databases to be part of the sync group. First, we must put the credentials to the hub database (the database we opened the wizard is automatically selected as the hub). We must select valid credentials to connect to the hub database.
To check the required permissions you can check documentation here.

The next step is to select the member databases, as we explained before, we can select another Azure SQL Database or an on-premises database or have both if you want.
To read more about the database/table limitations check the documentation here.

For this example, we will sync to an on-premises SQL Server 2019 instance, for this, we will use the agent we installed earlier on this tip. So, click on “Add an On-Premises Database” and then “Choose the Sync Agent Gateway”.
For this example, we will create a new agent, enter the name you want for the agent.
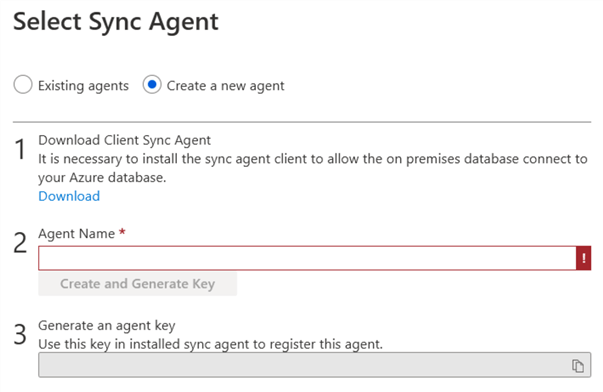
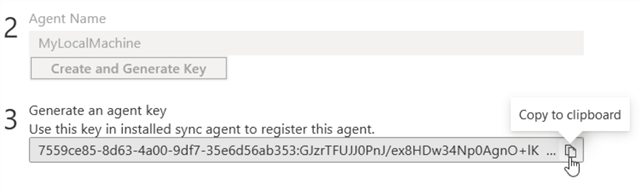
Once the name is entered, click on Create and Generate key:

After a couple of seconds, a key will be generated which you can copy.
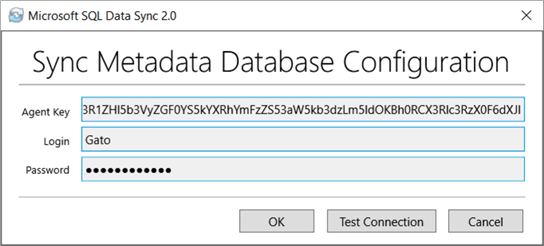
Next step is to open the data sync agent as we mentioned before. Then click on “Submit Agent Key Configuration”.

A new window will open. Put the key you copied before and enter the credentials to the Hub Database. You can test the connection to check it is working. Once you are done click on OK.
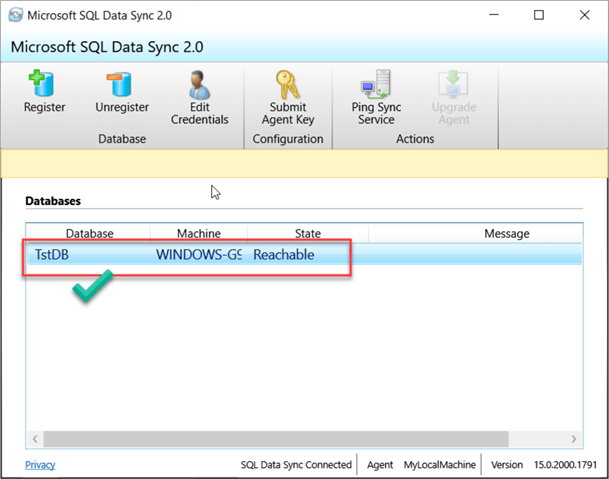
Once your agent is registered, the next step is to register our on-premises instance or instances. To add an instance, click on Register:

As we discussed when we installed the agent, if we choose to use LocalSystem account, we must use SQL authentication to connect:

After you have tested the connection and is successful, click on Save. Now the instance is registered. Repeat these steps if you plan to add more databases.
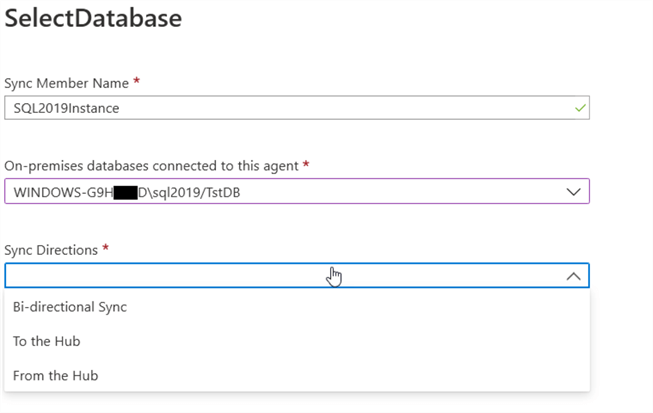
Once we are done registering our on-premises instances, we can return to the Azure portal to the wizard where we left it and we can see that now the agent is registered, enter a name for it, select the agent and then select the sync direction (from, to, or bidirectional) please note that once you select the sync direction, that cannot be changed later, you will have to delete and recreate the member database setup.
Click on save, you can see now that the member database is registered successfully. If you want to register another database (on-premises or Azure) follow the same steps as before.
Select Azure SQL Data Sync objects to synchronize
The last step on the wizard is to select the objects that will participate in the sync group.
Select the database you want to synchronize the objects (keep in mind the direction you selected earlier), and then, you can select the objects and fields to synchronize, if no objects appear here, you can click on refresh schema.
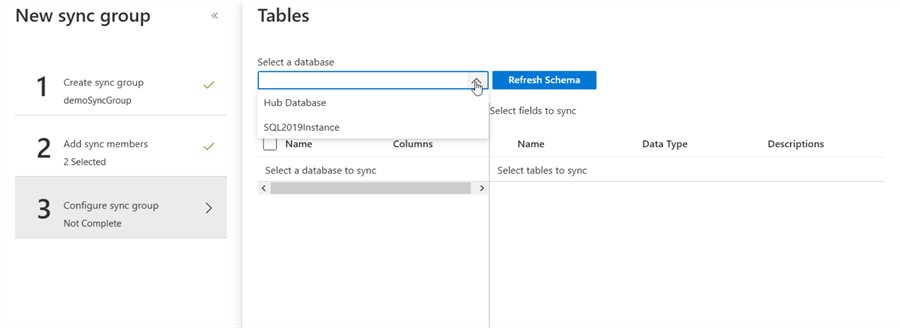
I have a table called DemoData create in the hub database, and I want to sync it to my on-premises server, this table is empty now:

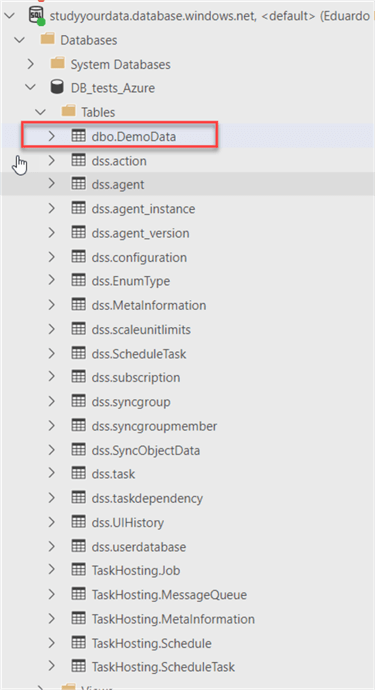
You can see the table is created on my Azure database, (and the schema objects as well):
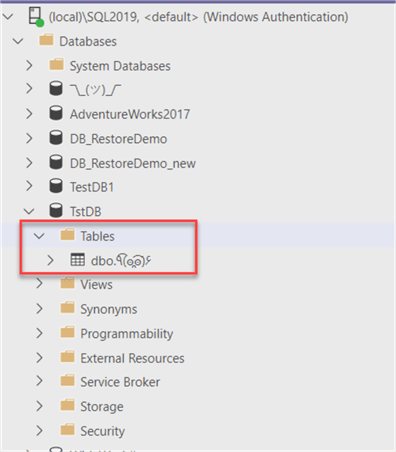
Just to make sure, the table does not exist on my on-premises server, so it will be created on the first synchronization. If the table already exists, the conflict resolution rules we setup will be followed. If the table exists, but the columns are different, a sync error will occur.
Once we are done selecting the objects we want to sync, click on Save. Then wait for a moment while the sync group is being created:

Once the sync group has been setup, you can check the status in the Azure portal, accessing the “sync to other databases” option as before.
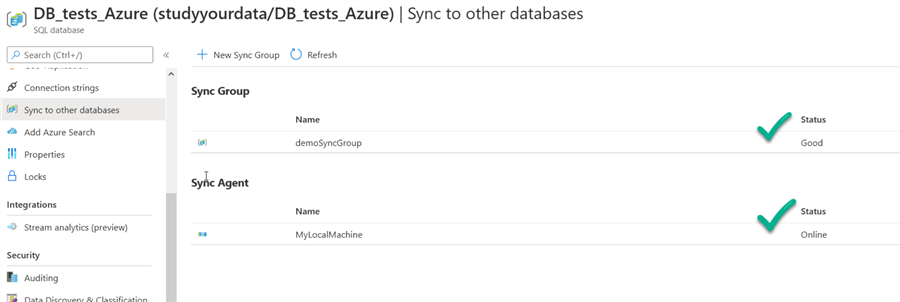
If you click the sync group, you can check the details.
Inside this sync group, you can:
- Manually sync and stop a sync in progress
- Manage the databases that are part of the group (click to it to manage)
- Manage the tables that are part of the group (click on it to manage)
And finally, the synchronization log.

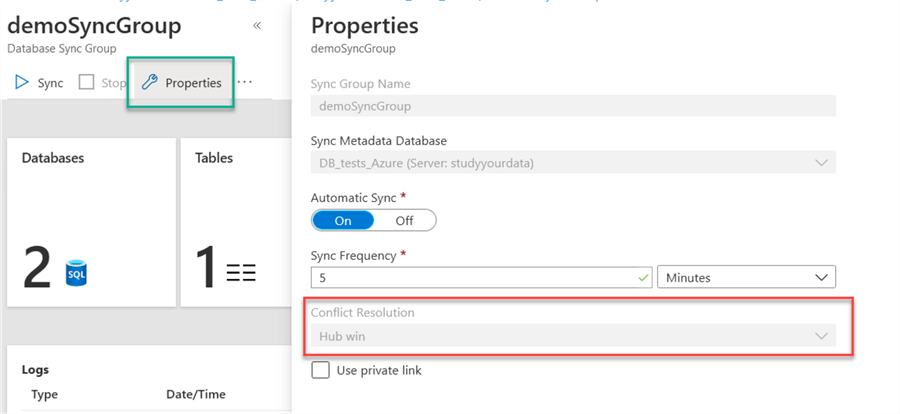
If you want to edit the properties of the sync group, click on properties and you can change the sync frequency. Please note that the conflict resolution cannot be modified.
We have finished the configuration of our sync group, if we did it right, it should be working now.
Azure SQL Data Sync Testing
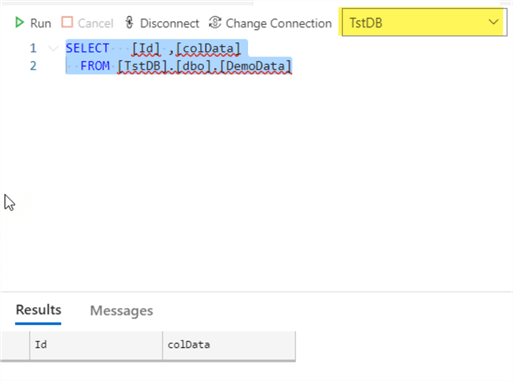
Now test our example to make sure is working as expected. Right now, on the on-premises server, there are no rows on the table (as expected since the hub is empty):
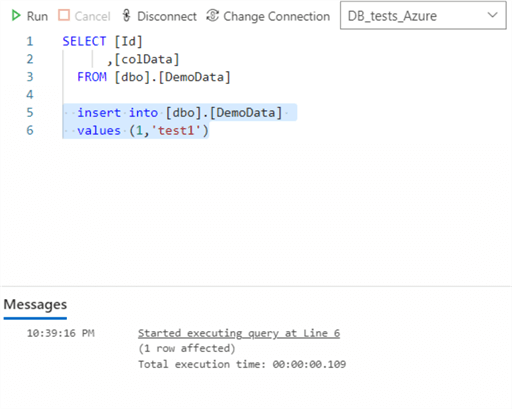
Now we go to the Azure database and insert 1 row:
Now, we have 2 options, wait for the next automatic refresh, or do a manual refresh. Since I do not have patience, let us perform a manual refresh.
We do this by clicking on Sync inside the sync group:
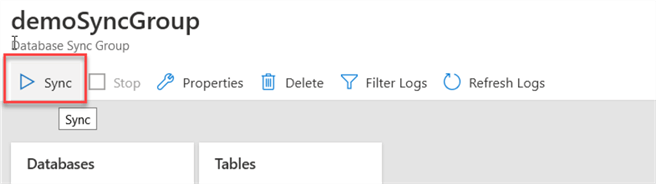
Depending on the amount of data to refresh, it could take minutes or hours, but once done, you can see an entry in the log. It also displays the time it took so you can have an idea on how often you can configure the automatic refresh.

If we check our on-premises database, we can see that the row we inserted on the Azure database is now there:

We have successfully tested our synchronization group. At this point, you can experiment different scenarios, like making changes to data in member databases, adding bulk inserts, changing schemas, etc.
Next Steps
- You can check Azure Data Sync documentation here.
- To learn more about Azure Data Sync best practices, check here.
- Access all the Azure tips here.

Eduardo Pivaral is an MCSA, SQL Server Database Administrator and Developer with over 15 years of experience working in large environments.
- MSSQLTips Awards: Trendsetter (25+ tips) – 2020 | Author of the Year Contender – 2019 | Rookie of the Year – 2018


I have a fairly large set of tables I need to sync (several hundred million records). I thought I read somewhere a while back that when your sync’ing large tables, it was best to start with empty tables in your Member DB to speed up the initialization process (initial sync). What are your thoughts on this?
Thank you.