Problem
The internet is a vast source of digital data. Nowadays, every organization puts information on its website, whether it is product information, stock prices, announcements, results, reports, media, or images. You can visit a web page and copy-paste the information manually into a new document. What if you want an automated way of pulling data from a web page? Let’s check out how this can be done in this tip.
Solution
Web scraping is a term used to extract data from a website in an automated way. There are multiple ways to fetch data from a webpage, and you can use scripts such as Python, R, .NET, Java or tools such as Azure Data Factory.
Azure Data Factory is an Azure cloud infrastructure ETL (Extract-Transform-Load) functionality. It provides a code-free user interface with the scale-out serverless data integration and data transformation. You can configure data driven workflows for orchestrating and automating data transformation and data movement.
If you are not familiar with Azure Data Factory (ADF), I suggest you explore these ADF articles.
Sample Web Page
For this tip, we will use the Olympic Medal Count available on https://olympics.com/tokyo-2020/olympic-games/en/results/all-sports/medal-standings.htm. The web page contains a table of Olympic medal counts for different countries. We require to export this table into CSV format using the Azure Data Factory v2.
You can use any website that contains tabular formatted data for public access, but we will use for our example.

Implement Azure Data Factory Solution for Web Scraping
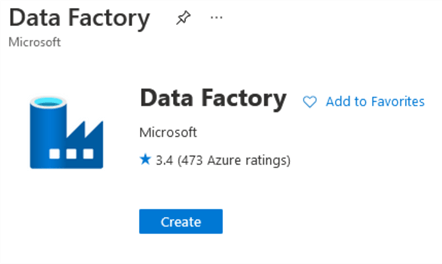
To start ADF, in the Azure portal, search for Data Factory and Create an instance.
On the instance page, enter the region, name, and version. In my demo, the ADF instance name is webscrapazuredmeo, as shown below.

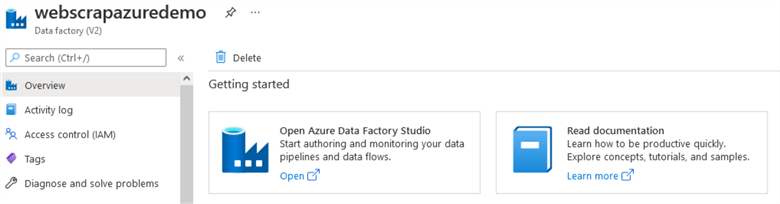
Once you have deployed your ADF instance, you get the dashboard for defining pipelines.
Click on the open Azure Data Factory Studio.
On the home page, you get the following options:
- Ingest
- Orchestrate
- Transform Data
- Configure SSIS
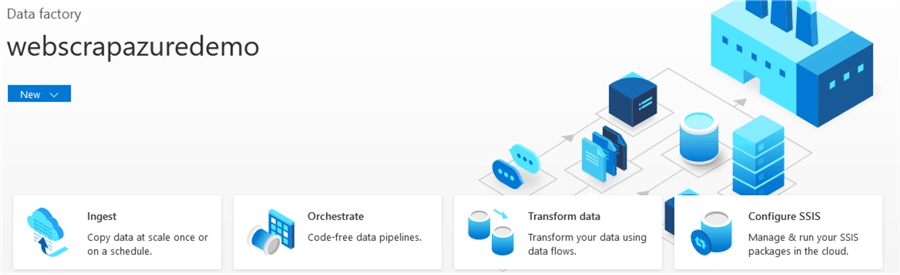
Click on Ingest and it opens the copy data tool. You can use this tool with built-in copy tasks from 90+ data sources and metadata-driven copy tasks. The tasks can be executed at once, on a specific schedule or tumbling window.

Click on the Built-in copy task and choose the source type as Web Table from the drop-down.

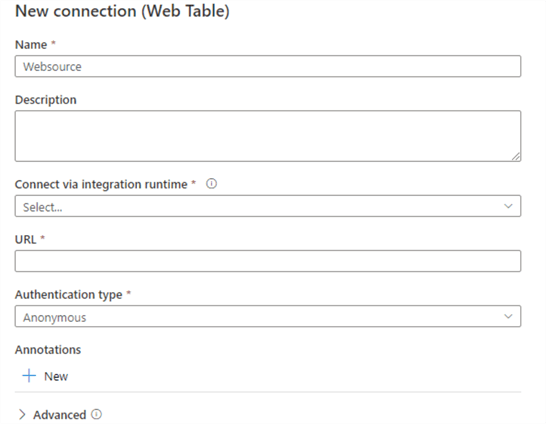
Click on the new connection, and you get the following options.
- Name
- Description
- Connect via integration runtime
In the connection window, create a new connection and choose the self-hosted environment for running activities in an on-premises or private network.

Create a new self-hosted integration runtime, and it gives two options for setting it.
- Option 1: Express Setup
- Option 2: Manual setup

The express setup is a straightforward approach to download and install the integration environment on your local machine. The local system drive must have at least 5 GB of free space to configure it in both express and manual setup.
As shown below, Microsoft Integration Runtime Express setup is in progress on my local system. The express setup downloads integration runtime (self-hosted), installs and registers the setup.

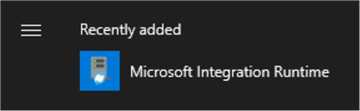
On your local system, go to start and launch Microsoft Integration Runtime.
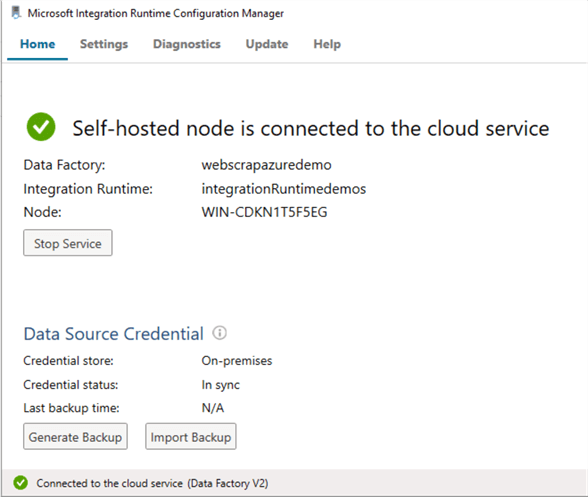
It launches the Microsoft Integration Runtime Configuration Manager. You can view the integration runtime environment, its connection to cloud service data factory name and credentials. As shown below, the self-service node is connected to the cloud service.
Once the integration service runtime is created, installed on a local machine and connected to cloud service, you can see the integration runtime appears in the new connection (web table) page.
In the URL field, enter the web URL from which we want to scrape data.
The authentication type is anonymous because the web page is publicly accessible and does not require any authentications to access the required data.

Create the source connection, and the console redirects you to the copy data tool configuration. In the connection tab, we can see the connection name created for the web table.
Index: In the source data tool, you need to provide the mandatory index field value. If your source data web page contains multiple tables, you can specify the index position of the table—the index position starts with zero. Therefore, for the third table, specify the value 2.
For our web page, we specify value 0 because it contains a single table.

The ADF provides functionality to preview data before importing or exporting. It helps you to validate that the source web table connection is successful. If you have multiple tables on the web page, you can specify the Index value and see which table suits your requirement.

Click Next to configure the destination datastore.
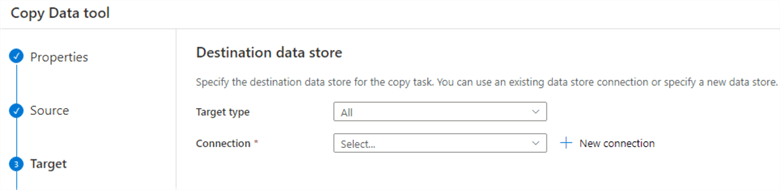
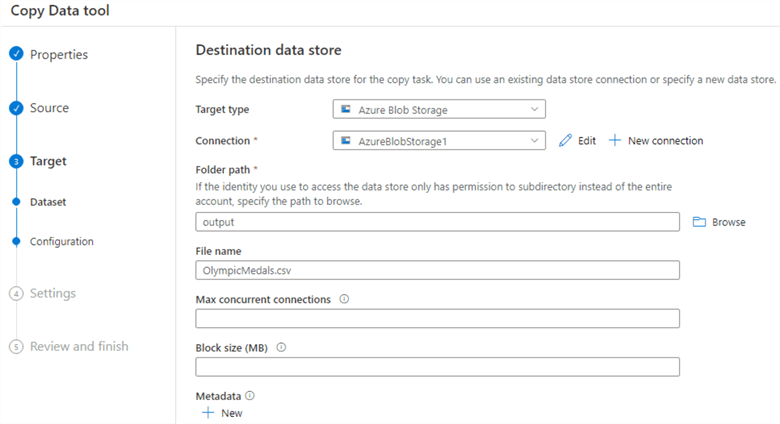
You can choose various destinations such as Azure SQL Database, Azure Blob Storage from the target type. For this tip, we will use the Azure Blob Storage option and create a new connection.
I have an existing Azure Blob Storage, therefore, choose the Azure subscription and storage account name from the drop-down menu.
You can click on test connection to validate whether you have appropriate rights for accessing the blob storage. As shown below, it shows connection successful in my case.
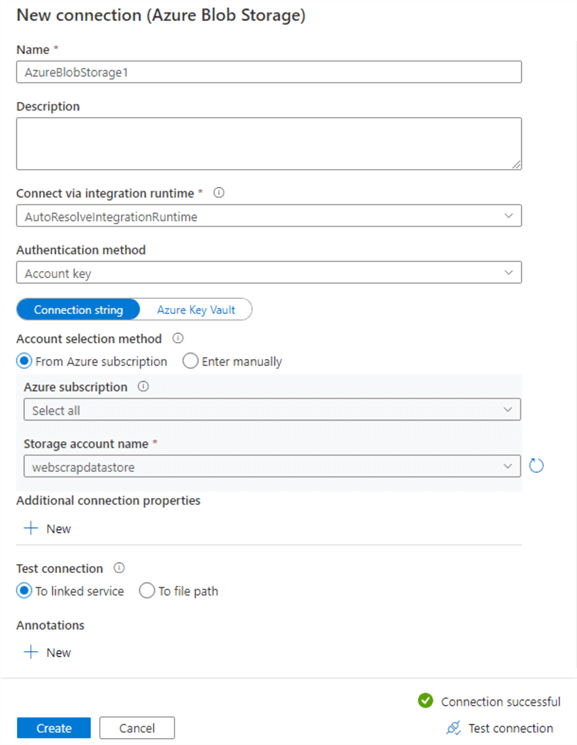
Click on create to deploy the connection. You cannot store the file in the root folder of the storage account. Therefore, I created a blob container “output” that stores the web scraped data in CSV format. Enter the CSV file name to store the web scraped data in Azure Blob Storage.
On the next page, you can choose file formatting options such as file format, column delimiter, row delimiter, add header to file, compression type, file name prefix, etc.

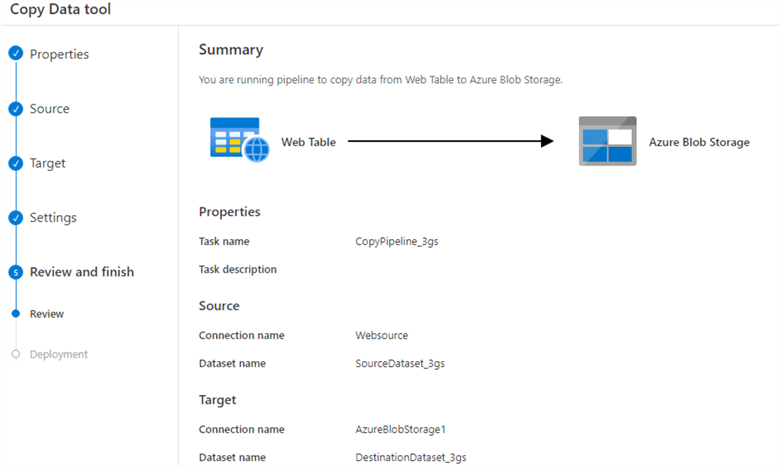
We will skip the settings page (using default options) for the web scrapping. You can review and finish the configurations. As shown below, our task is to copy data from the web table (web page) to Azure Blob Storage in CSV format.
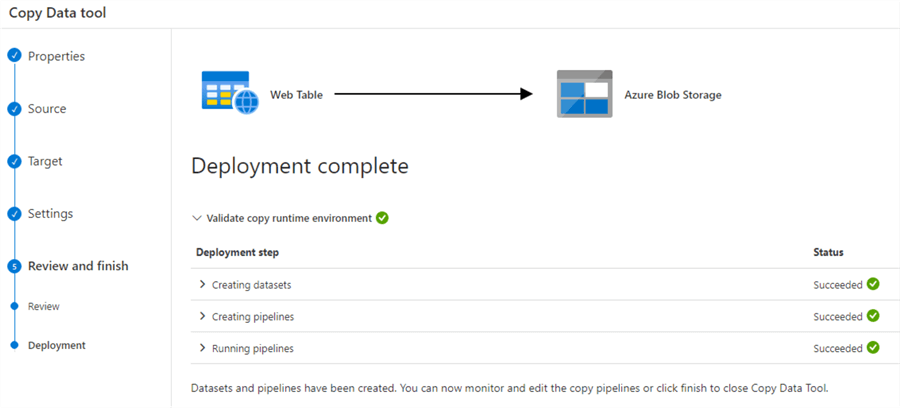
Click on deploy and it creates data sets, pipelines and runs the pipelines for validations.
In the Azure Data Factory monitor, you can view the pipeline execution status. Below it shows it is currently in progress.

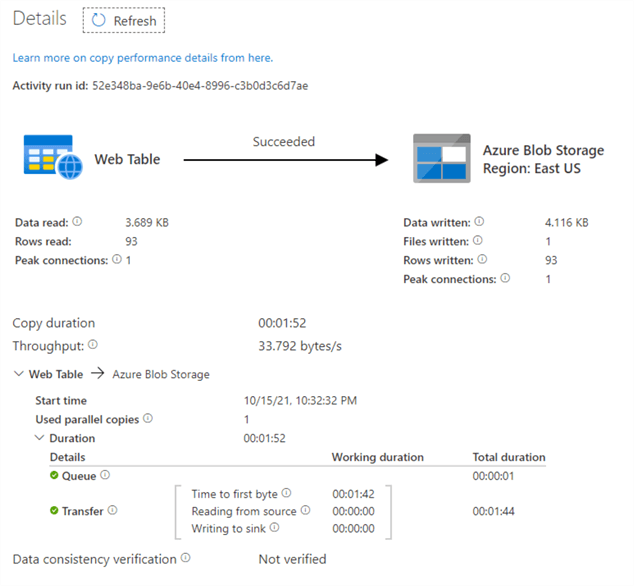
To view the pipeline execution details, click on the spectacles symbol next to the activity name and it opens the following details activity page.
On the page, you get a performance overview of both source and destination tasks.
- Task status: The web scraping task is successful.
- Source web table
- Data read
- Rows read
- Peak connections
- Azure blob storage
- Data written
- Files written
- Rows written
- Peak connections
- Copy duration
- Throughput
- Data consistency verification
Verify Data Export
To verify the exported or scraped data from the web page, navigate to your Azure storage account that we configured earlier. As shown below, we have a CSV file OlympicMedla.csv stored in the output container.

Select, download and open the file in a text editor. We can see the Olympic medals data similar to what we saw on the web page at the start of this article.

Next Steps
- Configure a web scrapping task in Azure Data Factory (V2) and be familiar with the process.
- Explore Azure Data Factory on MSSQLTips.

Hi! I am Rajendra Gupta, Database Specialist and Architect, helping organizations implement Microsoft SQL Server, Azure, Couchbase, AWS solutions fast and efficiently, fix related issues, and Performance Tuning with over 14 years of experience.
I am the author of the book “DP-300 Administering Relational Database on Microsoft Azure.” I can be reached at: Rajendra.gupta16@gmail.com for any consulting help.
- MSSQLTips Awards:
- Author of the Year – 2022 | Author Contender – 2021/2023/2024 | Champion Award (100+ tips) – 2020