Problem
One premise of a modern warehouse is to easily interconnect cloud services to process and analyze data from any provider. Two of the top cloud services right now are Azure Synapse and Snowflake. Whatever your organization is implementing or if you need to transfer data to/from those services, it is important to know how to interconnect them and be able to transfer data between services.
Solution
Snowflake is a native-cloud, self-managed service for enterprise-level modern data applications. It is becoming one of the top data services in the world because of its capabilities and ease of use.
Azure Synapse is an enterprise-level analytics service. It provides analytics and big data capabilities using multiple languages and engines, with native support with other services like Power BI, Databricks, and machine learning and cognitive services.
This tip will provide a simple example of how to copy data from Snowflake using the Azure Synapse Analytics pipeline. The next tip will discuss how to push data to Snowflake.
Example Set Up
Today, we will assume that we have a Synapse Analytics service running, a Snowflake account, and at least one blob storage account.
How to create a Synapse Analytics service is outside the scope of this tip, but you can go to your Azure account at https://portal.azure.com and create a Synapse service:

For a Snowflake account, you can go to https://www.snowflake.com and create a new account using the Start for Free button.

Example: Copying Data from Snowflake to Blob Storage using Synapse
I have created a sample database in Snowflake with one table named SHIPPING_INFO.
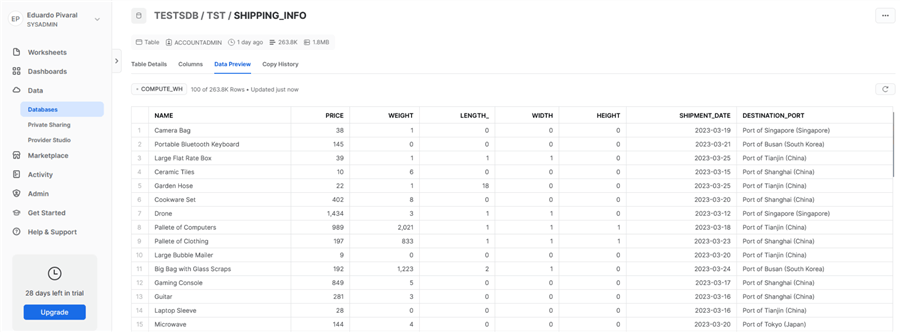
We will write the table contents to a parquet file on the blob storage using Synapse Analytics.
To open Synapse Analytics, go to https://web.azuresynapse.net and select your workspace.
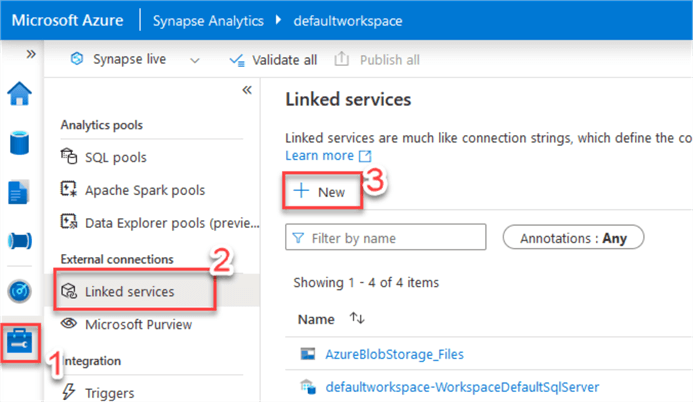
On the home page, configure Snowflake as a linked service. Go to Manage > Linked Services > New.
In the window that opens, search for Snowflake.

In the New linked service properties window, input the connection details for your Snowflake account:

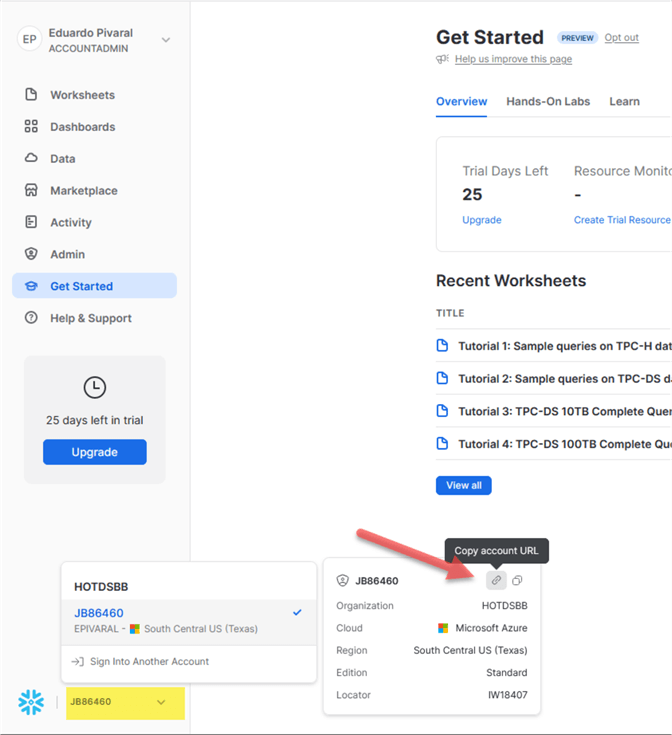
Note: If you do not know your Snowflake account name, you can obtain it on the Snowflake portal at the bottom left of the home page:
Then we need to add an additional linked service for the destination, in our case, blob storage, since a direct copy from Snowflake only supports blob storage at the time of the writing of this tip.
Add a new linked service and select blob storage:

Only SAS authentication is supported at the time of this article, so select SAS URI as the authentication type:

Note: If you do not know how to generate a SAS URL and token, you can do it from the Azure portal here. Select the destination folder in your Blob storage and choose the Generate SAS option.

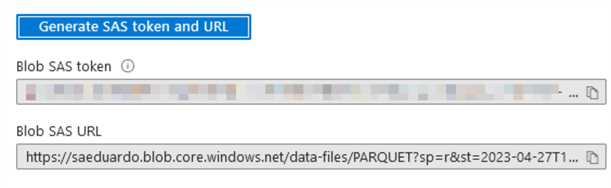
You can select the permissions you want. Remember you need at least create, write permissions to create files. Also, choose the expiration and other options. Once you have made your selections, click on Generate SAS token and URL option:

Once you have obtained the information, you can go back to Synapse and copy/paste it:
Once you have created your linked services, you can create a pipeline for the data copy.
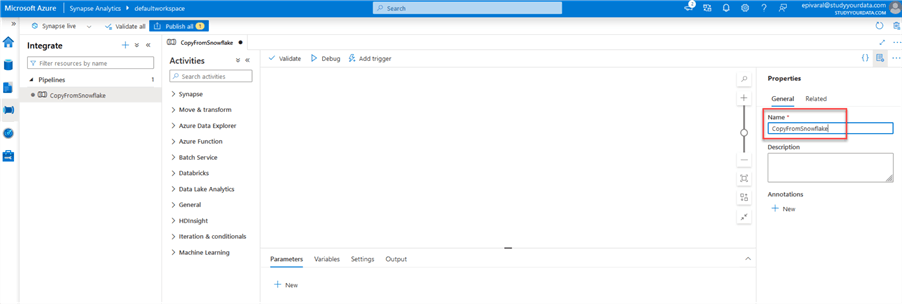
In the Synapse portal, go to Integrate on the left side, and then choose new Pipeline:

As a first step, create a meaningful name for the pipeline. I named it CopyfromSnowflake.
We will use a Copy Data activity. Just select it and drag and drop it on the right side:

Under the General tab, add a meaningful name to the task. You can leave the other fields as the defaults.

Under Source, select a new dataset by clicking +New:
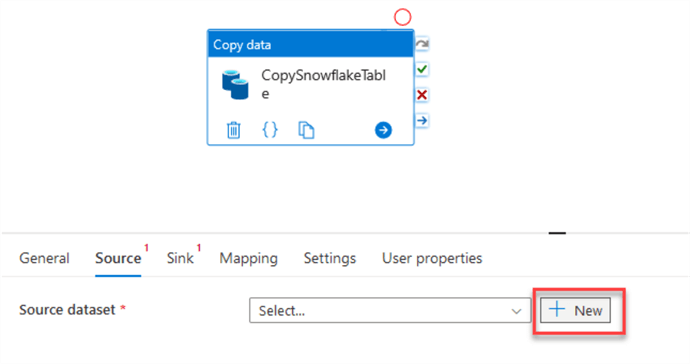
Search for Snowflake and choose from the results:

In the new window, add a meaningful name, and select the linked service created earlier:

Select the table name and leave the other options as default. Click OK.

Note: In future tips, we will see how we can dynamically obtain table and schema names. For now, we will use a static table to understand the basics easily.
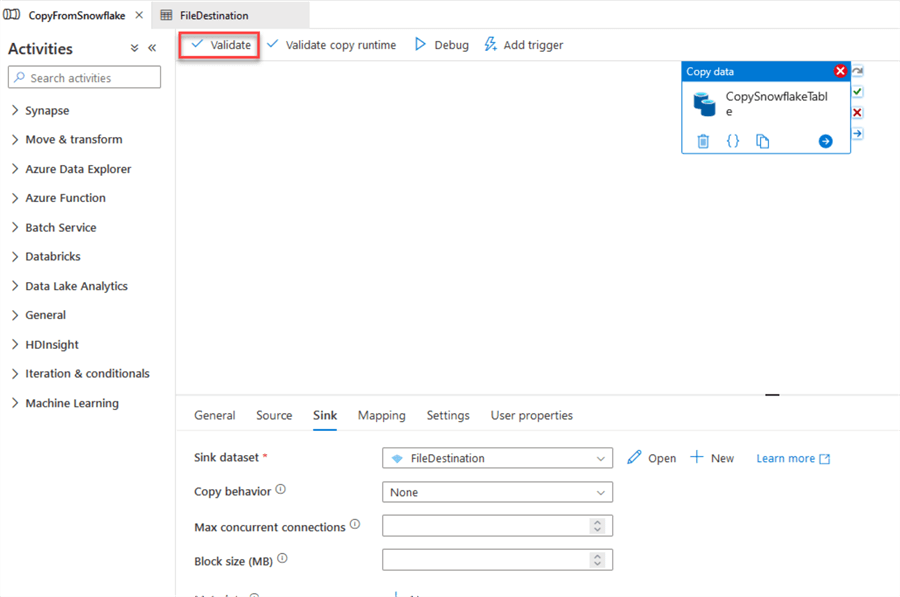
Select new Dataset for Sink:
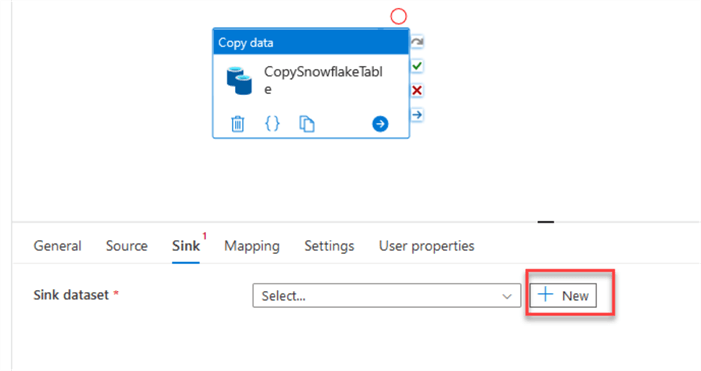
For direct copy from Snowflake, only Blob Storage is supported at the time of the writing of this article. Select the blob storage we configured earlier:

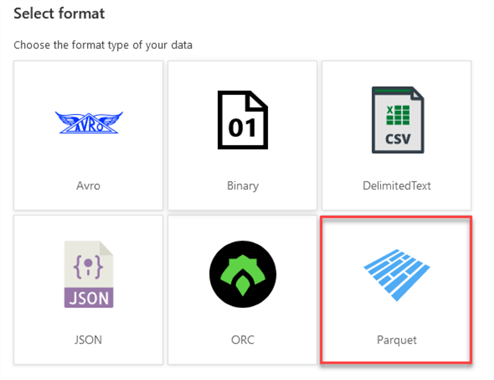
Select the file format, in our case, a Parquet file:
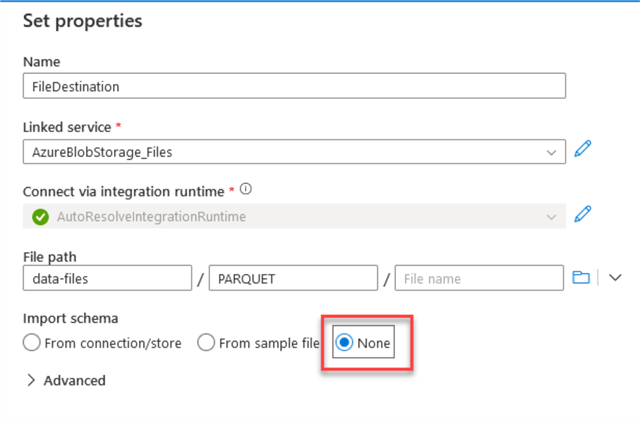
Put a destination name and select the linked service name for the blob storage created earlier:

Select the location where you want to save the file.
Important: Since we will dynamically create the file name, do not select a destination file. And for the Import Schema option, choose None.
Double-click on the file name field to generate the formula for the file name and select Add Dynamic content.
Note: If this option is unavailable the first time, save the destination, and edit it again so that you can see it.

In the new window, input this formula for the file name. You can modify it as you want.
@concat(pipeline().RunId, '_snowflake.parquet')
It will be the run id plus the file name extension. Once ready, click OK.

We are ready to evaluate the pipeline, so the last step is to click Validate.
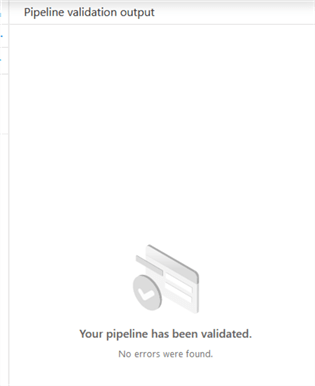
If everything is ok, validation will be successful.
If you have followed the steps on this tip and you find an error at this point, it is something related to permissions. Review the error message and troubleshoot any missing permissions.
To save the pipeline, now click on publish all:

For the execution, we can evaluate it with the Debug option or create a trigger to automatically execute once or on a scheduled basis.
First, try the Debug option to troubleshoot any potential runtime issues.

You will see in the Output tab that the pipeline has been queued.

Depending on your table size, if everything is ok after a short period, you will see a successful execution.

Now, to ensure the file has been properly created, browse the destination folder using the Azure portal.

We can see that the file was properly created.
Now, let’s create a trigger.
Return to the Pipeline editor and select the Add Trigger option.

Trigger now is for ad-hoc executions, and New/Edit is for scheduled executions. We can choose the second one.
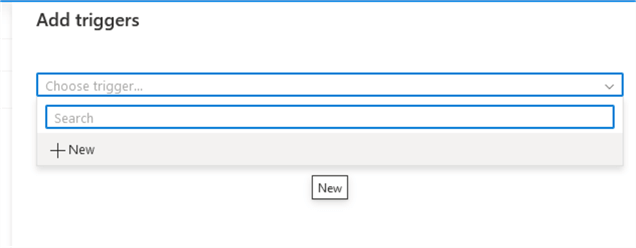
Let us create a new trigger. You have many options for the type of trigger, like schedule, tumbling window, and events.
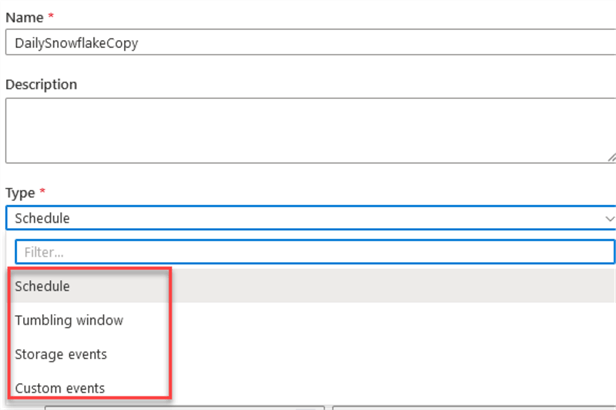
For simplicity, let’s choose a Schedule type:

Now you have created your Synapse pipeline and the trigger.
How to Monitor
In Synapse, select the Monitor option.
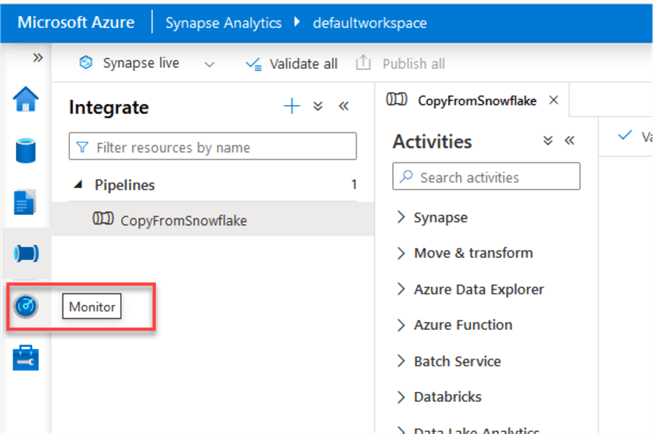
You can use both Pipeline or Trigger runs to check the execution outcomes:

If you want to modify or disable the trigger, you can go to Manage and select Triggers:

The next tip will instruct how to copy data to Snowflake.
Next Steps
- Check out Azure Synapse documentation: Get Started with Azure Synapse Analytics.
- Check out Snowflake documentation: Snowflake Documentation.
- Check other Synapse tips: SQL Server Azure Synapse Analytics Tips.

Eduardo Pivaral is an MCSA, SQL Server Database Administrator and Developer with over 15 years of experience working in large environments.
- MSSQLTips Awards: Trendsetter (25+ tips) – 2020 | Author of the Year Contender – 2019 | Rookie of the Year – 2018
Regarding Key Vault, yes that is the proper way to do it. In this case I use SAS because I try to keep my tips as simple as possible so people understand what they need, and in base on that they build their own solution.
For Parquet, it is a compressed file format, so it usually takes less storage space compared to .csv, but you can use any of the file formats you want, some people that still need to use older ETL solutions, are forced to use csv, so no problem with that.
Overall great article, I would change connection method to snowflake, pull credentials from KeyVault it’s securer.
Hi Eduardo, thanks for the tip, just about to do this ourselves so a great help.
One question, why did you choose Parquet as the file format? Why that rather than one of the other types? Are there limitations or benefits of that type over the others? We are going to be ingesting into Azure synapse Analytics, probably using an EXTERNAL TABLE, or COPY INTO. Do you have a preference?
Thanks in advance
Andrew