By: Ray Barley
Overview
The Chart Wizard guides you step-by-step through creating a report that contains a chart. This topic will create a chart using the wizard.
Explanation
Launch the Chart Wizard from either the Getting Started dialog or the New Report or Dataset dialog. Select Chart Wizard. The first step is to choose a dataset:
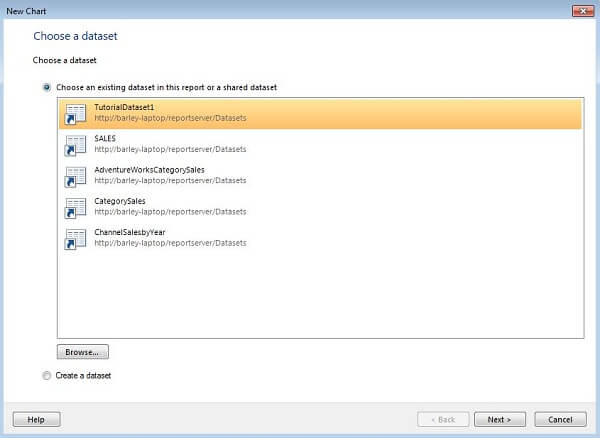
The default behavior is to use an existing shared dataset. Select a dataset from the list or click Browse to search for the one you want. The dataset created in the Getting Started section now appears in the list because it was used in the previous topic where we created a report using the Table or Matrix Wizard. To use a dataset not shown in the list you can click Browse to locate it. Alternatively you could click the Create a dataset radio button to define an embedded dataset; we'll do that in the next topic. Select the TutorialDataset1 dataset and click Next to continue on to the Chart type dialog:
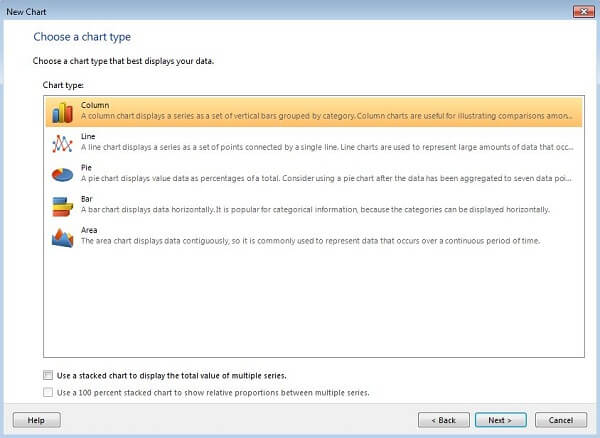
Choose a Chart type then click Next to continue to the Arrange fields dialog. Fill in the dialog as shown below:
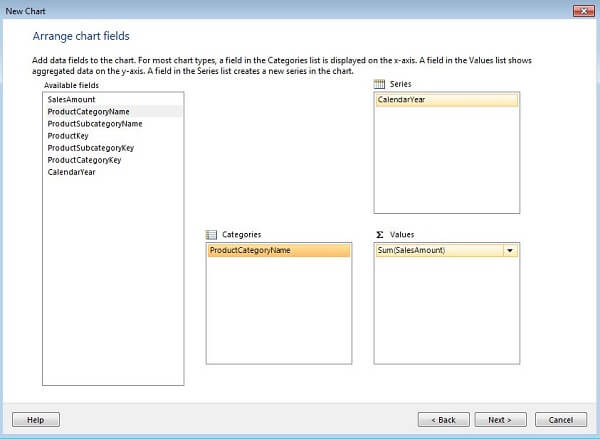
The Arrange Fields dialog has three places for you to drag and drop fields from the Available fields list: Categories, Series, and Values. Put the ProductCategroyName in Categories, CalendarYear in Series, and SalesAmount in Values.
Click Next to continue on to the style dialog; select one of the available styles as shown below:

Click Finish to complete the wizard. You have created the following report:
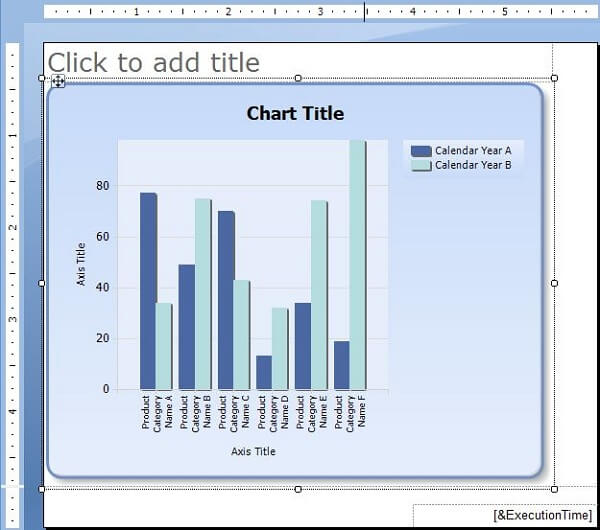
The chart that is created is a little too small; you have to click on it then drag it from the edges to make it bigger. Click the Run button on the ribbon to preview the report:
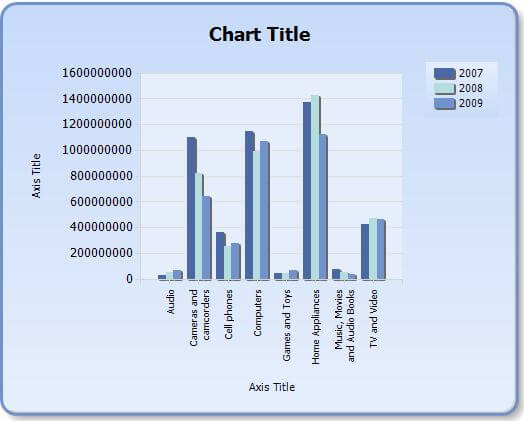
At this point the report needs a little bit of cleanup; you can fill in a chart title, and go to the Properties window for the chart to clean up the formatting. Nonetheless, you have created a chart by clicking through a couple of dialogs in the Chart Wizard.
You can save the report to your local hard drive, a folder in the Report Manager (if SSRS is in native mode), or a SharePoint document library (if SSRS is running in SharePoint Integrated mode). Click the diskette icon at the top of the Report Builder window or select Save from the Report Builder menu, then navigate to the appropriate folder. Deploying reports will be covered in a later section of the tutorial.
Additional Information
- Refer to Charts on TechNet for additional details on creating these types of reports.
