By: Ray Barley
Overview
The Map Wizard guides you step-by-step through creating a report that contains a map. This topic will create a map using the wizard.
Explanation
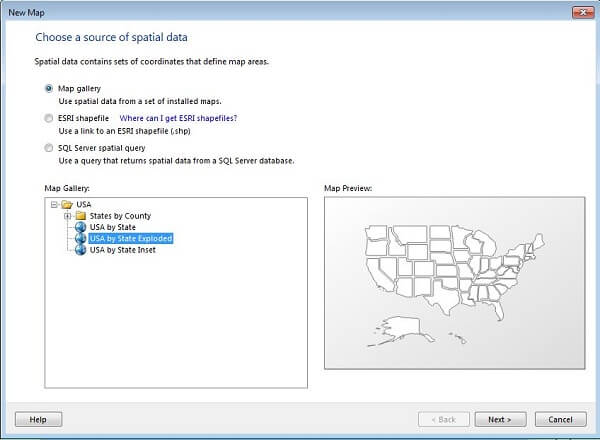
Launch the Map Wizard from either the Getting Started dialog or the New Report or Dataset dialog. Select Map Wizard. The first step is to choose a source of spatial data; fill in the dialog as shown below:
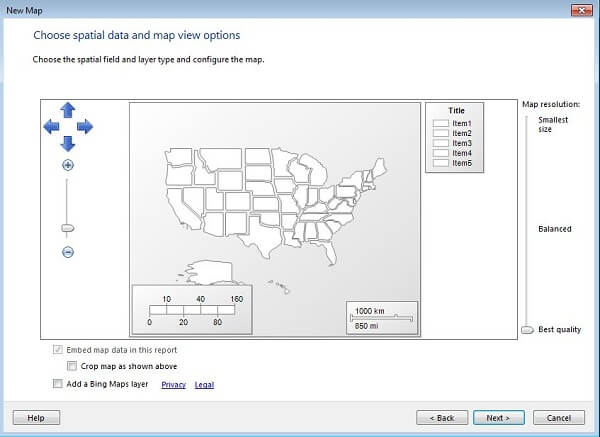
Click Next to continue on to the choose spatial data and map view options dialog; accept the defaults:
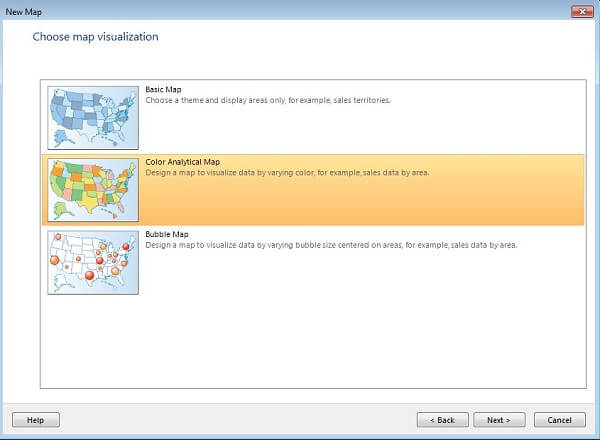
Click Next to continue on to the choose map visualization dialog; select on of the available options:
Click Next to continue on to the choose analytical dataset dialog. The default behavior is to use an existing shared dataset. In this case we are going to create an embedded dataset instead of using a shared dataset as we did in the previous two examples. Click Add a dataset that includes fields that relate to the spatial data that you chose earlier.

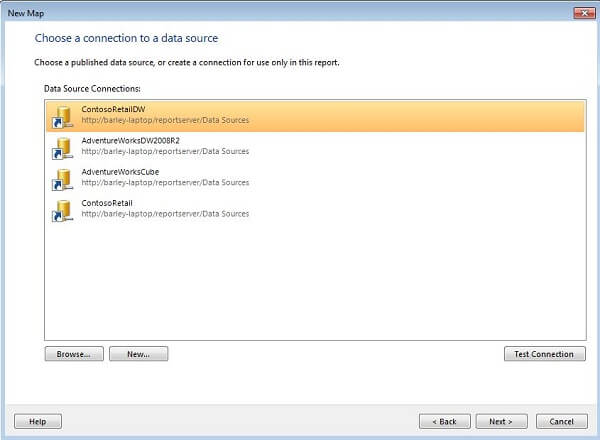
Click Next to continue on to the choose a connection to a data source dialog. Select a data source then click Next to continue on to the design a query dialog.
Click Edit as Text and enter the query as shown below:
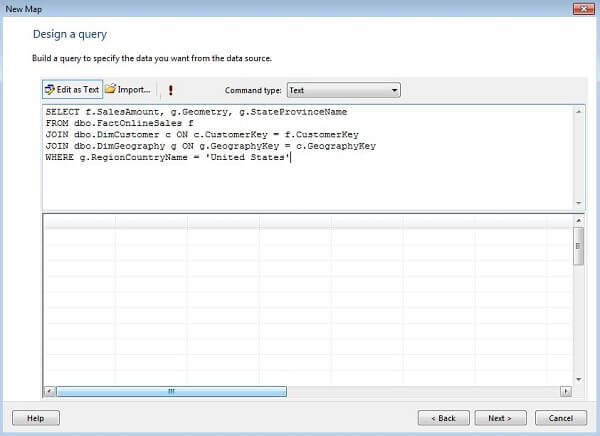
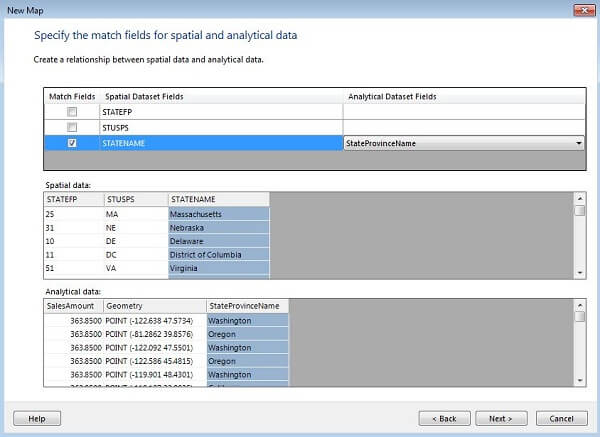
The above query retrieves sales by state for the United States; it also retrieves the Geometry column which is the spatial data. Click Next to continue on to the match fields for spatial and analytical data dialog. The query includes the state name; check the STATENAME as the match field and select the StateProvinceName as the Analytical Dataset Field.
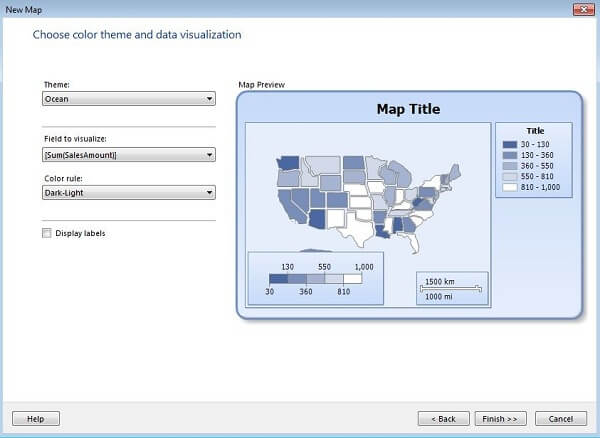
Click Next to continue on to the choose color theme and data visualization dialog. Pick a theme from the dropdown list, select Sum[SalesAmount] as the field to visualize, and select a Color rule from the dropdown list.
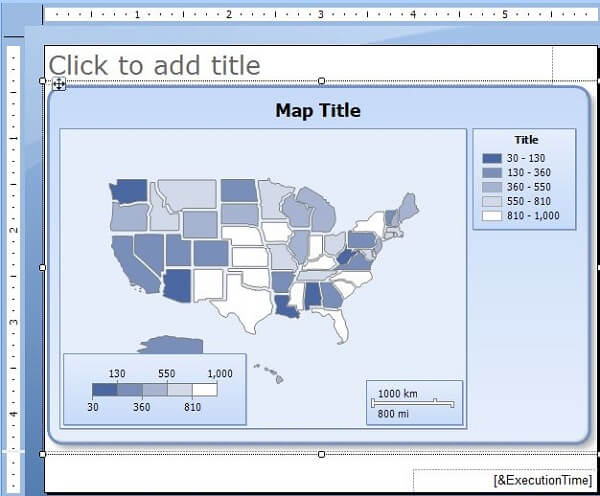
Click Finish to complete the wizard. You have created the following report:
Click the Run button on the ribbon to preview the report:
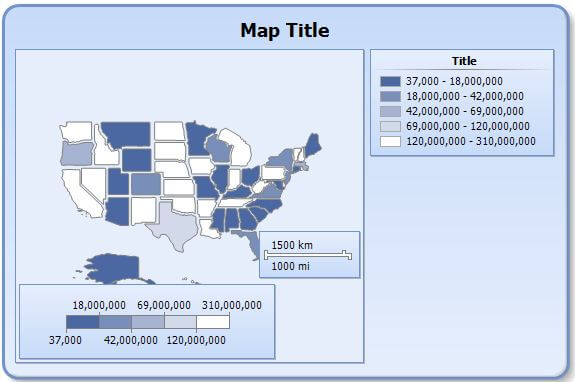
At this point the report needs a little bit of cleanup; you can fill in a map title, and possibly clean up the formatting. Nonetheless, you have created a map by clicking through a couple of dialogs in the Map Wizard.
You can save the report to your local hard drive, a folder in the Report Manager (if SSRS is in native mode), or a SharePoint document library (if SSRS is running in SharePoint Integrated mode). Click the diskette icon at the top of the Report Builder window or select Save from the Report Builder menu, then navigate to the appropriate folder. Deploying reports will be covered in a later section of the tutorial.
Additional Information
- Take a look at the tip Getting Started with Maps in SQL Server 2008 R2 Reporting Services for an example of creating a report that includes a map.
- Refer to Maps on TechNet for additional details on creating these types of reports.
