By: Vitor Montalvao | Comments (7) | Related: > Azure Backup and Restore
Problem
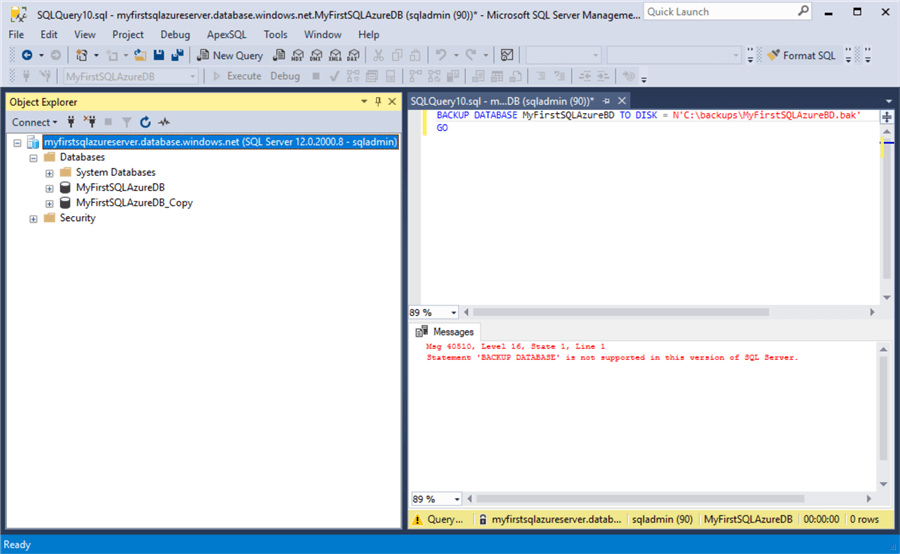
I have written several tips about how to manage SQL Server when using Azure SQL Database. In this tip we look at how to create a backup for a database, since this does not quite work the same way for an Azure SQL Database. If I issue a BACKUP DATABASE statement as shown in the following screenshot, I get an error saying "Backup Database is not supported in this version of SQL Server".
So, if the BACKUP command is not available for an Azure SQL Database how can we backup the databases? Also, how about doing restores?
Solution
This is my sixth article that is part of a tutorial to help people that are moving to SQL Azure. If you did not read my previous articles and want to learn how to create a database in Azure SQL Database, perform basic configurations, operations etc., please check out the following links and then return to this article to continue your learning.
- SQL Azure Create Database Tutorial
- Overview of Basic Configuration Options for SQL Azure
- How to use Azure SQL Database features and settings
- Different Ways to Connect to SQL Azure databases
- Migrate a SQL Server database to SQL Azure
You should use this article as a tutorial and follow it step-by-step. I will also try to share my experience on the differences that I have found when I was moving from SQL Server to Azure SQL Database.
In this tip I will explain how SQL Azure backup and restore works.
Backups for Azure SQL Database
In SQL Azure, database backups are executed automatically and it is not possible to change this behavior. This is a service offered when you create a SQL Azure database and the first full backup occurs immediately after you create a new SQL Azure database and the rest of the backups are scheduled by SQL Azure itself. We cannot see the schedule, but Microsoft says that Full database backups happen weekly, differential database backups generally happen every few hours, and transaction log backups generally happen every 5 - 10 minutes. This means that all SQL Azure databases are using Full Recovery Model, so we can always restore to a point-in-time.
The backup retention period depends on the SQL Azure database service-tier. Basic service-tier offers a 7 day retention policy and Standard and Premium service-tiers offer 35 day retention policies. Be aware that when you downgrade from a Standard or Premium service-tier to the Basic service-tier, you will lose backups older than 7 days. You can retain longer retention for SQL Azure backups by configuring a long-term retention.
Long-term backup retention
NOTE: This feature was still a Preview feature when I wrote this article, meaning that you will need to accept the current terms if you want to use it and features may change in the future.
The long-term retention feature allows you to store SQL Azure full database backups up to 10 years. It uses the Azure Recovery Services vault that allows up to 1000 databases per vault.
What the long-term backup retention does is to copy any existing full backups from the selected database(s) to a Recovery Service Vault and will keep those full backups for the configured retention time. Let's see how to configure a database to use the long-term backup retention.
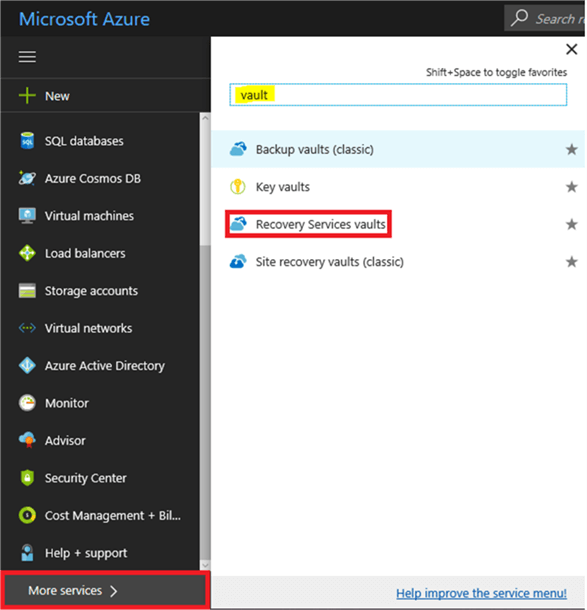
The long-term backup retention can be configured in the SQL Azure server, but as a prerequisite it needs a Recovery Service Vault to store the backups. This service does not appear by default in the Azure options so we need to search for it. Go to the bottom of the Azure menu (left pane in the Azure portal) and click on the More services > option. This will open a new pane where it allows you to find any Azure service. Type ‘vault’ in the Search field. As you are typing it will automatically filter the results. You will see 4 services with the word ‘vault’:
Choose the Recovery Services vaults. This will present a screen similar to the following:
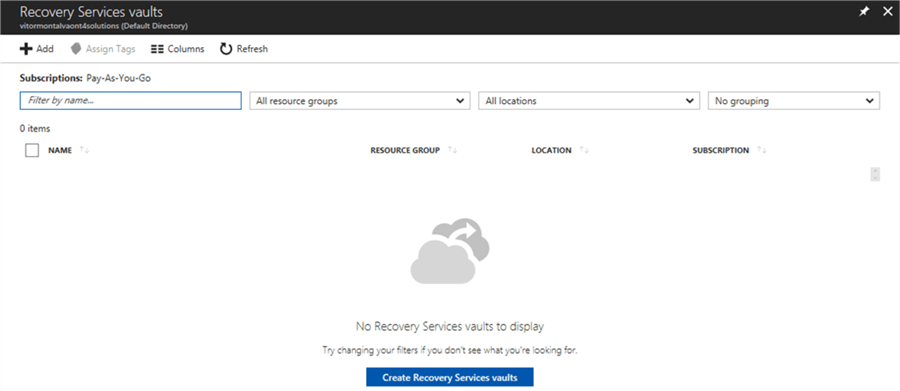
Click on the Add button to create a new Recovery Service vault. The following pane will be presented:
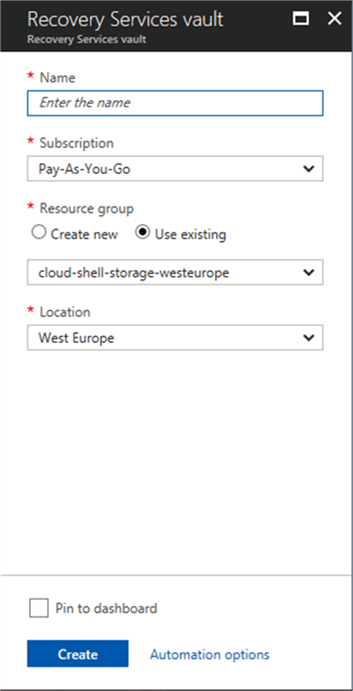
Provide a Name and assign it to an Azure Subscription, Resource group and Location. The Recovery Service vault needs to be created in the same Azure subscription and location of the SQL Azure server.
If you want it to appear in the Dashboard, check the “Pin to dashboard” option. Then click on the Create button to create the new Recovery Service vault resource.
Now that we have a Recovery Service vault resource we can configure a long-term backup retention policy. To do so, select your SQL Azure server and click on the Long-term backup retention option as shown in the below image:
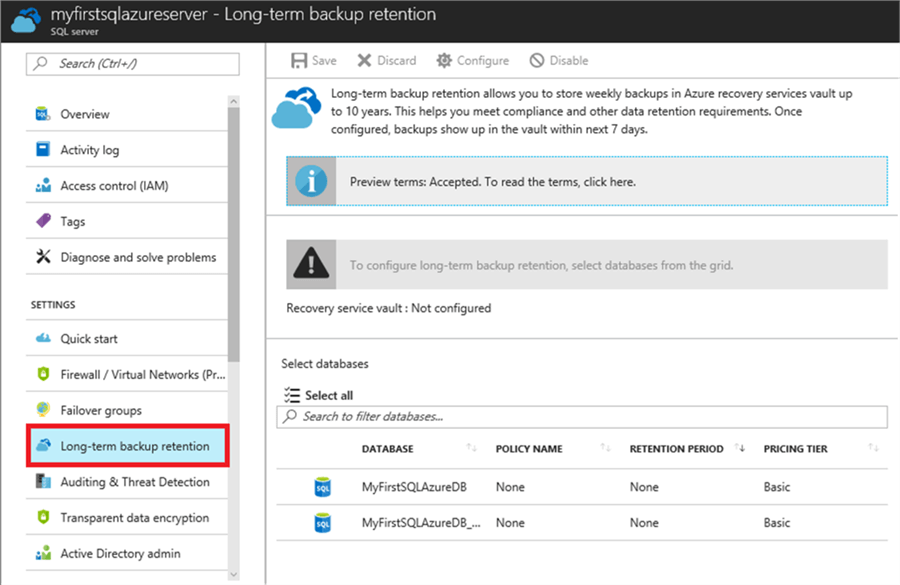
NOTE: You will need to accept the terms before using the long-term backup retention.
In the right pane, select from the database grid, the database or databases that you want to configure a long-term backup retention for. The Configure button in the context toolbar should be enabled after you select one or more databases from the grid. Click on the Configure button to set the new long-term backup retention policy.
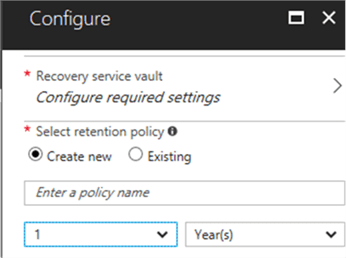
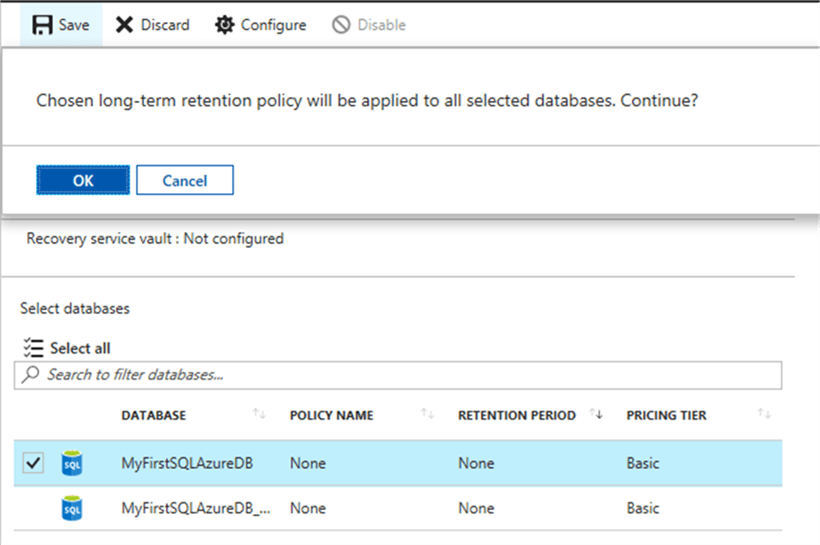
Click on the Recovery service vault to select the previously created Recovery Service vault. Create a new retention policy by entering a name and selecting from the combo boxes the desired retention period (by default is 1 year selected). With all fields completed the OK button at the bottom will be enabled. Click on it to create the new long-term backup retention and go back to the previous screen where you can Save this new long-term backup retention policy:
Let some time pass and then check the Activity log for the Resource service vault to confirm that the copy of the backups is being performed correctly. You should be able to see Write operations, meaning that Full Backups are being stored in the Resource service vault:
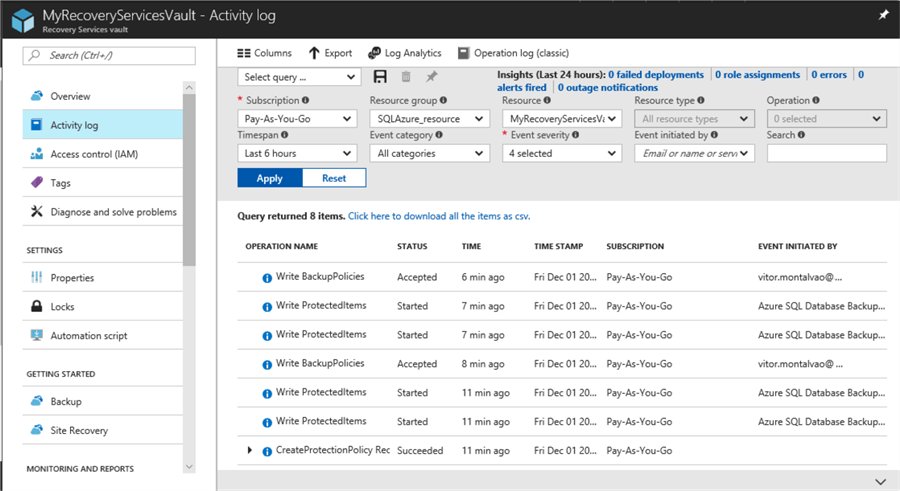
NOTE: The process of copying the Full backup may take some time to show in the Resource service vault.
Restores for Azure SQL Database
Let's see some scenarios where and how to use the SQL Azure restore feature.
Restore a deleted database
Let start with maybe the most common need to restore a database that is when you inadvertently delete a database. I have previously deleted a database, so I can show you in this tip how to recover it.
To restore a deleted database, in the Azure Portal go to the SQL Azure server where the deleted database was stored and then click on the Deleted databases option:
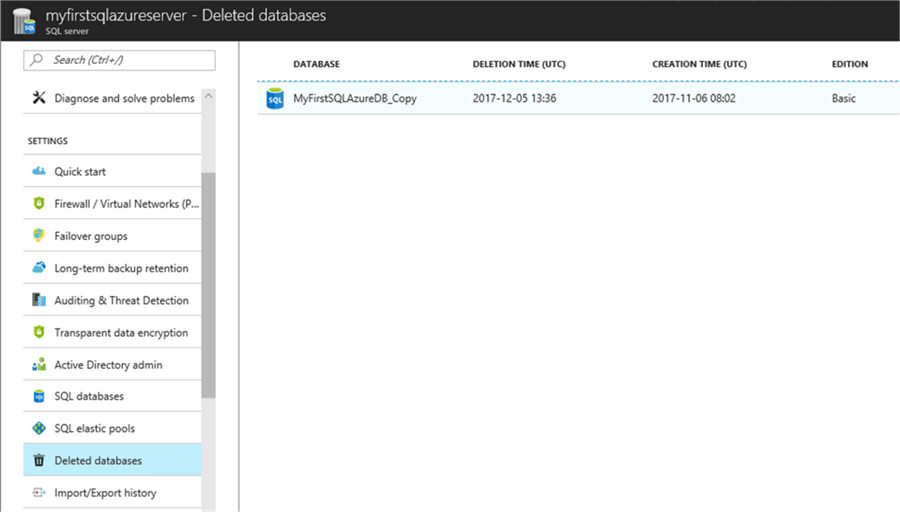
In the above screen you can see that I have a deleted database in this SQL Azure server. All the deleted databases will be listed in the right pane.
NOTE: If a database was deleted earlier than the last backup retention period you will not be able to restore it anymore. This mean, 7 days for a Basic Edition and 30 days for other editions.
To recover a deleted database, just click on the respective row in the right pane. This will present a similar screen as the following:

Provide the new name for the database and click on the OK button to start the restore process.
Wait for the notification to confirm that the deleted database has been restored:
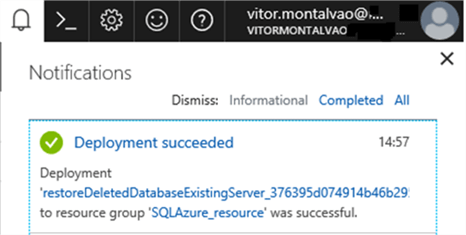
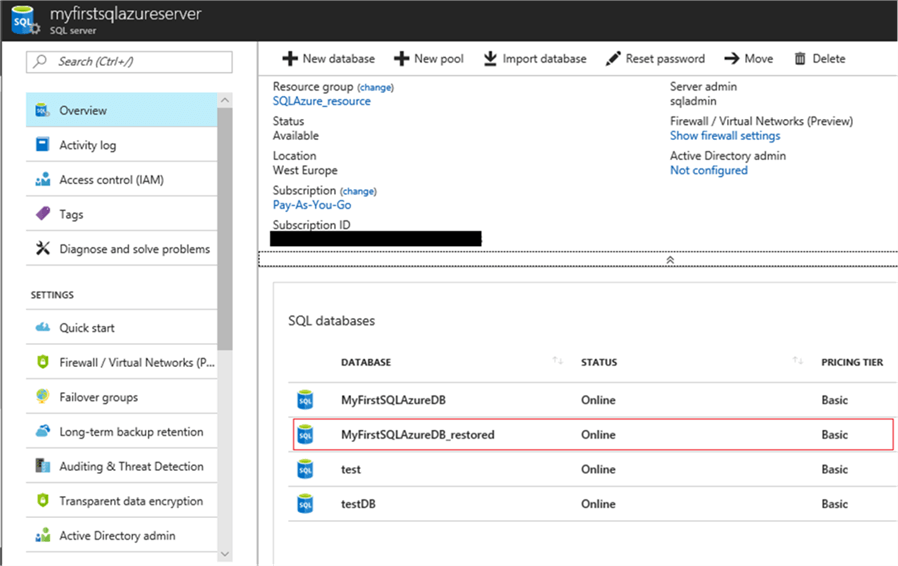
You can now confirm in the SQL Azure server that the deleted database has been restored successfully:
Point in time restore
In SQL Azure, when restoring from automated backups, it is always a point in time restore, meaning that you do not choose the backup file or files to be restored, but provide the exact restore point in time.
When restoring from an existing database, you must provide a restore point in time. I will simulate an inadvertently truncated table command so I can use the point in time restore to show how it works. Using SQL Server Management Studio (SSMS) I will register the current date and time so I know when was the last time I saw the correct records. I will also show the contents of the language table so I can confirm that all rows will be restored:
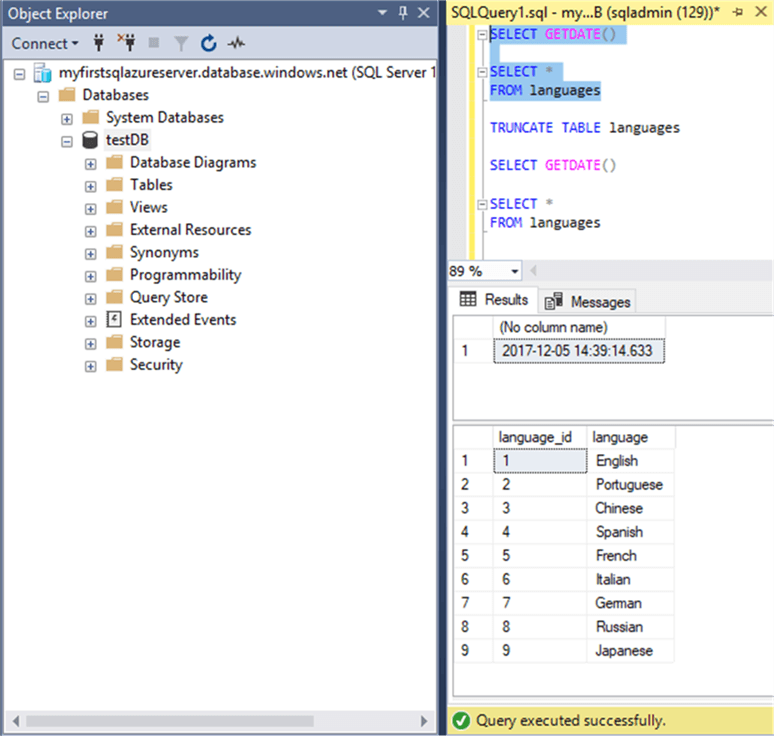
We can confirm that at 14:39, 9 records existed in the languages table.
I will now run the truncate the table and register the time when it occurred and also confirm that the table was empty after the truncate table command:
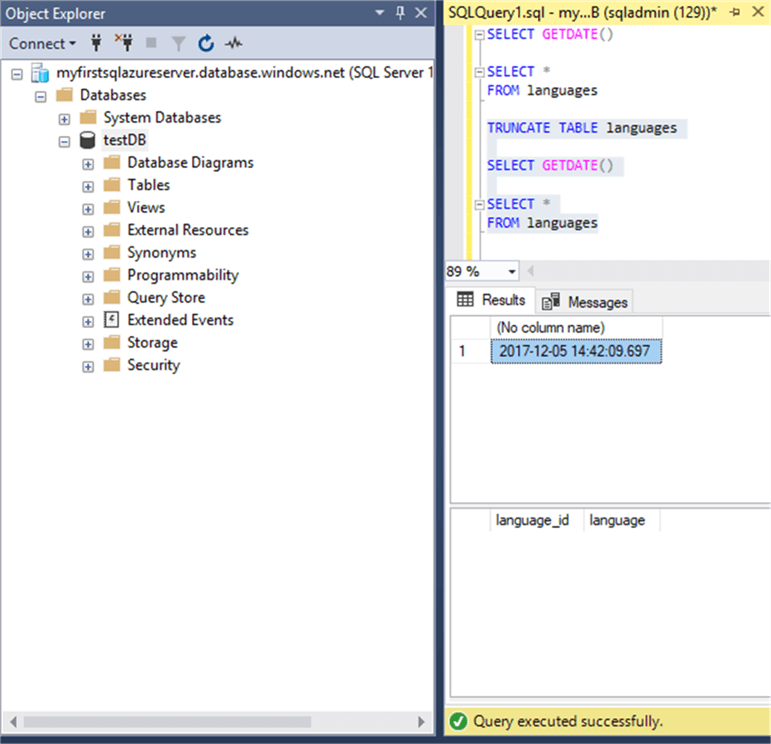
With this I can confirm that after 14:42 the languages table has been truncated. No records could be found in the table.
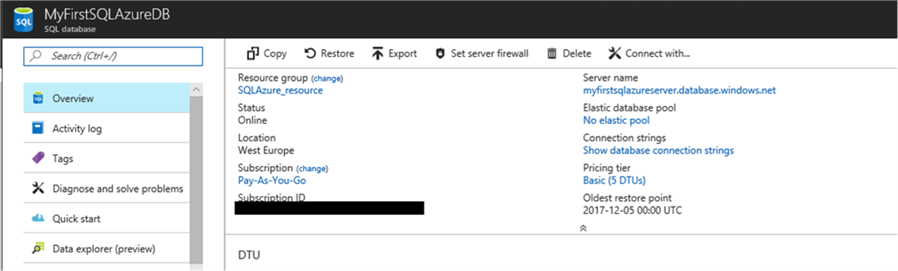
Let's start with the database restore process by accessing the respective SQL Azure database in the Azure portal and positioning ourselves in the Overview option. We can see in the top of the right pane, the context menu for SQL Azure databases and below that menu, the information about the database where we can also find the oldest restore point time. This tells us that we cannot restore the database before the presented date and time (unless we have a long-term backup retention):
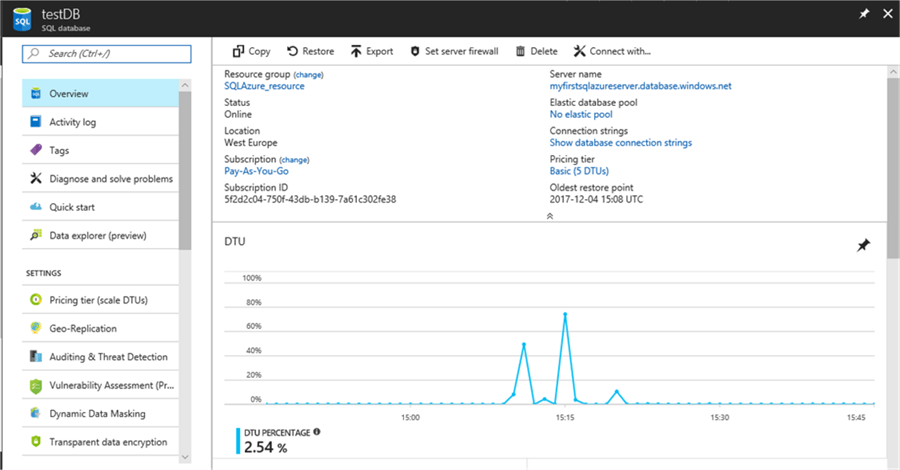
The Restore option is the second item in the context menu. Click on it to start the restore process.
Note that SQL Azure does not let you restore over an existing database, so you have two options here:
- Restore the database providing a new database name
- Rename the current database name so you can restore to a new database using the old database name
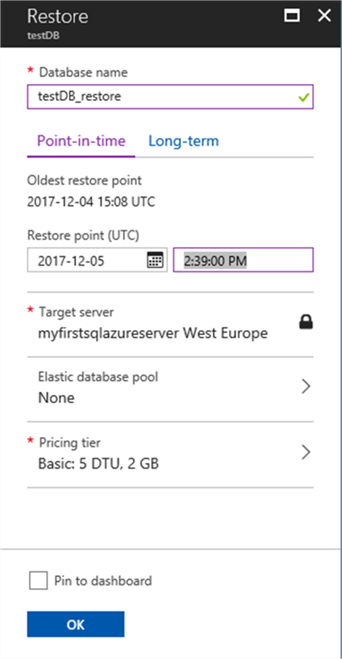
I provided a new name for the restored database and explicitly stated that I want the database to be restored to 14:39:00 (2:39:00 PM) as that was the last time I knew the records were in the languages table.
Click on the OK button when you have provided all the necessary information for the restore operation and wait for the notification that the database has been restored:
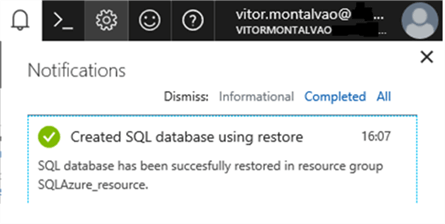
Let's confirm that the database has been successfully restored and the languages table has records:
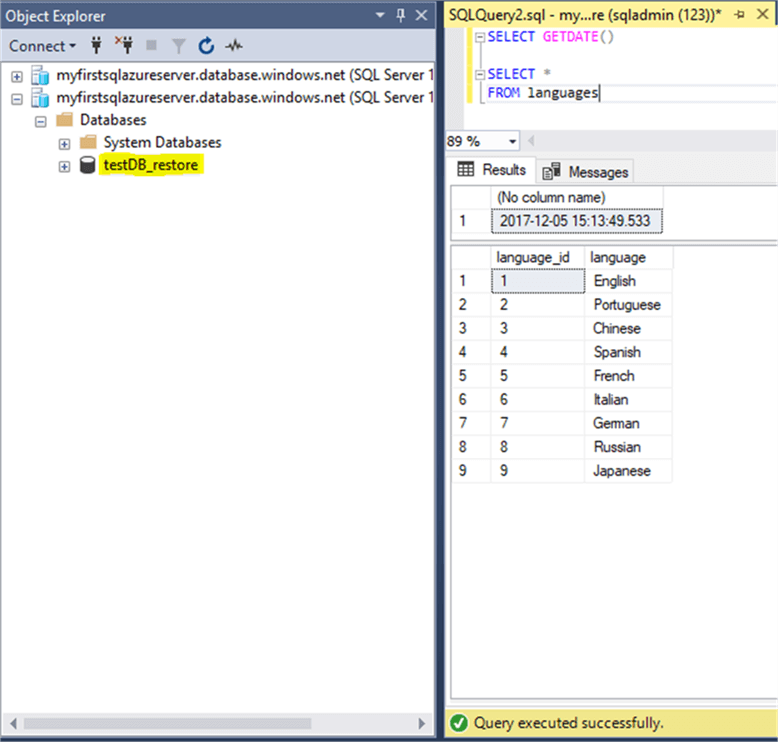
So, at 15:13, after restoring the database, we can confirm that table languages has all of its records again.
Restore from a long-term backup retention
In the case that you want to restore from a long-term backup retention, select the desired database that you want to be restored.
NOTE: Restoring from a long-term backup retention, does not allow you to restore to a point-in-time. It only restores from a full backup.
In my below example, my databases oldest restore point from the automatic backups is 2017-12-05, but I want to restore from a previous date:
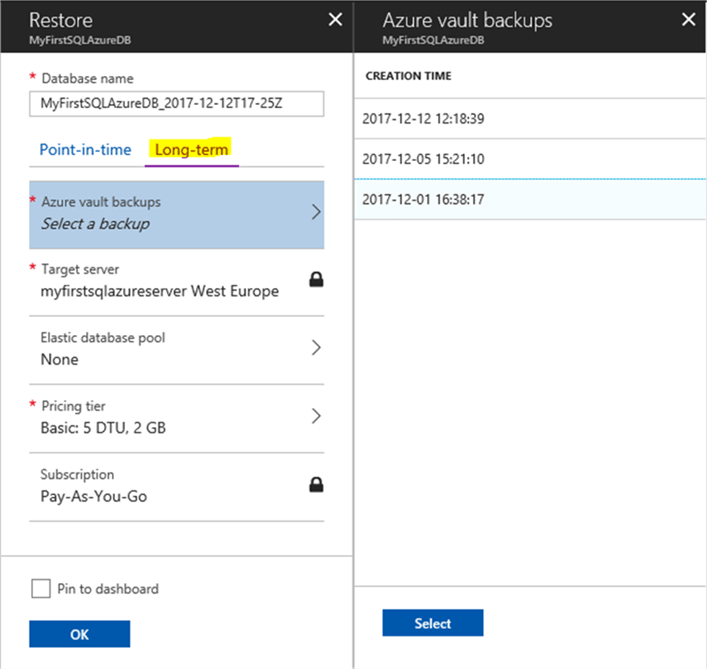
Click on the Restore button and then click on the Long-term tab so the option to restore from the Azure vault backups will be available. Click on that option to have a list of all the stored full backups so you can select the full backup to restore from. In my case I will select the oldest one (2017-12-01) and this will make the Select button enabled.
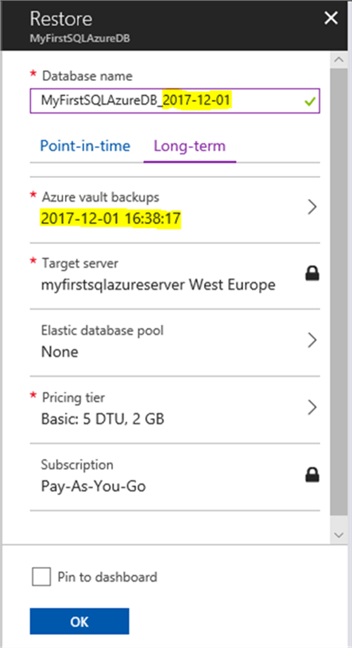
Click on the Select button to return to the previous pane, where you can confirm that you have selected the correct backup to be restored from. Provide the name for the restored database:
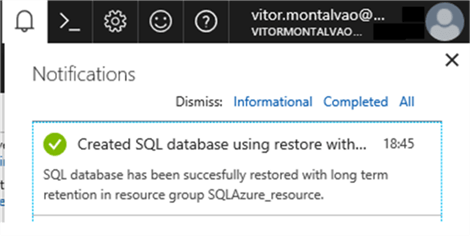
Click on the OK button and wait for the notification that states that the database has been fully restored:
With this I have completed this Azure SQL Database backup and restore article.
Next Steps
- Stay tuned for my next articles in this series.
- Also check out this: Store Azure SQL Database backups for up to 10 years.


About the author
 Vitor Montalvão is a SQL Server engineer with 20 years of experience in SQL Server, specializing in performance & tuning, data modelling, migration and security.
This author pledges the content of this article is based on professional experience and not AI generated.
View all my tips
