By: Koen Verbeeck | Comments | Related: > Azure Data Factory
Problem
I have a Logic App created in the Azure Portal. I have created a pipeline in Azure Data Factory where I need to call this Logic App so it can transfer some data to blob storage. However, when I call the Logic App using the Web Activity, it is executed asynchronously, meaning the task finishes immediately. I would like the task waiting for the completion of the Logic App. Is this possible in Azure Data Factory?
Solution
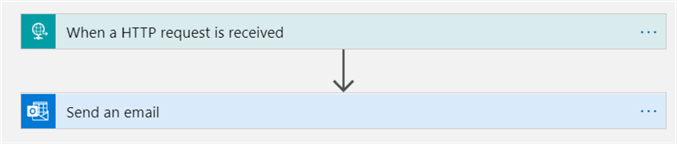
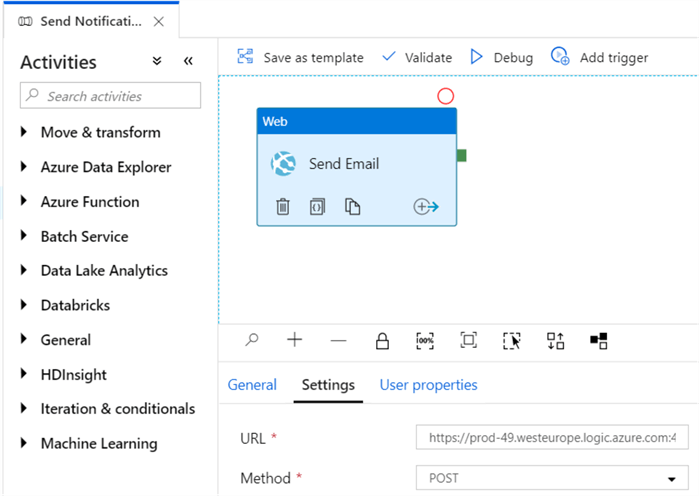
As a test case for this tip, we’re going to use a Logic App which sends an email:
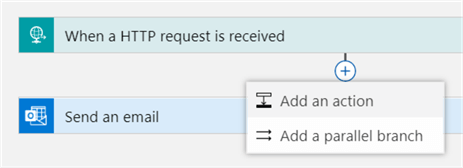
The steps to create such a Logic App are described in the tip Azure Data Factory Pipeline Email Notification – Part 1. We’re going to expand this Logic App with a delay, so we can easily check if the task in the Azure Data Factory pipeline is executing synchronously (waiting for the Logic App to finish) or asynchronously (finishing immediately when the HTTP message is posted). Hover with your mouse over the arrow and click the plus icon to add a new action:
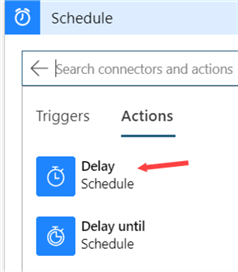
From the Schedule section, choose the Delay action:
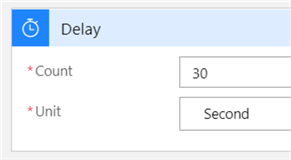
Configure the action to wait 30 seconds:
The pipeline in Azure Data Factory (ADF) looks like this:
You can find a step-by-step description on how to create this pipeline in the tip Send Notifications from an Azure Data Factory Pipeline – Part 2.
Synchronously Calling a Logic App
In ADF, there are two methods to start a Logic App from a pipeline: the Web Activity or the recently introduced Webhook Activity. In the tip mentioned above, the Web Activity was used to perform the HTTP request.
Using a Web Activity
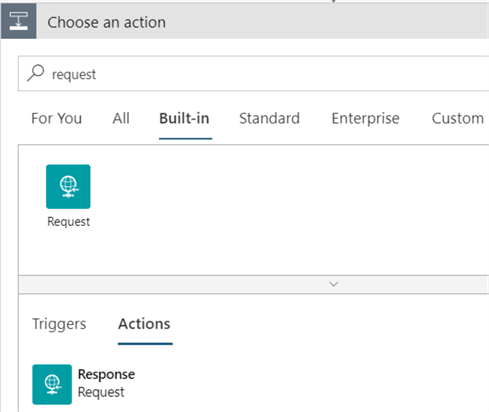
To get the Web Activity to behave synchronously, we need to modify the Logic App. We need to add a HTTP response after we’ve send the email. This can be found under the Request connector:
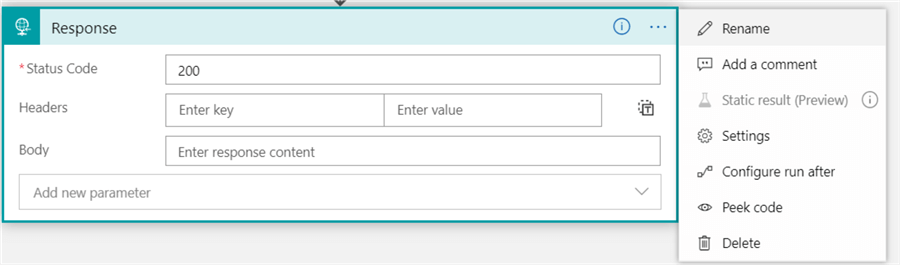
The default response will have the status code 200, which means OK. Let’s also rename the action by clicking on the three dots in the upper right corner and choosing Rename.
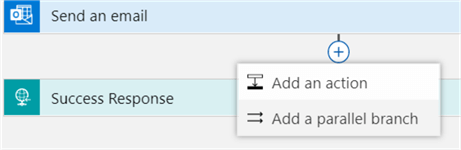
We also want to fail the Logic app if the email couldn’t be sent, so let’s add another response. Click on the plus icon between the send mail action and the response and add a parallel branch.
Add another response, but this time set the status code to 418 (which stands for I’m a teapot. You can find a list of status code on this website). You can choose any status code of the 400 and 500 range.

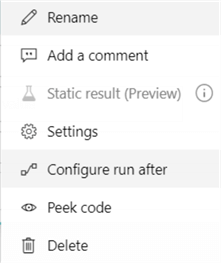
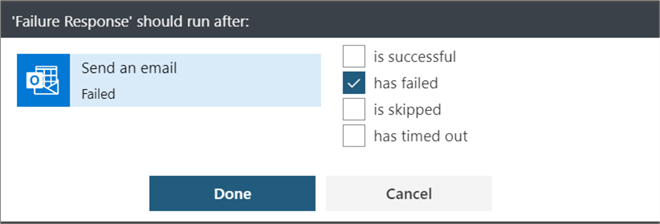
If this response is returned to a Web Activity, the ADF pipeline will fail. Rename the action, but also change the Configure run after setting:
Here, we want to run this action only if the previous action has failed:
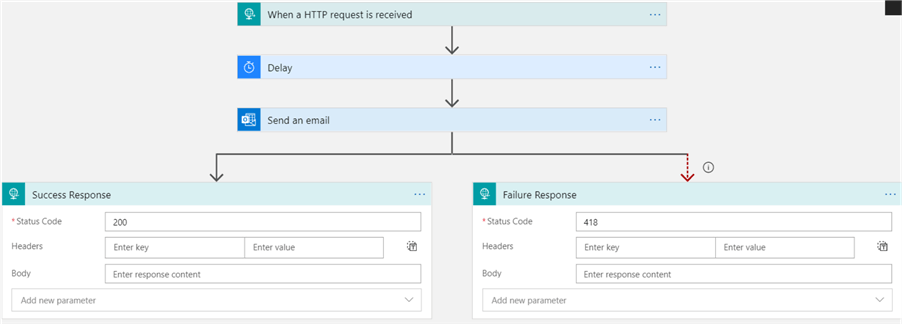
We end up with the following Logic App configuration:
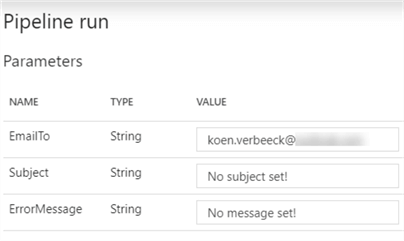
Now we can run our pipeline! You can either trigger the pipeline or just debug it, but make sure to specify a valid email address in the parameters:
If you’re debugging, you can see the Web Activity is running synchronously:
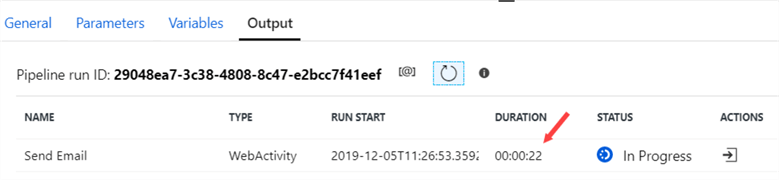
However, when it is finished it will display only 1 second duration:

When you trigger the pipeline instead of a debug session, it will show the correct duration in the monitoring section:

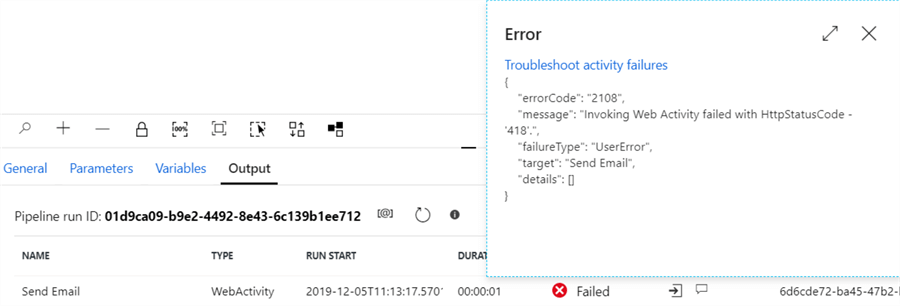
If we change the Logic App to fail by sending the 418 response code, we can see the pipeline fails as well:
Using a Webhook
The Webhook activity was recently introduced as a new activity in the ADF pipeline. To use it, we need to slightly modify the initial Logic App. Instead of using a request response, we’ll use a HTTP POST message to a CallBackUri.
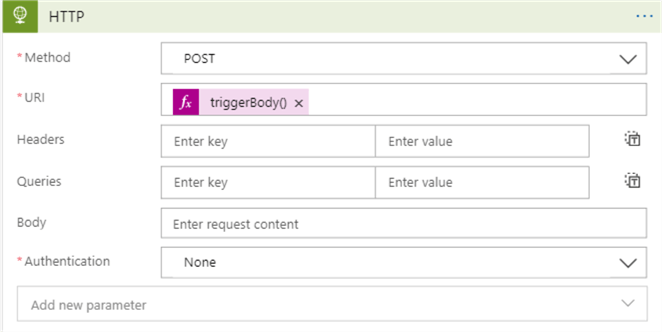
After the send mail action, add a new HTTP action:
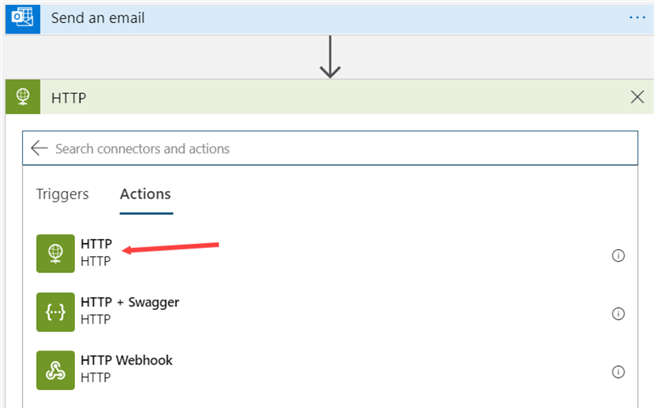
The Method needs to be POST. For the URI, click on the Add dynamic content link or just click inside the text box.
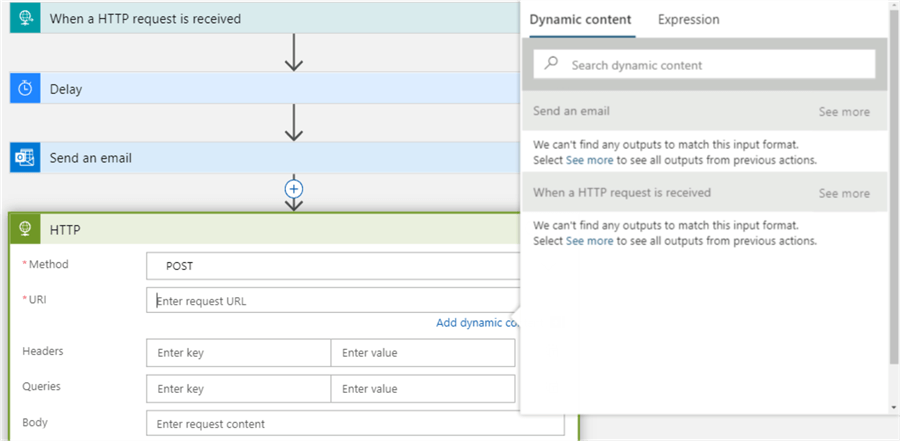
Switch to expression and add the following:
triggerBody().callBackUri
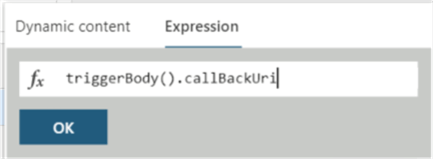
The action now looks like this:
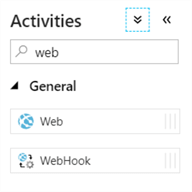
Now it’s time to create a pipeline with a Webhook activity. Create a new pipeline and add the Webhook Activity to the pipeline.
The configuration of the webhook is similar to the Web Activity:
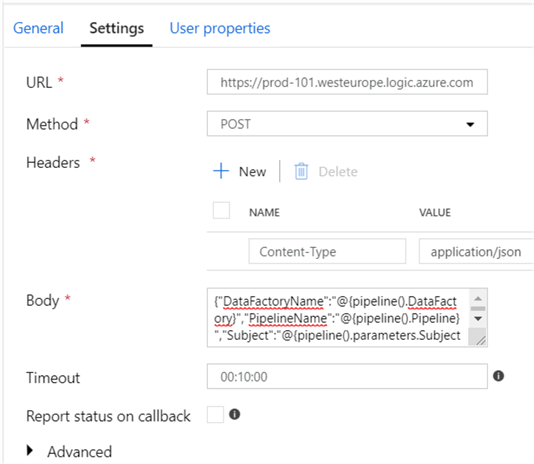
- The URL is the trigger of the Logic App. You can copy paste it from the trigger when editing the Logic App.
- The method is POST.
- You need to specify application/json as the Content-Type in the headers.
- The body specifies the JSON payload in the HTTP POST message. This contains pipeline parameters. Here’s the full body:
{"DataFactoryName":"@{pipeline().DataFactory}","PipelineName":"@{pipeline().Pipeline}","Subject":"@{pipeline().parameters.Subject}","ErrorMessage":"@{pipeline().parameters.ErrorMessage}","EmailTo":"@pipeline().parameters.EmailTo"}
Debugging the pipeline shows us the Webhook Activity is indeed executing synchronously:
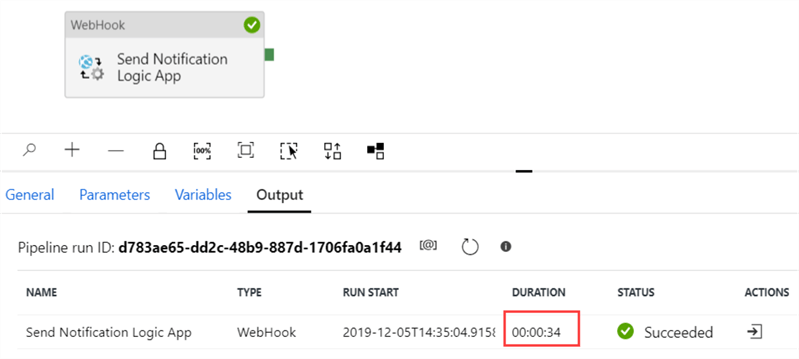
In contrast with the Web Activity, the Webhook shows the correct duration.
Conclusion
In this tip we’ve seen two different methods for executing a Logic App synchronously from Azure Data Factory: using the Web Activity and the Webhook Activity respectively. In both cases, the Logic App needs to be adapted slightly to accommodate this behavior. However, the configuration of the webhook requires only one additional action and the duration is displayed correctly in the ADF pipeline.
Keep in mind the methods explained in this tip are not exclusively for Logic Apps, but also for other services using webhooks, such as Azure Automation Runbooks for example.
Next Steps
- To get started with ADF and Logic Apps, please refer to the following tips:
- Azure Data Factory Pipeline Email Notification – Part 1
- Send Notifications from an Azure Data Factory Pipeline – Part 2
- Start an Azure Logic App Workflow on Demand or by an Event
- Transfer Files from SharePoint To Blob Storage with Azure Logic Apps
- Synchronously Refreshing a Power BI Dataset using Azure Logic Apps
- You can find more Azure tips in this overview.


About the author
 Koen Verbeeck is a seasoned business intelligence consultant at AE. He has over a decade of experience with the Microsoft Data Platform in numerous industries. He holds several certifications and is a prolific writer contributing content about SSIS, ADF, SSAS, SSRS, MDS, Power BI, Snowflake and Azure services. He has spoken at PASS, SQLBits, dataMinds Connect and delivers webinars on MSSQLTips.com. Koen has been awarded the Microsoft MVP data platform award for many years.
This author pledges the content of this article is based on professional experience and not AI generated.
View all my tips
