Problem
Some transformation in SQL Server Integration Services (SSIS) are quite complex to configure and understand and some types of transformations are simply not provided out-of-the box in the SSIS data flow, such as finding the previous not empty value in a column. Implementing those with .NET script components is cumbersome and adds extra complexity to the project. On the other hand, Power Query makes everything seem so easy. Is there a way to combine the best of both worlds?
Solution
In 2019, Microsoft released a preview transformation: the Power Query source for SSIS. With this source component, you can execute an M language formula to read data into the SSIS data flow. For those unfamiliar with Power Query, it is the standard method of reading and transforming data in the Power BI ecosystem. You can look at it as a sort of self-service ETL tool. Power Query is very user friendly but at the same time really powerful. The tip Introduction to Power Query for Excel gives you a first impression of the tool. It’s available in many different tools: it’s the Get Data feature in Excel and Power BI Desktop. It’s available in Power BI Dataflows. It’s the basics of the wrangling data flow in Azure Data Factory. It’s also the Get Data experience in Analysis Services Tabular 2017 and up. And now it’s available in SSIS as well.
In this tip, we’ll introduce the Power Query source while it is still in preview. This means not every possible action or source from Power BI Desktop might be supported, or the component itself might still have some bugs.
Installation of the Power Query Source
Initially, the Power Query source could only be used in Visual Studio 2019 for development and the Azure-SSIS Integration Runtime for executing a package containing this source. With version 3.3 of the SSIS Projects for Visual Studio 2019 (which is a Visual Studio extension), the Power Query source is available as a separate download. It is available in 32-bit (which you need for Visual Studio) and in 64-bit (which you need to run it on a server).
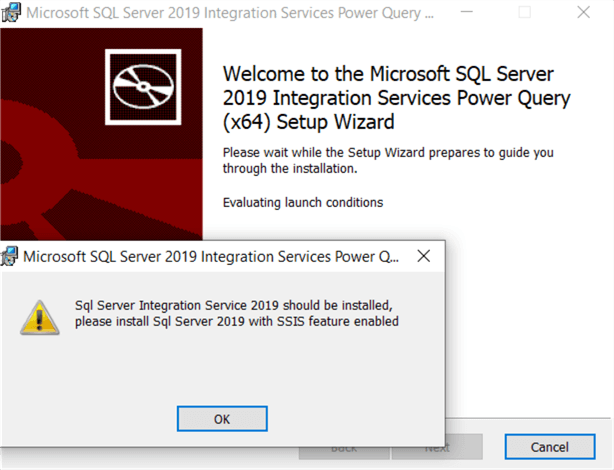
Once you downloaded the transformation, it’s a simple “next-next-finish” set-up to install it on your machine. Keep in mind, if you want to install the 64-bit version, you need to have SQL Server 2019 (or newer) with SSIS installed on the same machine. In the Azure-SSIS IR, the preview component should already be installed so a custom set-up is not necessary.
Currently, there’s a 2017 and a 2019 version available. In SSIS, you can change the TargetServerVersion property of the project. If you installed the 2019 version for example, this property needs to be set to SQL Server 2019. And the same for 2017.

If you installed the 2019 version and the project is set to SQL Server 2017 (the current default), the Power Query Source will not show up in the SSIS Toolbox.
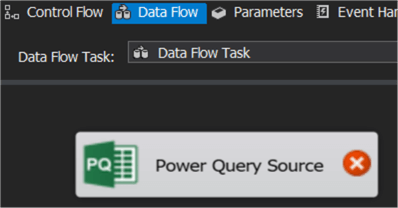
In a package, drag a new data flow to the control flow canvas. From the SSIS Toolbox, drag the Power Query Source to the data flow canvas. The source component can be found in the Common category of the toolbox.
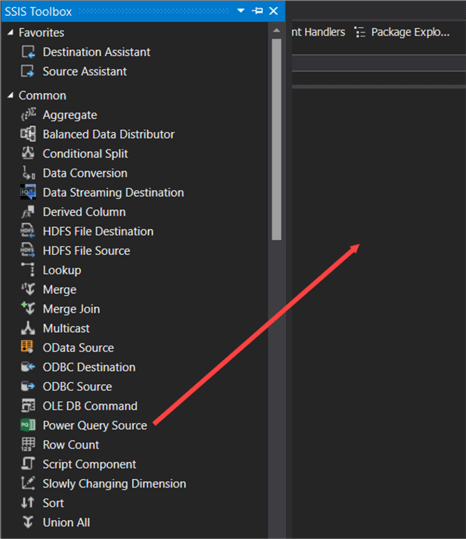
The source is now ready to be configured.
Some Examples of Using the Power Query Source
Filling Items Down
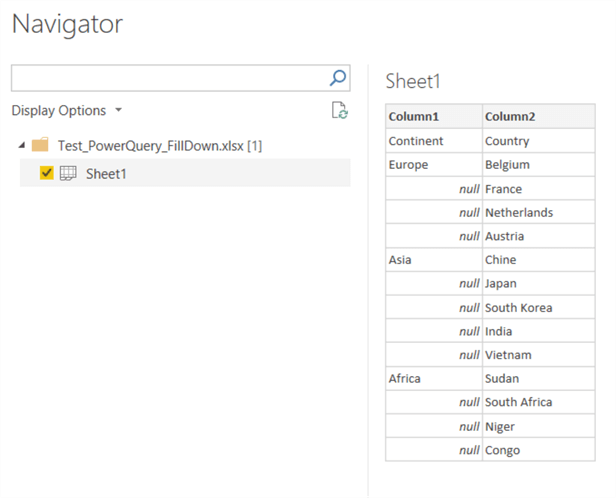
The first problem can be quite common when reading Excel files created by users: grouped data is not repeated on each line, but rather only displayed on the first line. An example:

In SSIS, you’d need to write a script component in .NET that keeps track of the last not empty value and if an empty value occurs, replace it with this last value. In Power Query, it’s a lot easier. Unfortunately, the source doesn’t have an editor, only a text field where you can paste an M formula. If you’re not fluent in M (almost no-one is), a better option is to create your transformations in another tool, such as Power BI Desktop and then copy paste the M code to SSIS.

Let’s open up Power BI Desktop to read the sample Excel file. From the Get Data menu, choose Excel.

Next, locate your file and choose the worksheet containing the data. Choose to transform the data.
In the editor, set the first line as headers in the Transform menu.

The data should now look like this:

In the Transform tab, click on Fill and then on Down, while the Continent column is selected.

The data now looks like this:

Let’s now find the M formula that makes all this happen. In the View tab, click on Advanced Editor.

This will show you all the different steps in the M formula language.

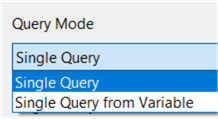
Copy the code and return to Visual Studio. In the Queries pane of the editor of the Power Query source, you can choose between a Single Query, or a query from a variable (for example if you want to dynamically construct the M formula in SSIS):
Let’s keep it at Single Query, and paste the M formula in the Single Query Text textbox. The next step is to configure the connection manager. In the Connection Manager pane, click on Detect Data Source.

This will parse the M formula and search for external sources.

The wizard will add a new file connection (not an Excel connection as you might expect), but the actual Power Query connection manager still needs to be created:

In the dialog, verify the data source kind, the path to the file and the authentication settings.

In the Columns pane, the columns Country and Continent will be added, but the external columns are empty.
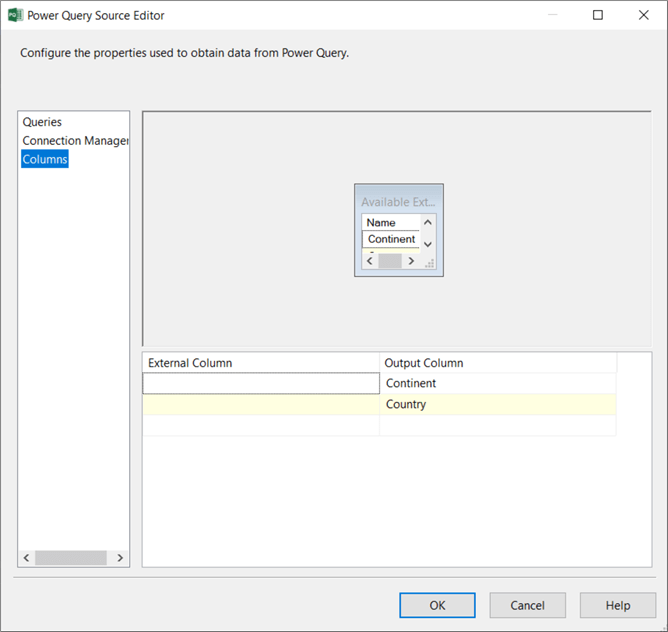
You need to map these against the output columns, otherwise the SSIS package will fail.

In the data flow, add a multicast (as a dummy transformation) and add a data viewer so we can inspect the output of the source.

When we run the package, it’s successful, but the output is hidden! This is because the source outputs the text columns as Unicode text stream (DT_NTEXT), which cannot be showed in the data viewer.

To fix this, we need to change the data types of the output columns in the advanced editor of the source. Right-click the source and open the advanced editor. Go to the Input and Output Properties tab and change the data types to Unicode String (DT_WSTR).

When we re-run the package, the data view now shows the actual output:

Unpivot all other columns
Suppose we have the following data about farms and their animals.

This kind of data is presented in a user-friendly way, but it’s not practical to store it like this in a database table. What if a new animal is introduced? Alter the table to add a new column each time. Ideally, we unpivot the data to three columns: one storing the name of the farm, one storing the type of animal and a final column storing the number of animals for that type. There’s an unpivot transformation in SSIS, but the configuration is not straight forward. You could also use T-SQL, but again, the unpivot syntax is not the easiest. The downside of both options is the number of columns is fixed. If a new animal is added, you need to modify the transformation or the SQL statement. But not in Power Query, where we can select the pivot column (Company in our example) and all other columns are automatically normalized.
To get the M formula, open the sample Excel file in Power Desktop and go to the editor. If necessary, set the first row as headers. The data should look like this:

Right-click the Company column and choose Unpivot Other Columns.

The data is now in the desired format. Rename the middle column to Animal.

It’s important to notice only the Company column is included in the formula. If new animals are added, the transformation will still work which is a huge improvement over the fixed metadata of SSIS.

Like in the previous example, go to the advanced editor, copy paste the M formula into the Power Query source and add a new connection manager to the Excel file. Make sure the data types are set correctly and the external columns are mapped to the output columns.

When we run our package, we can see the unpivot has done its work!

Next Steps
- If you want to follow along with this tip, download the Power Query Source and the sample files.
- For more information about the Azure-SSIS IR, check out these tips:
- Some Power Query tips:

Koen Verbeeck is a seasoned business intelligence consultant with over a decade of experience with the Microsoft Data Platform. He holds several certifications, including Azure Data Engineer. He’s a prolific writer, with over 375 articles on technologies such as Microsoft Fabric, SSIS, ADF, SSAS, SSRS, MDS, Power BI, Snowflake and Azure services. He has spoken at various events such as PASS, SQLBits, dataMinds Connect and many others. He frequently delivers educational webinars on MSSQLTips.com. For his efforts, Koen has been awarded the Microsoft MVP data platform award for many years.
- MSSQLTips Awards:
- Leadership Award (200+ Tips) – 2021
- Author of the Year – 2014/2020/2022
- Author Contender – 2024/2025


Hi Dante,
this seems a case for Microsoft Support.
But to be honest, this source component is still “in preview” after years, and SSIS hasn’t seen updates in years as well, so don’t get your hopes up.
Regards,
Koen
Hello, i keep getting the message from the installation wizard picture saying i dont have SSIS. I have tried with every version of the file and even reinstalled SSIS.
My sql server is the 2019 version and i have both VS 2019 and 2022.
Please help
Hi, can anyone help me? I have tried every version and it always shows the same error that is on the wizard picture (“Sql server integration services should be installed…”) the problem is i do have it installed and enabled, my sql server is 2022 and i use both VS 2019 and VS 2022
Hi, I’m trying to use the Power Query Source in SSIS to connect to a Power BI dataflow.
For that I copied the M code that works well in both excel power query and Power BI but in SSIS I get the following message:
“The import PowerPlatform.Dataflows matches no exports. Did you miss a module reference?”
Seem that the PowerPlatform.Dataflows function isn’t recognized in the SSIS connector.
Any ideas?
Thanks!
Regards,
Miguel
Hi Simone,
if you go to the download page, there should also be a version for 2022.
Regards,
Koen
Any suggestions for Visual Studio 2022?
I’m using Visual Studio 2022 Community Edition which is a 64bits and my server is a SQL 2017.
I installed SsisPowerQuery_2017_x64.msi but I do not see the “Power Query Source” icon listed among the Common components in SSIS.
Thank you –