By: Manvendra Singh | Comments | Related: 1 | 2 | 3 | 4 | 5 | 6 | > Virtualization
Problem
If you want to setup a lab for testing or development you can create virtual machines with the help of VMware Workstation software. You don’t need to procure additional hardware to setup test/dev machines, this can all be done with virtual machines. In this article, I will explain the step-by-step process to configure VMware workstation so we can build virtual SQL Server environments for testing and development.
Solution
Technology is changing very frequently these days and so are the product versions. We don’t want to buy server hardware for non-critical requirements. These days, companies are going to either the cloud or adopting virtualization to reduce the cost on hardware procurement. And if we talk about lab testing or development environments, the industry will prefer not to put extra money into buying new hardware or servers.
VMware has created a very good solution known as VMware Workstation to create multiple virtual machines with different operating systems on one single host server or computer. You can install it on your computer to create these servers with any type of operating system and you can do your testing or POC.
I am going to demonstrate how to install this software on your windows server or computer to create multiple servers with distinct operating systems to fulfill your requirements.
Install VMware Workstation Step by Step
1 - First, we will download the VMware Workstation installer from the VMware website. I am installing VMware Workstation Pro 14 on a Windows server for this article. You can see the downloaded file of the installer in the screenshot below.

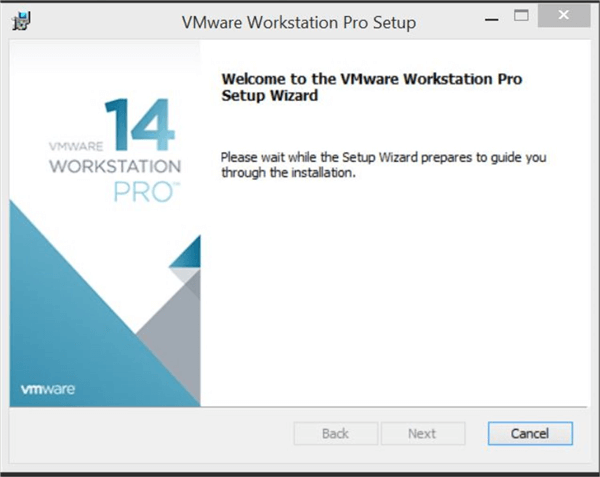
2 - Now, right click on the file above and choose "Run as Administrator" to launch the installer window. You will see the welcome page as shown in the image below. It might take some time to load the full page as can be seen in the difference between the screenshot below and the image in step 3.
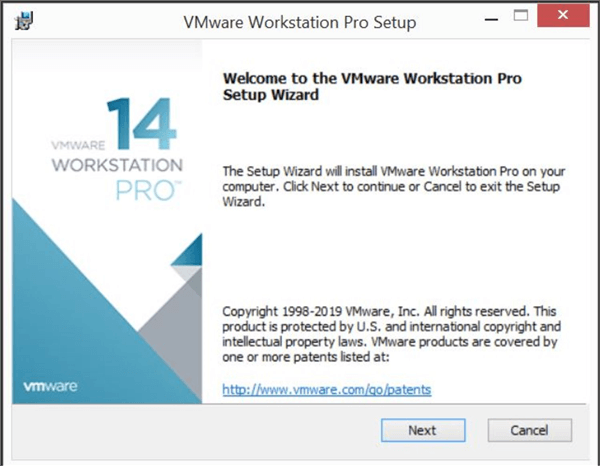
3 - Once the welcome screen is loaded select "Next" to go to the next window.
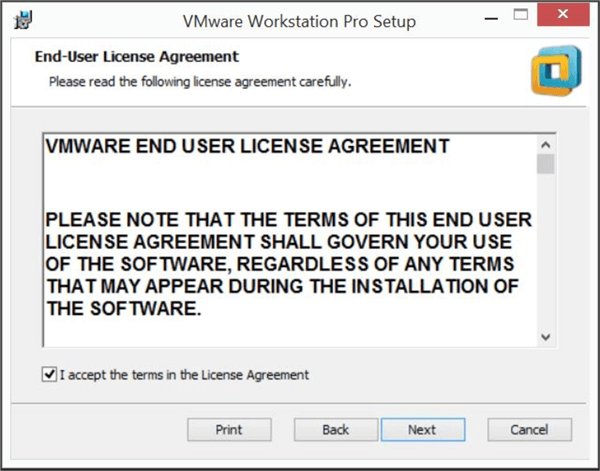
4 - The next screen will ask you to accept the license agreement for this software. Click on the check box given for accepting the license terms then select "Next".
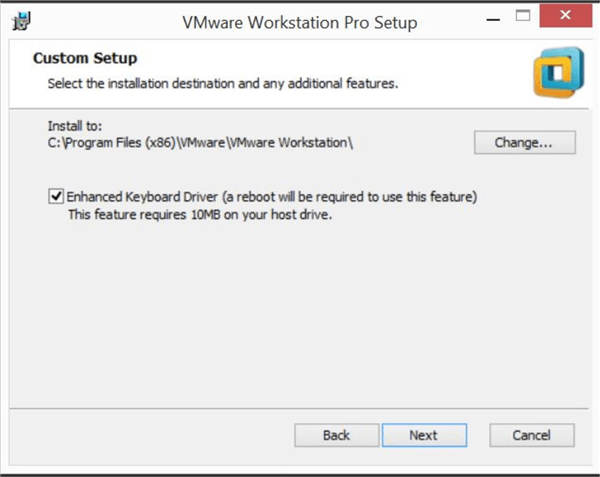
5 - The next window will allow you to select the installation location for this software. You can change the location by clicking "Change" as shown in the screenshot below. If you want to configure the enhanced keyboard drive to be installed for your virtual machines, select the check box as shown below. Click "Next" once you have chosen the location and enhanced keyboard driver option.
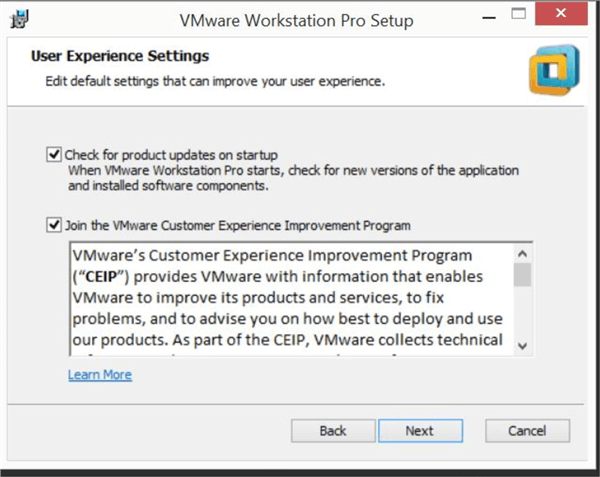
6 - The next screen will ask you to enable the product updates for this software. If you choose this option, the software will be updated automatically by the system if any updated version of the software is released in the future. You can opt out, to manually apply the update by deselecting this option as shown below.
An option is given to participate in the VMware Customer Experience Improvement program by selecting the checkbox. If you don’t want this, deselect the checkbox.
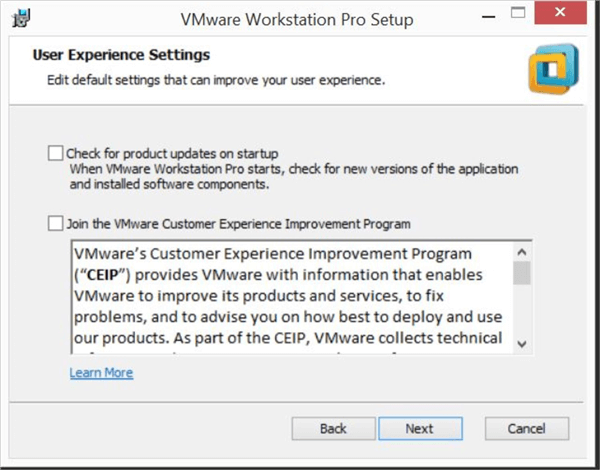
I don’t want to accept any of above options, so I have deselected both by clicking on the checkboxes as shown in image below. Click on "Next" to go to the next image.
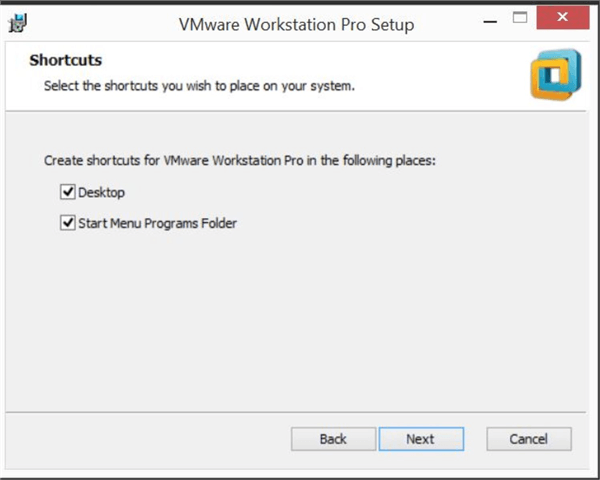
7 - The next screen will ask you to select options for shortcuts. You can choose which shortcuts you want.
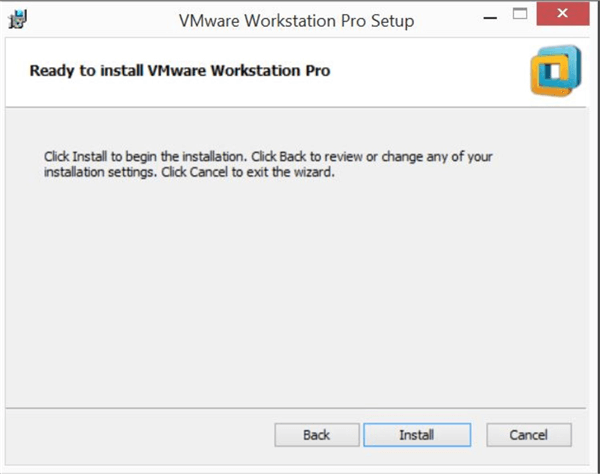
8 - The last screen of the configuration asks you to click "Install" to start the installation. If you have already chosen all options correctly, go ahead and hit the "Install" button to start the installation.
9 - Once you click "Install", installation will be started and the progress bar will be displayed as shown in the image below.
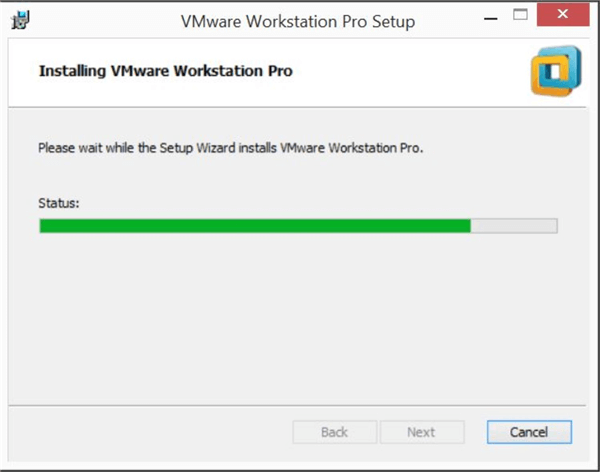
Below are some more screenshots of the installation progress bar I captured. You can see different components are being deleted and added per the installation program.
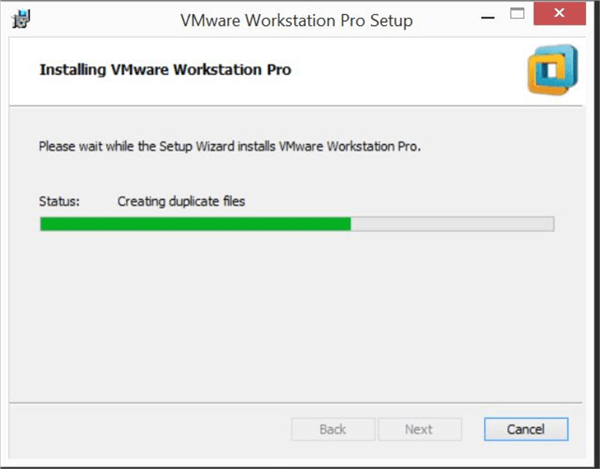
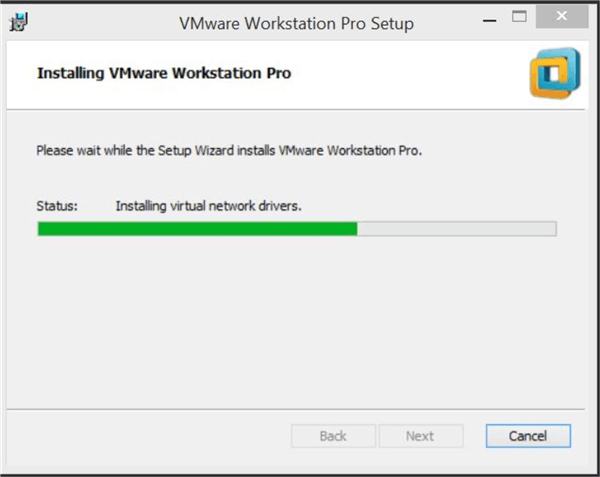
10 - Once installation is complete, you will see a window displaying two options:
- License
- Finish
If you have the License key of this software, click "License" and enter the license key. If you do not have a license key, click "Finish" to complete this installation. Without a license key, you will be able to use this software for 30 days.

11 - After entering the license key, select "Finish" to proceed.
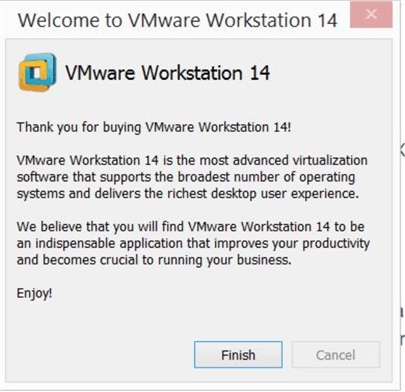
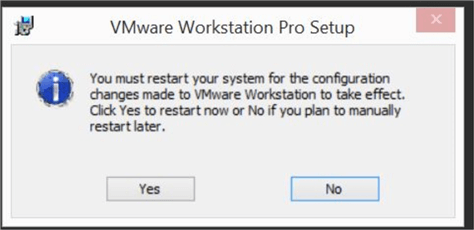
12 - This installation will require a system restart. Select "yes" if you want to reboot immediately or click "No" if you’d prefer to restart later.
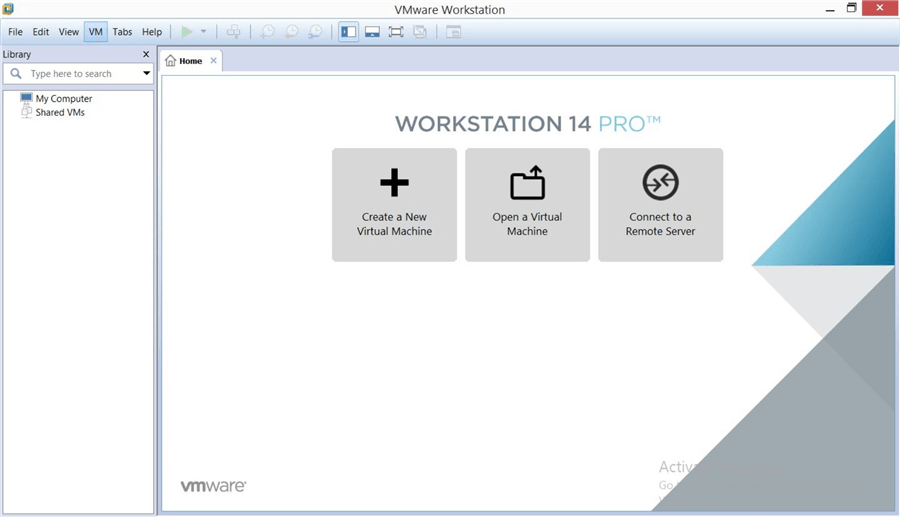
13 - You can see the VMware Workstation shortcut on your desktop or start menu. Double click on any of these shortcuts to launch the software. Below is the first look at the software post installation. Here you can create your virtual machine where you can install any operating systems and compatible applications on the operating systems. This tool is very user friendly to create, drop, or manage anything on virtual machines that will be created using this software.
Next Steps
Stay tuned for the next part of this article where I will show you how to deploy a virtual machine using VMware workstation software. If you have read all of my articles in sequence, you can easily setup your lab environment with multiple machines having distinct operating systems where you can run SQL Server databases. Read more articles on SQL Server:
- Read my other articles on multiple SQL Server topics
- Read more articles on SQL Server Clustering and SQL Server Availability Group in attached links.
- You can also read more article on SQL Server Management Studio
- Explore more knowledge on Server Database Administration Tips
About the author
 Manvendra Singh has over 5 years of experience with SQL Server and has focused on Database Mirroring, Replication, Log Shipping, etc.
This author pledges the content of this article is based on professional experience and not AI generated.
View all my tips


