Problem
Column from examples is one of my favorite Power Query actions to create a new column. It can be used to create a new column from either an existing single column or from multiple column selections. I would recommend you read this post on either single column or multiple column selections for creating column from example.
Although there have been loads of blog posts on this topic over the years, in this article I want to take a deep dive into a common issue faced by analysts when dealing with dates using column from examples. Usually, column from example easily deals with date columns in whatever format, but in some cases, it only works on parts of the dates and ignores the others. Again, this can easily be dealt with if the number of rows was few, but when you have like two thousand rows of data that was handled correctly by column from examples and the next five hundred rows are not handled correctly, then you might not take note easily as you can only be able to see a limit of one thousand values. The issue becomes apparent later. So, to prevent this issue, I will demonstrate the problem and an approach to easily resolve it.
Solution
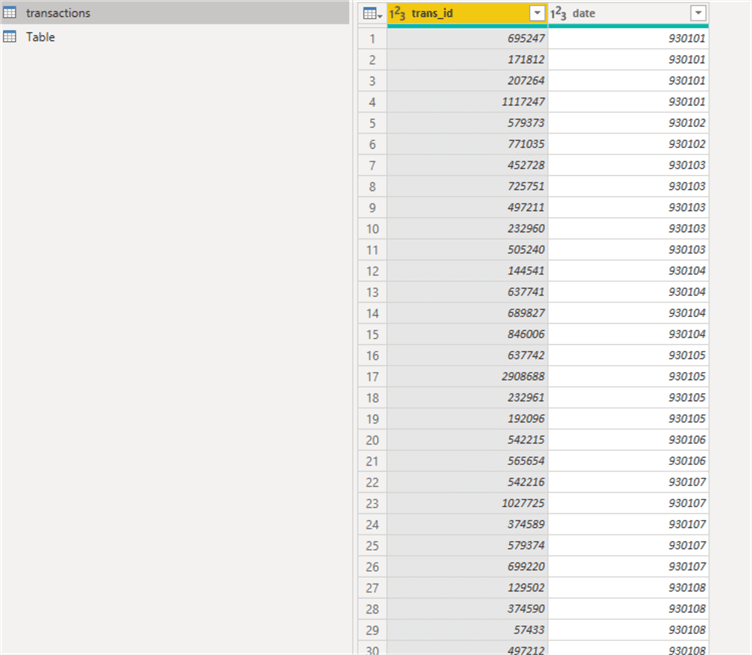
To demonstrate this, I will separate each step in the approach in the following steps. I have used a dataset with only two columns for Transaction_Id and Date. The date column values are in the format “YYMMDD“. The approach used for this demo is to use column from examples to create a new column from the “Date” column selection only which should have the format “YYYY/MM/DD” and be named as “Date2“.
- Create a Column from example for the date column selection.
- Verify the values in the created column.
- Steps to correct the issue.
- Verify the values in the created column again.
STEP 1: Create a Column from Example for the Date Column Selection
The total number of rows in the dataset used is about 1.06 million rows, and the dataset is as seen in the diagram below.
To create the column, we need to do the following:
Click on the “Add Column” tab in Power Query Editor.
Select the dropdown on “Column from Examples” (note ensure you have the date column highlighted before you start creating the column please).
Next, select the “From Selection” option from the dropdown. See diagram below.

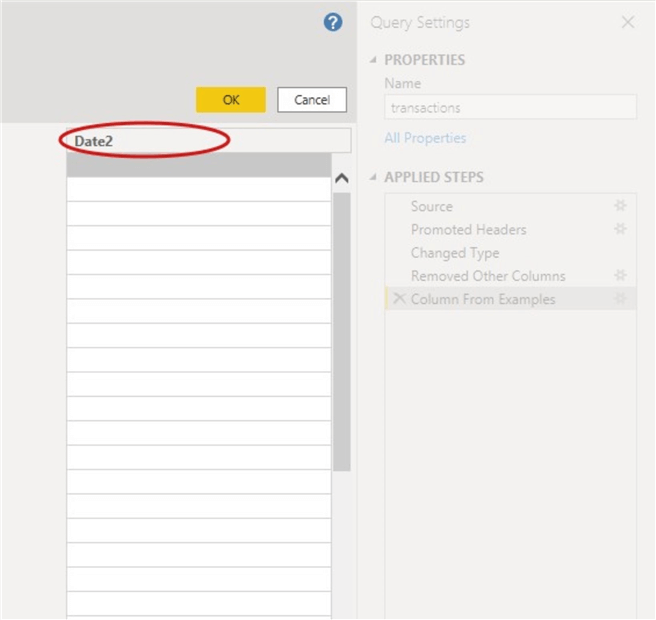
Enter a name for the new column as seen in the diagram below.
Then enter the date in the format as required, in my case it is as seen below. Note that you might have to enter the values into two or more rows before column from examples helps to fill down the accurate values. And if you scroll down now, you would only be able to see the first 100 rows of data, so you cannot tell if there are errors yet.
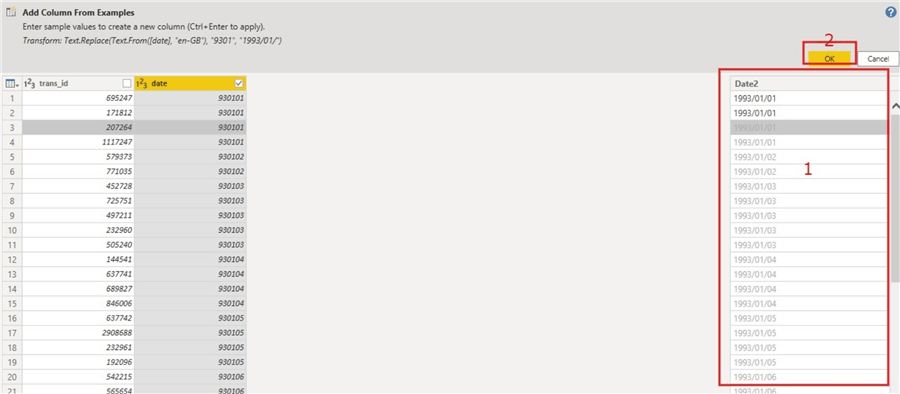
Then click “Ok“.
STEP 2: Verify the Values in the Created Column
On first look at the newly created column, it all seems okay as seen in the diagram below.

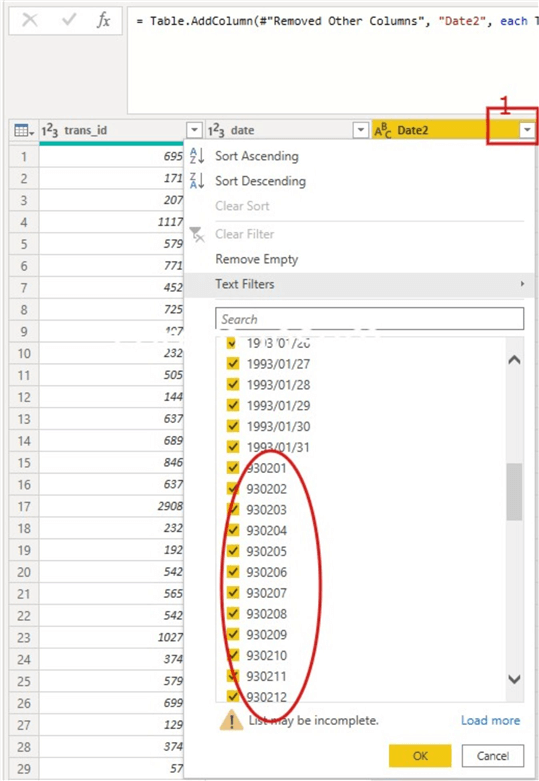
But when you try to view this via the filter dropdown, you would see that not all the dates have been converted to the new date format we required it. See the diagram below to show this. The best way we can explain this is that the column from example action did understood the date format when the date started with “9301”, thus it was able to create all dates in the right format if the month is January. But when the month changed to February with a value of “9302” it was not able to understand this and so on. More noticeably, we were not able to see this while creating the column due to the 1000 rows limit, because we would have been able to correct this there and then.
STEP 3: Steps to Correct the Issue
Although there are other approaches to correct this issue, I have chosen to use the approach discussed here as it’s much easier to implement, especially for those with minimal or no skill in M Query language.
First, let us look at the M code that created this step in Power Query as seen below.
= Table.AddColumn(#"Removed Other Columns", "Date2", each Text.Replace(Text.From([date], "en-GB"), "9301", "1993/01/"), type text)The M Code shows that the conversion was only done on the values with “9301”, so we need to ensure the code can understand that it needs to also do so for other possible date values combination. To do this, I will create a dormy date table with similar “date” values as seen in the following steps below.
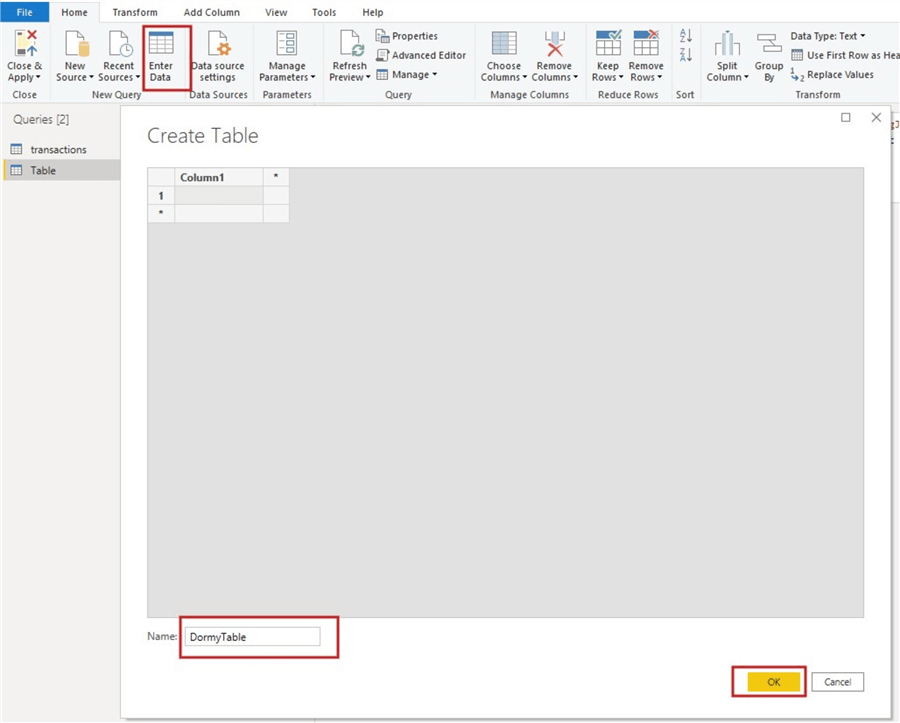
Click on “Enter Data” and change name of table as you would like, I used “DormyTable” as seen in diagram below.
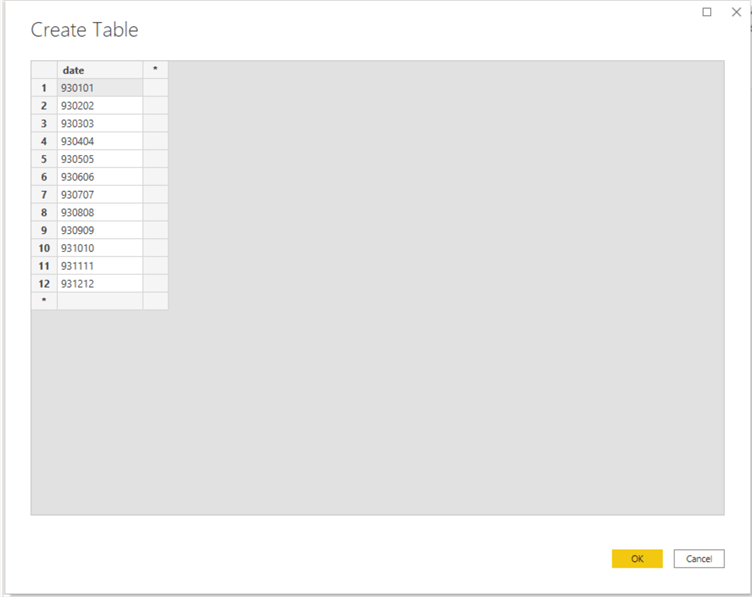
Next, enter the sample “date” values as seen in the diagram below. Note, the values have a combination of the possible dates range I want to convert in my original data.
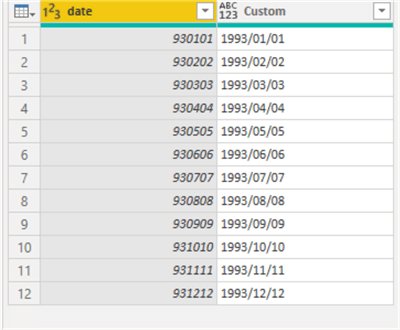
Next, I will also use “Column from Examples” to create a new column to convert these “date” values to a usable date format like “1993/01/01” to represent the first row as done in the original dataset. See the diagram below.
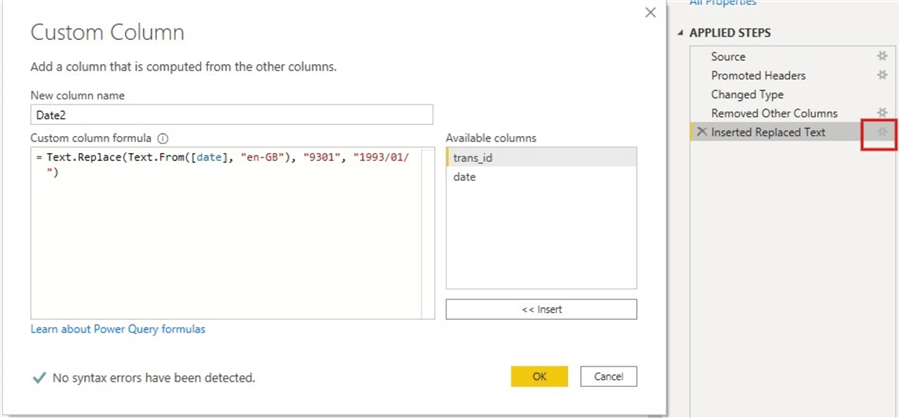
Then, we need to copy the M Code that was generated from creating this column. You can do this by clicking on the properties symbol of the “Added Custom Column” step as shown in the diagram below. Then copy the M Code in the window that opens.
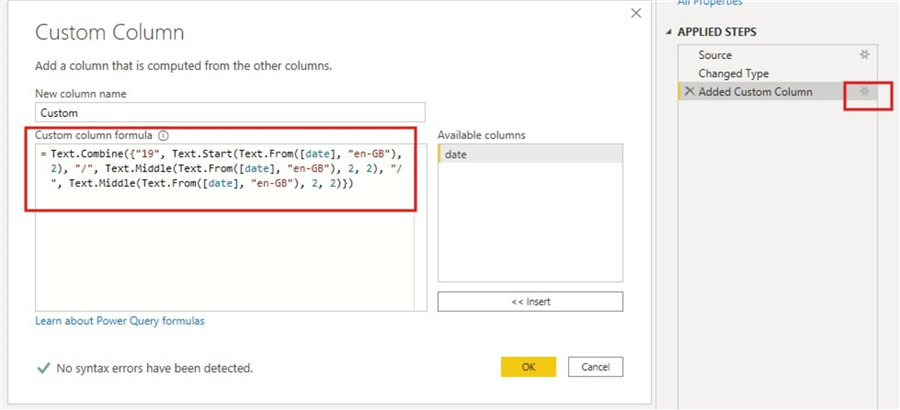
Text.Combine({"19", Text.Start(Text.From([date], "en-GB"), 2), "/", Text.Middle(Text.From([date], "en-GB"), 2, 2), "/", Text.Middle(Text.From([date], "en-GB"), 2, 2)})Next, we go back to the original dataset and click on the properties symbol of the last step or “Inserted Replaced Text” step as shown in the diagram below. Then paste the code copied earlier into the window that opens to replace the existing M code and click “OK“.
STEP 4: Verify the Values in the Created Column Again
After performing all points in Step 3, you should now be able to see that the column is now correctly formatted as required. You can now see via the filter dropdown that a loop has been done on all rows and each possible date combination is handled as seen in the diagram below.

To see the M Code that is now applied see the code below.

= Table.AddColumn(#"Removed Other Columns", "Date2", each Text.Combine({"19", Text.Start(Text.From([date], "en-GB"), 2), "/", Text.Middle(Text.From([date], "en-GB"), 2, 2), "/", Text.Middle(Text.From([date], "en-GB"), 2, 2)}))Next Steps
- See this interesting blog by BI Polar on Column From Examples here.
- Check out these other article on this topic from Yoda Learning and MyOnlineTrainingHub.
- Get some more on this from the official Microsoft Documentation here.
- Try this tip out in your own data as business requires.

Kenneth A. Omorodion is a Microsoft Certified Solutions Associate (MCSA) with 12+ years of enterprise application experience in Power BI, DAX, Microsoft Fabric, Business Intelligence, data warehousing, SSRS, T-SQL, and Azure. Beyond his technical skills, Kenneth has expertise working with stakeholders’ and business leaders to help them better understand key insights. He has a great track record of successfully delivering full life cycle Business Intelligence and data solutions to organizations with measurable business impact.
- MSSQLTips Awards
- Achiever Award (75+ Tips) – 2025
- Author of the Year-2021
- Author Contender-2022/2023/2024


