Problem
I read the previous tips about developing Personal Finance calculator in Power BI tip #1 , #2 and #3. I have multiple personal accounts for savings, checking and credit cards. So how do I analyze my expenses across all my personal accounts?
Solution
It is recommended to read the previous tip #1 , #2 and #3 to develop the Personal Finance Calculator. In this tip, I will be help you to extend the model to include other personal accounts such as a credit card.
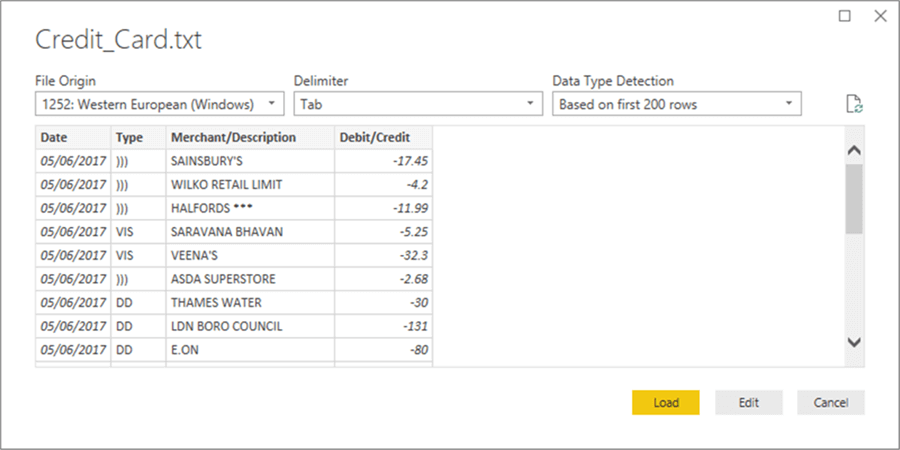
Let’s assume that we have been supplied a credit card statement in a txt file. The below mentioned image represents the format of credit card statement.

It has been observed that the file is in the tab delimited format. In particular the columns are not as same the original savings transactions file mentioned in the tip #1.
So we need to create equivalent columns when we extract the credit card transactions. In addition we need to differentiate the source of expense, when we extract credit card and savings transactions. This will help us to analyze the expenses by the source.
Extracting Credit Card Transactions
Let’s extract Credit card transactions using Get Data option > Text/CSV options in the ribbon as mentioned in the image below.
Power BI has identified all the columns correctly in the csv file.
Let’s edit the query to enhance the dataset. It is mandatory to setup the column data types correctly in the initial step.
The below mentioned image represents the columns with the correct data types.

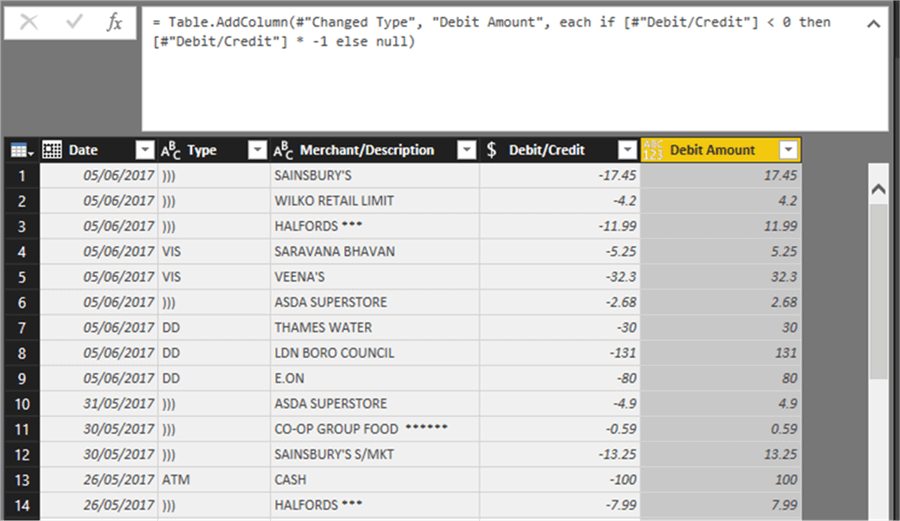
The Savings file which we have loaded in tip #1 had two separate columns for debit and credit amount. However in the credit card, we have only one column (credit card/debit card). Based on the data, we can observe that the debit/credit card column has a value less than 0 if there is a debit transaction and has a value greater than 0 if there is a credit transaction. Based on this business logic, we can create separate columns for debit and credit amounts.
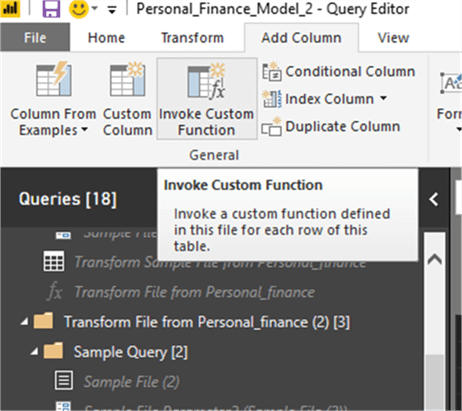
Now we need to use “Invoke Custom function” functionality to define the business logic to create the debit column.
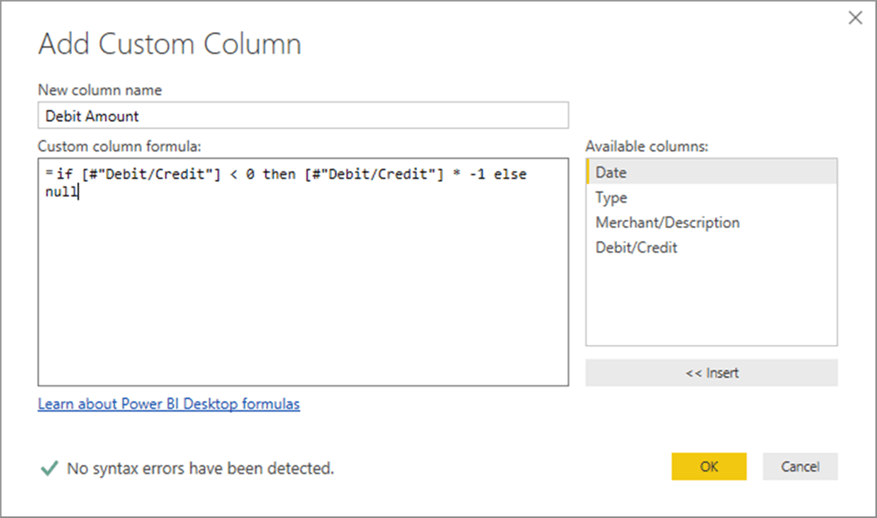
The below expression can be used to derive the Debit Amount column.
if [#"Debit/Credit"] < 0 then [#"Debit/Credit"]*-1 else null
The below image represents the configuration.
Adding Conditional Column for Credit Amount
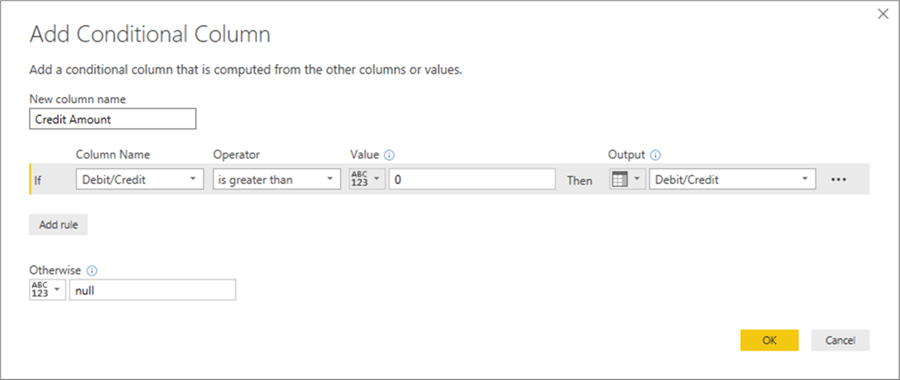
It is easy to add a Credit Amount column, as the formula is very simple. If the debit/credit amount is greater than 0 then the column will be defined as credit amount. This can be achieved by creating a conditional column as shown below.
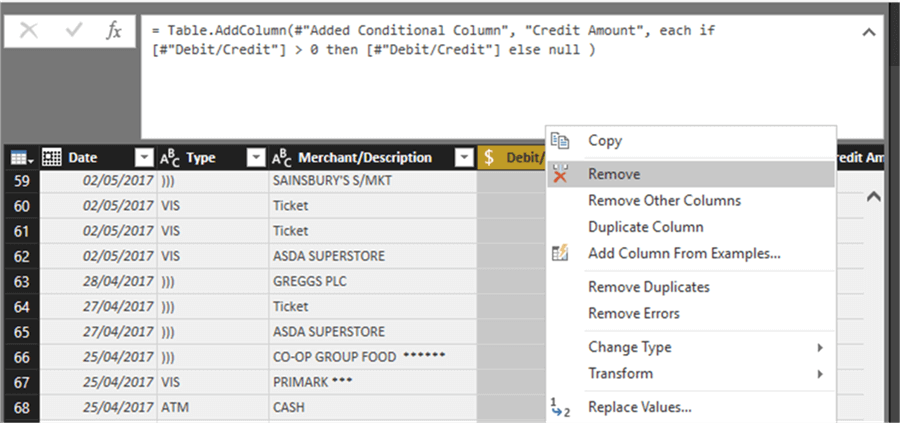
Once the expression has been added, the Credit Amount column has been added to the table as per the below image.

As we have derived both debit and credit columns, we don’t need to maintain the source “Debit/Credit “amount. Hence this column can be removed as in the image below.
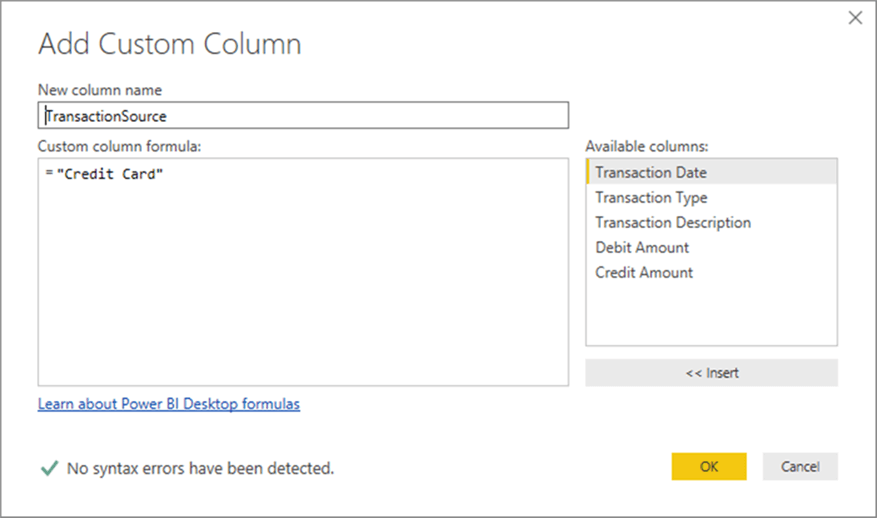
We need an additional column to differentiate the type of transaction and the value will be defined in the expression.
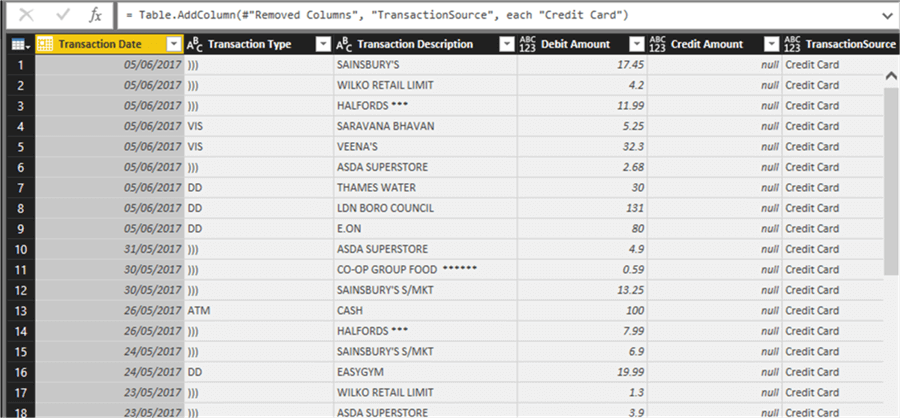
As we are getting the transactions from the “credit card” we can provide the value as “Credit Card”. Let’s add a custom column so that we can provide the value as below.
Once the column has been added, we can see the value for the column in the data table.
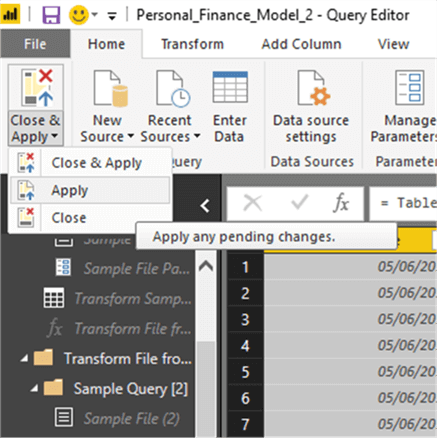
Let’s close and apply to save changes.
Enhancing the Transaction Data Table
All our existing reports are based on the transaction data table. Hence we need to append the transactions data table to the credit card table. Before appending, we need to prepare the transaction table.
The transactions table has the details of all the savings transactions. Now let’s add a column to the transaction table to define the source. As shown above, the click on edit query on the transaction table to add a custom column.
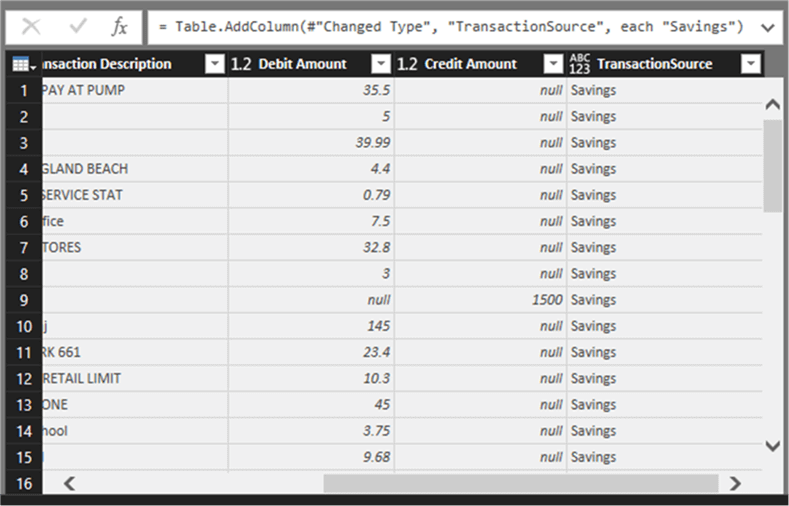
Now a custom column “Transaction Source” can be added and the value can be defined as “Savings” as shown below.

Once added, the transaction source column will be included in the table.
Appending Credit Card and Savings Transactions
Now let’s append the credit card data table to the savings dataset to create a consolidated data table. This can be achieved by selecting the option “Append Queries” in the ribbon.

On the “Append” the dialog box, select the Credit_Card data table as in the below image.

Once appended, this process will create a consolidated data table which contains both the savings and credit card transactions. As we have appended the credit card data table to the Transaction table, we have a consolidated single table for reporting.
The below image confirms that both the savings and credit card transactions can be seen from the same table.

Now let’s close and apply to save changes.

The previously developed reports can be refreshed to see the consolidated report for both Savings and Credit card transactions.
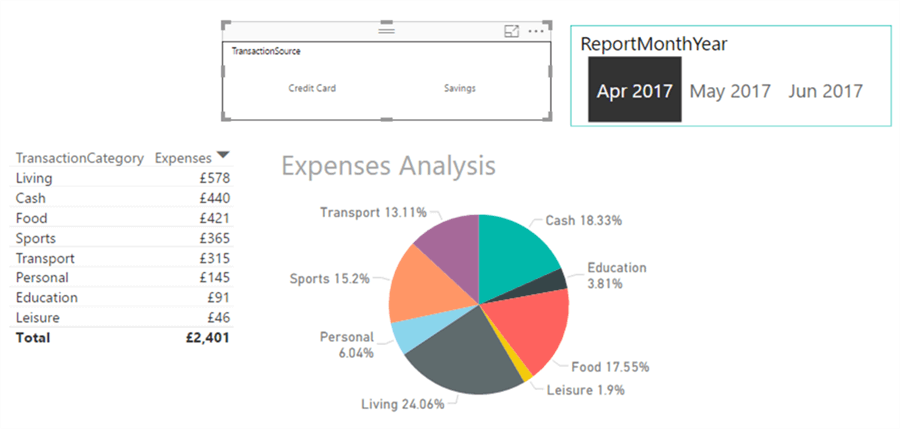
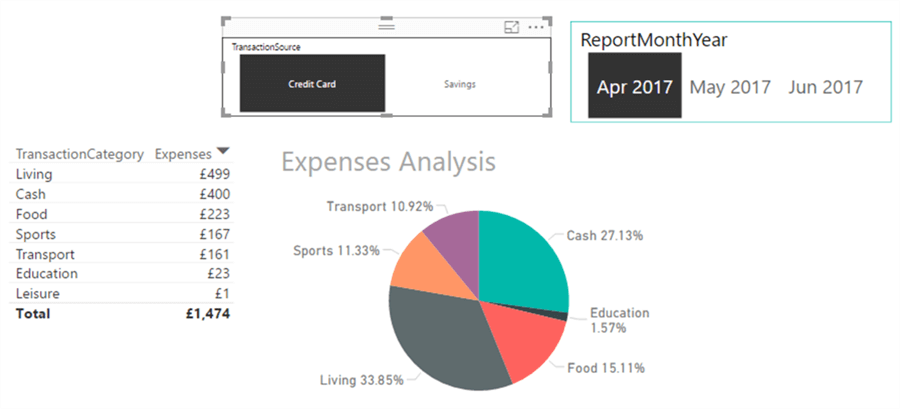
As we have a column “Transaction Source” to differentiate the transaction type, this can be added as a slicer for drill down reporting. Now I have created a slicer for the transaction type and selected the credit card slicer for more detailed analysis.
Summary
In this tip, we have developed a consolidated Power BI model which accommodated multiple personal accounts such as credit card and savings transactions with different formats. This enable us to have single view on our personal expenses.
Next Steps
- Read more about the Summarize function.
- Read other Power BI Tips.

Nat Sundar is working as an independent SQL BI consultant in the UK with a Bachelor’s Degree in Engineering. He has considerable years of experience with the UK Financial Services Industry (mainly in Insurance and Investment Banking).
He is passionate about SQL Server, SSIS, SSAS, SSRS and MDX. He has presented at SQLBits, SQLPass and the SQL London User Group. He has special interest towards Continuous Integration, Continuous Delivery and Deployment automation for the SQL BI (SSIS, SSAS and SSRS) stack.
He can be contacted at sqlnat@gmail.com, via LinkedIN and on Twitter at @SQLNat.


What if I have to update the statements independently?
I am currently reading CSV files from one folder for my main account and I have manually created another table for a secondary account.
With the method above, could I update both?
Thank you for the tips.